Freezer Meal Prep Ideas
Fall in Phoenix means we are exponentially busy. So, if someone like me can devote time to these freezer meal prep ideas, I promise you can, too! These freezer meals are healthy, simple, and a huge time saver.
This site contains affiliate links to products. We may receive a commission for purchases made through these links.
Off the bat, you’re probably starting to panic over the “prep” in Freezer Meal Prep Ideas. Like, how on earth do you have time for this endeavor if you aren’t staying up past midnight?!
Believe me, I’m not trying to add one more thing to your plate, or mine. But it’s actually because I am so busy that I chose to set aside a meal prep day last month.
Here in the desert, with fall comes wedding season. For us, that means working events on weekends (one of the side hustles I mentioned in my blog about money saving ideas). Plus, with the cooler Phoenix weather, church and community events are aplenty due to upcoming holidays.
I knew if I didn’t get some freezer meals prepared ahead of time, we would be more likely to eat takeout in a pinch. That’s a big no-no! Not only is it so expensive to eat out lately, no matter where it is, we are trying to eat mindfully while we attempt to burn calories in our daily routines (that blog here).
So after glancing at my already-full fall calendar, I scheduled a Meal Prep Date for a Saturday in September and made my lists.
All I’m saying is if someone like me can devote time to these freezer meal prep ideas, I promise you can, too!
Freezer meals are a big relief for nights when you both look at each other and ask “what’s for dinner?” They’re a sure guarantee that your family won’t survive off cereal and toast if (heaven forbid) you are sick or out of town. Additionally, if you know a mom-to-be, gifting her a prepared freezer meal she can just pop in the oven is such a huge help to her new lifestyle.
Supplies Needed
There are many options to choose from as to what you store your prepared meals in.
If you are trying to do this as affordably as possible, you may opt for basic gallon-sized Ziploc bags.
However, if you lean toward eco-friendly, I recommend these reusable storage bags. They are BPA-free, come in a few sizes, and are still affordable compared to the original Stasher brand.
Either way, these nifty baggy holder stands are the most genius freezer meal prep idea ever. I only wish I’d invested in them a month ago.
For casserole meals, aluminum pans are the most common and cheap choice. You can get a 25 pack with lids for $15 here but Costco also sells them in a 30 pack without lids for about $8. If you go that route, you’ll want aluminum foil and saran wrap for a cover.
While safe plastic containers with lids (like these) are good to freeze leftovers, they aren’t really ideal for prepping uncooked meals. Generally, you want something you can pull from the freezer, thaw for a few hours or less, and then throw into the oven without having to transfer it to a different dish.
But if you have a glass set like these casserole dishes with lids, you’d be checking off all the boxes for conscientious, reusable, freezer friendly, affordable, and oven and dishwasher safe! The only downside is, freezer meals stored in these may not be as airtight and safe from freezer burn for as long as the disposable pans.
Once you decide what freezing and baking containers you will use and how many, you can start making your ingredient list.
Don’t forget to set aside some labels and a permanent marker to leave notes on your ready-to-freeze meals once the task is completed.
General Meal Prep Tips
Make room in your freezer! If your freezer is not cleared out to accommodate for bulk meals, you’re going to find yourself in a quandary.
This might seem obvious, but don’t buy ingredients for a recipe you doubt your family will enjoy. Especially if you have no other use for those ingredients, that will just mean a waste for your time and money.
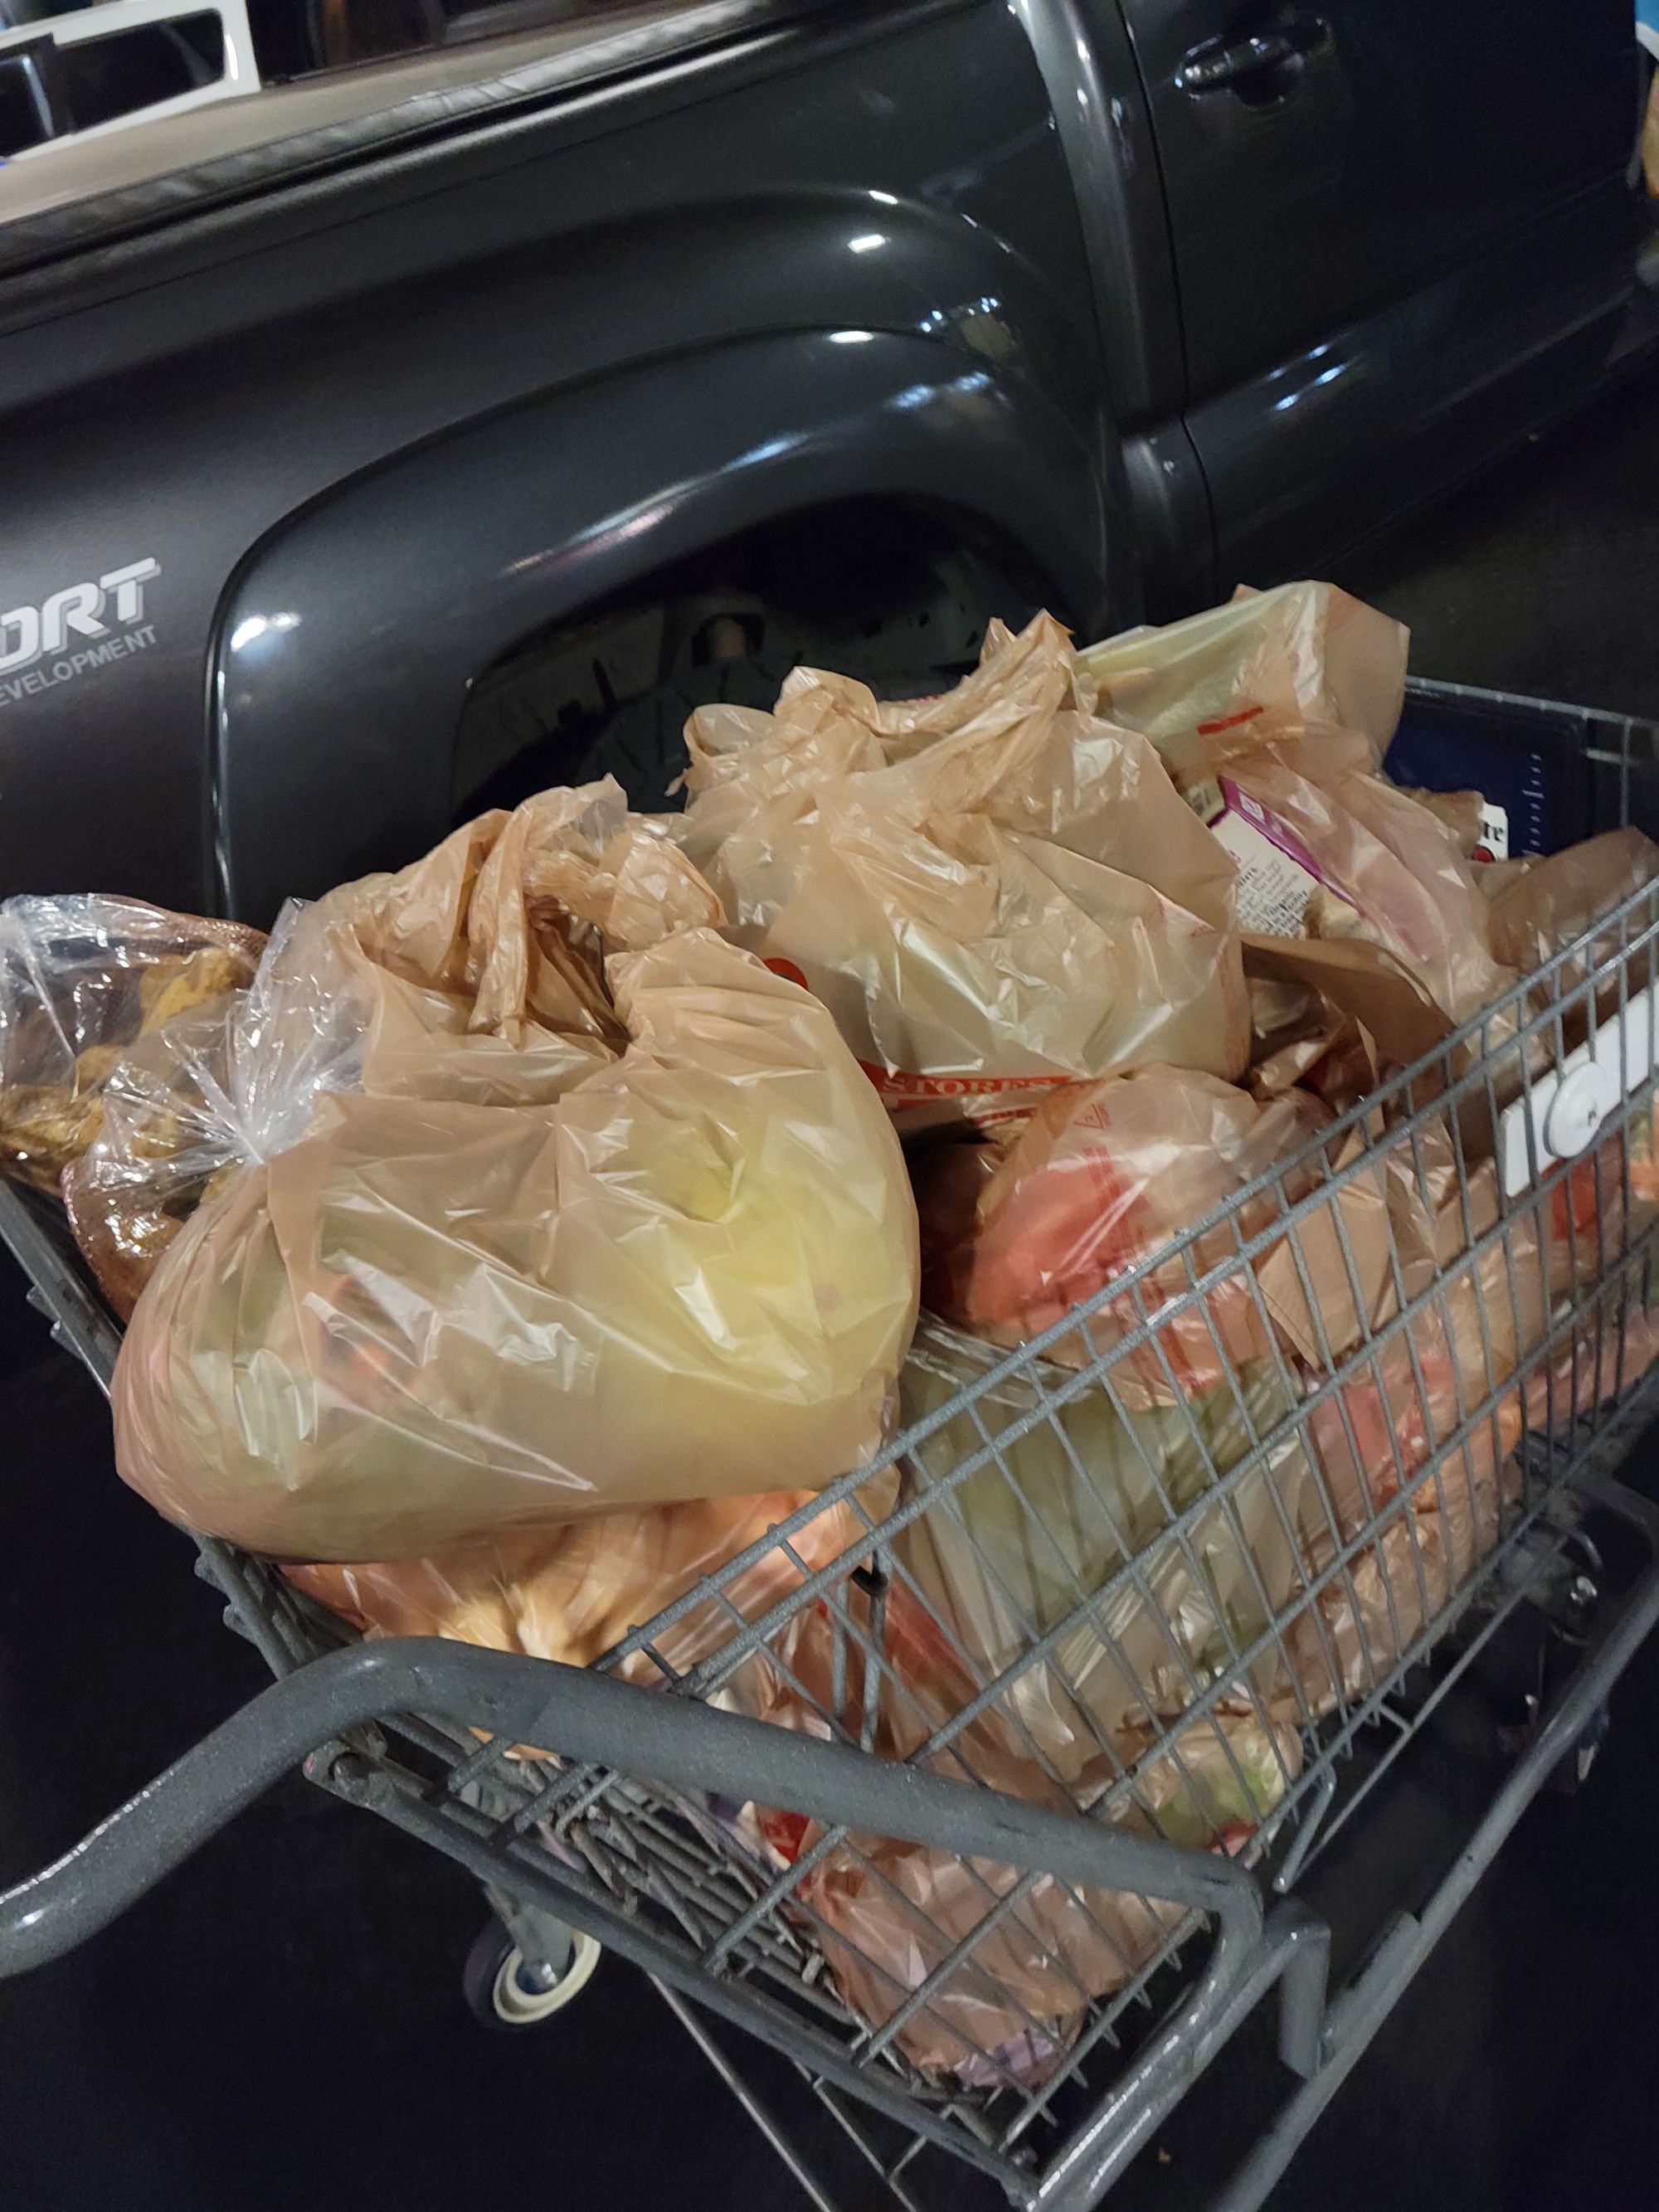
Be realistic on the time you can spend on this project. I devoted about 5 hours on a Saturday, not including the 2 hour grocery shopping trip at Fry’s the night before on my way home from work.
Before you start shopping, you will want to categorize your items by aisle or area within the store. For instance, get all your canned and dry goods at once in the middle aisles. Pick up all your meats at the same time and keep them separate from produce items in your cart to prevent possible contamination.
Give yourself a reasonable budget, too. Look up weekly ads and clip digital coupons. Your grocery bill might be large up front, depending on your household size. But remember, that is weeks of free, no brainer meals that will save you in so many ways.
To avoid a last minute trip back to the store when you realize you need something, I recommend buying in bulk. Ingredients like Pacific Foods’ organic bone broth cartons will always be needed. Might as well get the 12-pack now and skip the hassle later.
Recipes
I will be the first to tell you that I rarely use recipes. When I do, I usually end up tweaking them based on available ingredients or because it’s the one way I feel rebellious in life.
When I researched recipes for my freezer meal prep sesh, I passed over many that were too complicated. Either they required too many ingredients, an abundance of chopping, or there were too many steps involved, and I was looking for as minimal hassle as possible.
If you're feeling up to a challenge and want something more fancy in that freezer, power to you.
To me, there's nothing more comforting than soups and stews on a crisp autumn day. So, that's what I focused most meal prep time toward.
Breakfast Egg Bites (Dairy and Gluten Free)
There are so many variations of this breakfast dish. Some people line the cupcake tin with bacon before filling it with egg contents, others make a crust from cooked hash browns. Some people load theirs with cheese and meats while others prefer a veggie overload. For freezer meal purposes, I chose to keep it simple.
1. 6 eggs (one for every 2 cupcake tins you want to fill, basically)
2. Finely chopped broccoli
3. Thinly sliced and diced ham or turkey bacon
4. Oregano
5. Salt & pepper
Directions:
Preheat oven to 375 F.
Lightly spray cupcake pans with cooking spray. Amazon has this Trader Joes’ coconut oil cooking spray for $6.
Whisk all ingredients together in large measuring bowl. The mixture should still be fairly runny. You can always add some more eggs if the consistency is a bit too chunky.
Pour egg mixture to about ¾ full in each tin to allow for rising.
Bake for about 30-35 minutes or until a toothpick comes out clean from the middle.
Let sit until completely cooled before wrapping individually in plastic wrap and placing in freezer bag.
If you decide not to freeze these, I recommend eating them within a few days.
Meatballs (gluten free, dairy free optional)
1. 2 lbs ground beef
2. Handful fresh basil leaves, chopped
3. 2 eggs
4. Parmesan cheese (substitute for any dairy free brand)
5. Smoked paprika
6. Oregano
7. Bread crumbs (I used these gluten free Italian bread crumbs)
8. Salt
9. Pepper
Directions:
Mix all ingredients in a large bowl until evenly combined. I find it easier to use my hands but to each their own!
Lay out a long strip of plastic wrap on a flat surface.
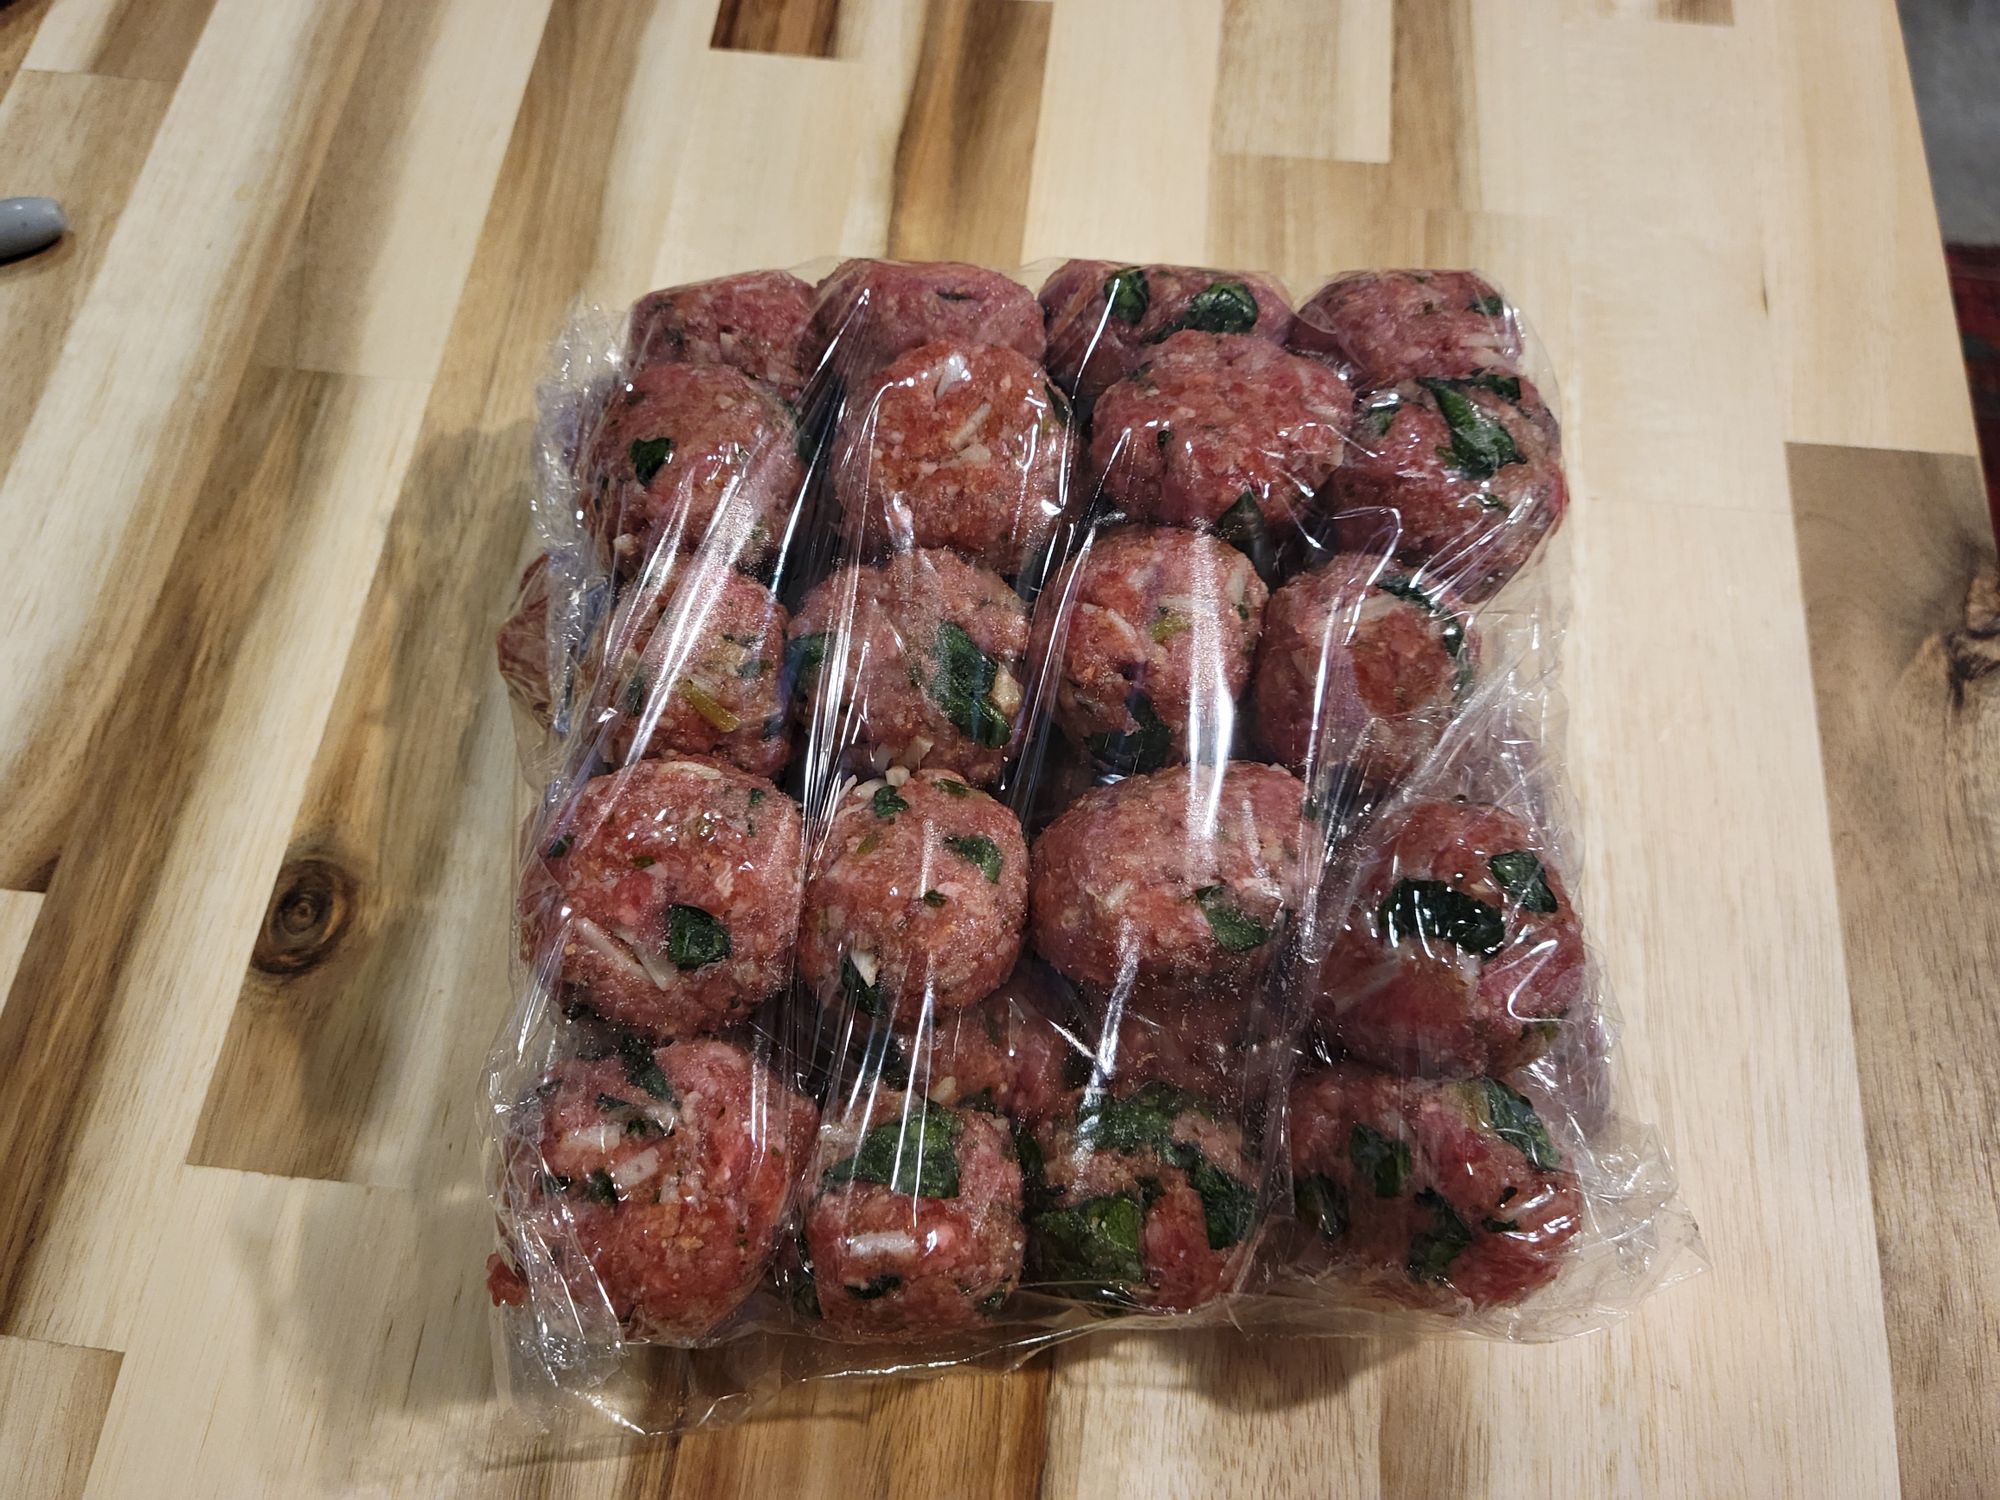
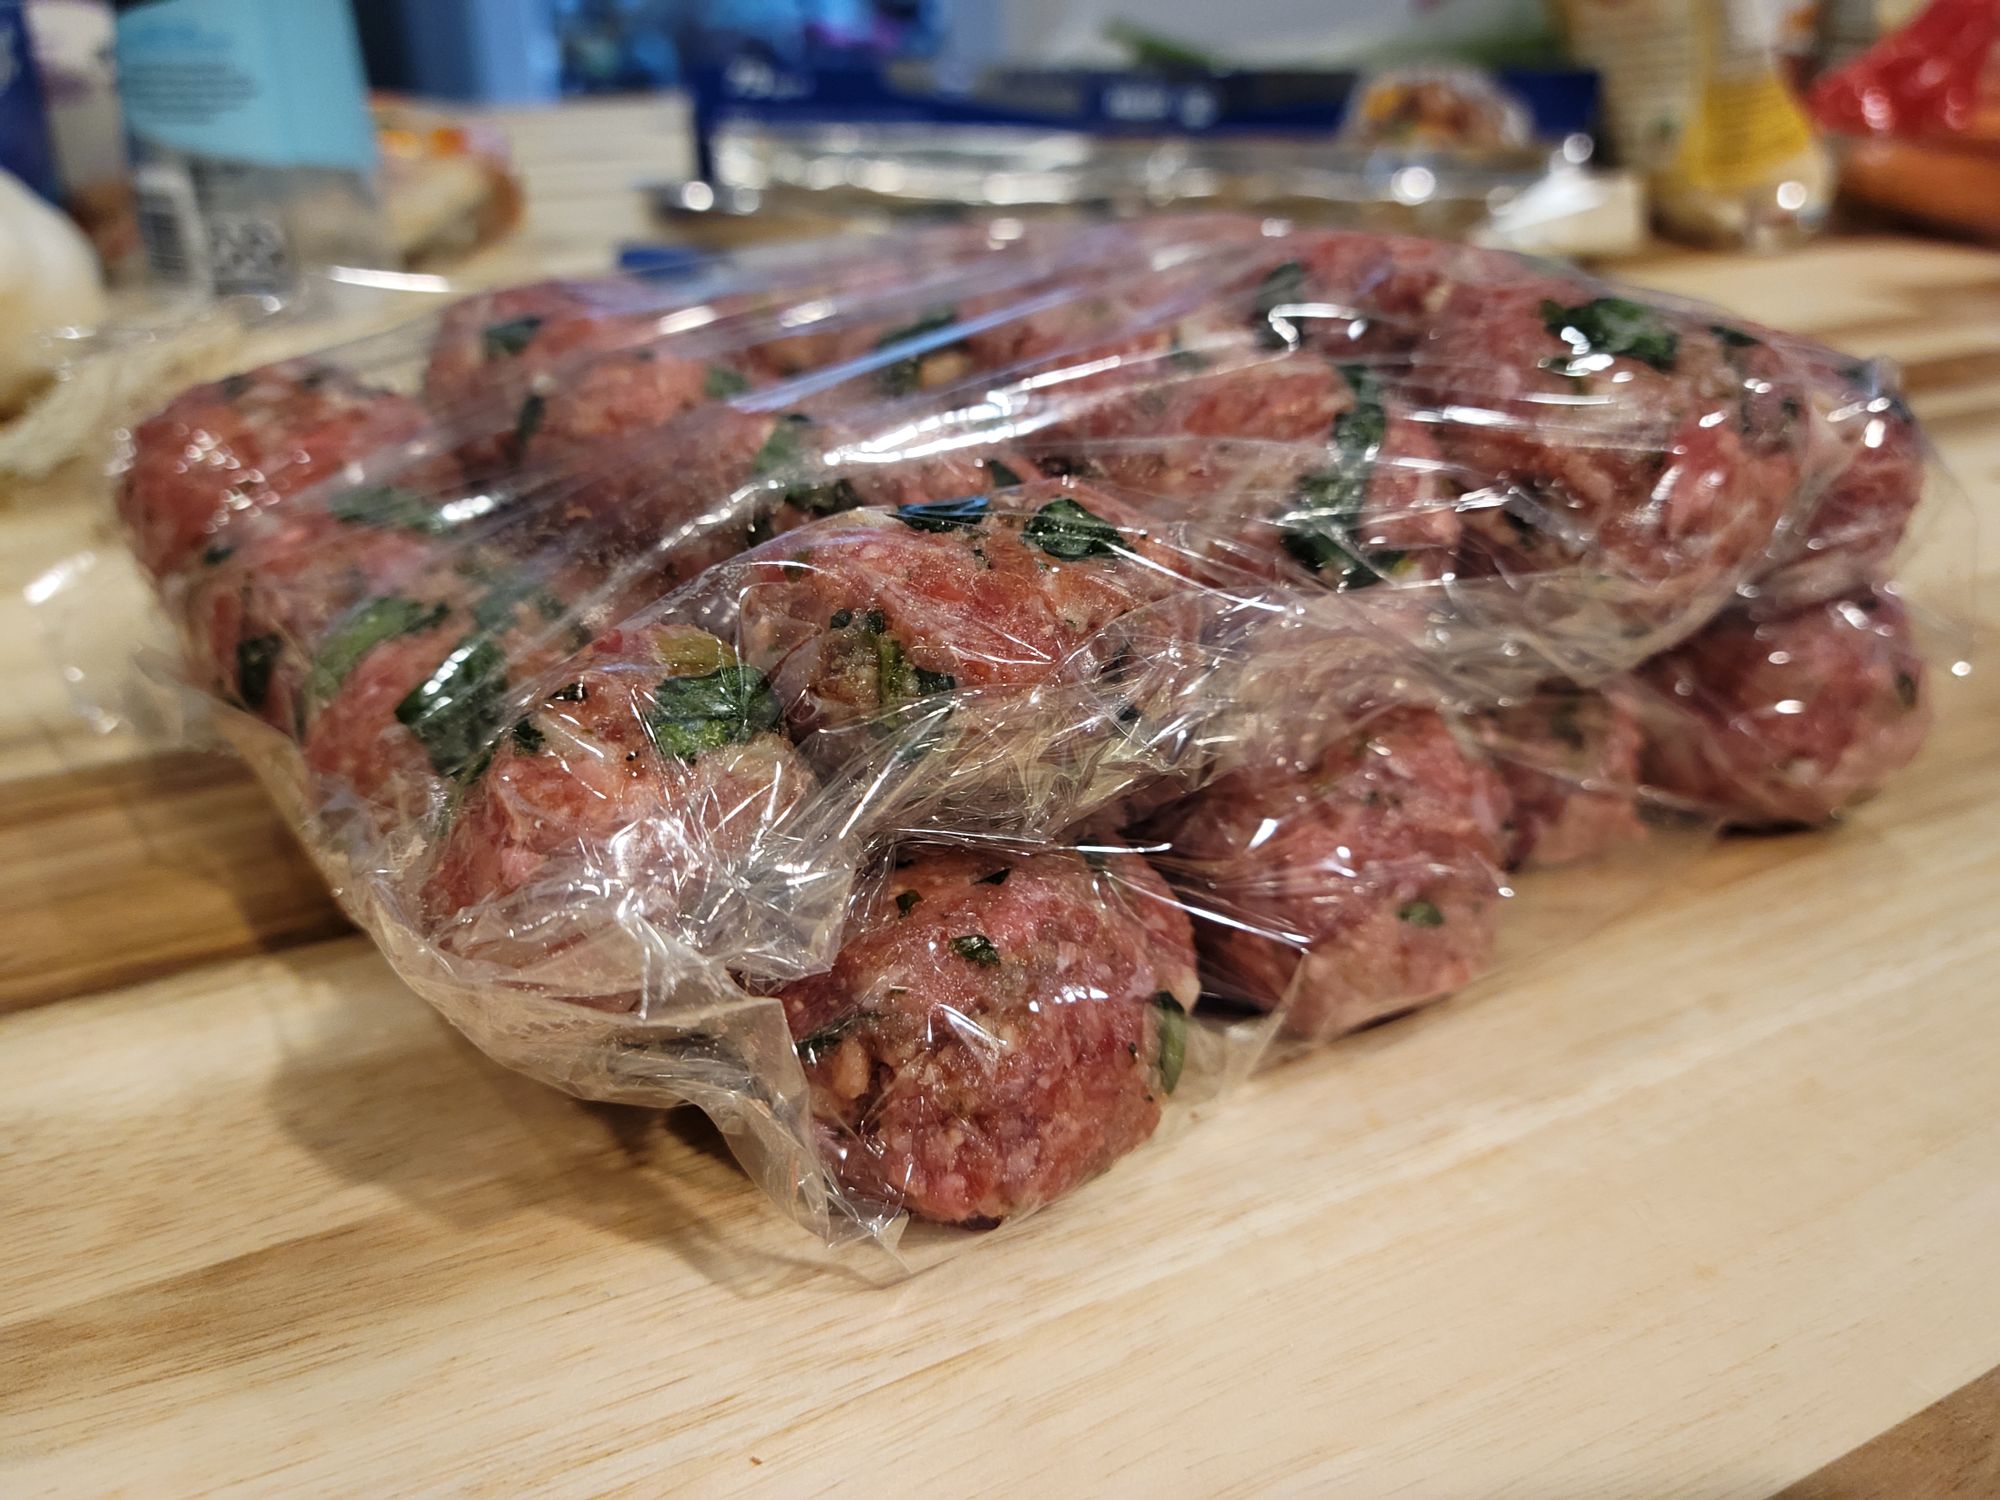
Roll meat mixture into 1-inch diameter meatballs and place in even rows on plastic about 5 across and 5 deep. Fold plastic over top of the first rows and layer meatballs again – repeating until mixture is used up. (See photo below)
Carefully place meatball layers into a freezer bag and label appropriately.
To cook, pull the meatballs from the freezer to thaw in the morning. For dinner, toss meatballs in a skillet on medium heat and brown on all sides.
Disclaimer: Many people combine beef and pork to make their meatballs, but I didn’t find it necessary with this concoction.
We ate them the other nice on some homemade zoodles (zucchini noodles) and they were so tender and delicious without any sauce!
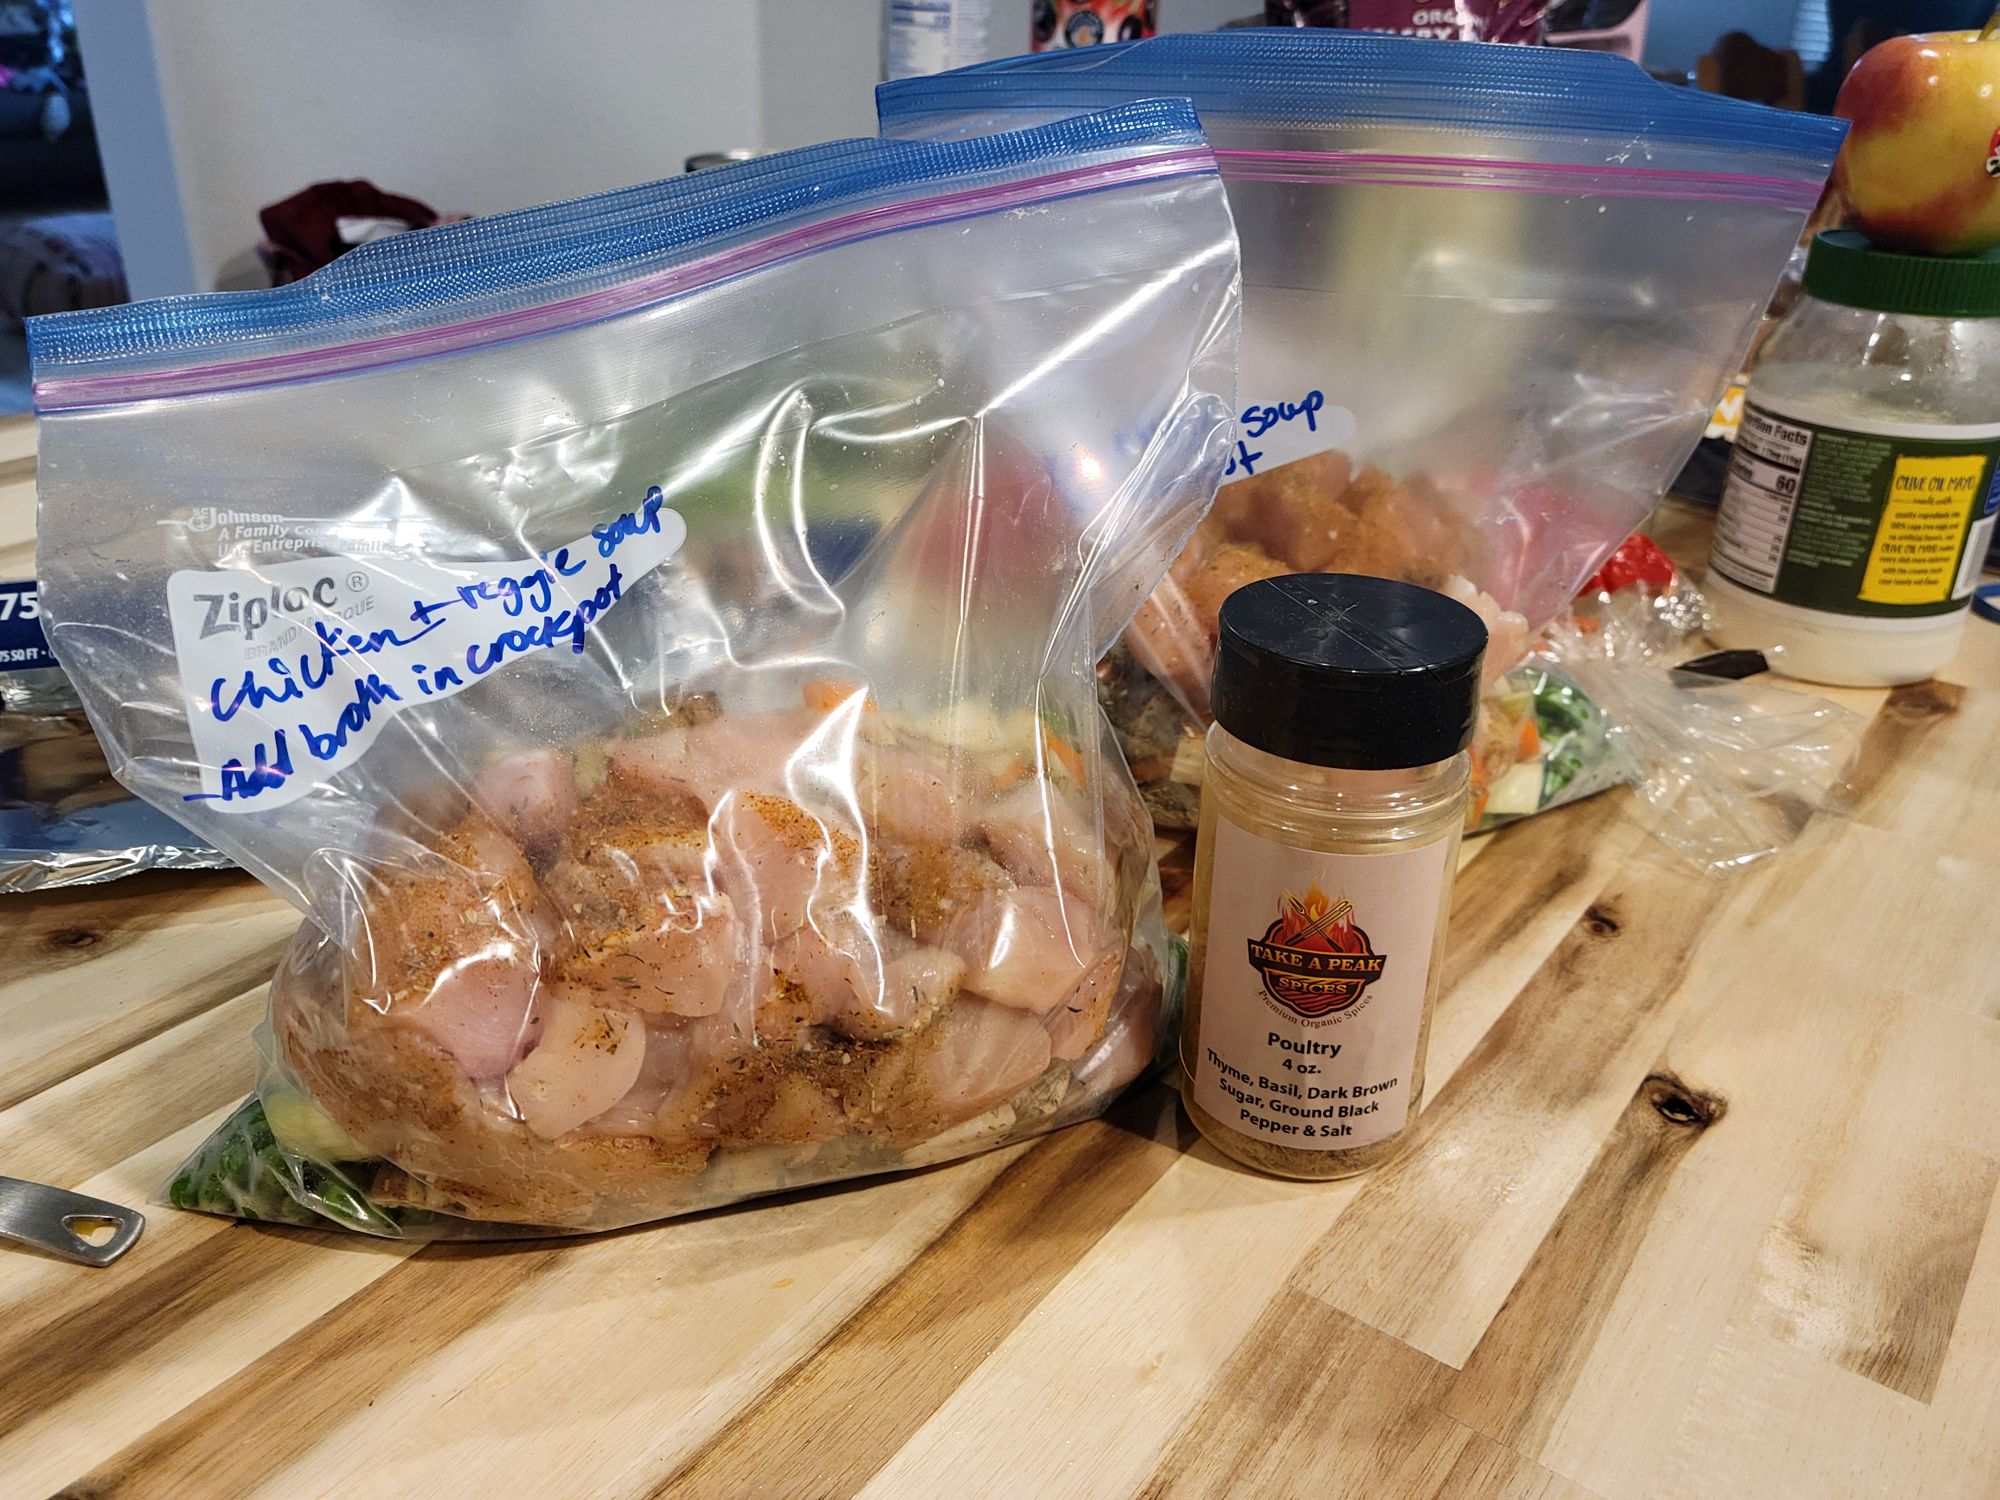
Chicken & Veggie Soup
1. About 8-10 raw chicken breasts, cut into chunks
2. Frozen peas
3. Chopped carrots
4. Chopped celery
5. Diced potatoes
6. Rosemary (fresh is best but dried is fine, too)
7. Tablespoon fresh minced ginger (like this kind)
8. Tablespoon fresh minced garlic (buy this jar to save time peeling)
9. Salt & pepper
10. Chicken broth (added when ready to cook)
Directions:
Toss all ingredients except for broth into a pre-labeled freezer bag. Place in freezer for up to 6 months.
If the soup is completely frozen, add to crockpot and pour chicken broth until ingredients are covered, then cook on high for 5 hour or low for 7ish hours. If you’ve already thawed it, it will cook on high for 3ish hours or on low in 6.
If you want to toss in some gluten free noodles to make this soup more hearty, go right ahead!
This recipe should yield about two freezer bag meals and each should feed 4-6 people.
Fajitas
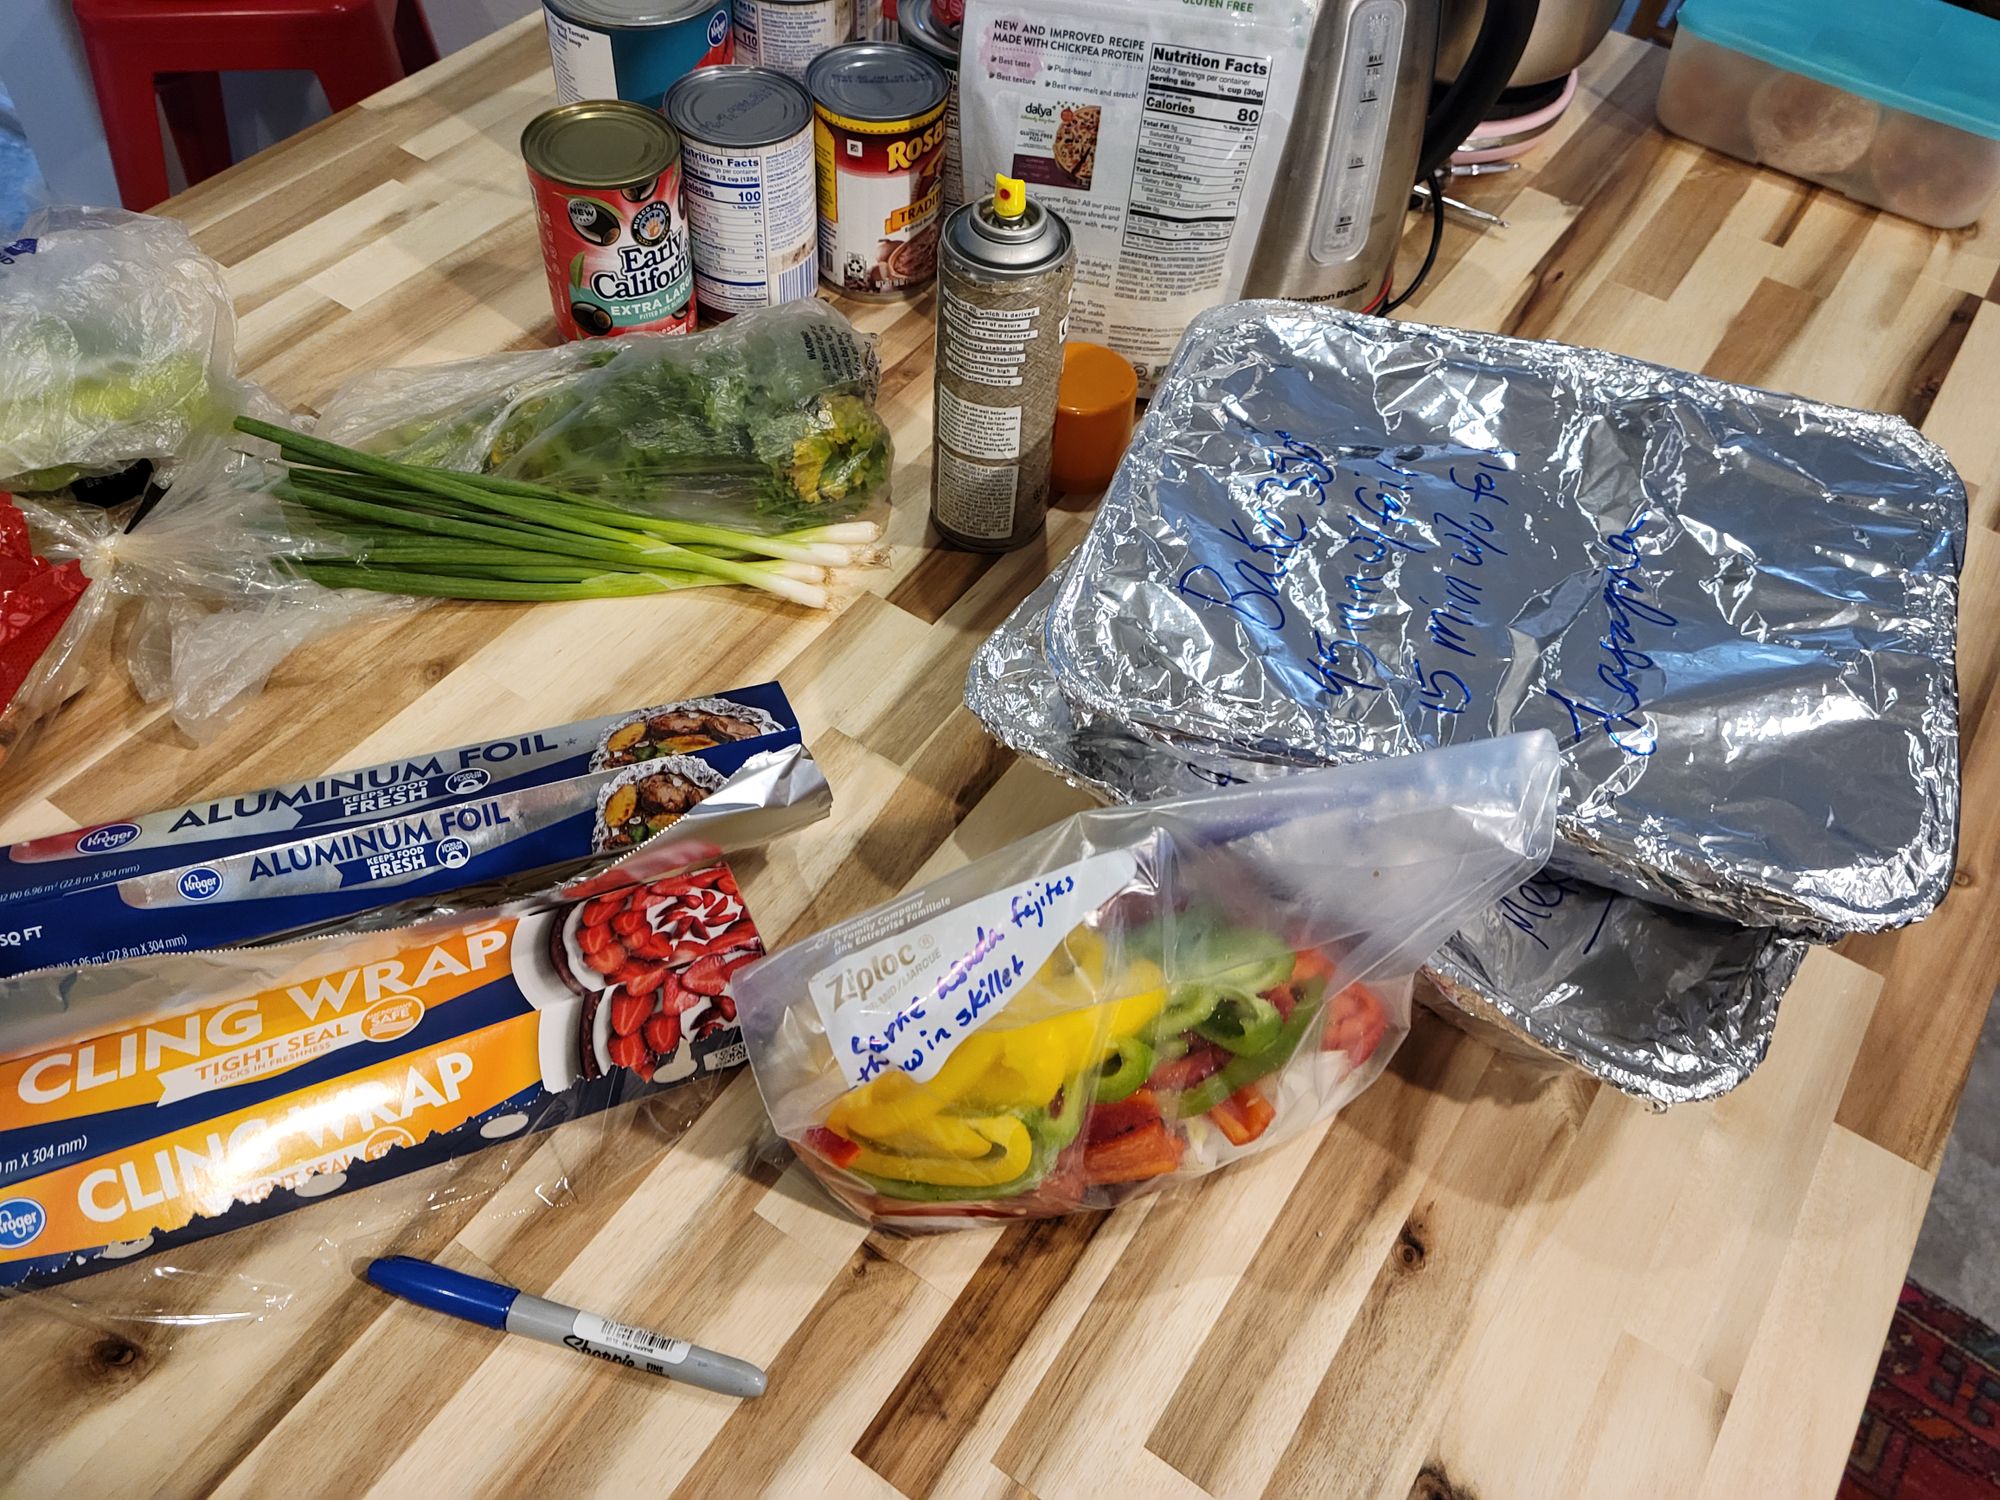
I totally cheated on this one and bought pre-marinated carne asada steak strips at Fry’s. In my defense, they were too good a price to pass up!
If you’re doing it from scratch, though, slice about 2 lbs. raw meat strips and let them soak in orange juice, lime juice, chopped cilantro, chili powder, salt, pepper, and some cumin powder.
In the meantime, slice up red, yellow, and green bell peppers as well as some red onions.
Toss the meat, juices, and vegetables all into a pre-labeled freezer bag.
Remove as much air as possible, seal it up and place it in the freezer for skillet frying later.
Beef & Broccoli (Dairy and Gluten Free)
I did not get around to making this recipe the day I threw all my freezer meal prep ideas together. But I wanted to include it because I plan to at some point, and I like having a variety of cultural cuisines in our diet.
1. 1 lb. thinly steak strips
2. ¼ cup cornstarch (this brand is non-GMO, gluten free, and organic)
3. 3 ½ cups broccoli tops
4. ½ cup tamari sauce (similar to soy sauce but gluten free)
5. 4 tablespoons brown sugar
6. 1 teaspoon minced garlic
7. ½ teaspoon fresh ginger
8. 1 teaspoon sesame seeds
9. ½ teaspoon toasted sesame oil
10. ¼ teaspoon red pepper flakes
Directions:
Coat steak pieces with cornstarch in a separate bag. Remove all air and place this bag inside another freezer bag.
Add all remaining ingredients except broccoli into a separate quart sized bag. Place this one on top of steak.
Throw chopped broccoli tops into the gallon sized bag last, remove air, and freeze for later.
When you pull it out to cook, heat oil in a skillet and stir fry the thawed steak. Throw in broccoli until tender and add thawed sauce just before turning off the heat.
This recipe yields about four servings.
Chicken Enchilada Soup (Dairy and Gluten Free)
1. 8-12 chicken breasts
2. 4 cups chicken bone broth
3. 20 oz. can red enchilada sauce
4. 4 cans black beans
5. 1 bag frozen corn
6. 2 small cans diced green chiles
7. 1 tablespoon minced garlic
8. 2 yellow onions, diced
9. 2 teaspoons cumin
10. 2 teaspoons salt (ish)
Directions:
Add all ingredients to a gallon freezer bag or container that is pre-labeled. Contents should keep for about 6 months.
To cook, place directly into crockpot on low for about 6-8 hours. Enjoyed best when served with cheese, tortilla strips, and avocado slices!
Loaded Potato Soup
1. Diced potatoes (a 32 oz. bag from the frozen section will save you from chopping)
2. 1 large onion, diced
3. 1 cup shredded carrots
4. Minced garlic (I never measure, but probably a Tablespoon or less)
5. ¼ cup salted butter, sliced up
6. Salt & pepper
7. Rosemary or dill (optional, but I like either one)
8. Cup of diced or cubed ham
9. 4 cups chicken broth
Directions:
Add all ingredients above and any additional seasonings to a gallon sized freezer bag or container.
Label your bag including the below cooking instructions, squeeze out all the air, seal, and store in your freezer.
If it is completely frozen, you will cook on high for 5 hour or low for 7ish hours in the crockpot, but if you’ve already thawed it, it will cook on high for 3ish hours or on low in 6.
Once cooked, add 1 ½ cups of heavy cream to the whole pot. Then top each bowl with shredded cheese and green onion, if you like.
This recipe feeds 6 people. So if you’re feeding a crowd or want leftovers, double it up.
Traditional Lasagna
This and the Mexican Lasagna were the only freezer meals that I did some precooking, which was just to brown the meat and mix it with pasta sauce for the lasagna layers.
You most likely already have a favorite lasagna recipe, so I won’t tell you to change it, but here are a few variations and recommendations.
To make your life easier, use no-boil lasagna noodles! If you are gluten free, try these Heartland oven-ready lasagna sheets made from corn and rice flour. They fit perfectly in a standard aluminum casserole pan and don’t require any precooking.
Depending on how many lasagnas you want to freeze, you may need to double or even quadruple your recipe’s contents so be sure to make that note before heading to the grocery store.
Meat choice is completely up to you. I didn’t grow up eating a lot of beef, so I don’t always have it stocked. But I always have ground turkey on hand which works just as well in lasagna and chilis, in my opinion.
However, I recently substituted ground lamb and instead of regular red pasta sauce I used Trader Joes’ pumpkin bisque with a little added curry spice and OH MY GOODNESS. Most unique lasagna ever. Probably the best news ever is that this sauce is sold on Amazon and is currently on end-of-season sale!
Directions:
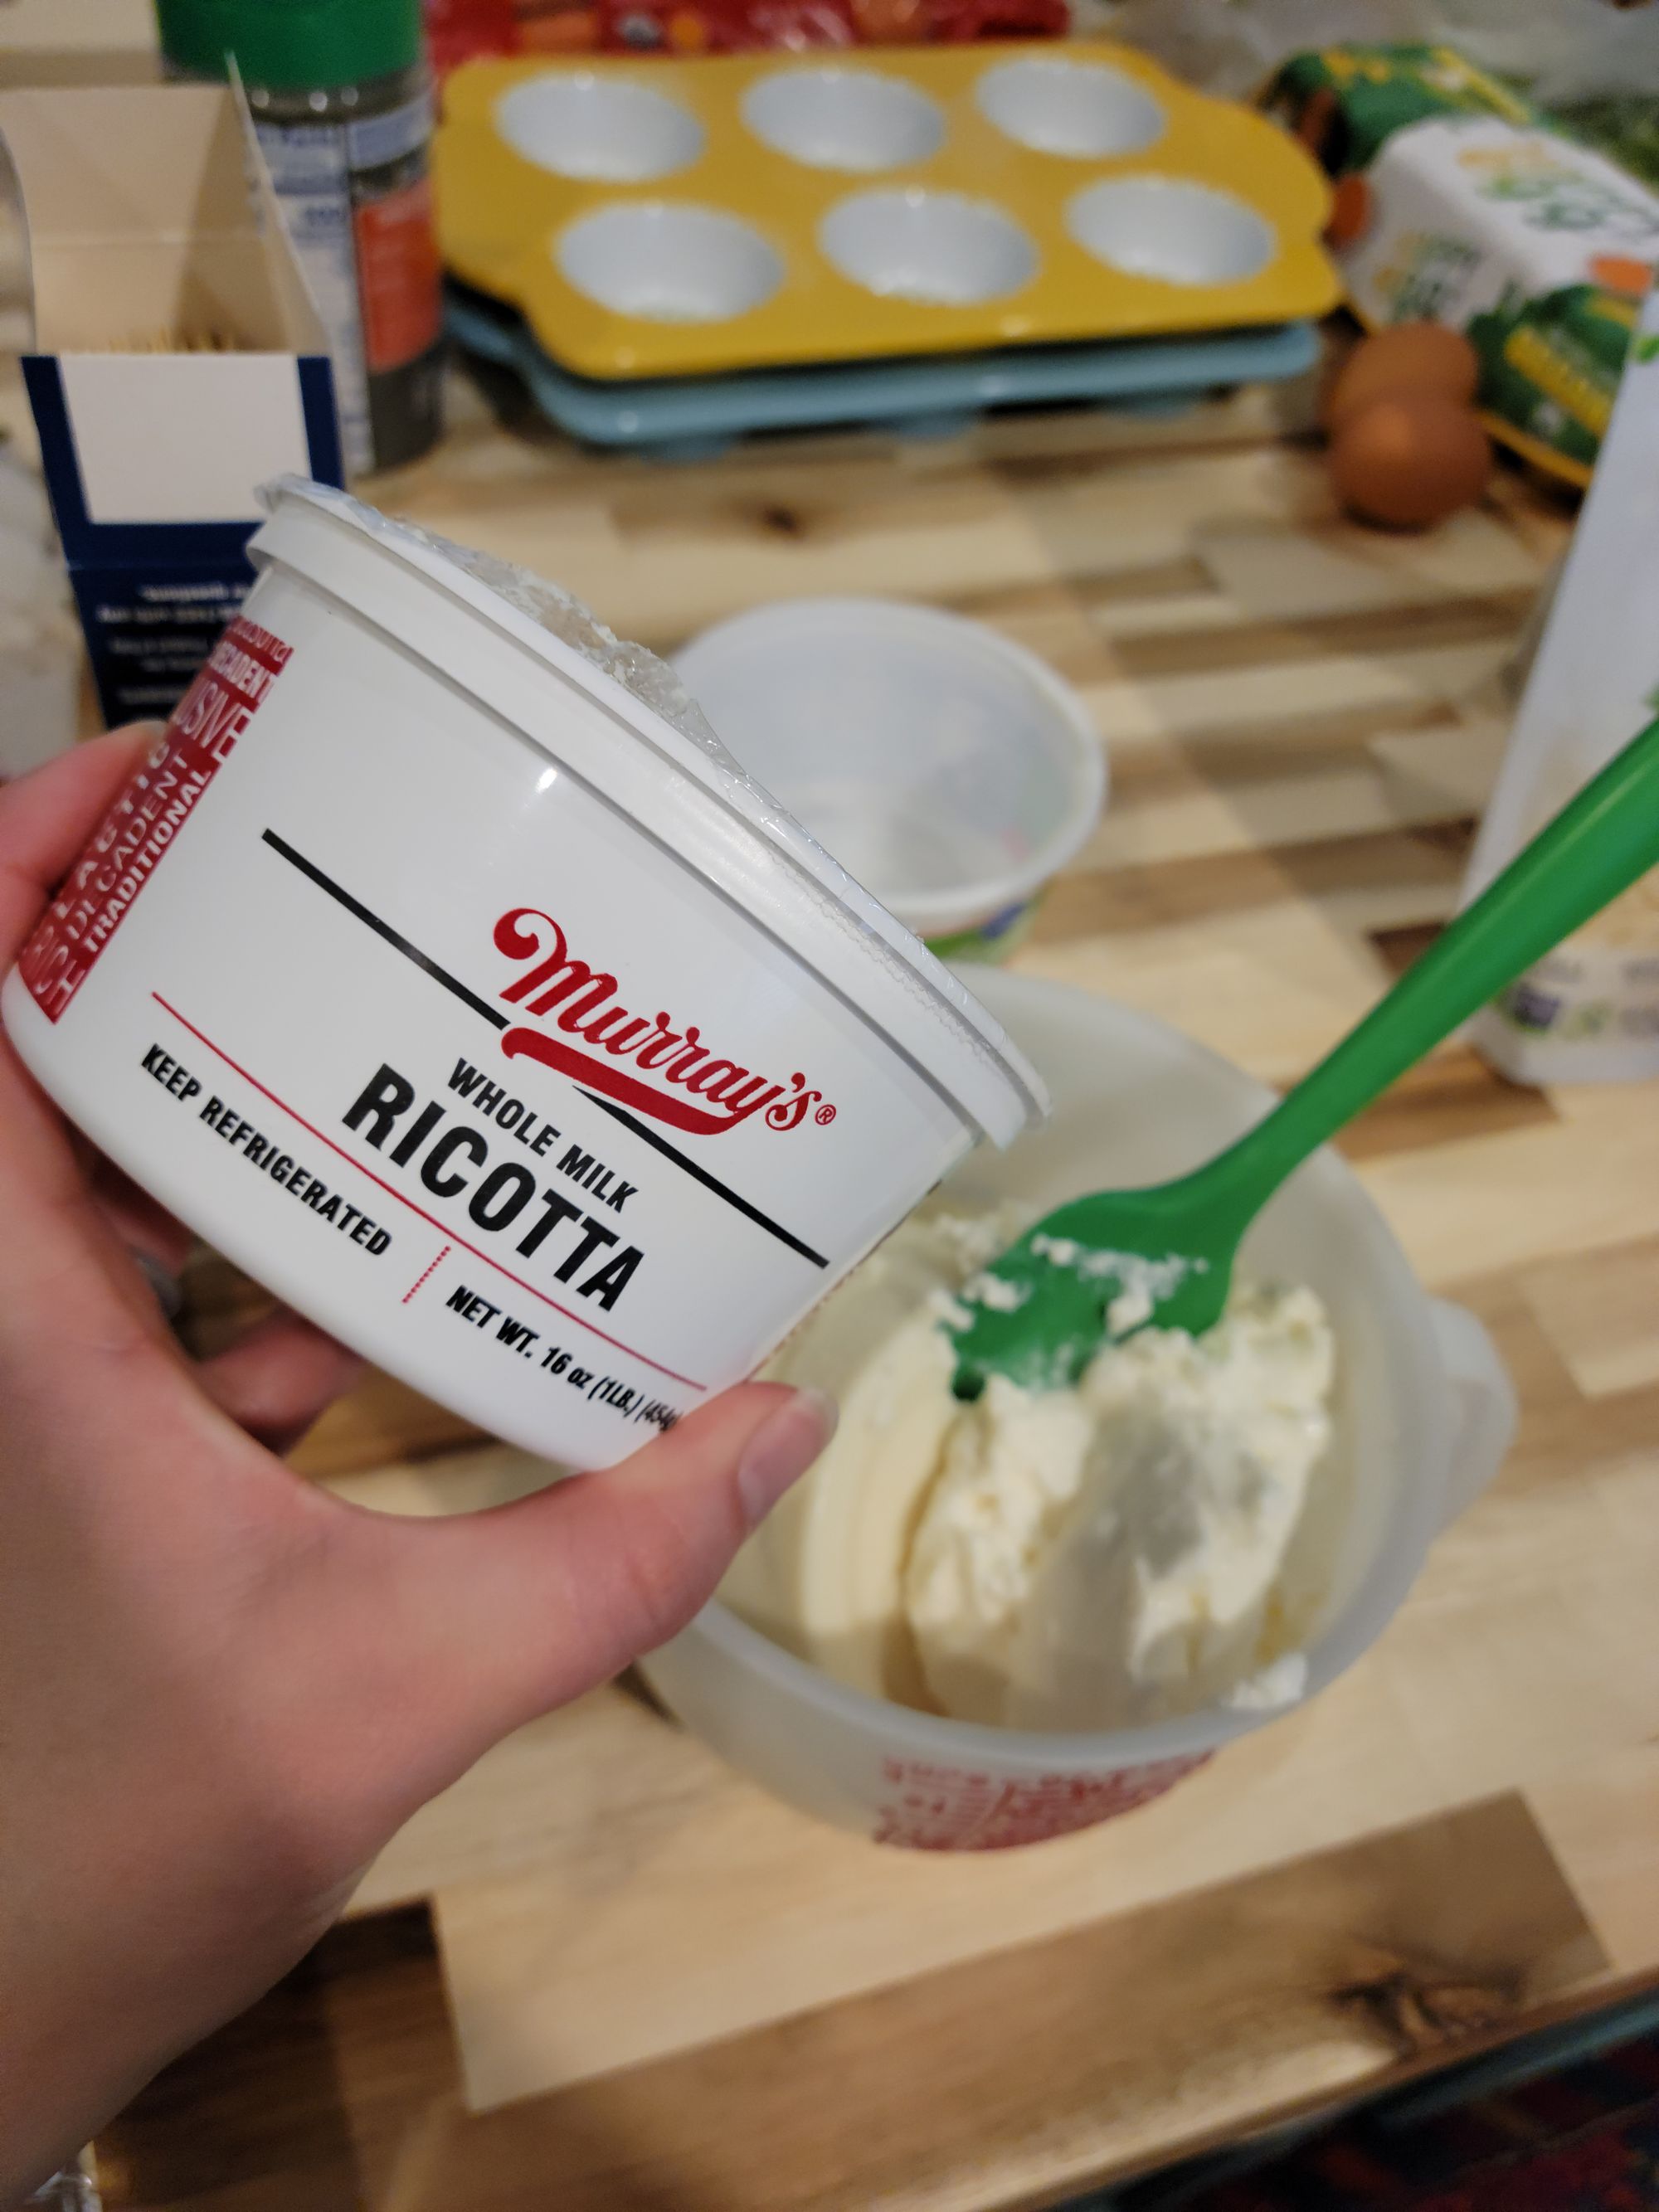
While you get the meat browned and pasta sauce stirred in and simmering down, mix together the ricotta (or cottage) cheese with mozzarella and/or parmesan cheese along with egg(s), parsley, oregano, and black pepper.
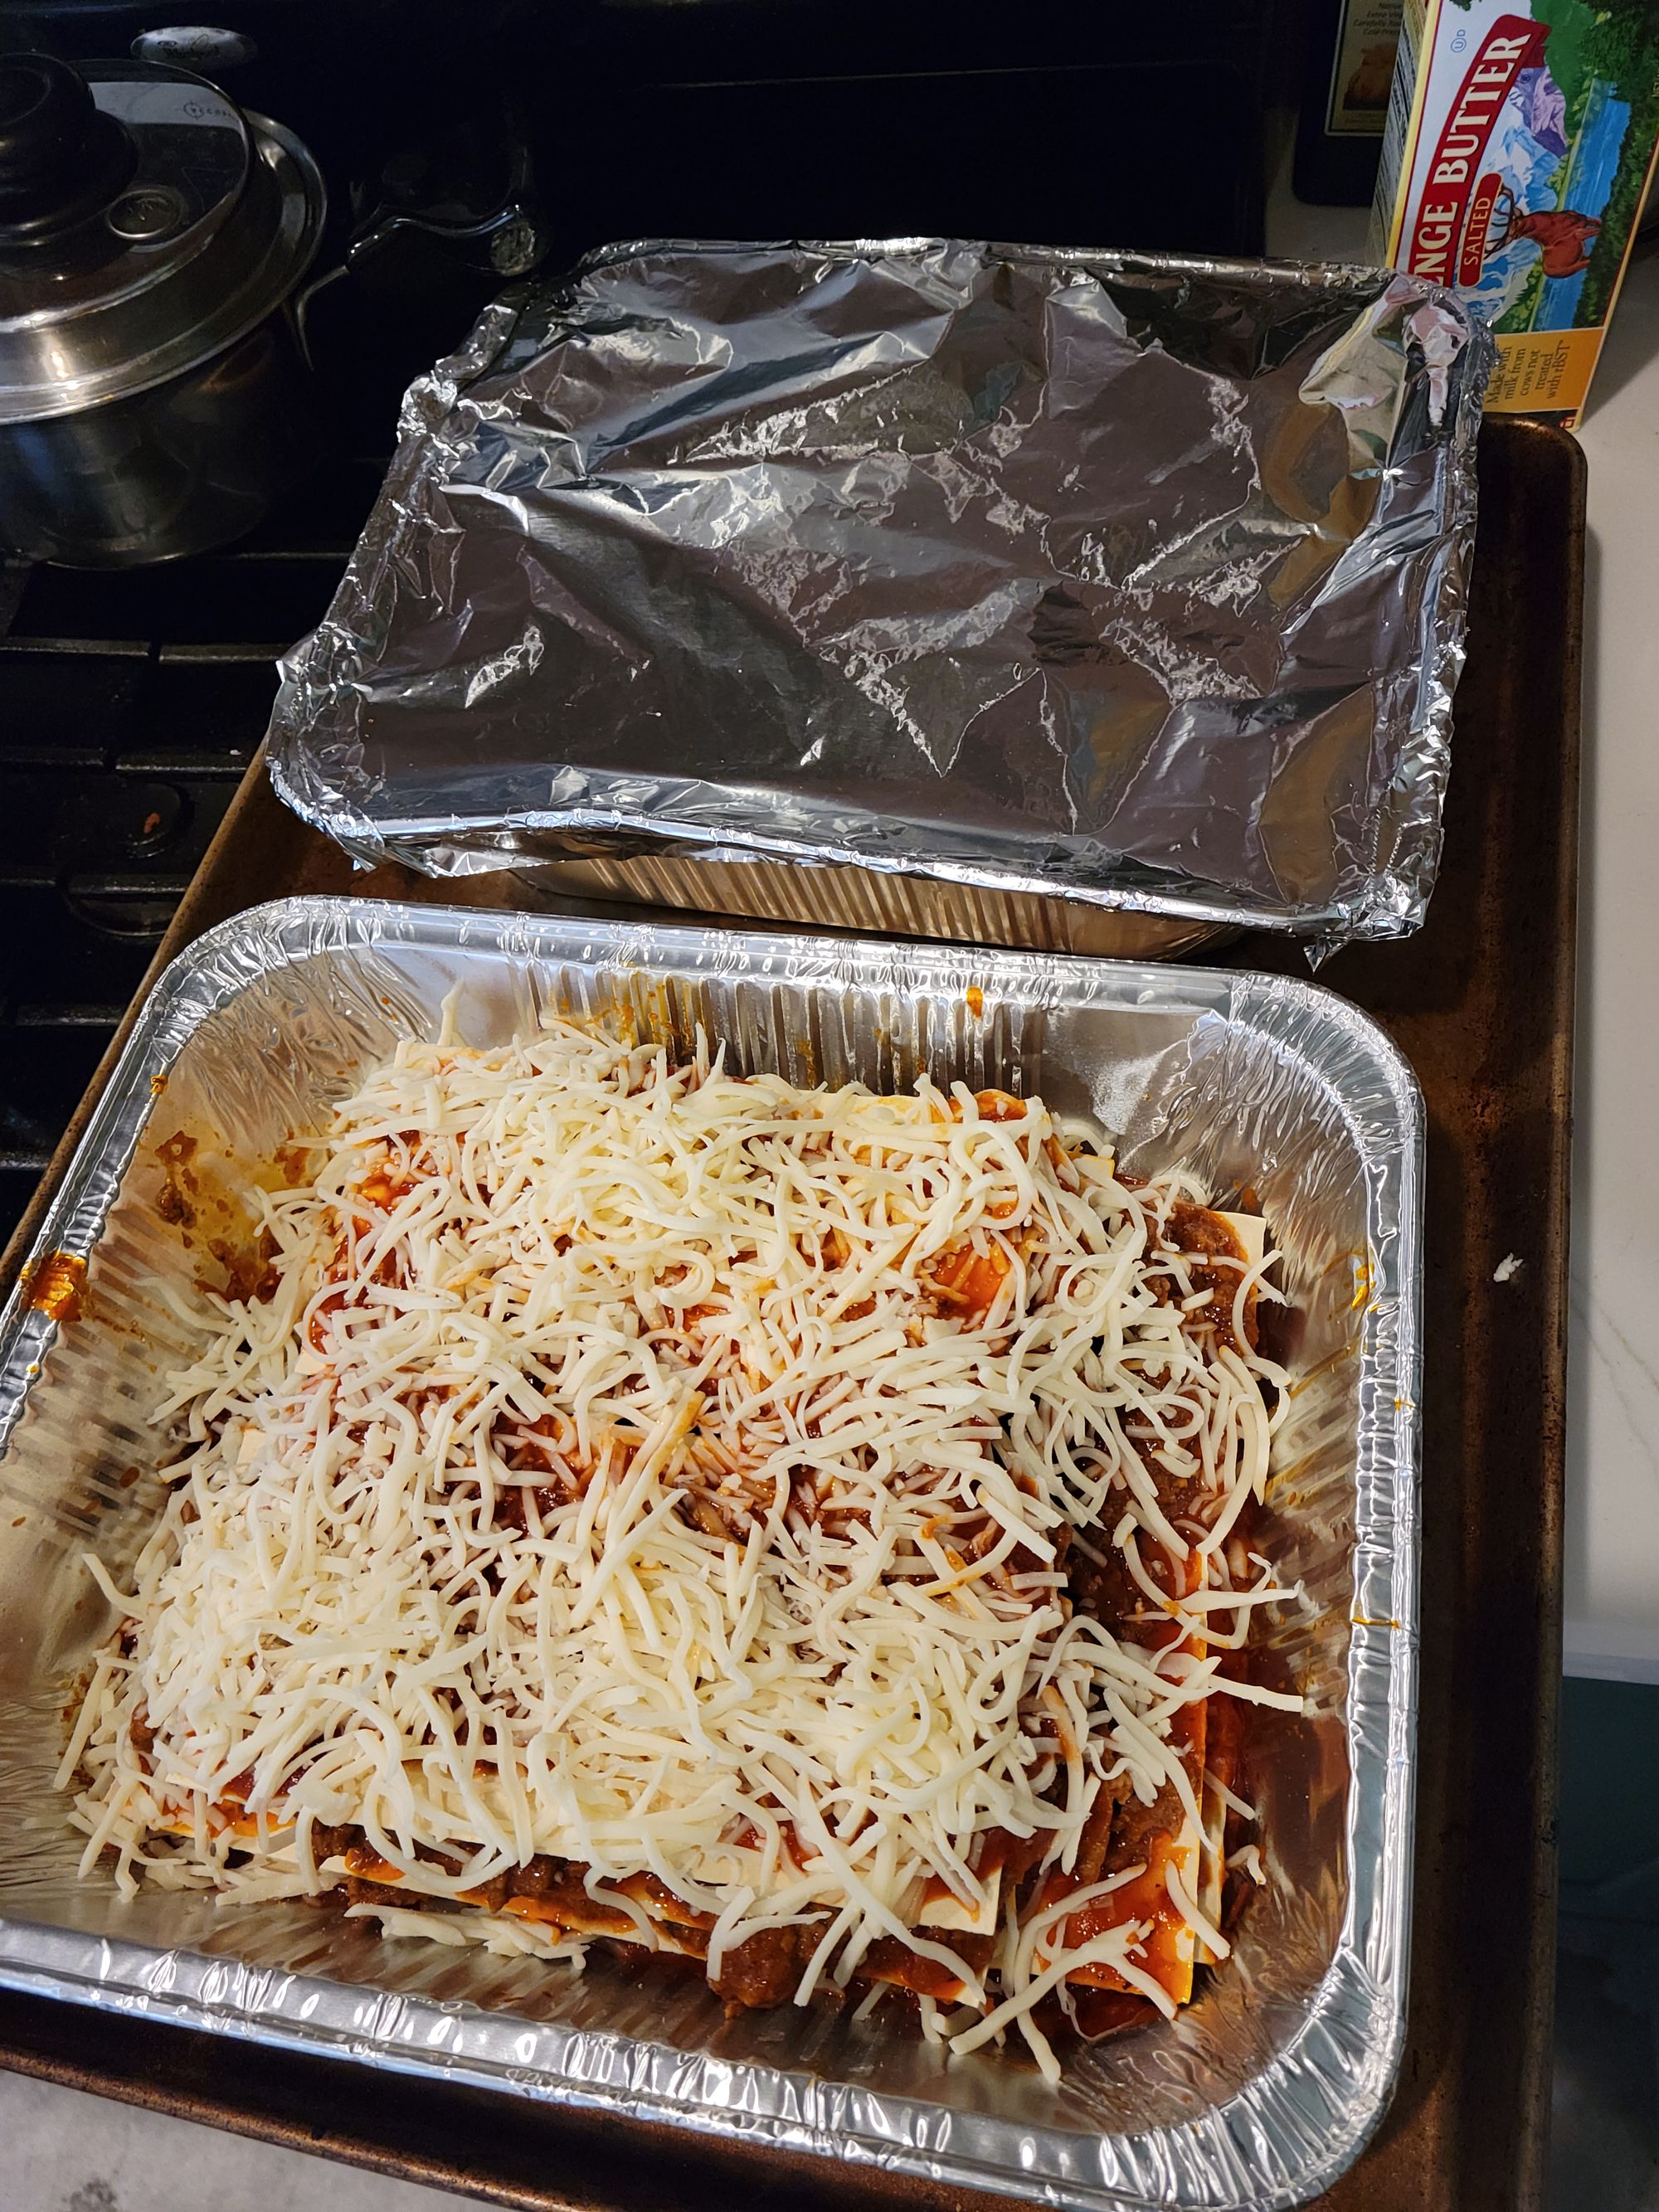
Make sure your meat sauce mixture is cooled off. Then, splatter some into the bottom of the casserole pan before layering noodle sheets, meat sauce, and cheese blend.
Leave a little room at the top for the lid or saran wrap to fit. If you do not have a lid for your dish, use plastic wrap first, then cover completely with aluminum foil.
With your permanent marker, write cooking instructions directly on the foil or use a label.
This should be good in the freezer for up to 6 months, if sealed adequately.
Mexican Lasagna (Gluten and Dairy Free Option)
1. 12 soft tortillas (for gluten free, regular corn works, but if you prefer low sugar/carb, Mission has these cauliflower tortillas, or you can snag these Siete almond flour tortillas at Costco)
2. Four 16 oz. cans refried beans (or make your own)
3. 2 lbs. ground beef
4. ½ cup chopped sweet onion
5. 1 cup chopped bell peppers (I used green and red)
6. 1 cup diced tomatoes
7. 1 can sliced black olives (optional)
8. Taco seasoning
9. 5 cups shredded cheese (for dairy free, So Delicious or Daiya are decent)
10. Large can green enchilada sauce
Directions:
Note: the original recipe didn’t call for sauce or olives, but with the dairy free cheese it seemed it would be a bit dry without it.
Brown the beef and onion in a skillet. Remove from heat and drain the fat.
Mix together cooked beef, refried beans, and taco seasoning in a large bowl.
Spritz cooking spray in your disposable casserole pans. There should be enough contents for two.
Layer Mexican casserole in this order: tortillas, beef and bean mixture, cheese, then olives and peppers. Repeat about 4 layers. Top the final layer with tomatoes, green onions, and more cheese.
Wrap bans with plastic to prevent freezer burn, then cover with aluminum foil.
Write the meal and cooking instructions directly on the top with permanent marker.
If thawed – remove saran wrap and cook covered with aluminum for 45 minutes at 375 degrees. If frozen – double cooking time.
This should be good in the freezer for up to 6 months, if sealed adequately.
Meal Prep Follow-Up
Of course, there are many other freezer meal prep ideas out there, some healthy and some hardly at all.
If you have more time to devote to precooking, chili is always a good idea, or a hearty pizza soup. If breakfast is where you need the most help, make a couple batches of waffles or pancakes and keep those in the freezer for days you just need something quick at the office.
Remember, however many, or few, freezer meals you get to prepare ahead of time will still be more than you already have now. Whether you only get to a couple meals or load your entire extra freezer with meals to last you into the new year, you’ll still be glad you planned ahead!
That's a high-five for us in the #adulting category, as far as I'm concerned.