How I Planned My DIY Micro Wedding
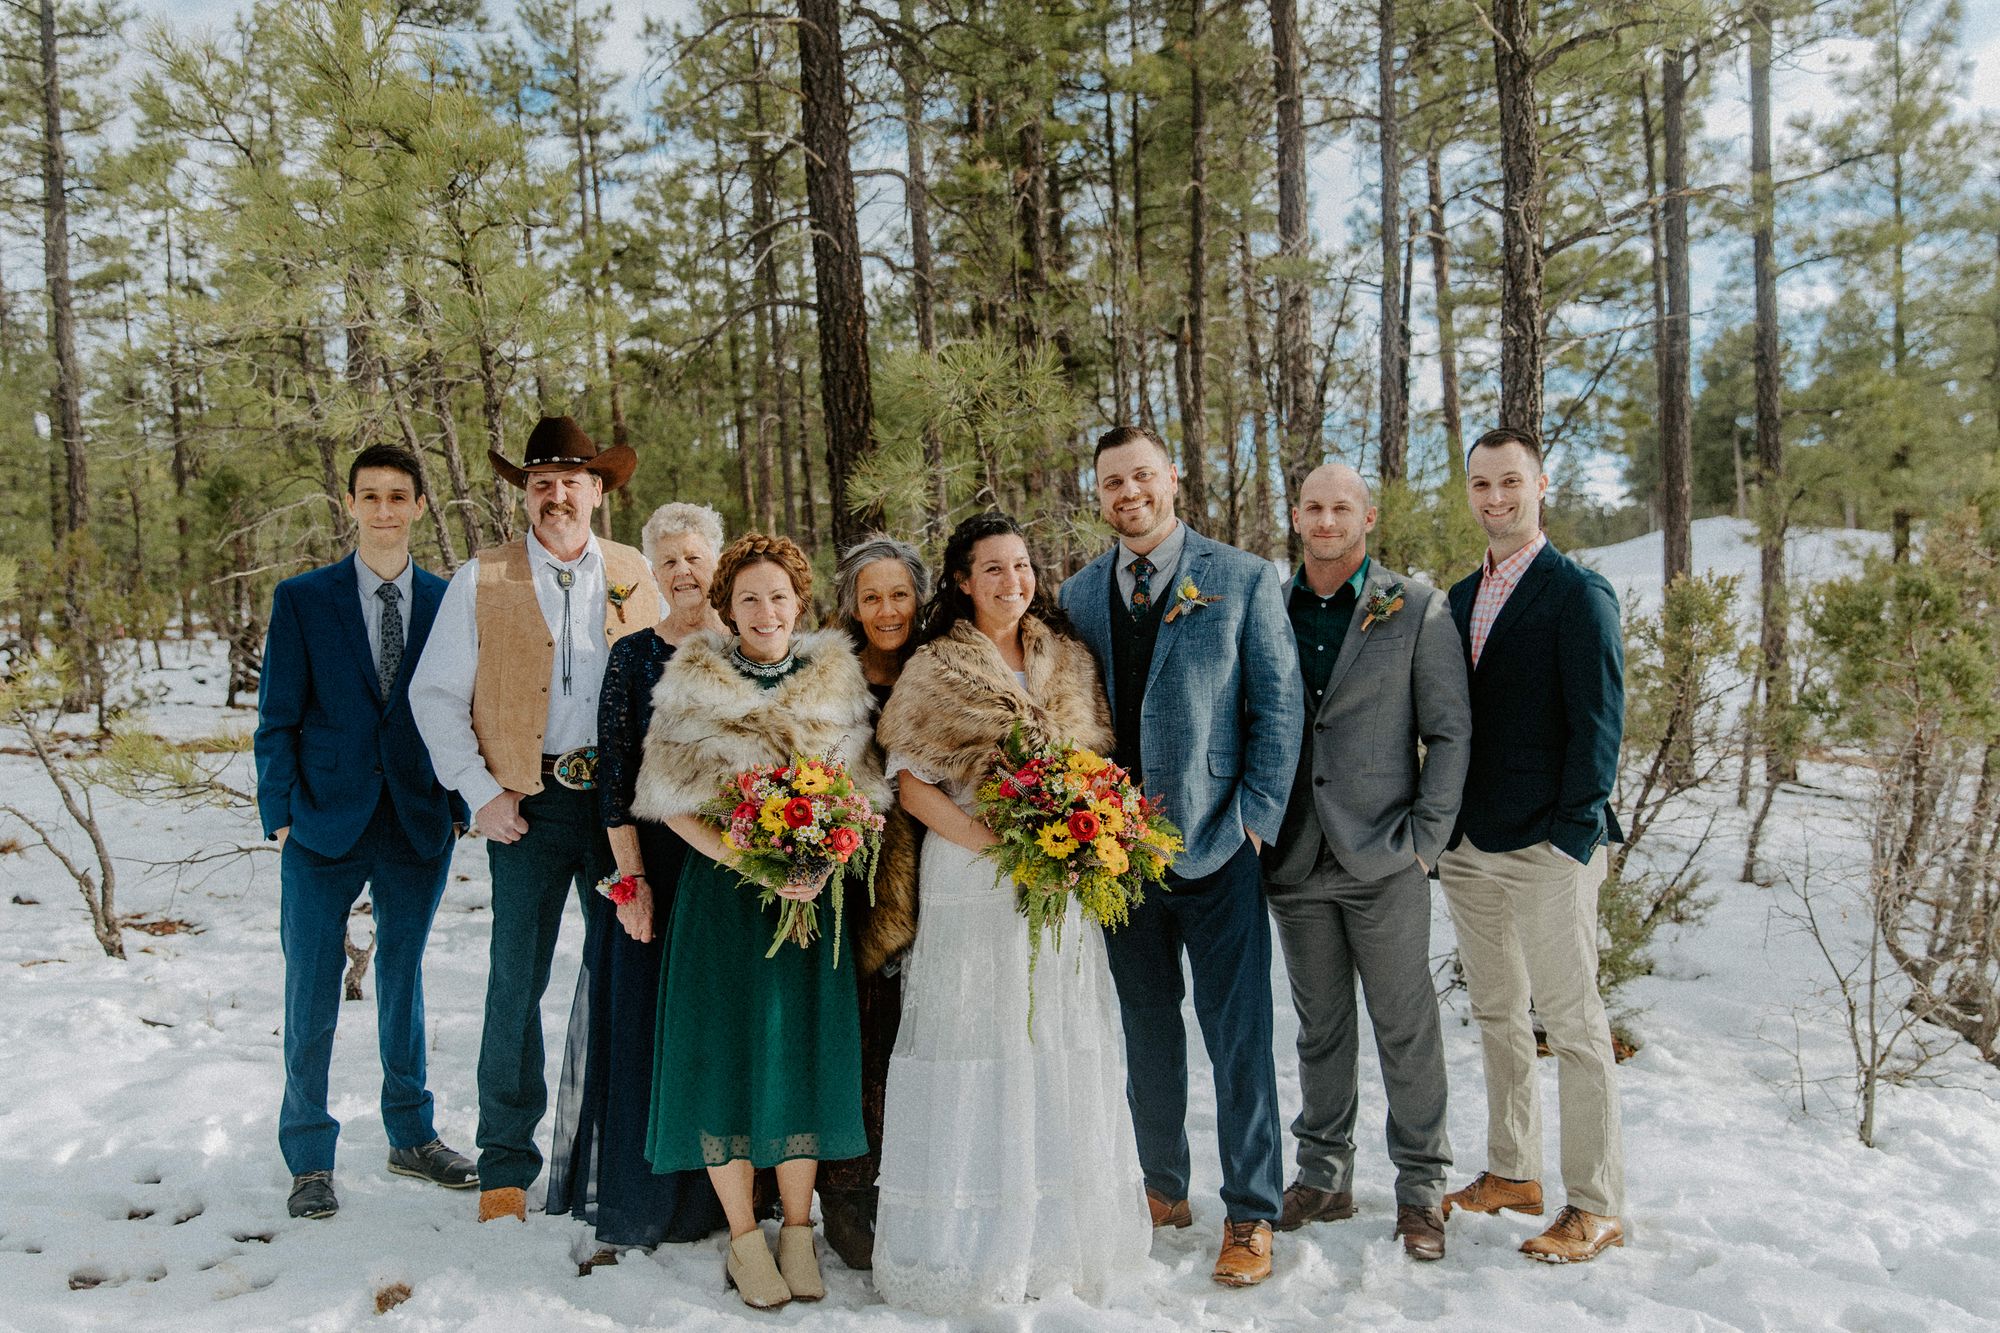
As a recent newlywed who successfully planned and survived a COVID-19 DIY micro wedding with only a 6 week engagement, I'm telling you it's absolutely possible to create your own gorgeous wedding that fits a tight budget.
This site contains affiliate links to products. We may receive a commission for purchases made through these links.
While most women fantasize about their wedding from an early age, few brides expect theirs to be a DIY micro wedding.
Thanks to the COVID-19 pandemic, however, brides worldwide (including yours truly) have had to get creative.
In 2020, micro weddings became the perfect happy medium between elopements and traditional celebrations of 50+ guests. Although there aren’t any official definitions, micro weddings usually consist of 30 or less attendees.
But there are plenty of reasons why a DIY micro wedding might not just be a pandemic trend. Micro weddings are a good option for couples who prefer intimate, quiet events, or for anyone trying to save money without sacrificing extravagance.
I never planned out a dream wedding as a little girl. But I have been a bridesmaid for a handful of weddings, assisted behind-the-scenes for others, and worked as an assistant photographer for about the amount of those combined.
Needless to say, I knew what I didn't want for my own wedding.
If, like me, you just can't fathom dropping twenty or even ten grand on a single day, you already have enough motivation to plan and host a DIY micro wedding!
But let’s get a few misconceptions about DIY out of the way first.
DIY doesn't mean you have to carry the burden alone. You definitely need people in your corner to delegate to. If you can prep enough ahead of time, you’ll enjoy your special day without barely lifting a finger the day of.
Not everything is literally made from hand for a DIY wedding, either. Instead of paying a wedding planner, for instance, you coordinate it yourself. For another example, you might decide to buy ready-made pizzas for your reception, but it counts as DIY because you’re having it picked up and displayed the way you choose.
Basically, your wedding can be as much or as little “DIY” as you wish. The overall point is to cut down expenses. In some situations, it might be worth your sanity to just throw down the funds. Not everyone is crafty or knows someone who is good with hair, or whatever – I get it!
The items below are suggestions. You decide what you want to DIY and what you’d rather fork over the cash for to save yourself the time and exhaustion.
As a recent newlywed who successfully planned and survived a COVID-19 DIY micro wedding with only a 6 week engagement, I'm telling you it's absolutely possible to create your own gorgeous micro wedding that fits a tight budget.
Location
Wedding planners agree location is the foundation when planning a wedding. Once you have your venue, everything else can be scheduled around its accommodations.
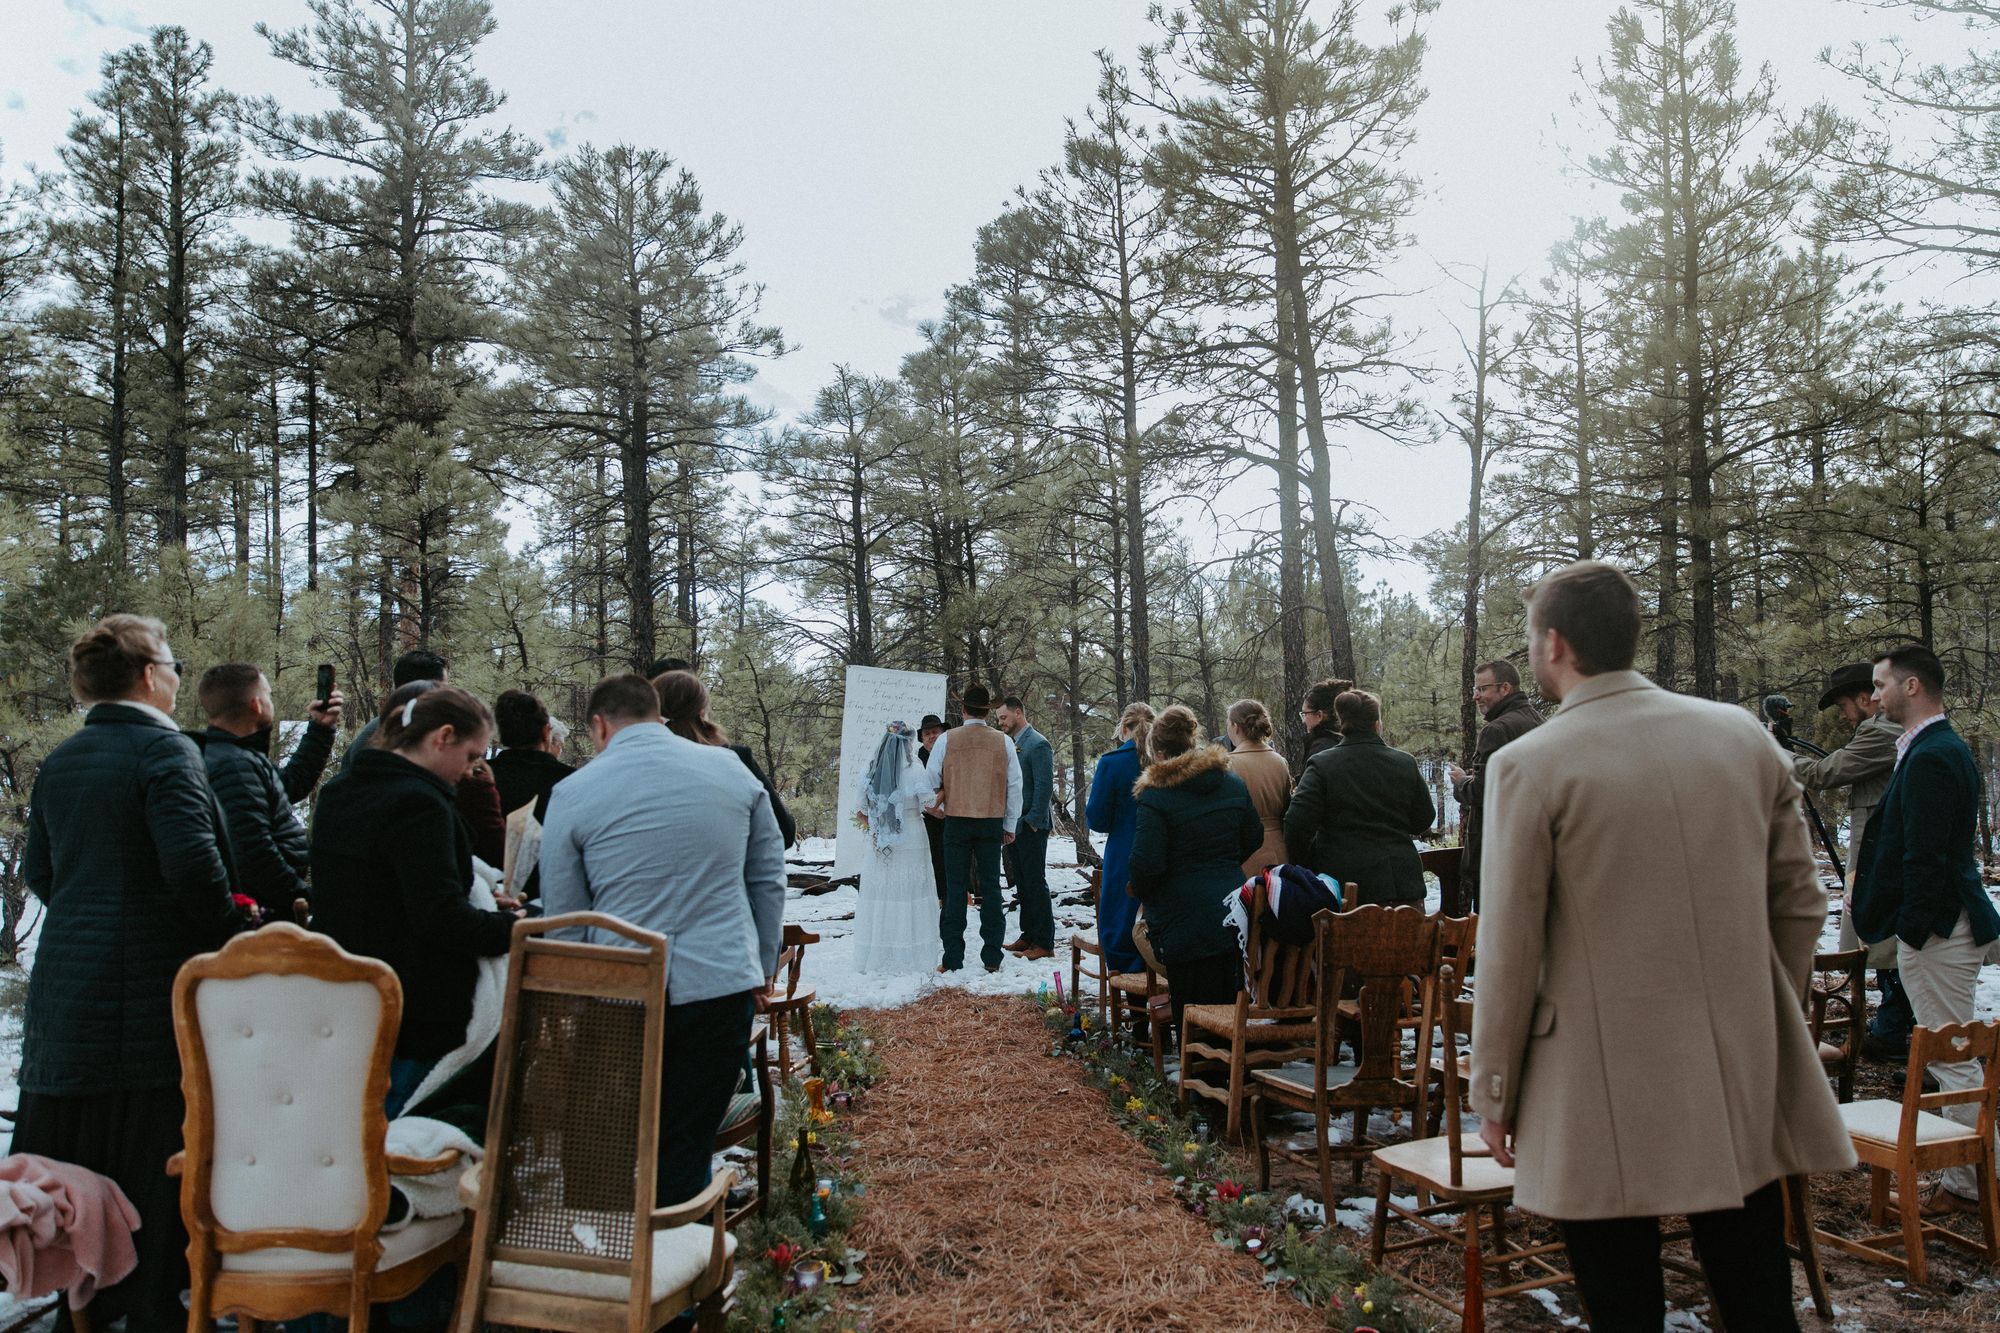
I was determined to have a ceremony in nature. The more green and trees the better! All the whimsical, fairytale vibes, please!
But then logic whispered in my ear. Where in Phoenix are you going to find lush landscape? How will guests sophistically use the bathroom in a forest? How do you expect to keep your event private? Where are we going to prep the reception dinner? What about bad weather?
Where there’s a will, there’s a way. So, I searched for cabins up in the Arizona mountains.
Unfortunately, due to some pretty bad apples ruining things for the rest of us, AirBnB has slapped down hefty rules about groups and events. After countlessly reaching out with a copy/pasted request that went something like “please, we’re desperate, we don’t party, we’ll be extra good…” and receiving nothing but apologies, I headed to other platforms.
In less than a day, I’d found a rustic, spacious cabin on VRBO that just felt right. The owner, Stacey, called me the very next day after I’d sent my spiel. I felt so at peace after our conversation – finally, someone friendly and willing to work with us! Although, she likely thought we were crazy for wanting an outdoor wedding in the middle of winter.
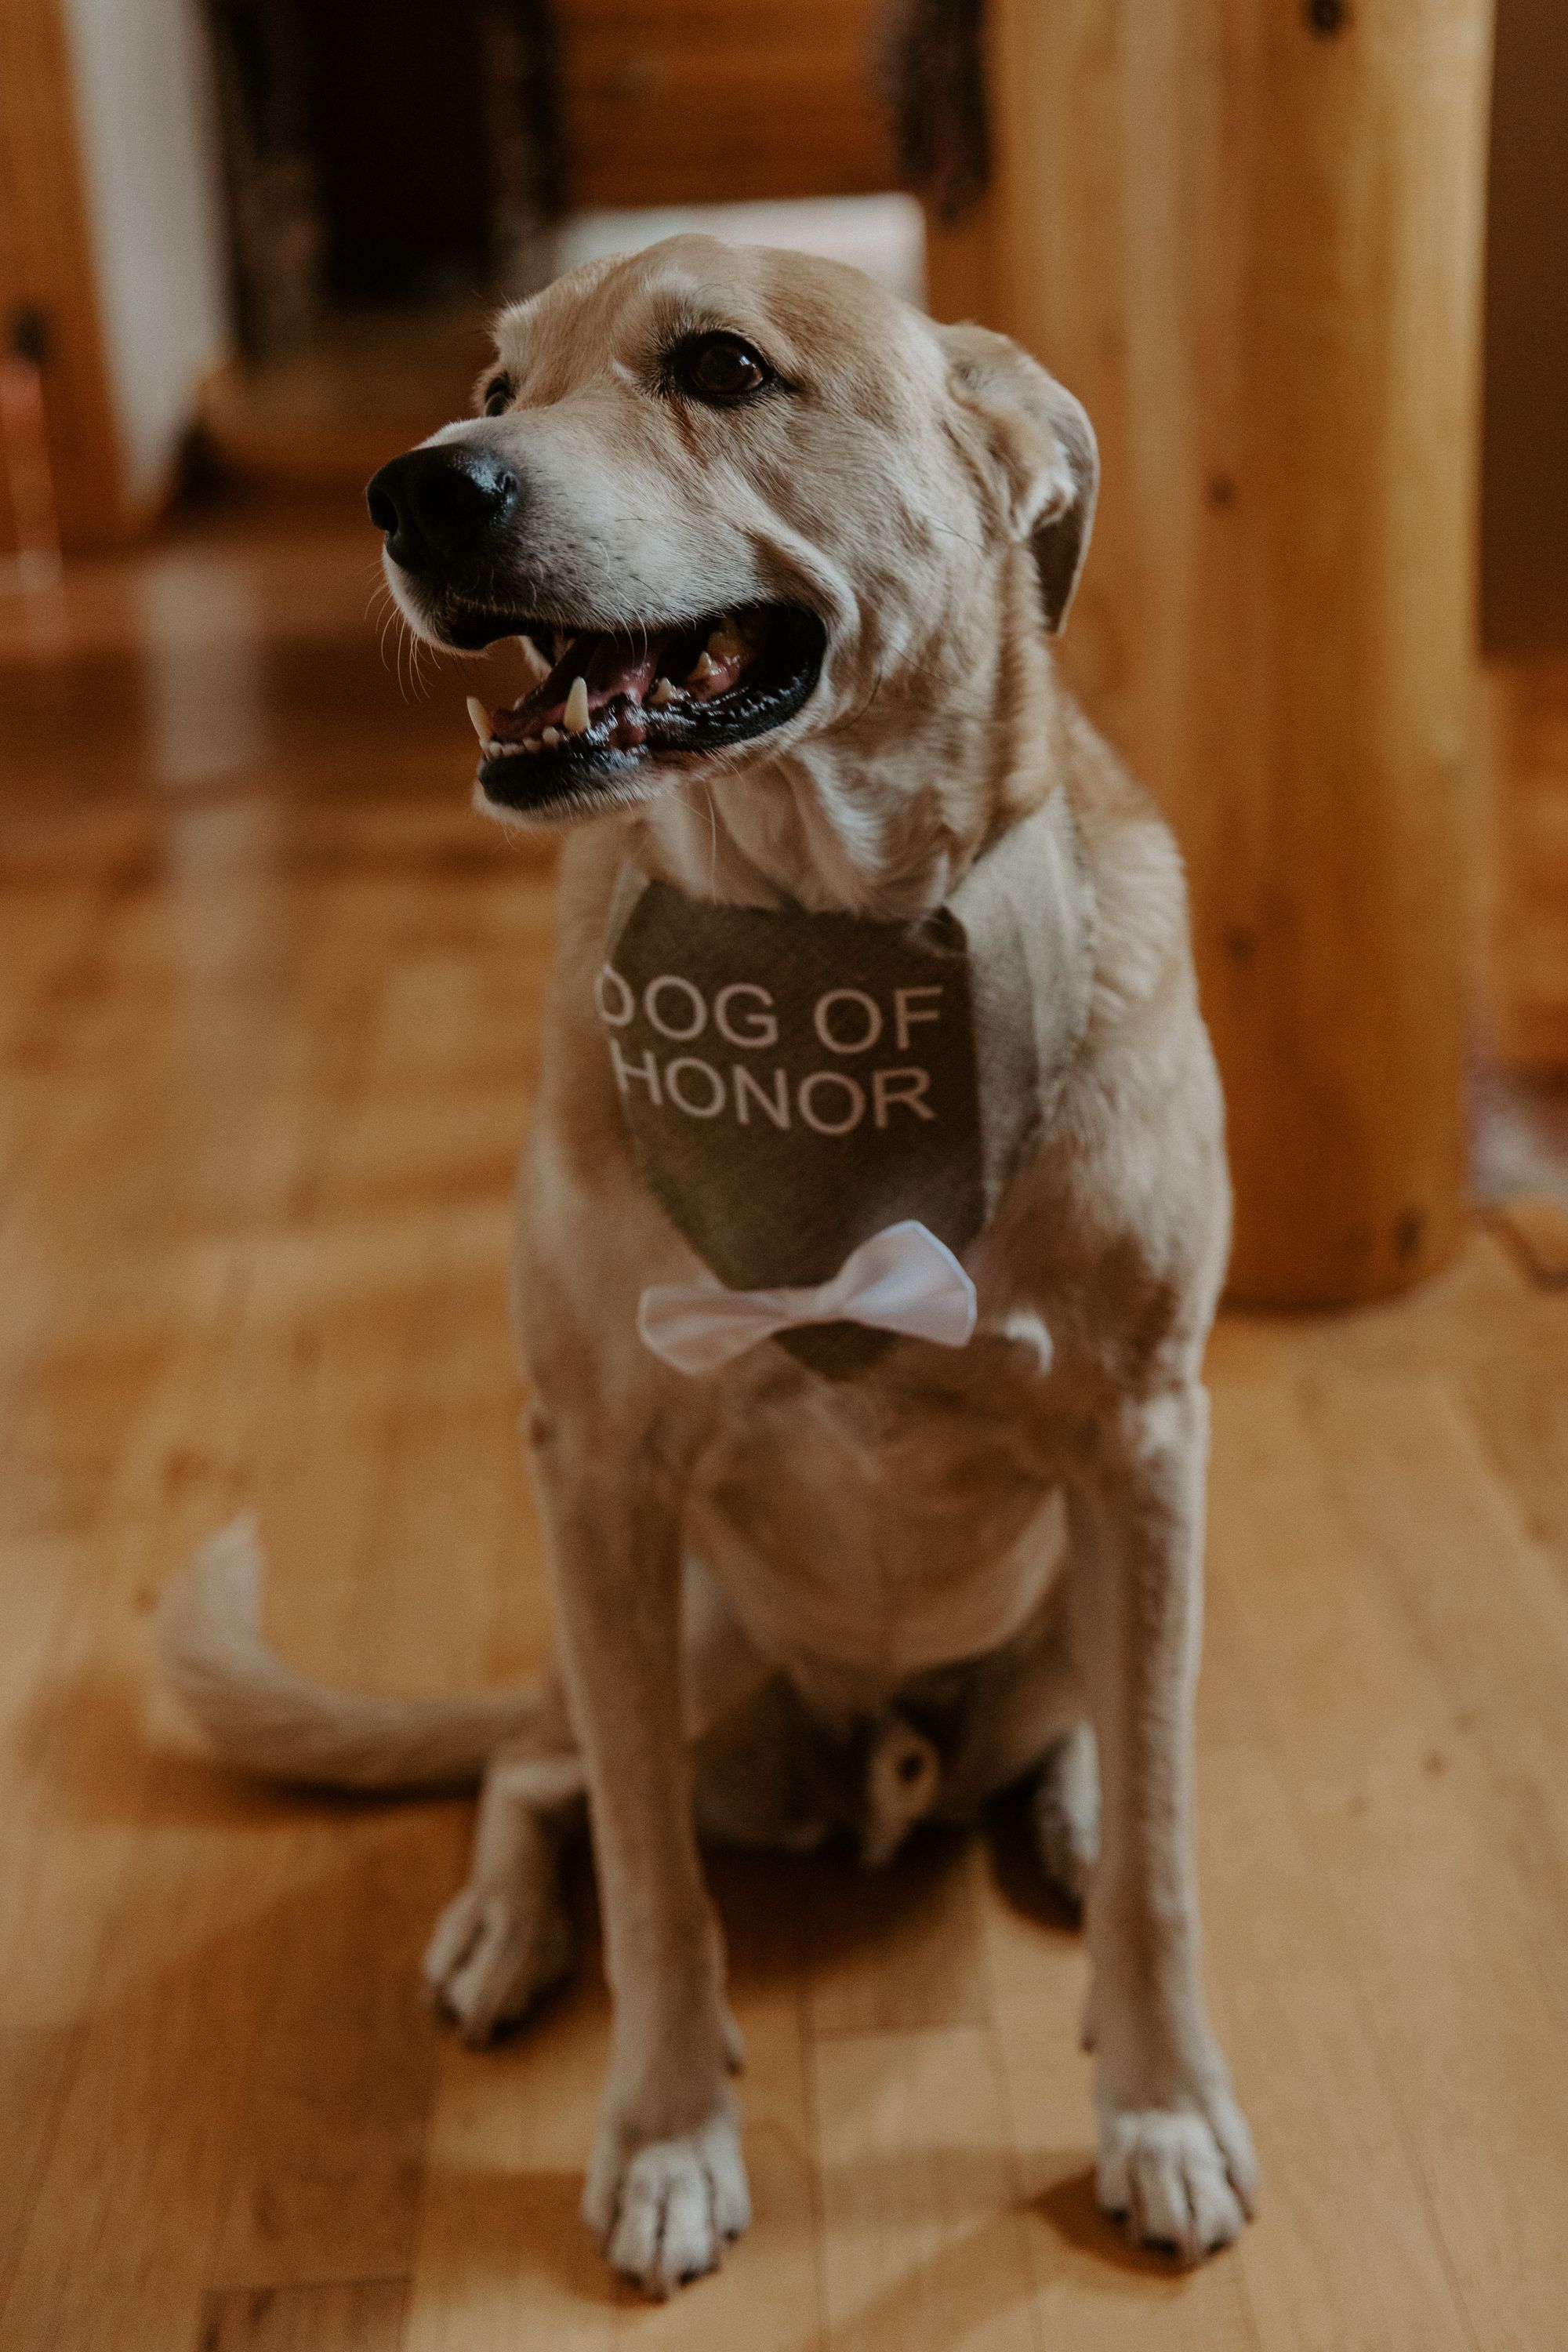
But the price, amenities, and scenery were just too perfect. We were allowed up to 30 guests, as many dogs as we could reasonably fit, and mostly free reign to decorate and utilize the property for our vision.
Unlike a lot of wedding venues, we had the place for 2 nights. This gave us plenty of time to set up, cook, actually enjoy ourselves, and then tear everything down the day after.
In total, we probably saved a minimum of $3000 going the cabin route. If you don’t believe me, just take a gander at the basic ceremony-only packages at popular wedding venues in your area.
Yep, told ya so.
If a rustic cabin isn’t accessible or quite your vibe, there are plenty of other budget-friendly options. Consider a backyard micro wedding, a ceremony in an open field, or a park setting. Permits are inexpensive and easily obtained for most state-funded parks and can usually be found on your state’s government site. For example, before we found the Show Low cabin, Andrew and I considered obtaining a permit for private access to Red Rock State Park in Sedona, then bringing in porta-potty rentals.
Remember, when your guest list is small, you don’t need a ton of space or stuff to set up!
Invitations
Is this not the 21st Century? Hands down, virtual invitations are the way to go.
I used Greenvelope to design and email our wedding invites, and manage RSVPs as well. Evite is another popular choice if you want something a more casual.
For $20 per every 20 guest emails, you get to choose from a plethora of color schemes and styles. Customizations are available for the invitation’s front and back, including text, font, and adding important details like your registry! You can even personalize the virtual envelope it is delivered in.
Greenvelope makes it easy to set the plus one function, track RSVPs, and even send out a survey to your guests.
Bottom line, there’s a lot more flexibility and reliability with virtual invitations.
Whether you’re environmentally conscientious or you’d just rather not risk a paper cut to the tongue by licking and sealing 50+ physical envelopes, virtual invites are your answer.

Wedding Photography
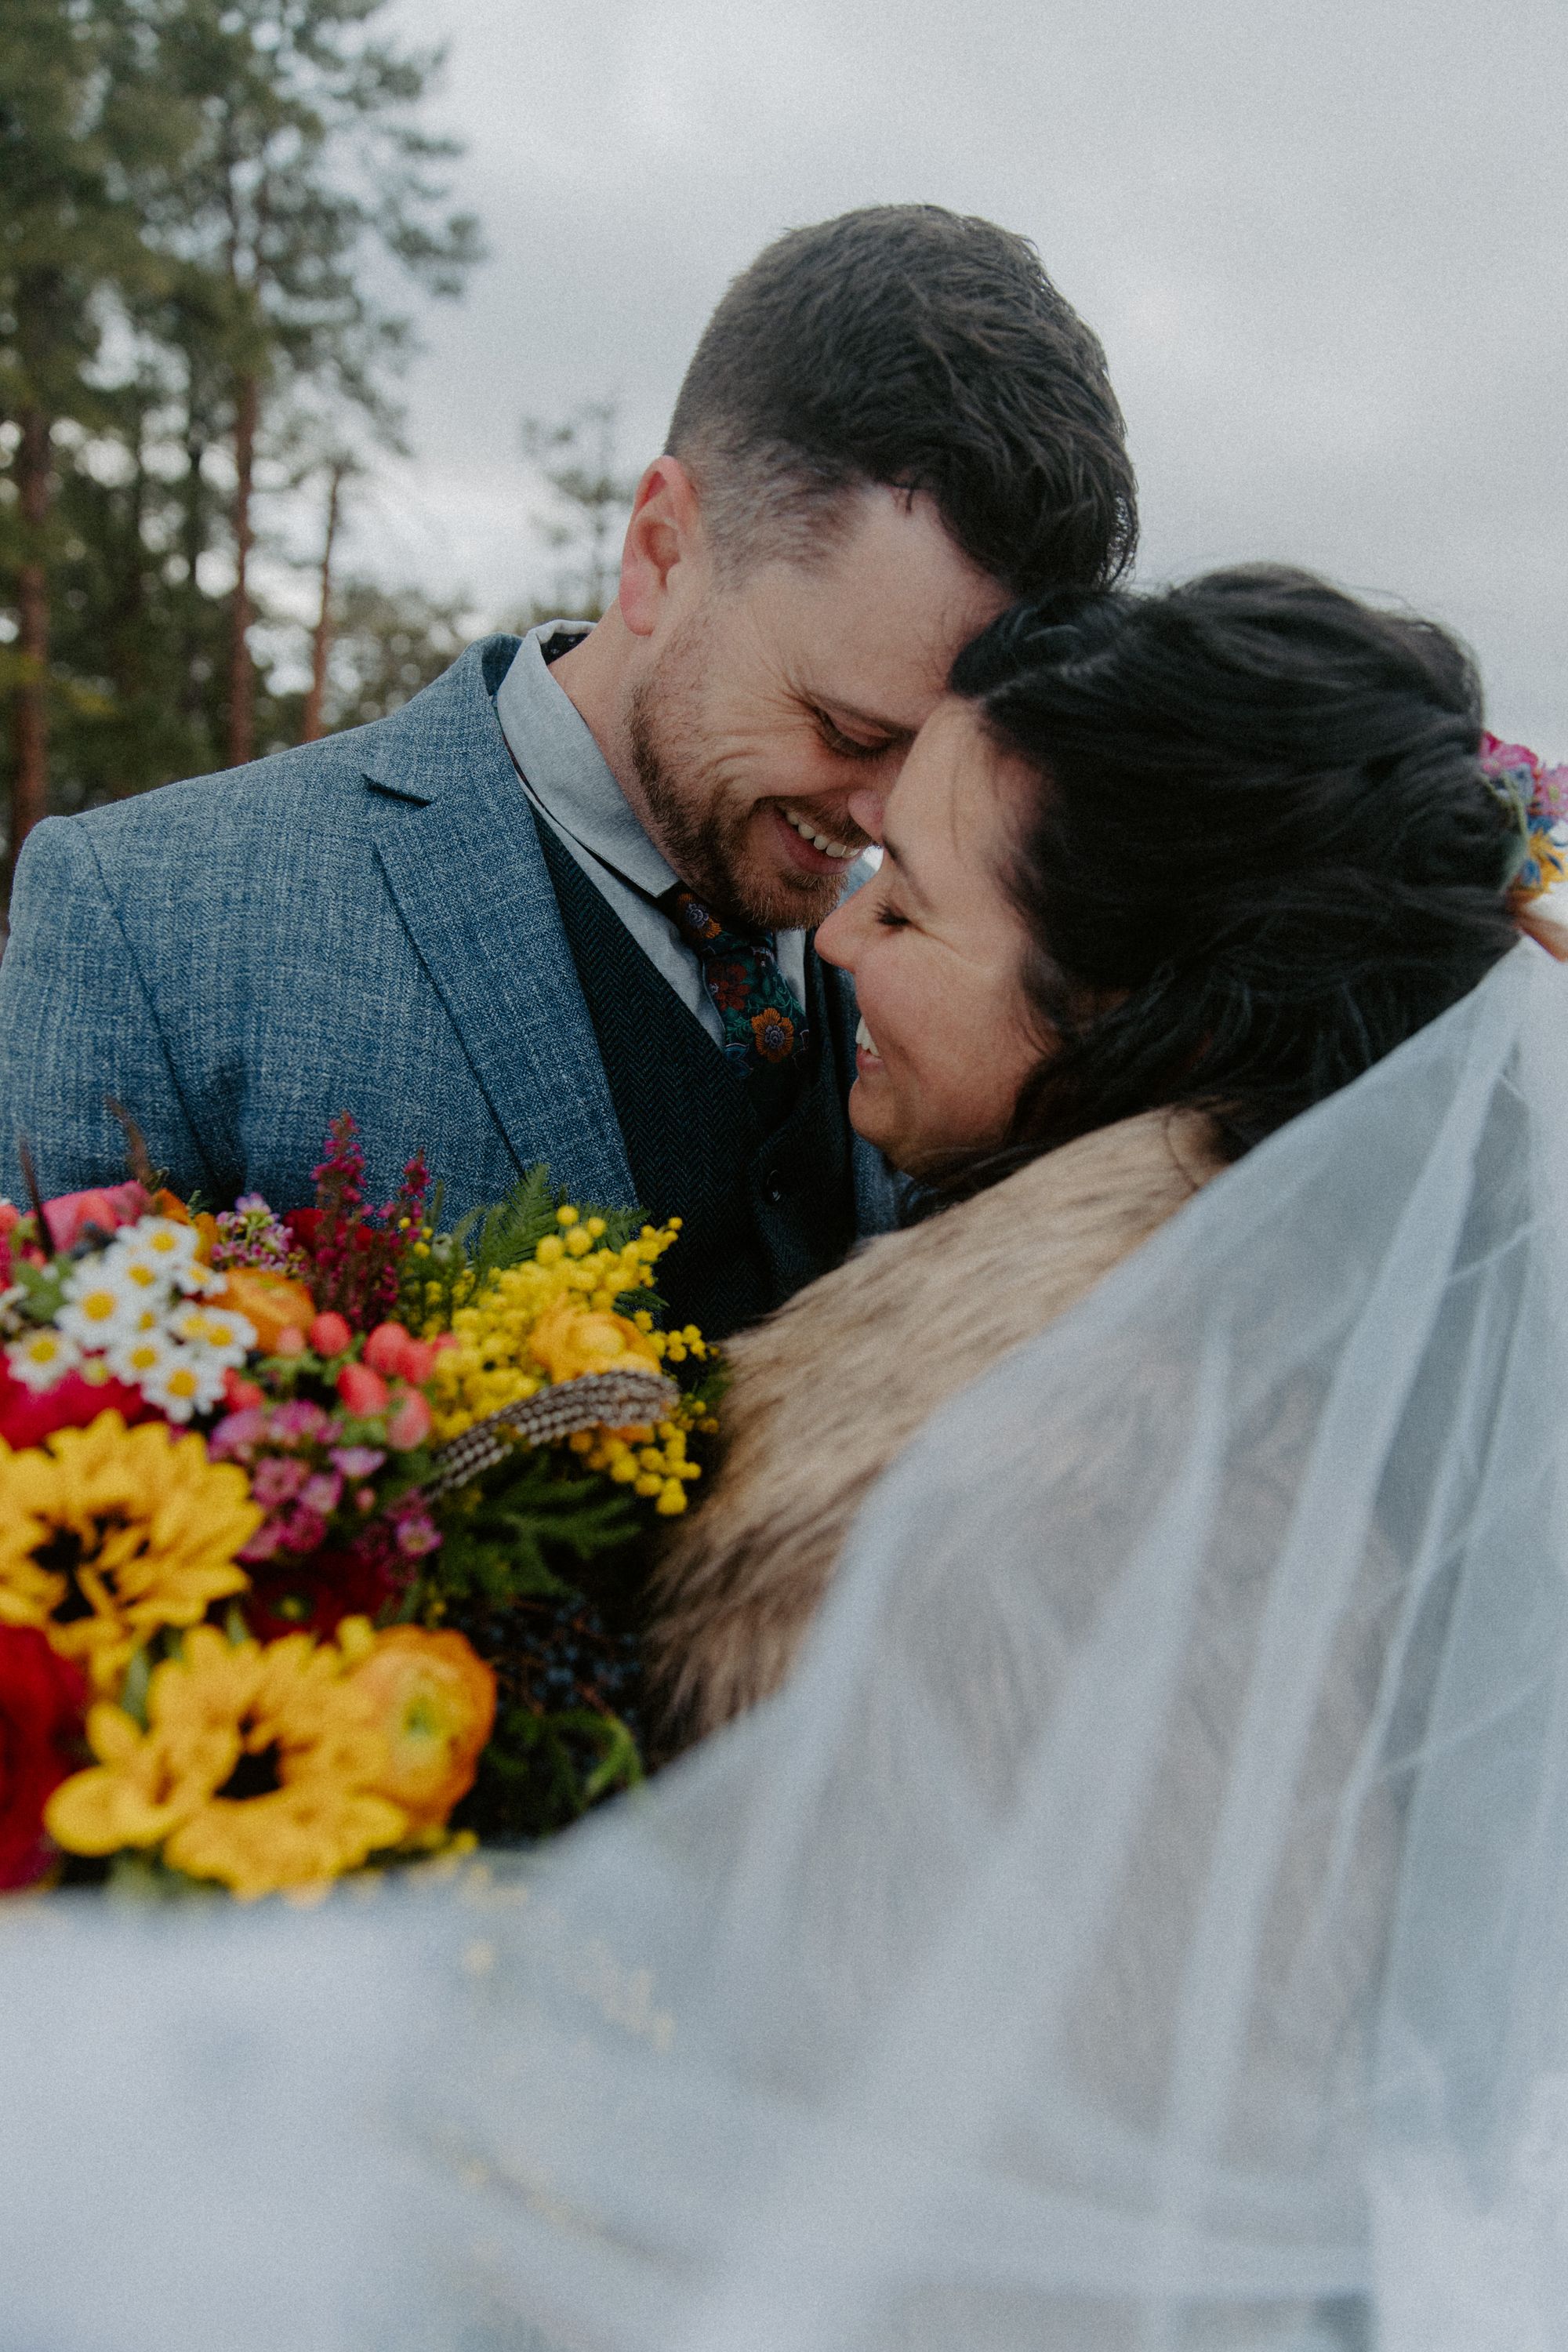
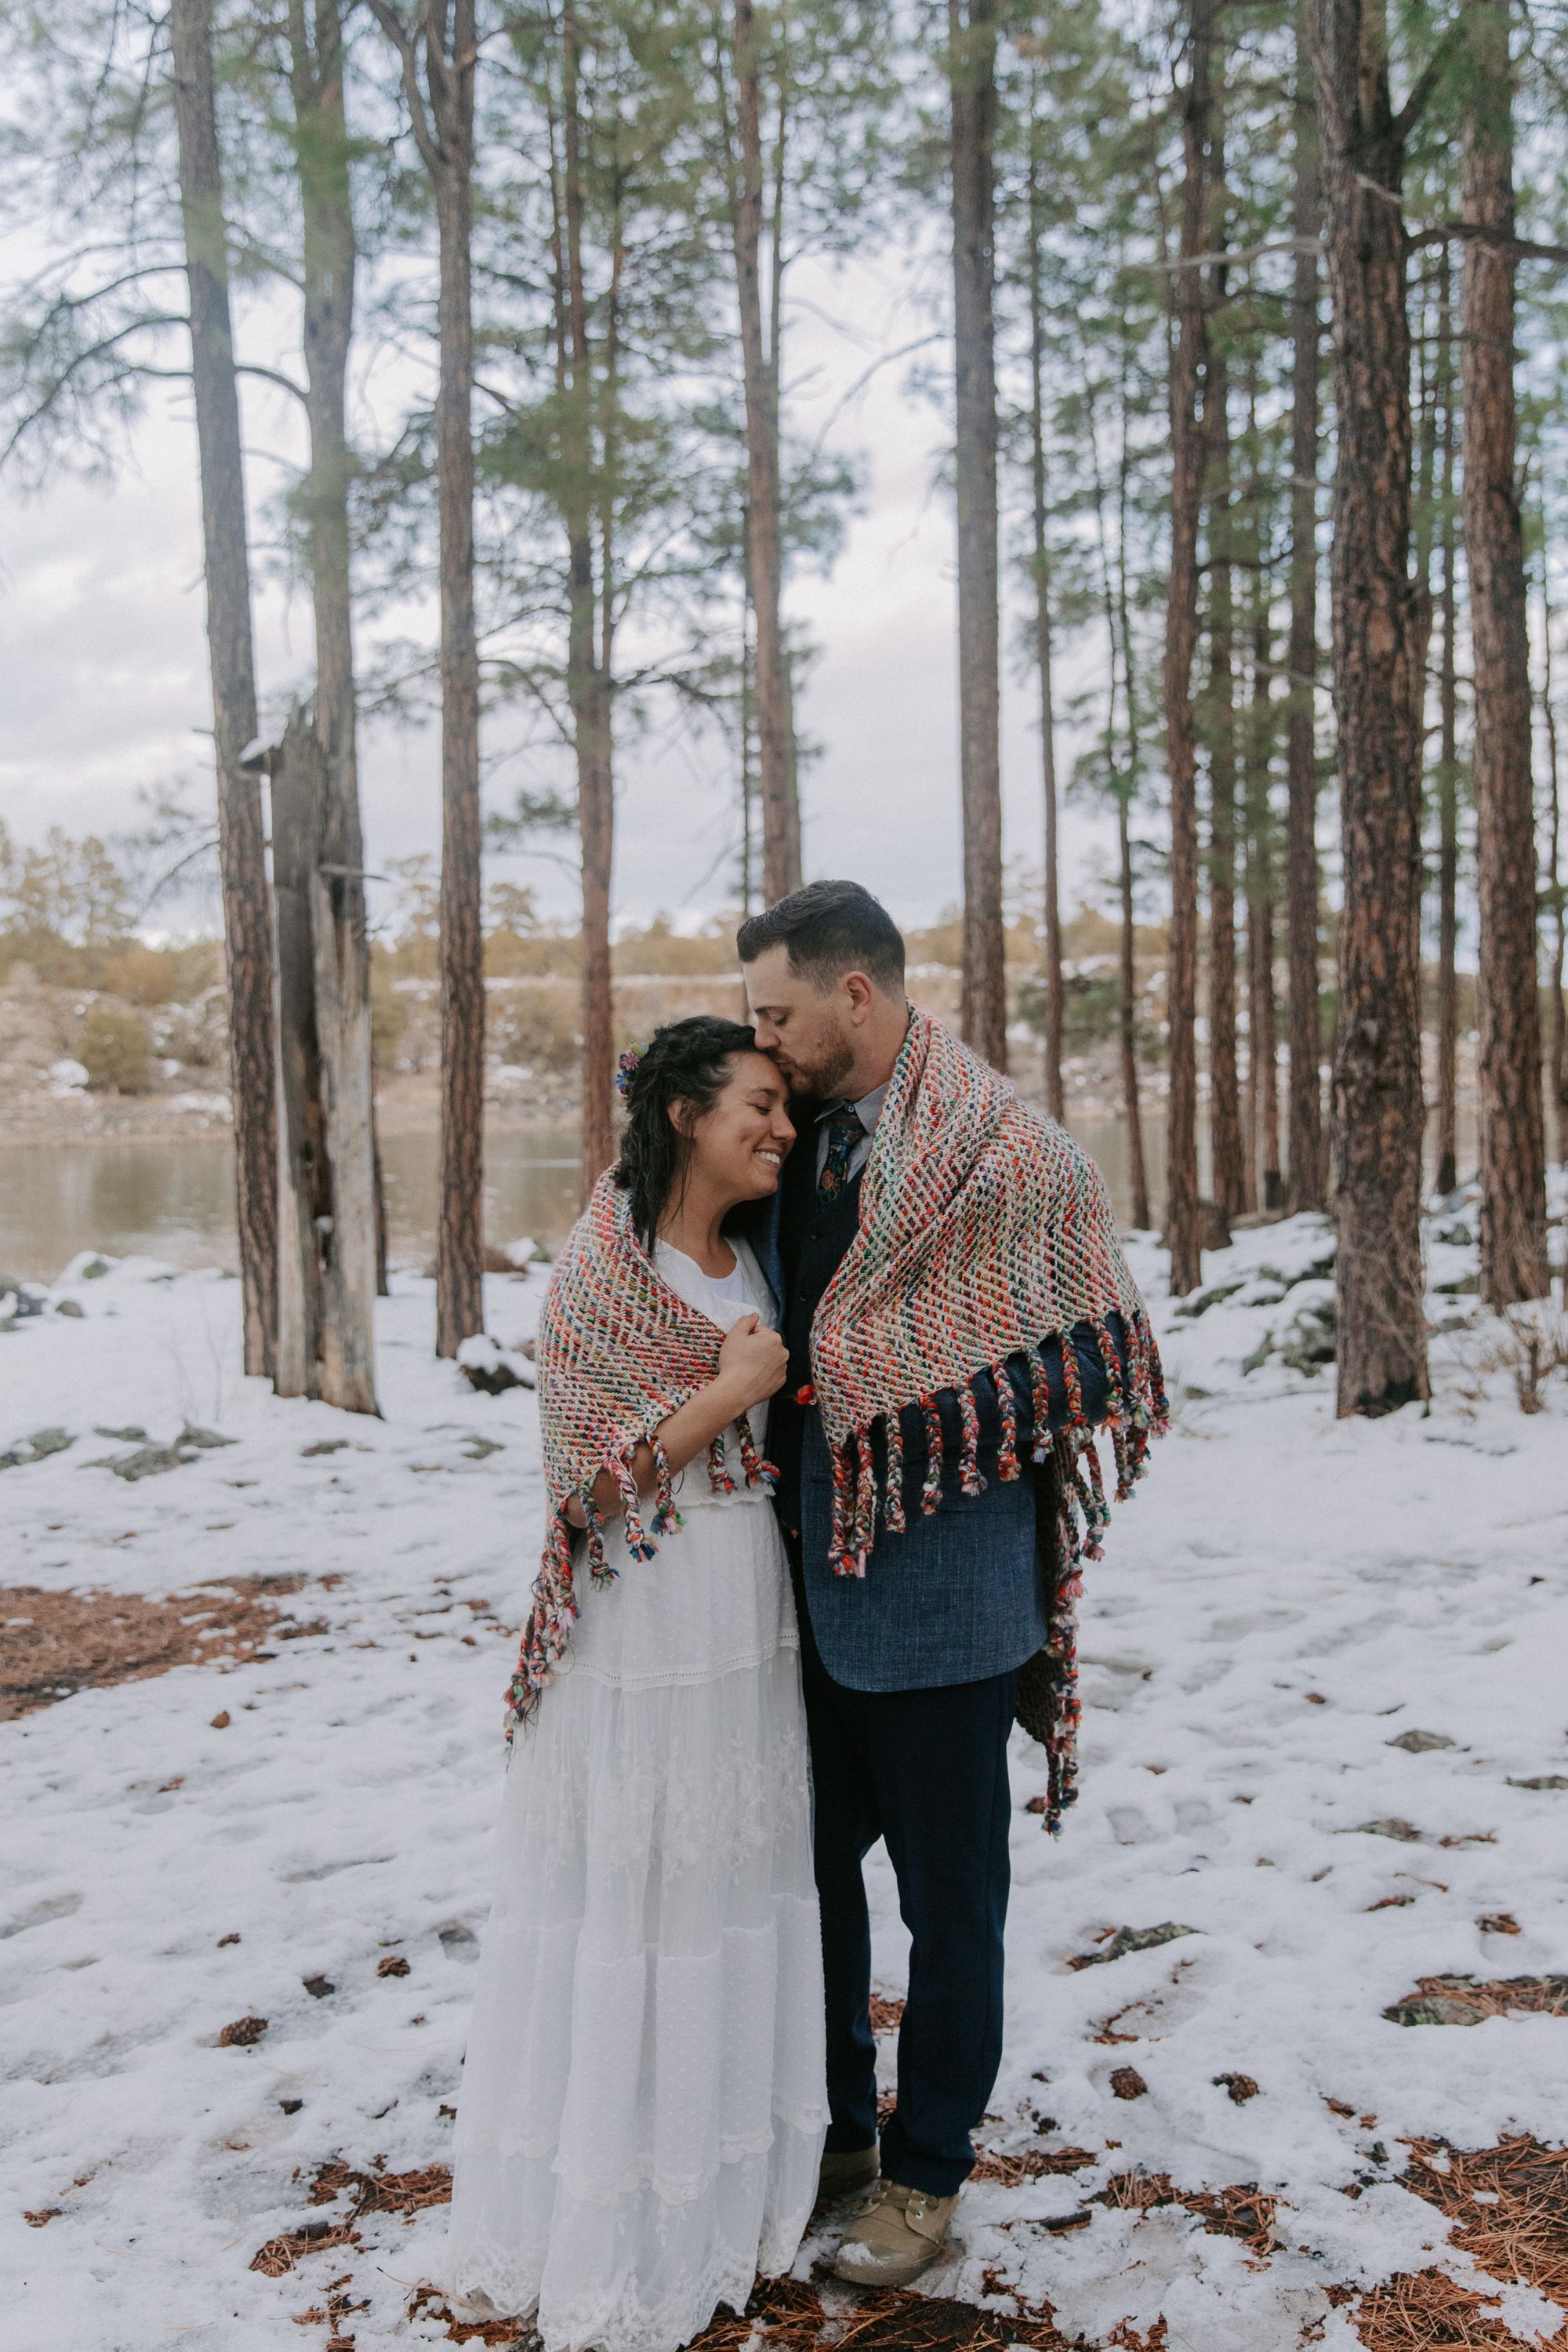
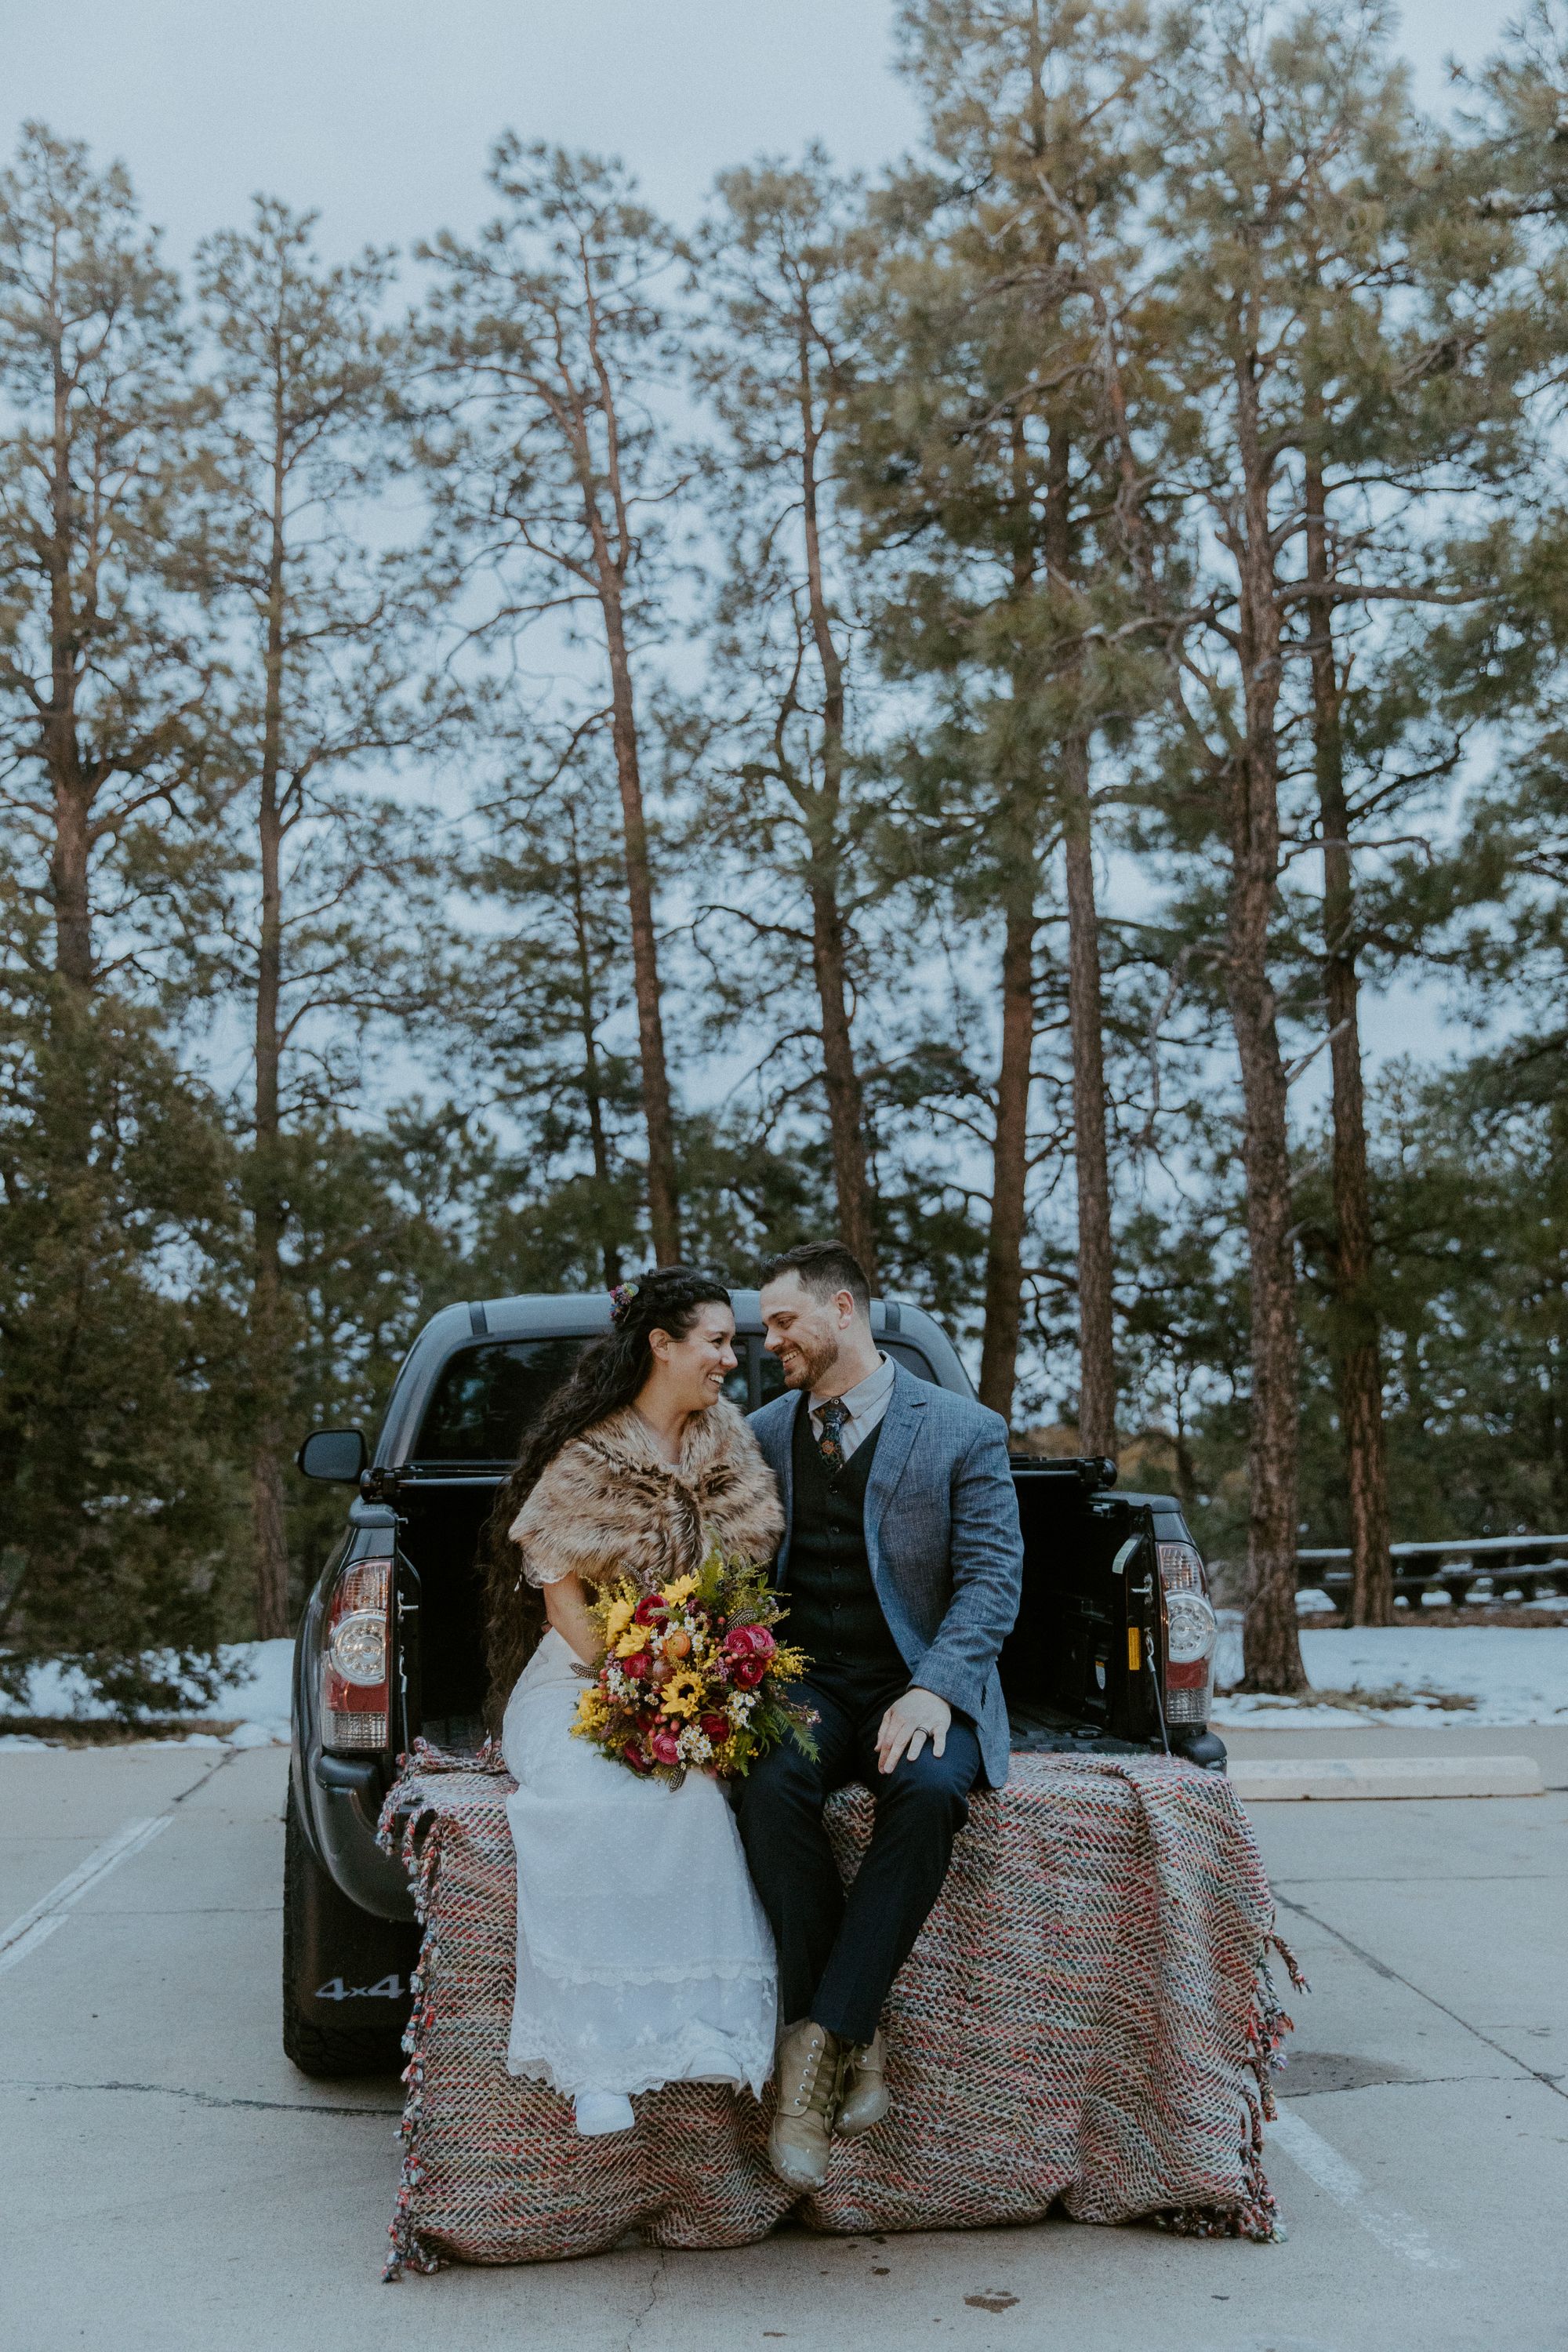
If there’s anything I advise not skimping on, it’s wedding photos. The wedding day itself goes by in a blur. Memories can fade. But pictures last a lifetime.
If you’re like me, then this will likely be the most expensive part of your wedding costs, but it's worth it.
Finding a photographer is one of the easier tasks. Most people already know a photographer from a mutual connection. If not, you can go the hashtag route, searching for photographers in your area on Instagram (i.e. #Phoenixphotographers).
While photography is never cheap, there are still ways to get the most from the expense. Look for local photographers who might still be growing their business and offer special deals or customized packages. Maybe you don’t need 8-hour coverage, a professional album, or a 2nd photographer and could cut costs by eliminating them.
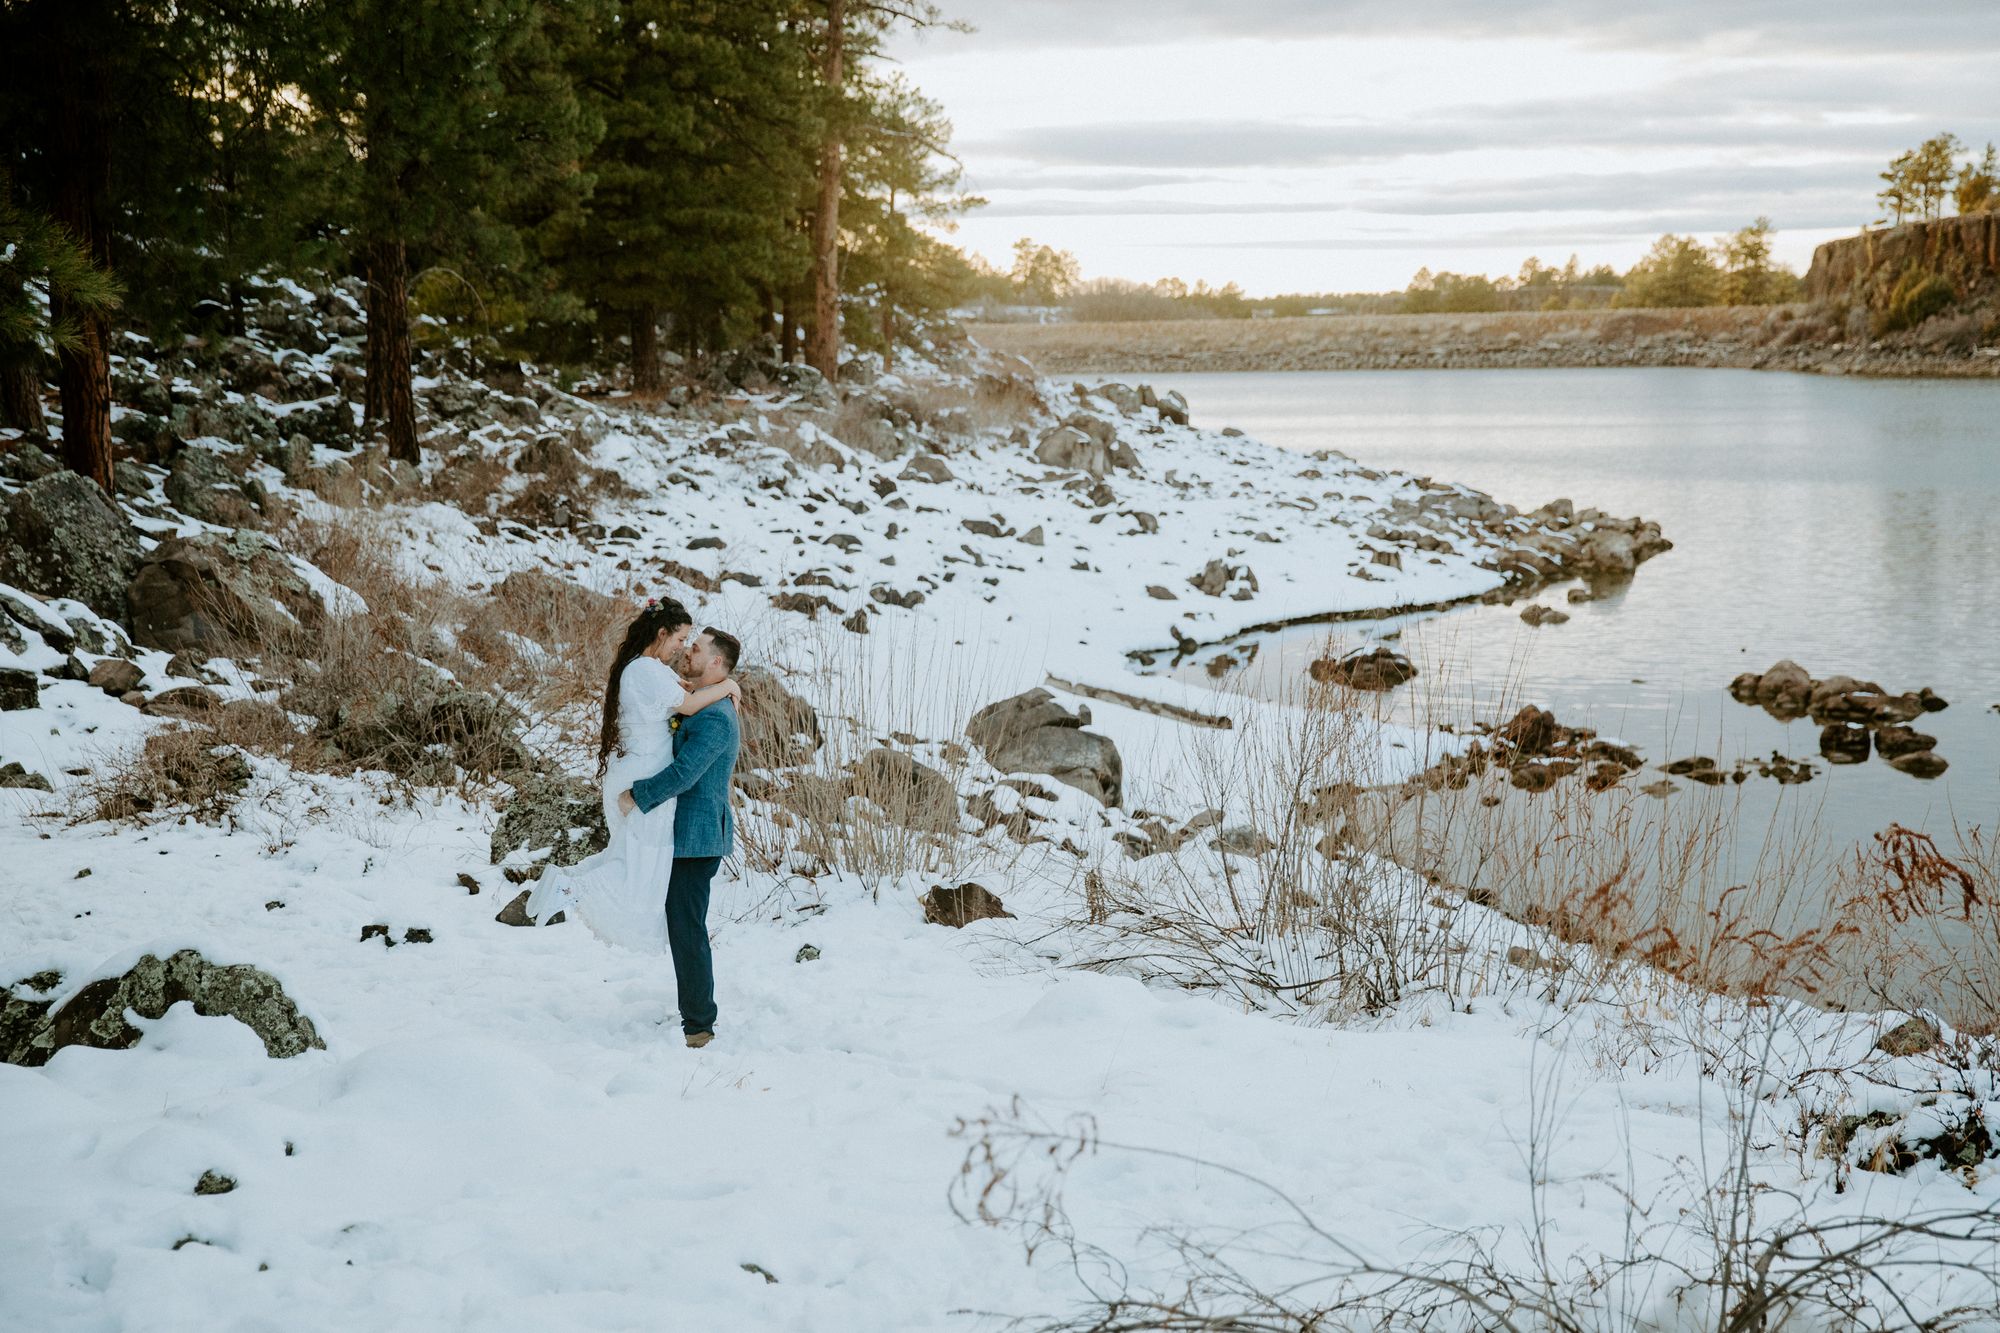
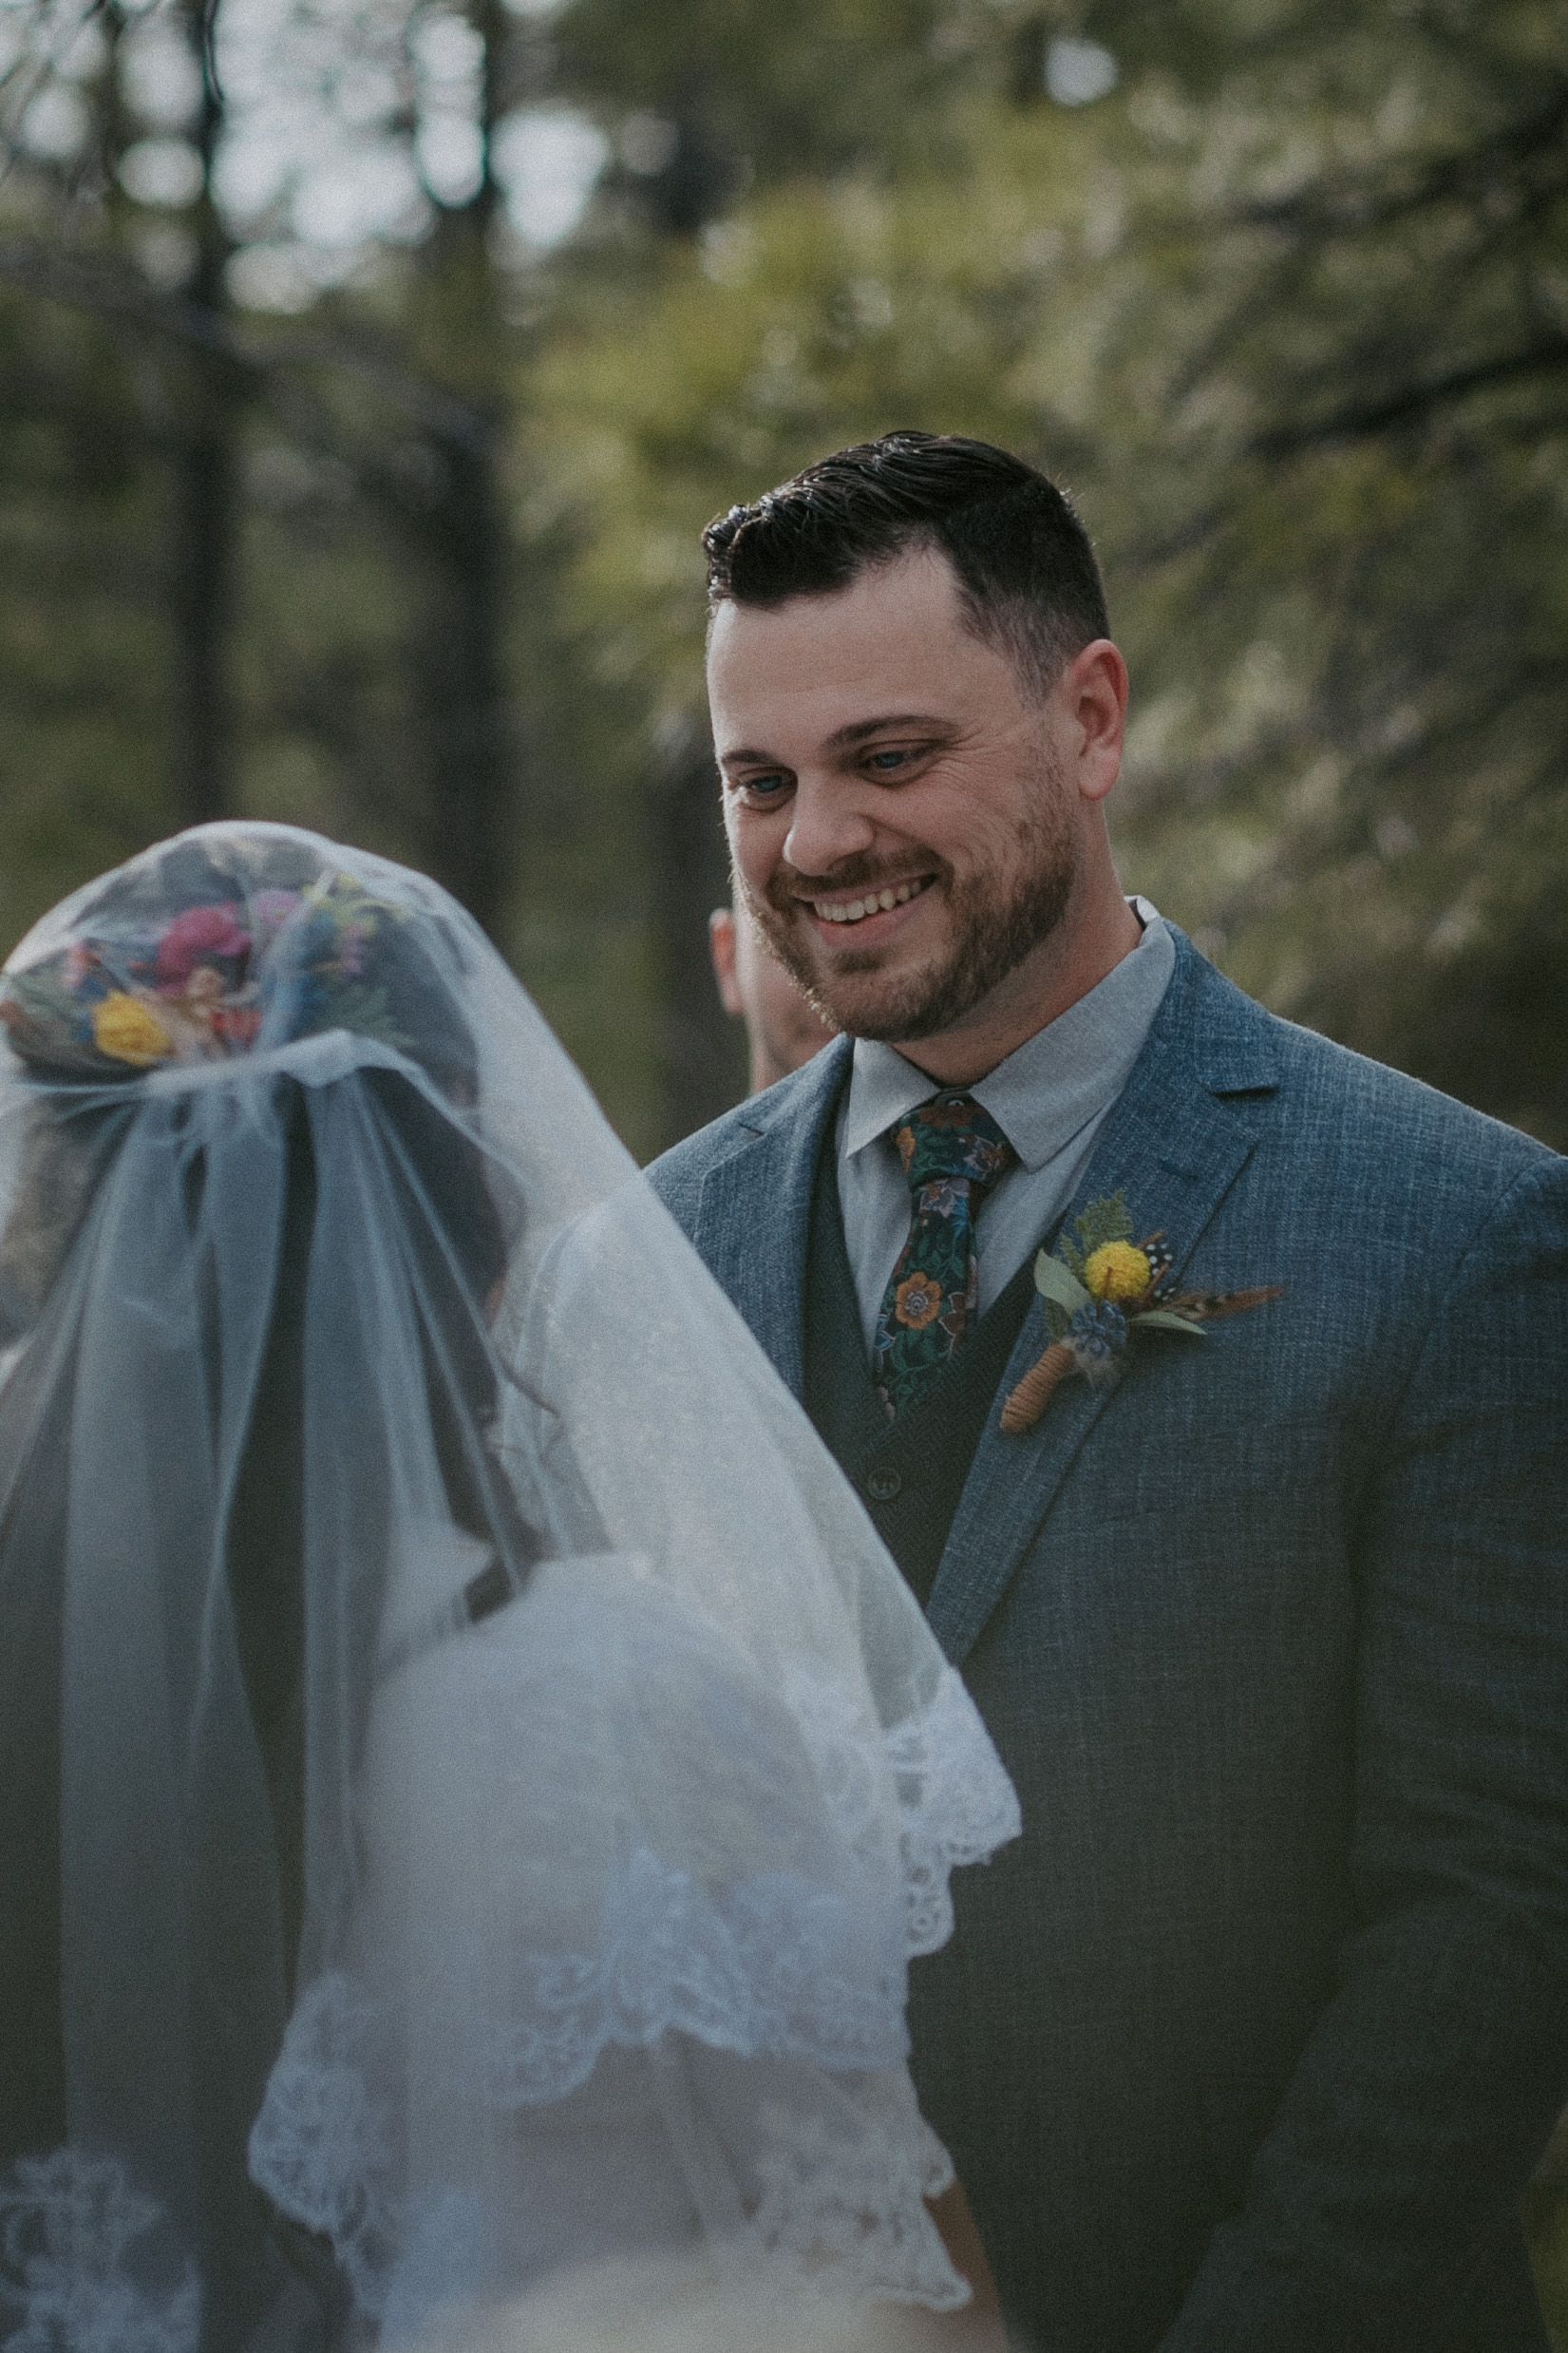
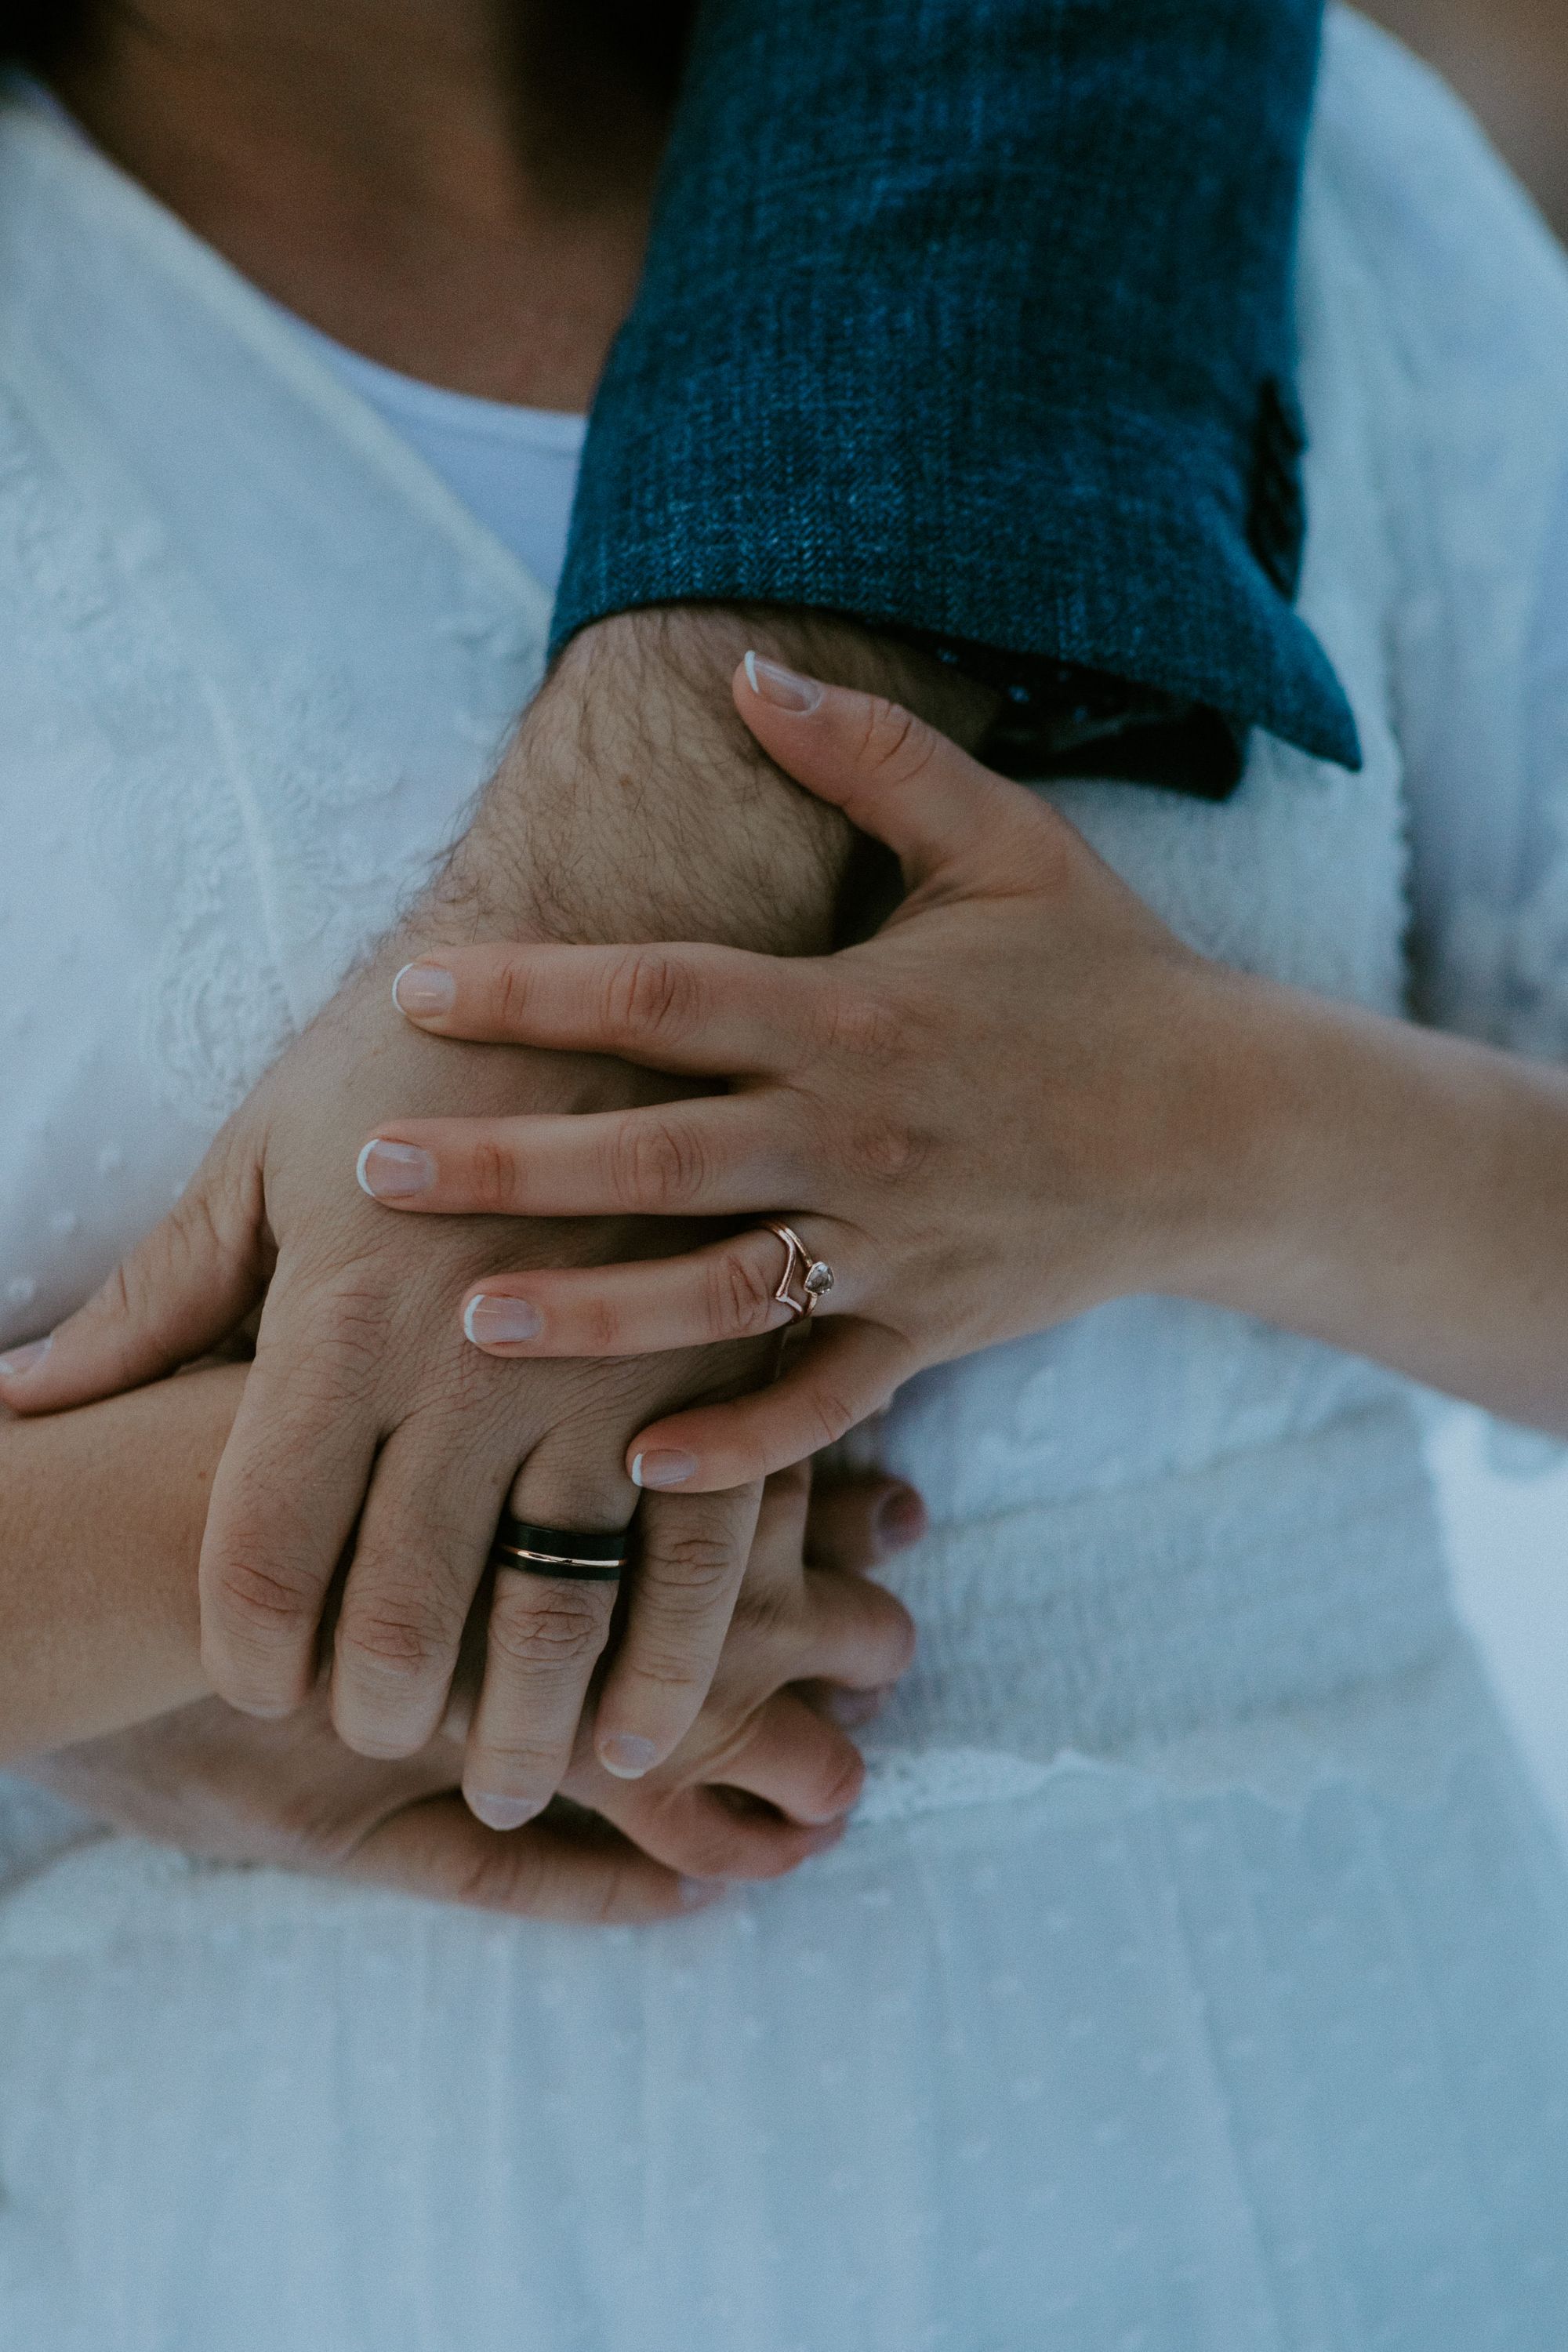
Our photographer, Arianna with Wind and Sky Photography, offered a great deal for purchasing an engagement session along with our wedding package. Read more about her vintage photography style here!
Posing doesn’t come natural to everyone! Meeting her in person helped get all the before-wedding awkwardness out of our way. Having practice before the big day is super helpful.
But, if you’re hiring a professional photographer, where does the DIY part come in?
While it’s safe to anticipate your photographer will know all the right poses, it doesn’t hurt to create and share your Pinterest board of ideal shots you want captured. You can’t expect them to know which family members need to be included. And how are they to assume you’ve always wanted a picture of your husband carrying you?
I mean it, create a Pinterest board or physical list; it’ll save time and stress. You do not need to be thinking of last-minute poses in the middle of your portraits. Anything important to you, have it out and tell your photographer ahead of time so you aren’t sobbing later.
Wedding Food
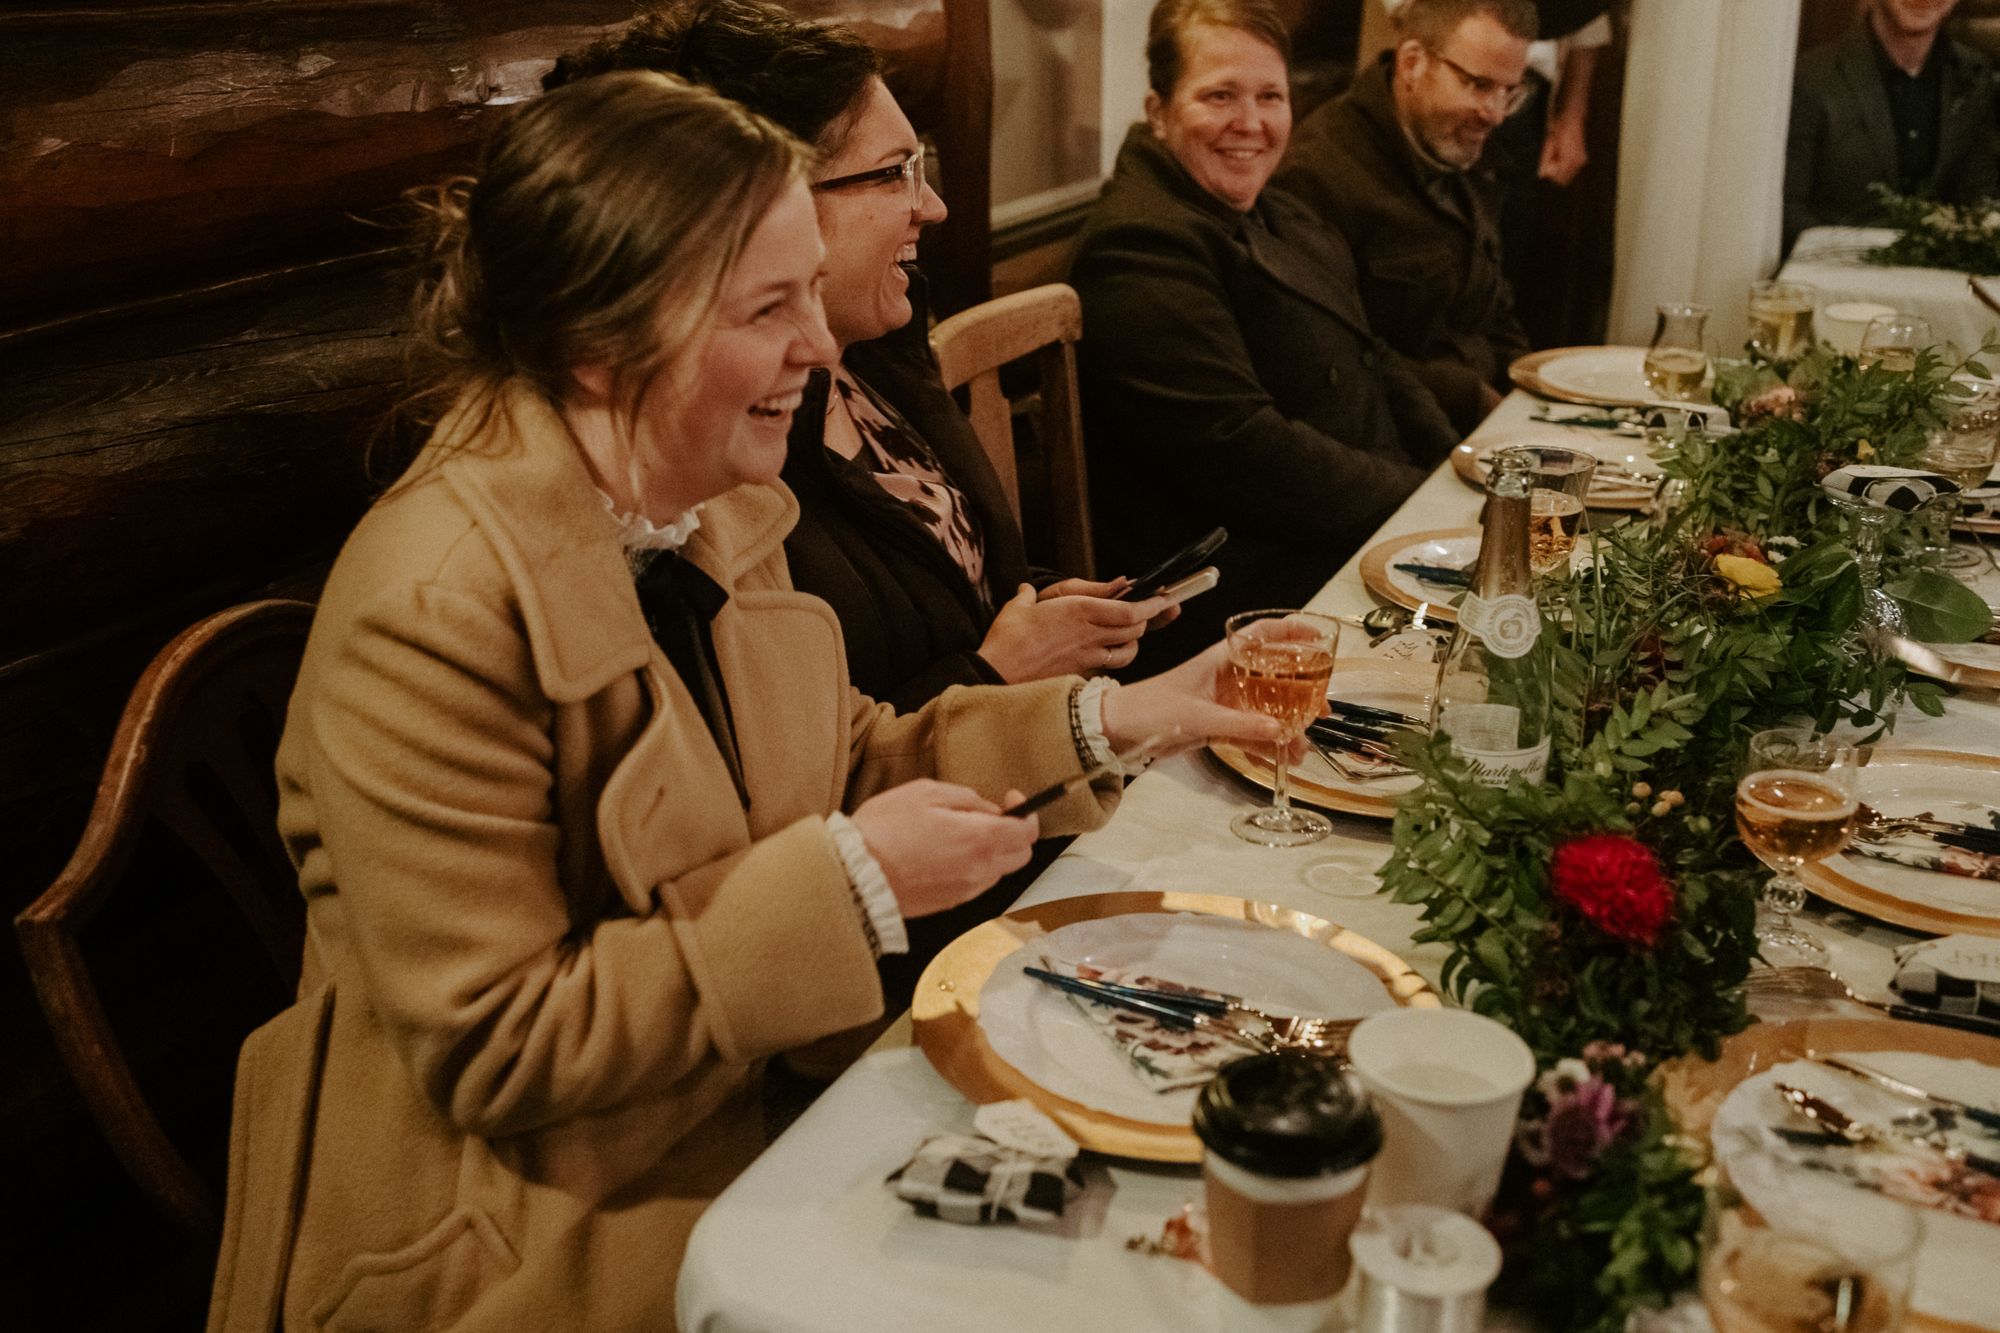
This is where you’ll save the most money if you decide to DIY. If you don’t own a Costco card, or know someone who does, you better sign up now. If you and your family plan on cooking the reception meal for your micro wedding, shopping wholesale is a no-brainer!
Admittedly, this was the one category I considered not going DIY for my micro wedding. I wanted my family to relax and enjoy the day, too. But after obtaining estimates from a few caterers, it just didn’t make sense to me.
For example, the bare-minimum package of chicken sliders and potato chips would have cost roughly $1000 for 30 people, including tax and gratuity. And I didn’t even want chicken sliders!
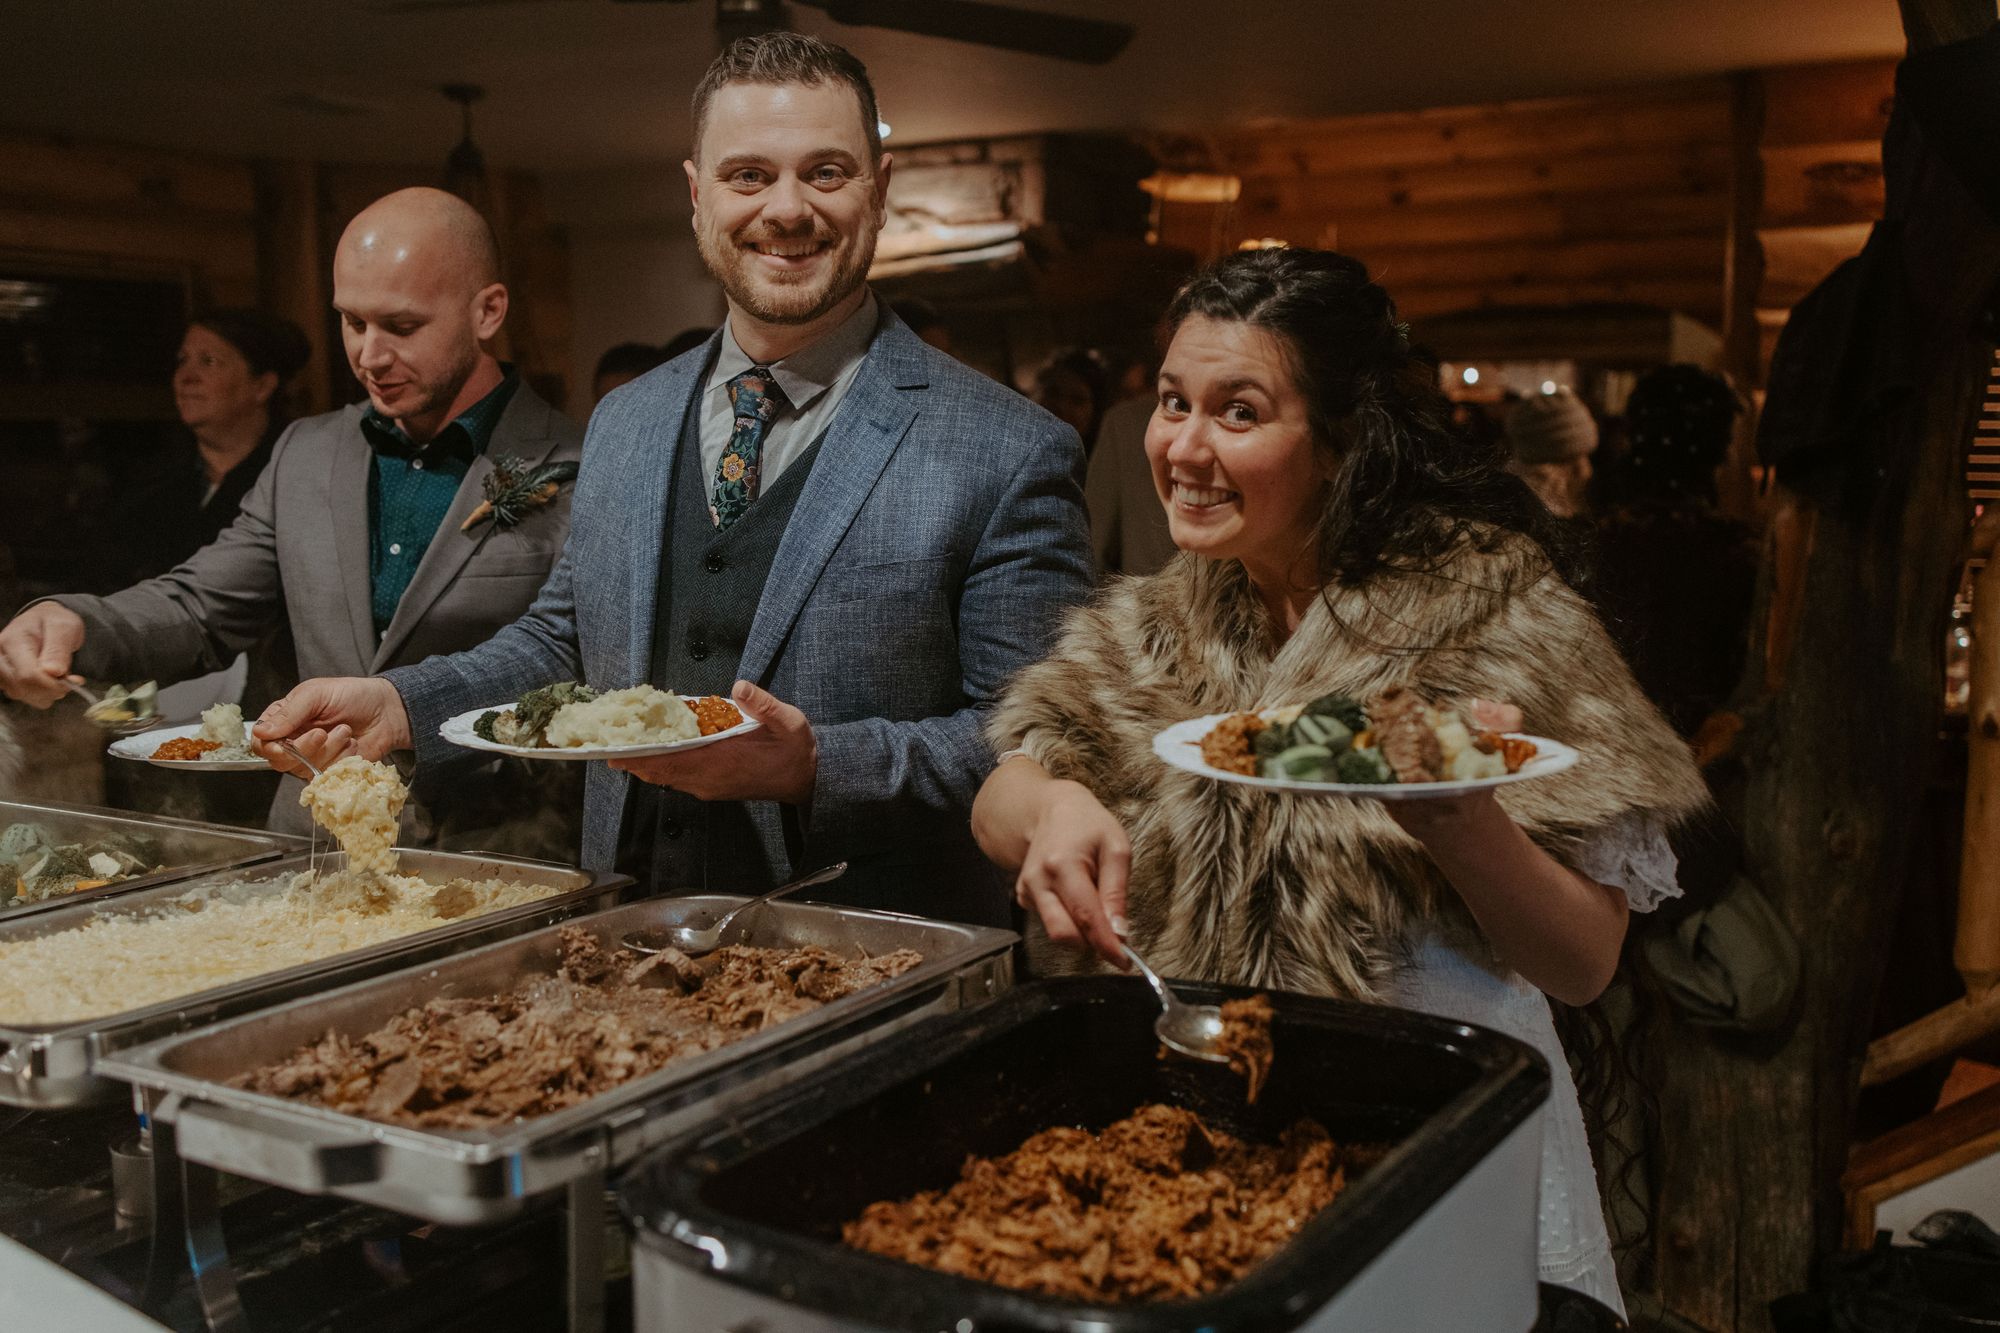
Instead, my mom, grandma, and I drew up a simple menu of hearty barbecue, complete with all the fixings.
Menu:
· Pulled Pork
· Brisket
· Mashed Potatoes
· Baked Beans
· Roasted Veggie Medley
· Mac ‘n Cheese
· Sourdough Bread (comes ready-to-bake at Costco!)
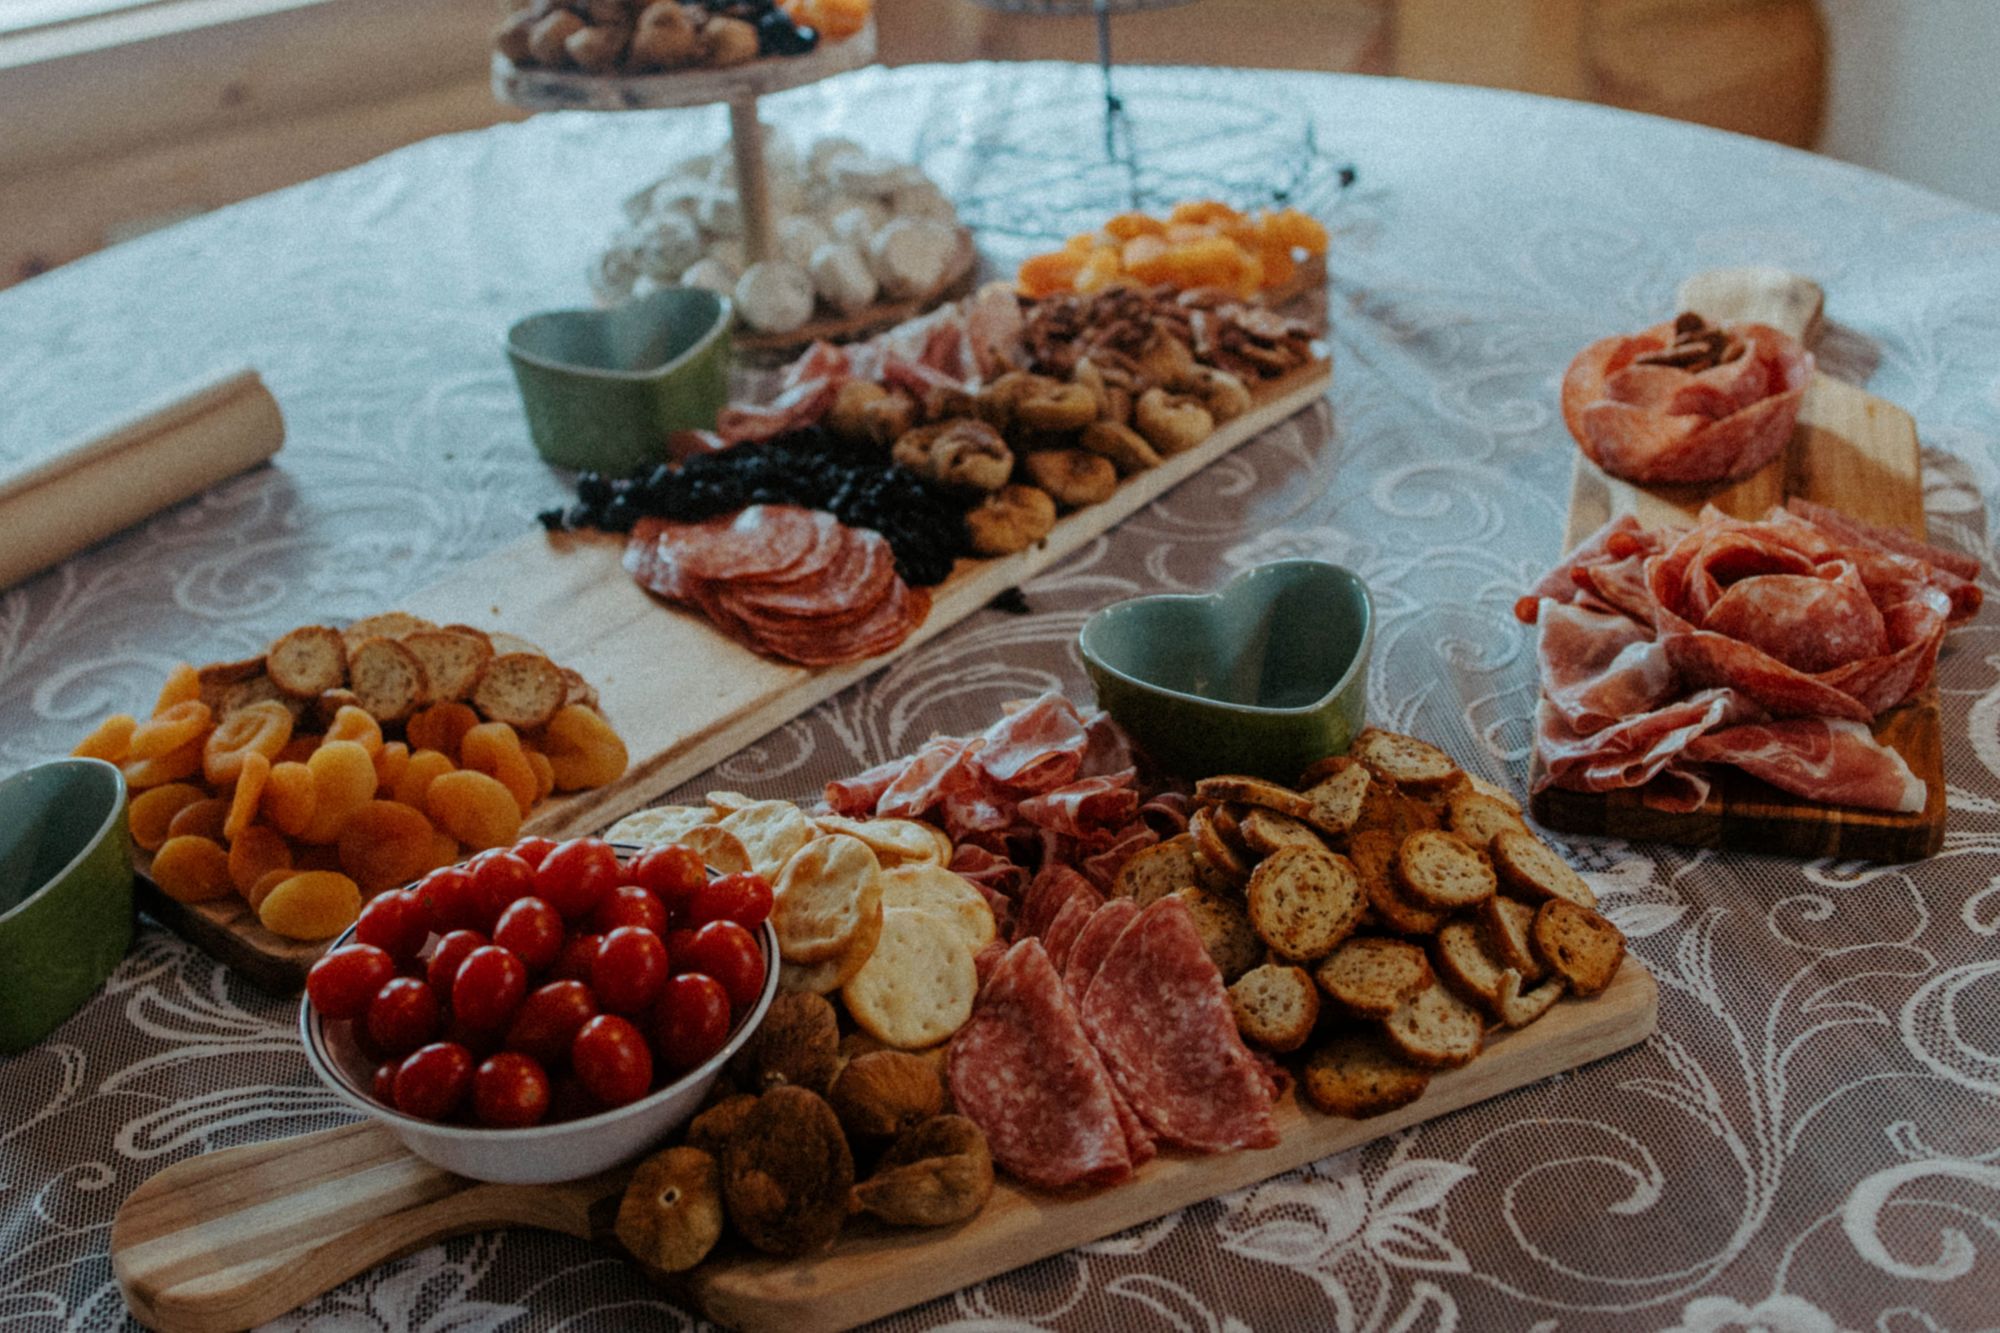
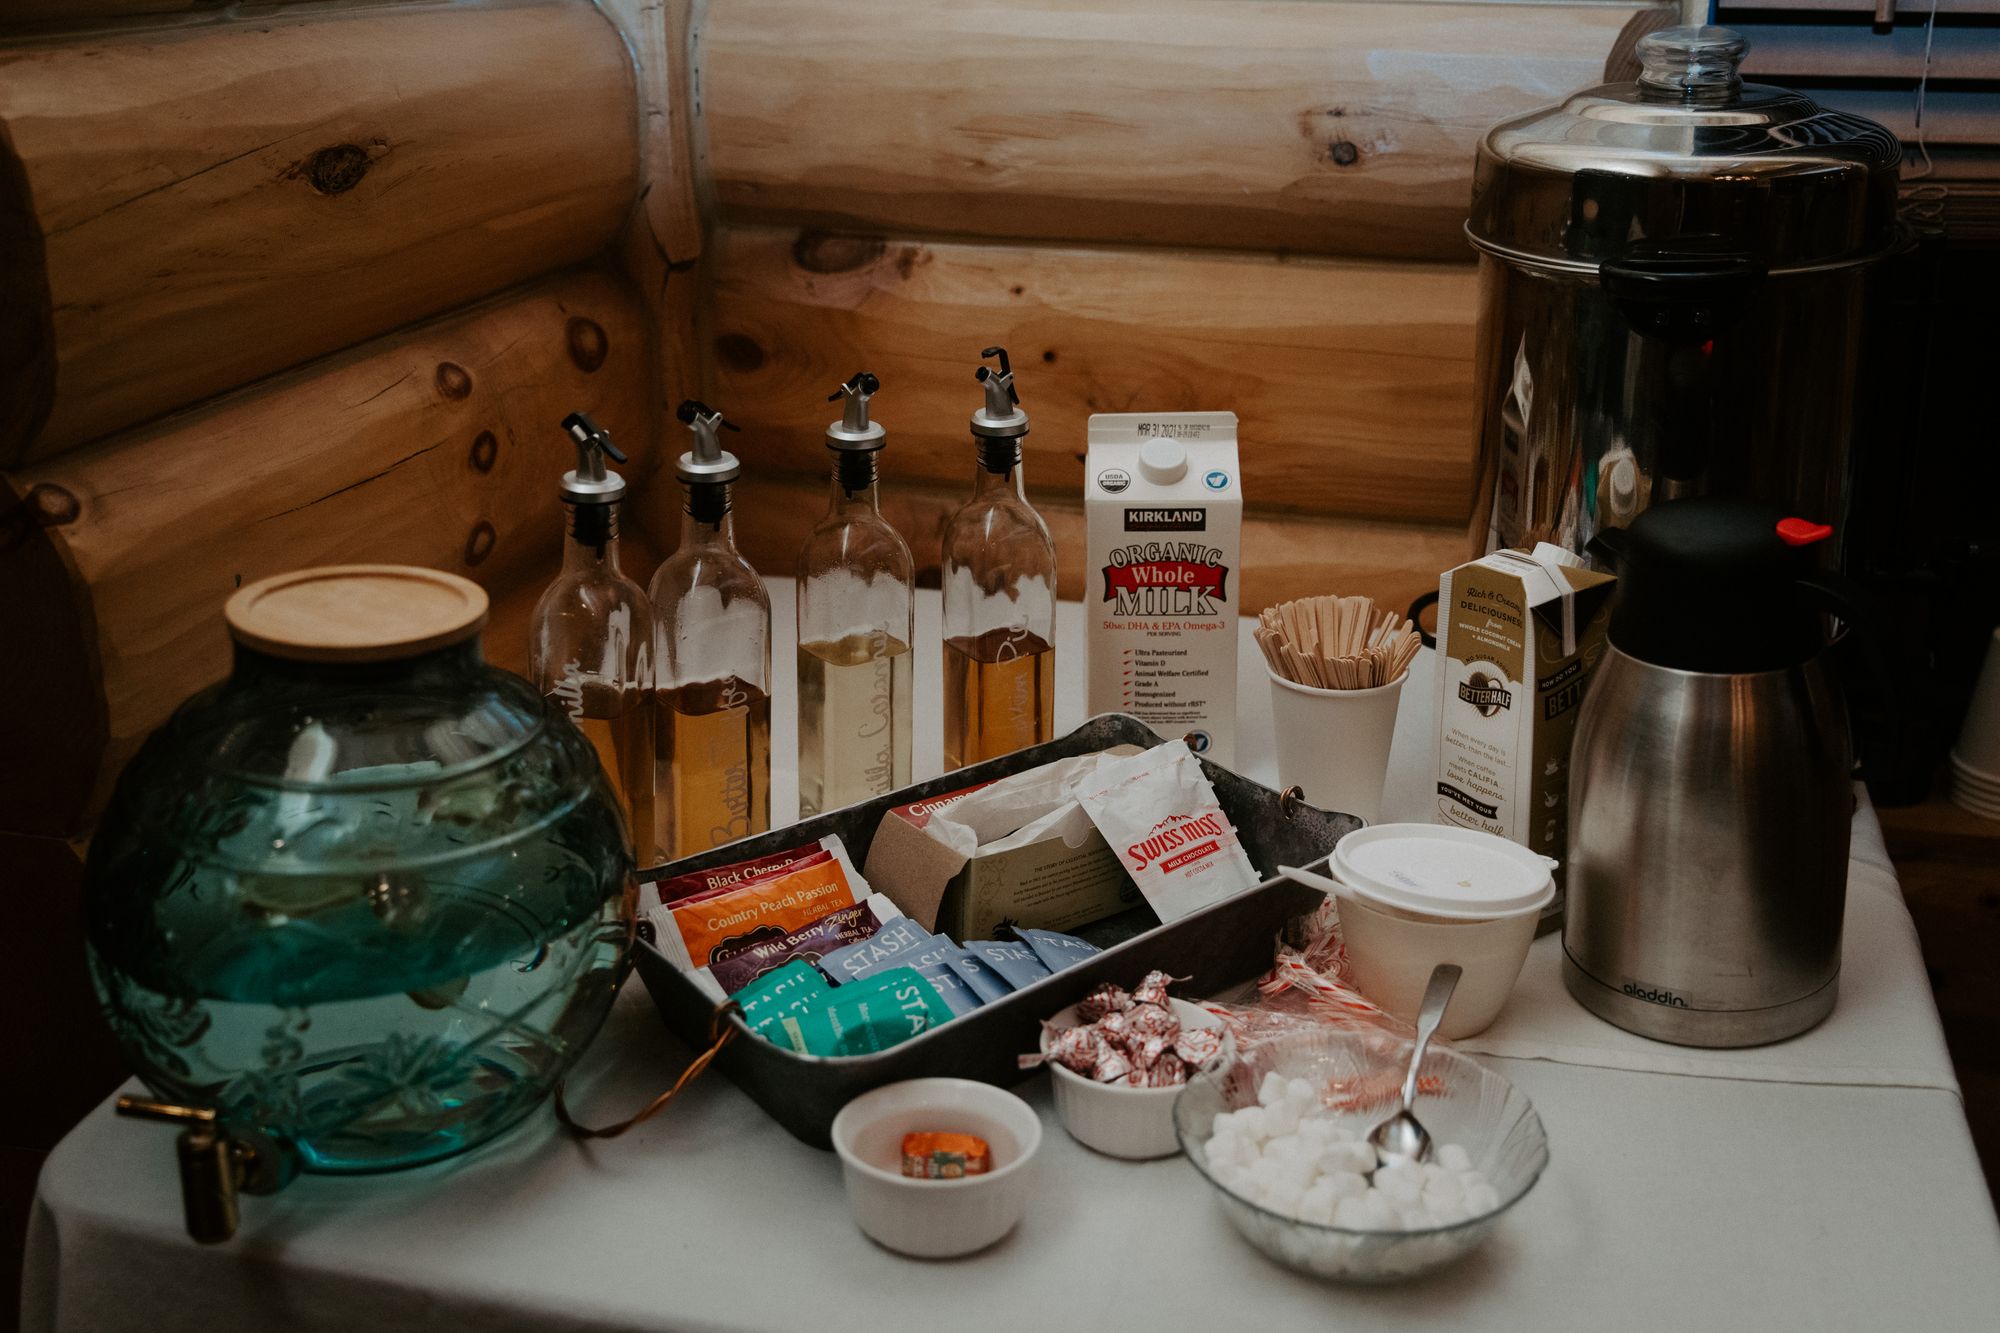
I also wanted my guests to snack and warm themselves with coffee while we took our romantic portraits, so I added charcuterie items to my grocery list. Buying a variety of cold meats, cheeses, olives, spreads, and both dried and fresh fruits is much cheaper in bulk!
Lastly, I asked my favorite baker, my best friend and Matron of Honor, Emily, to bake our desserts. I’m not much of a cake person. So, she made two flavors of mini pies, two kinds of mini cheesecakes, lemon bars, and one medium sized pie for my husband and I to take our first bite out of!
I happened to already have glass beverage dispensers and hot water pitchers. But I borrowed chafing dishes from a friend, as well as a stainless, 45-cup coffee maker from another (similar to this one by Hamilton Beach). Amazon delivered a 50-pack of white beverage cups with black lids and cardboard sleeves. I bought a variety of tea and hot cocoa packets (again, anything unused would just be put in our own pantry).
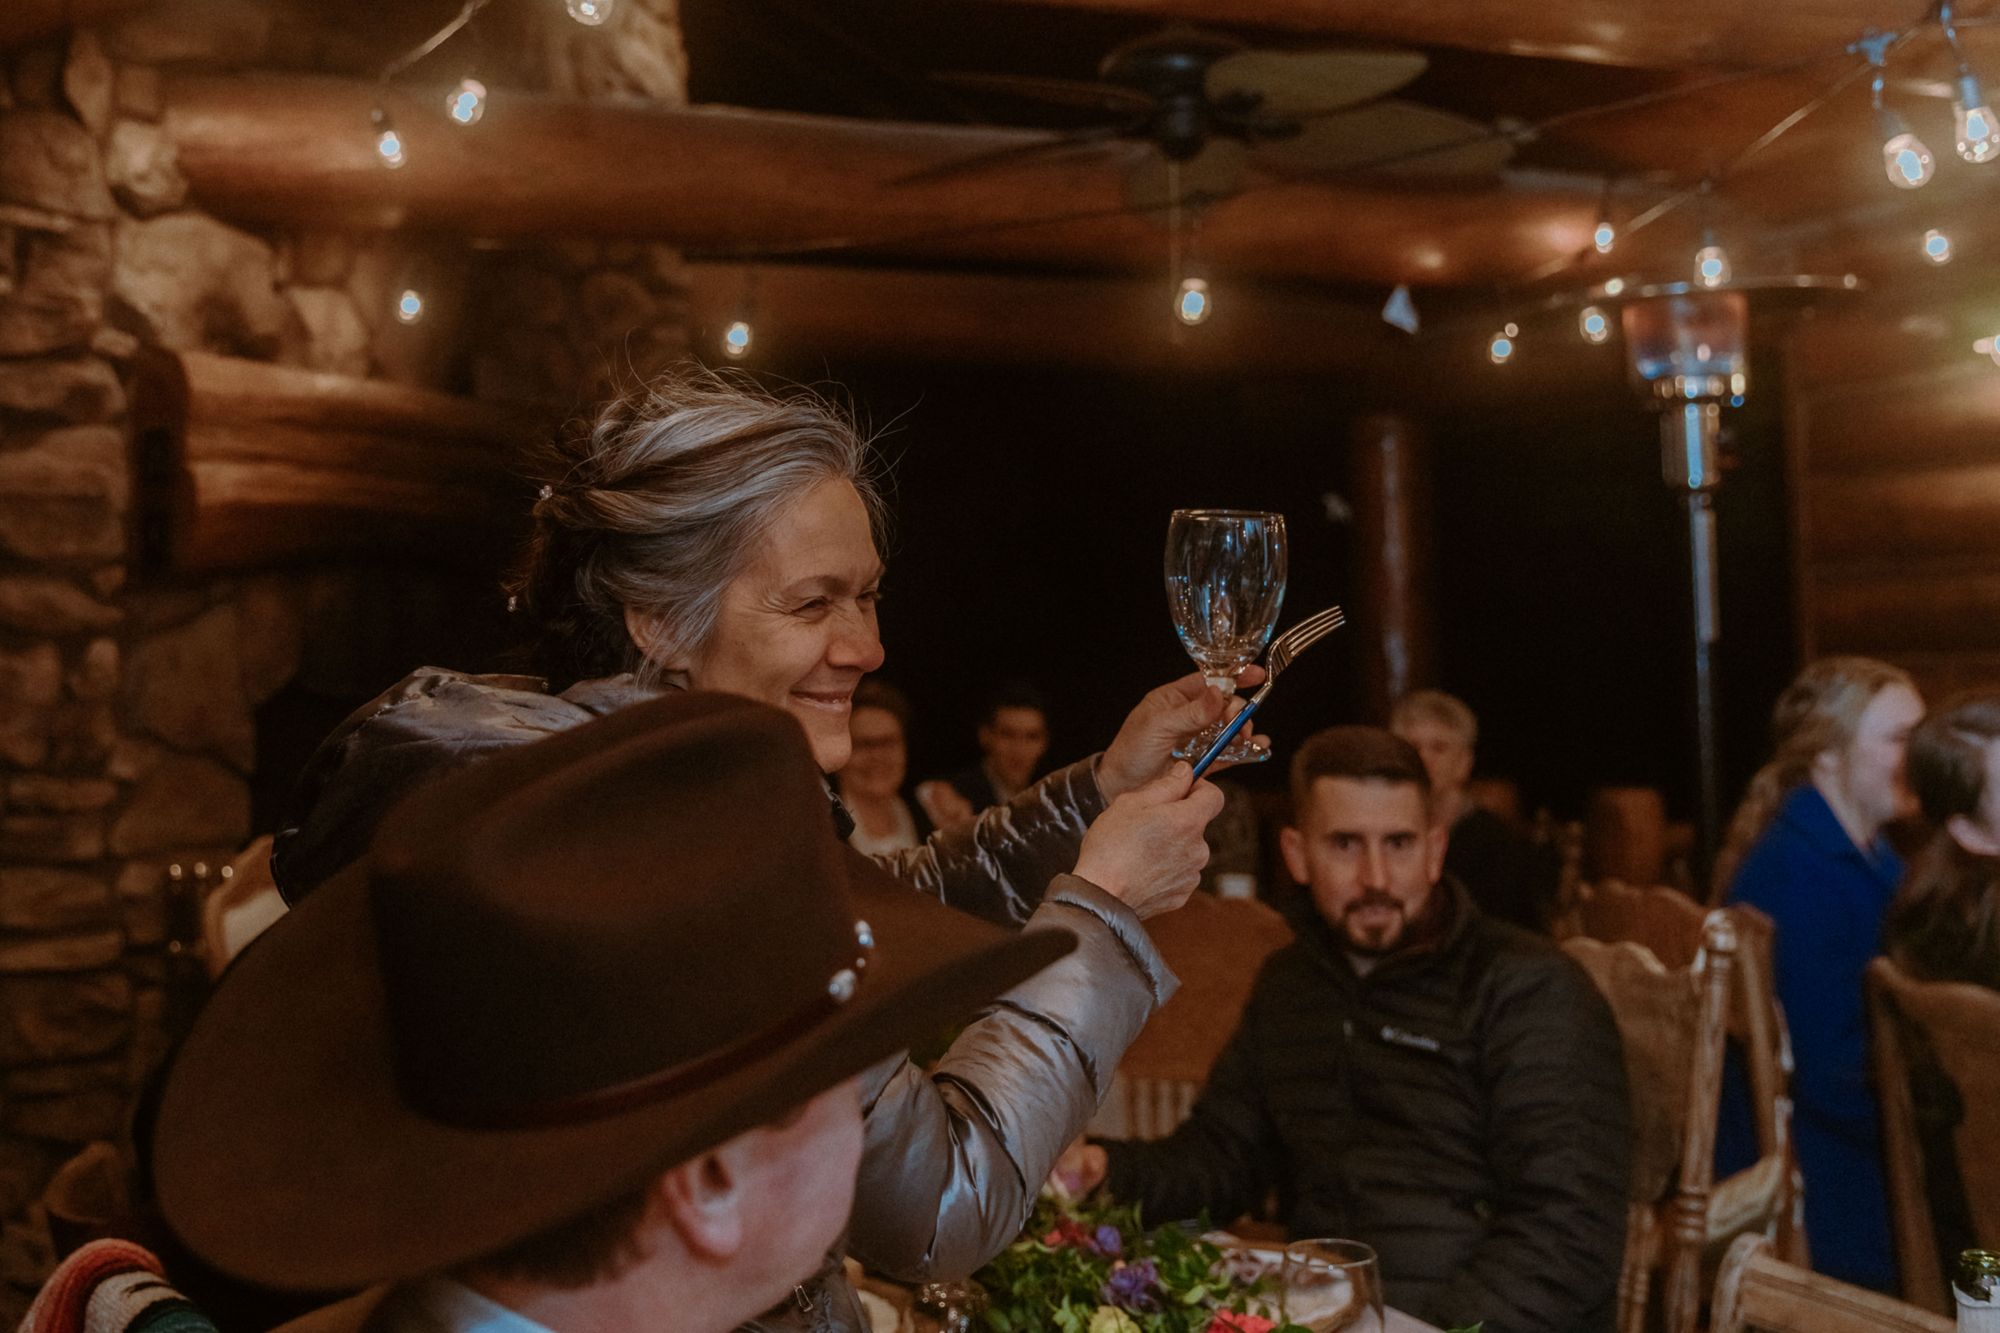
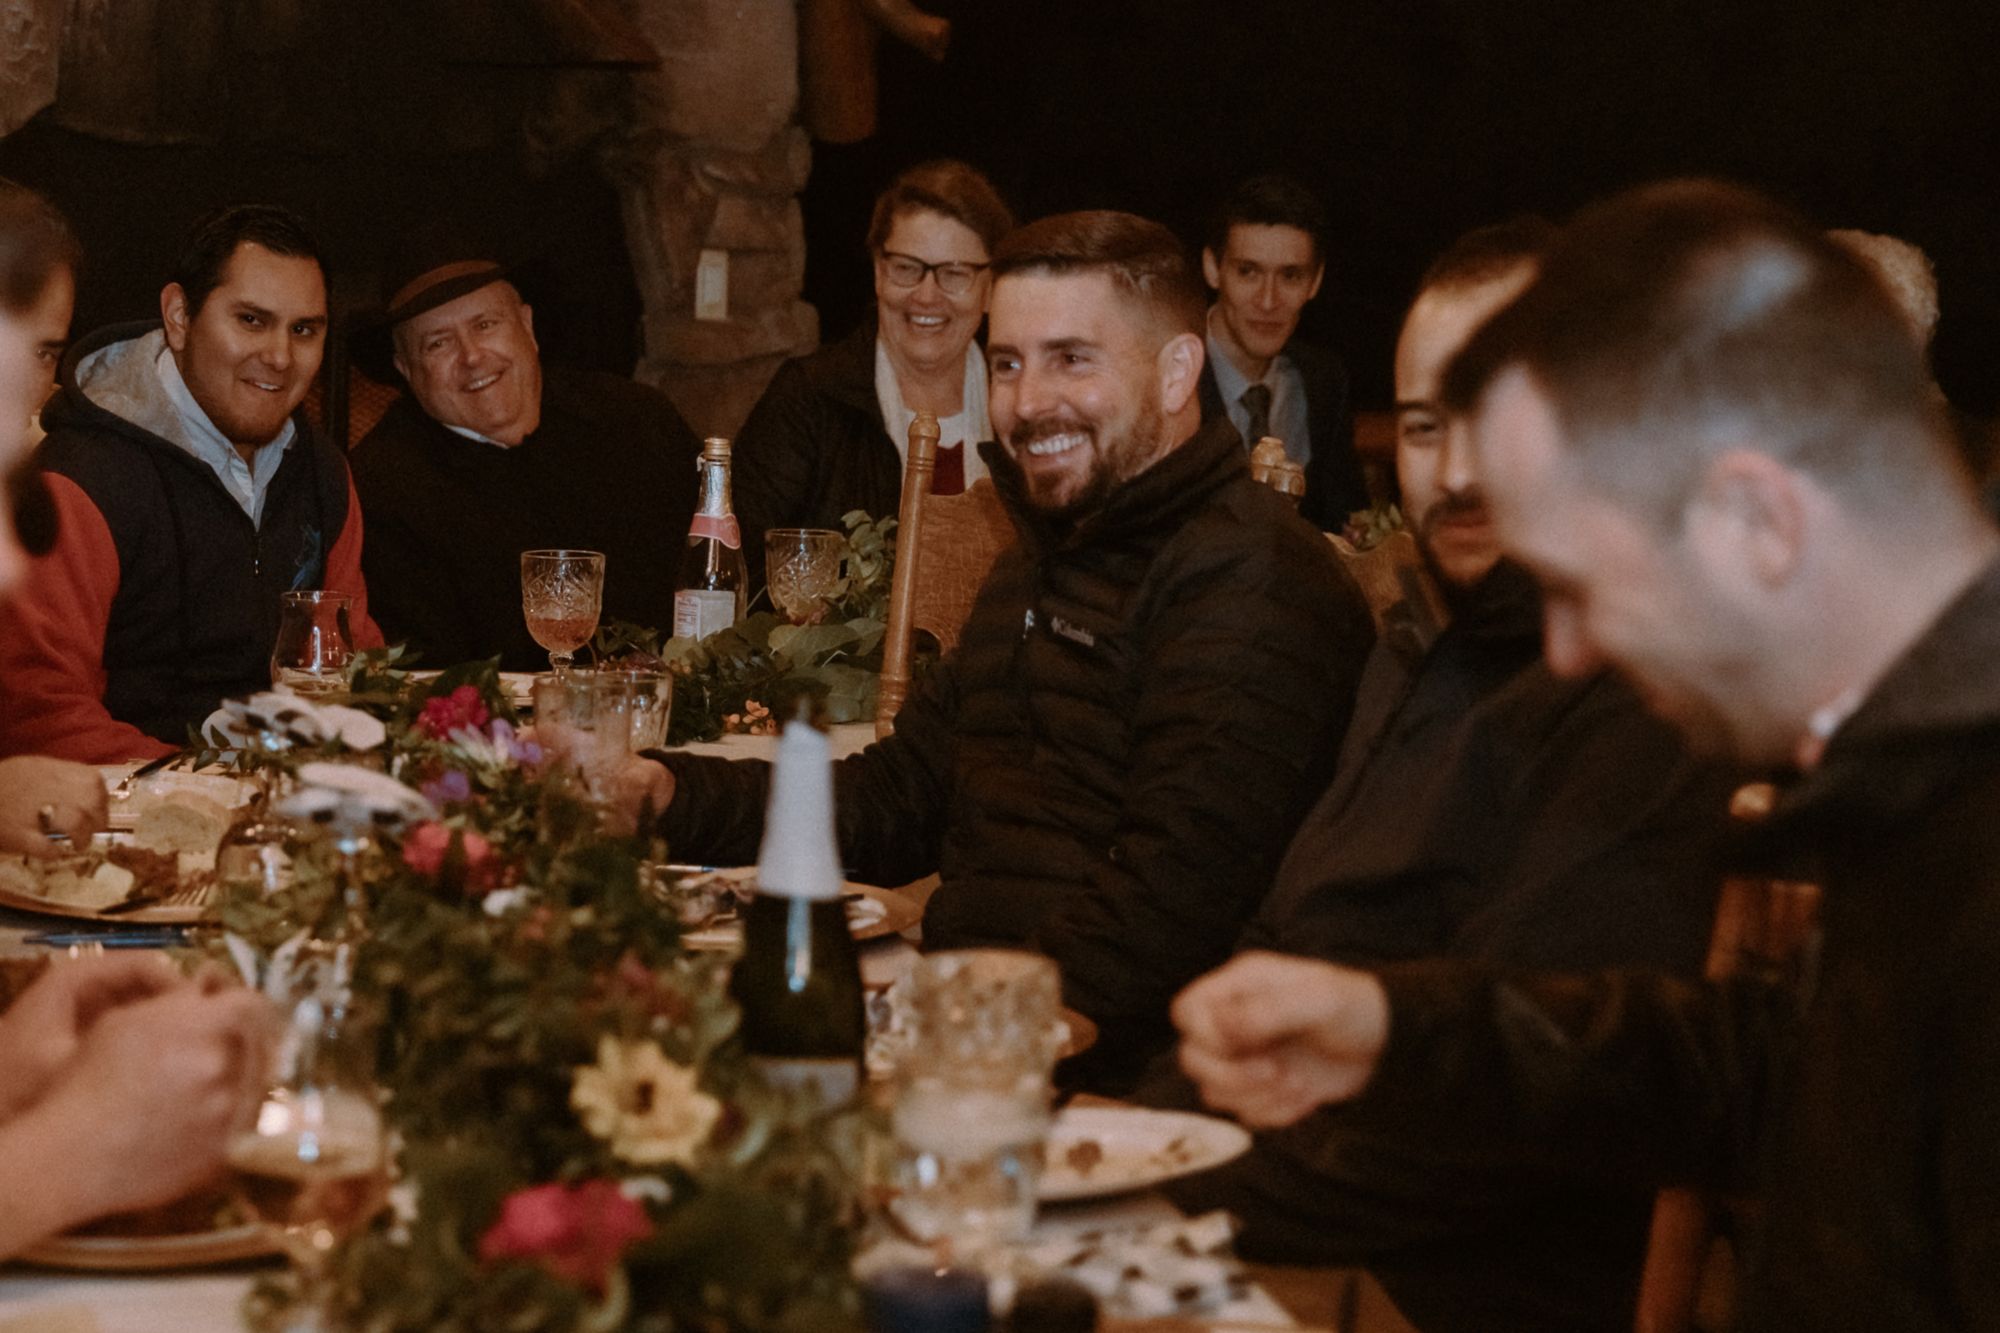
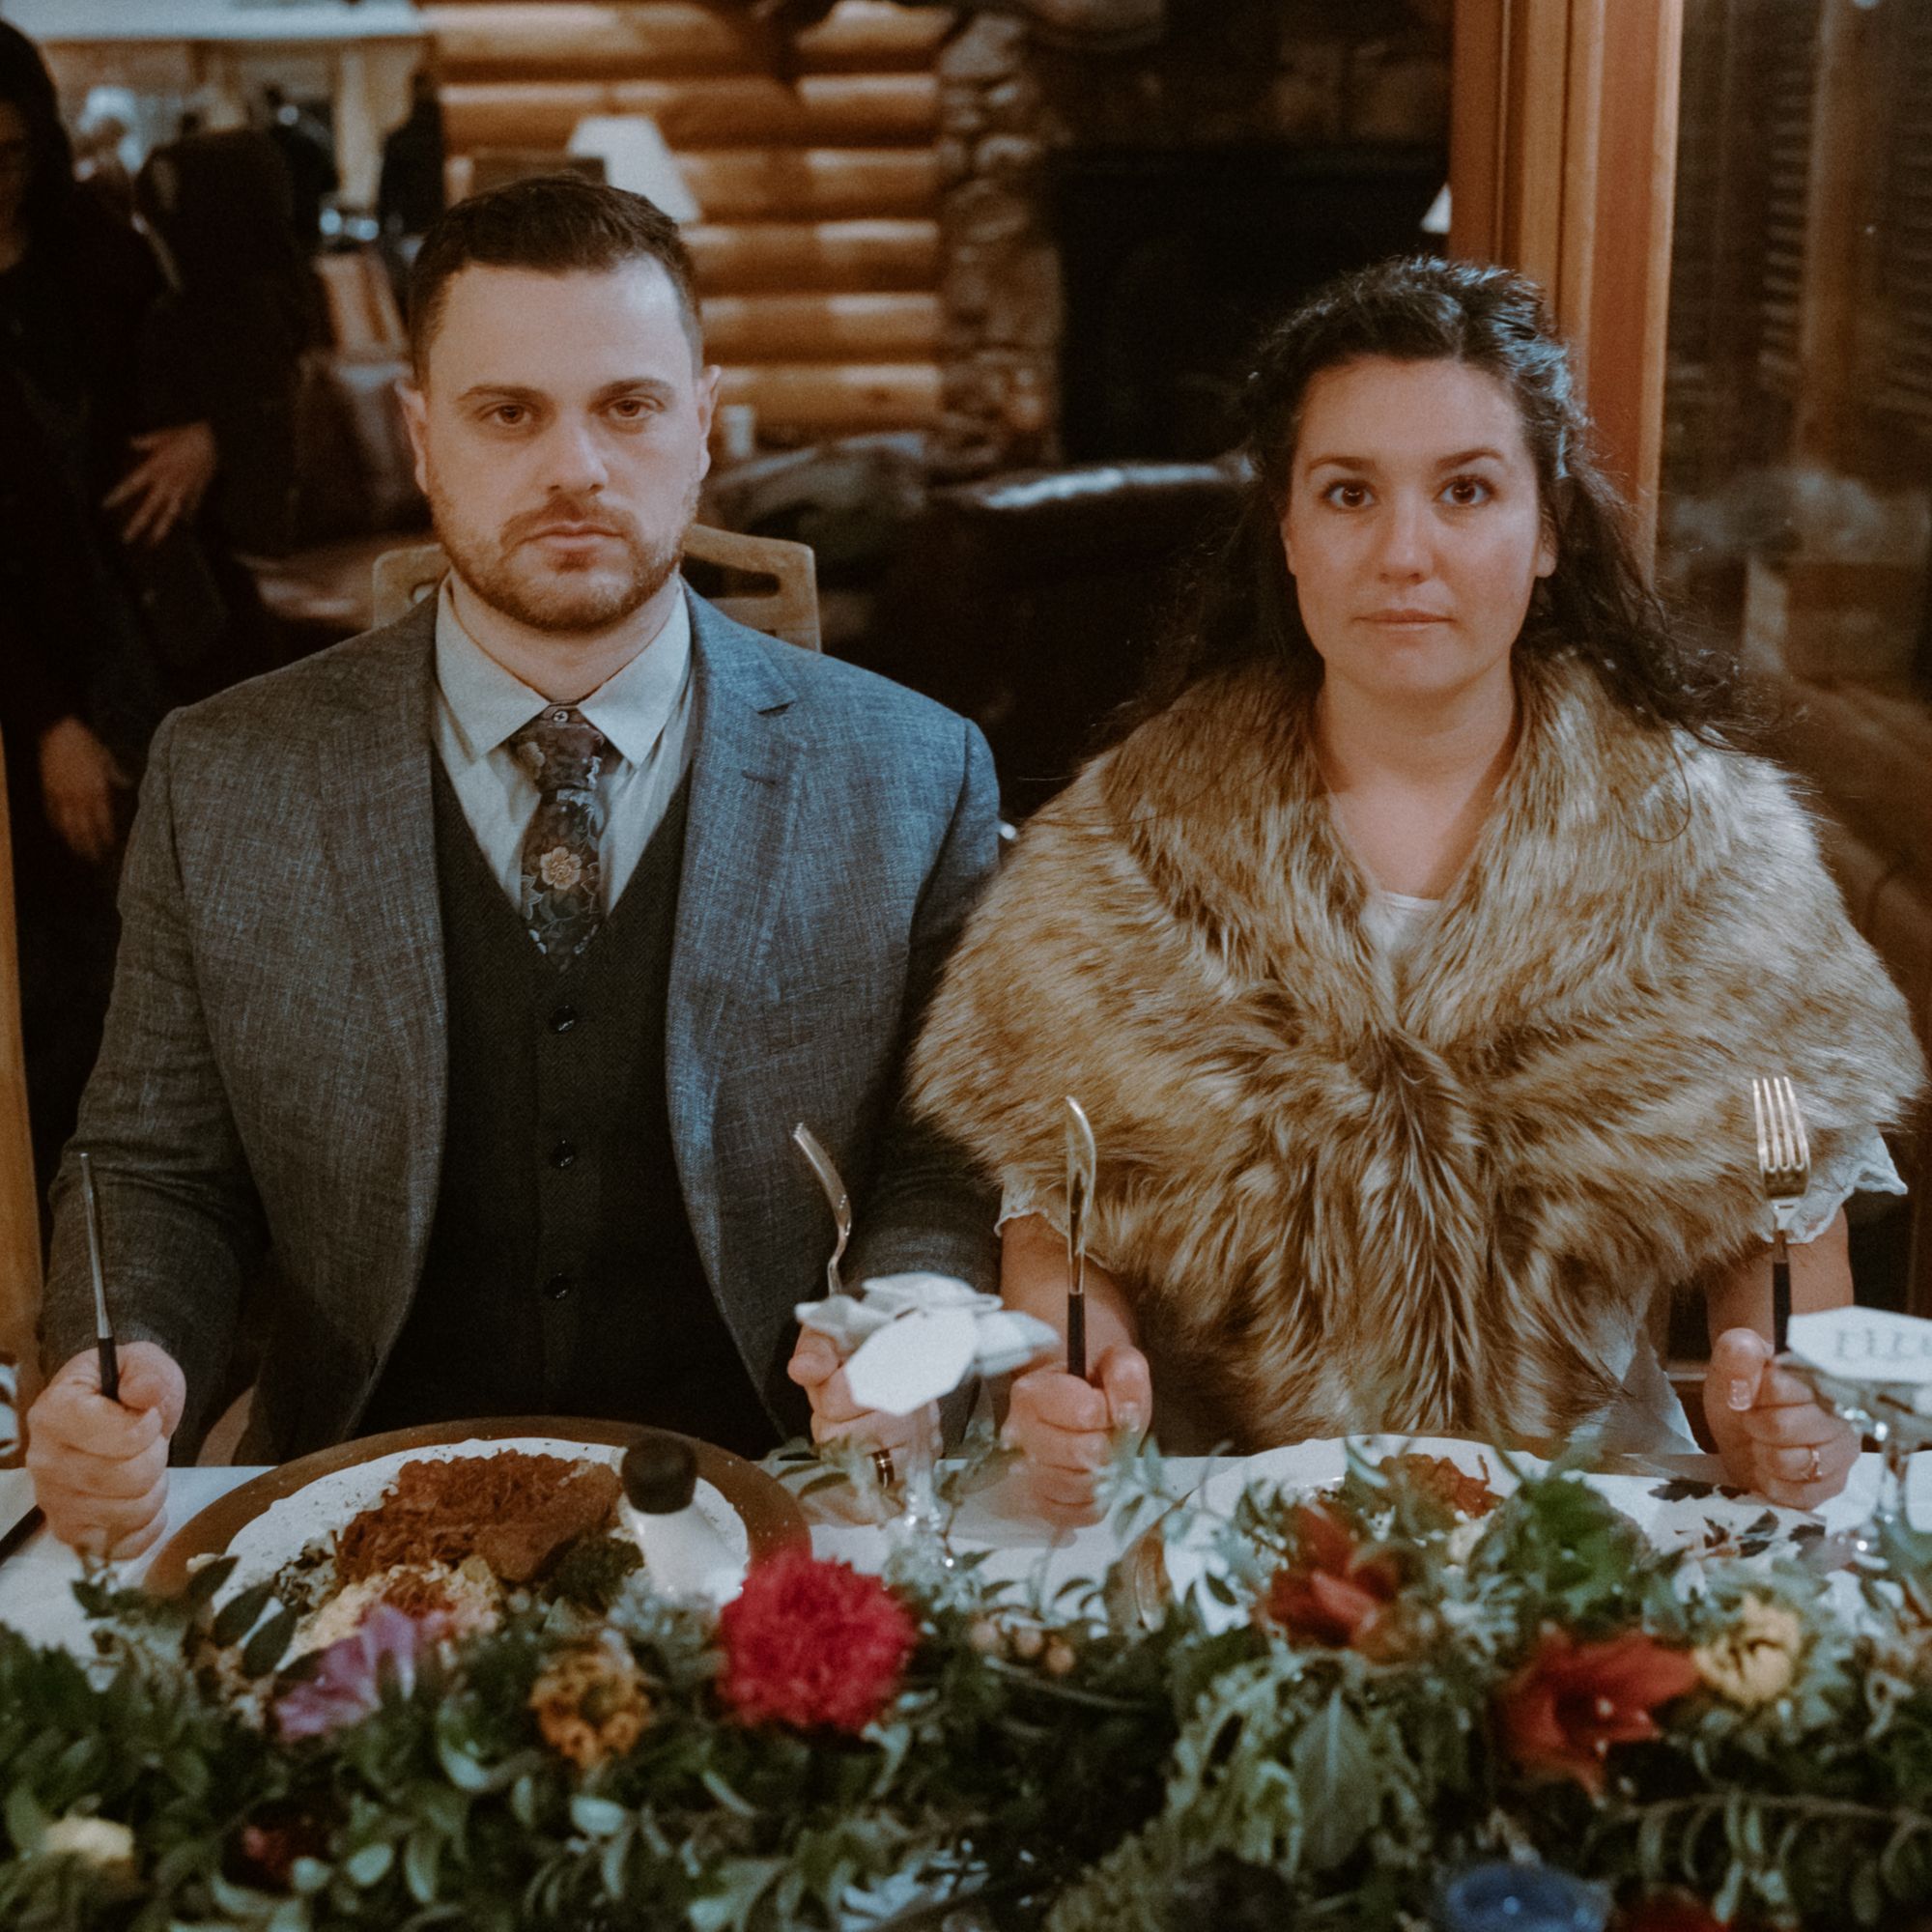
For the table setting, I thrifted an eclectic mix of glass goblets for cool drinks like water and sparkling cider.
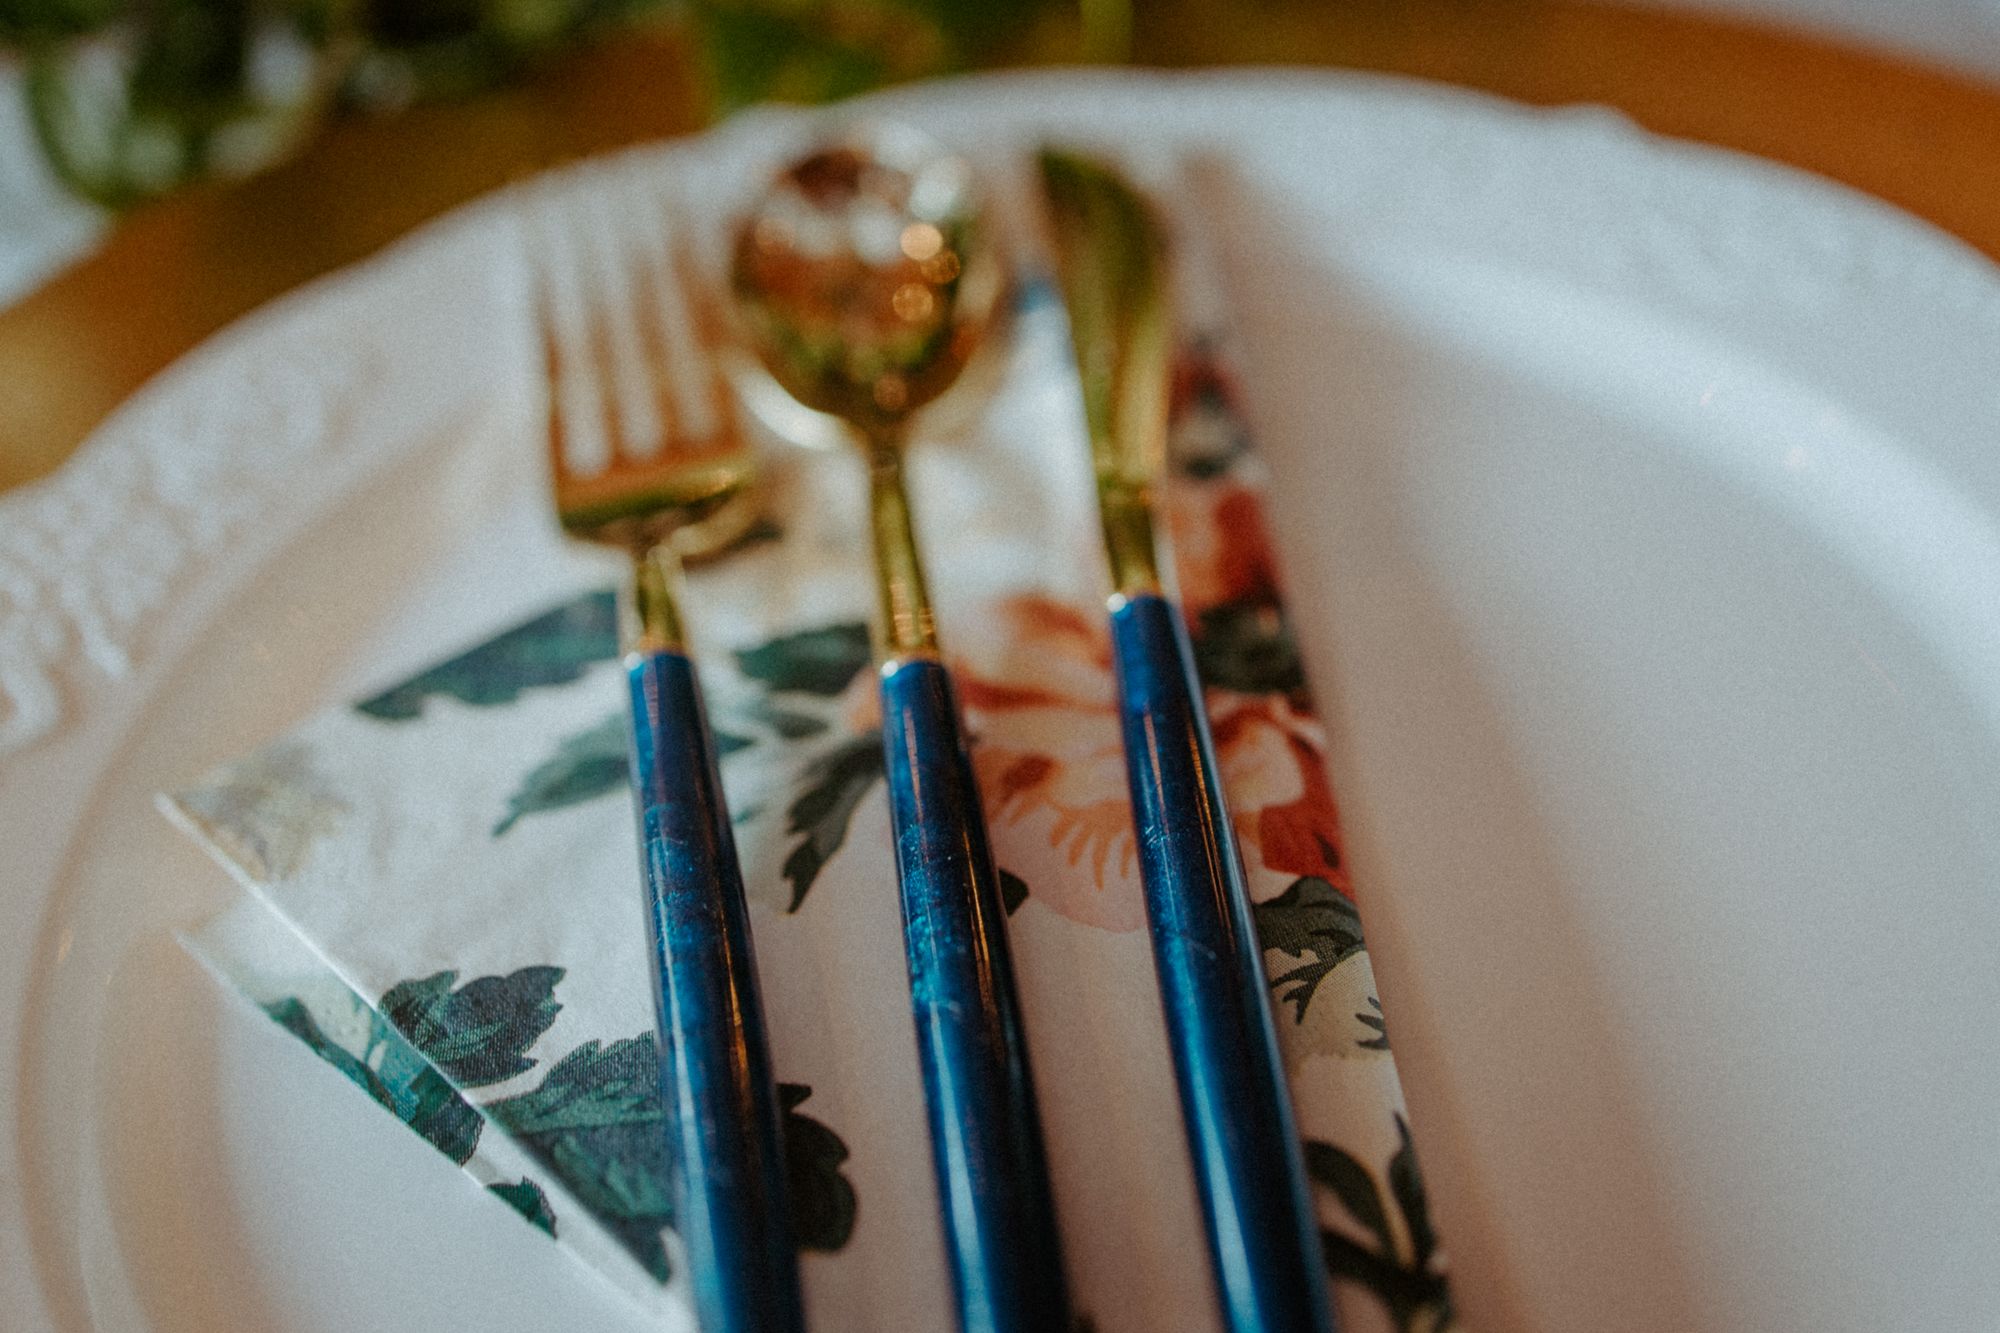
Between thrift finds and another friend’s supply, I came up with 30 gold charger plates. Then I bought 180 Gold Plastic Cutlery with Blue Glitter Handles and plastic disposable white plates with lace-detailed edges. To tie it all together, Emily found these beautiful floral napkins at IKEA!
In total, I spent just under $500 for all food and dining items! This included breakfast for all who stayed at the cabin. Plus, we had leftovers to spare from our wedding feast. In fact, we still have pulled pork and brisket in our freezer! I could easily have cut out charcuterie items in order to save a few bucks, but the small splurge for our intimate crowd was well worth it for us!
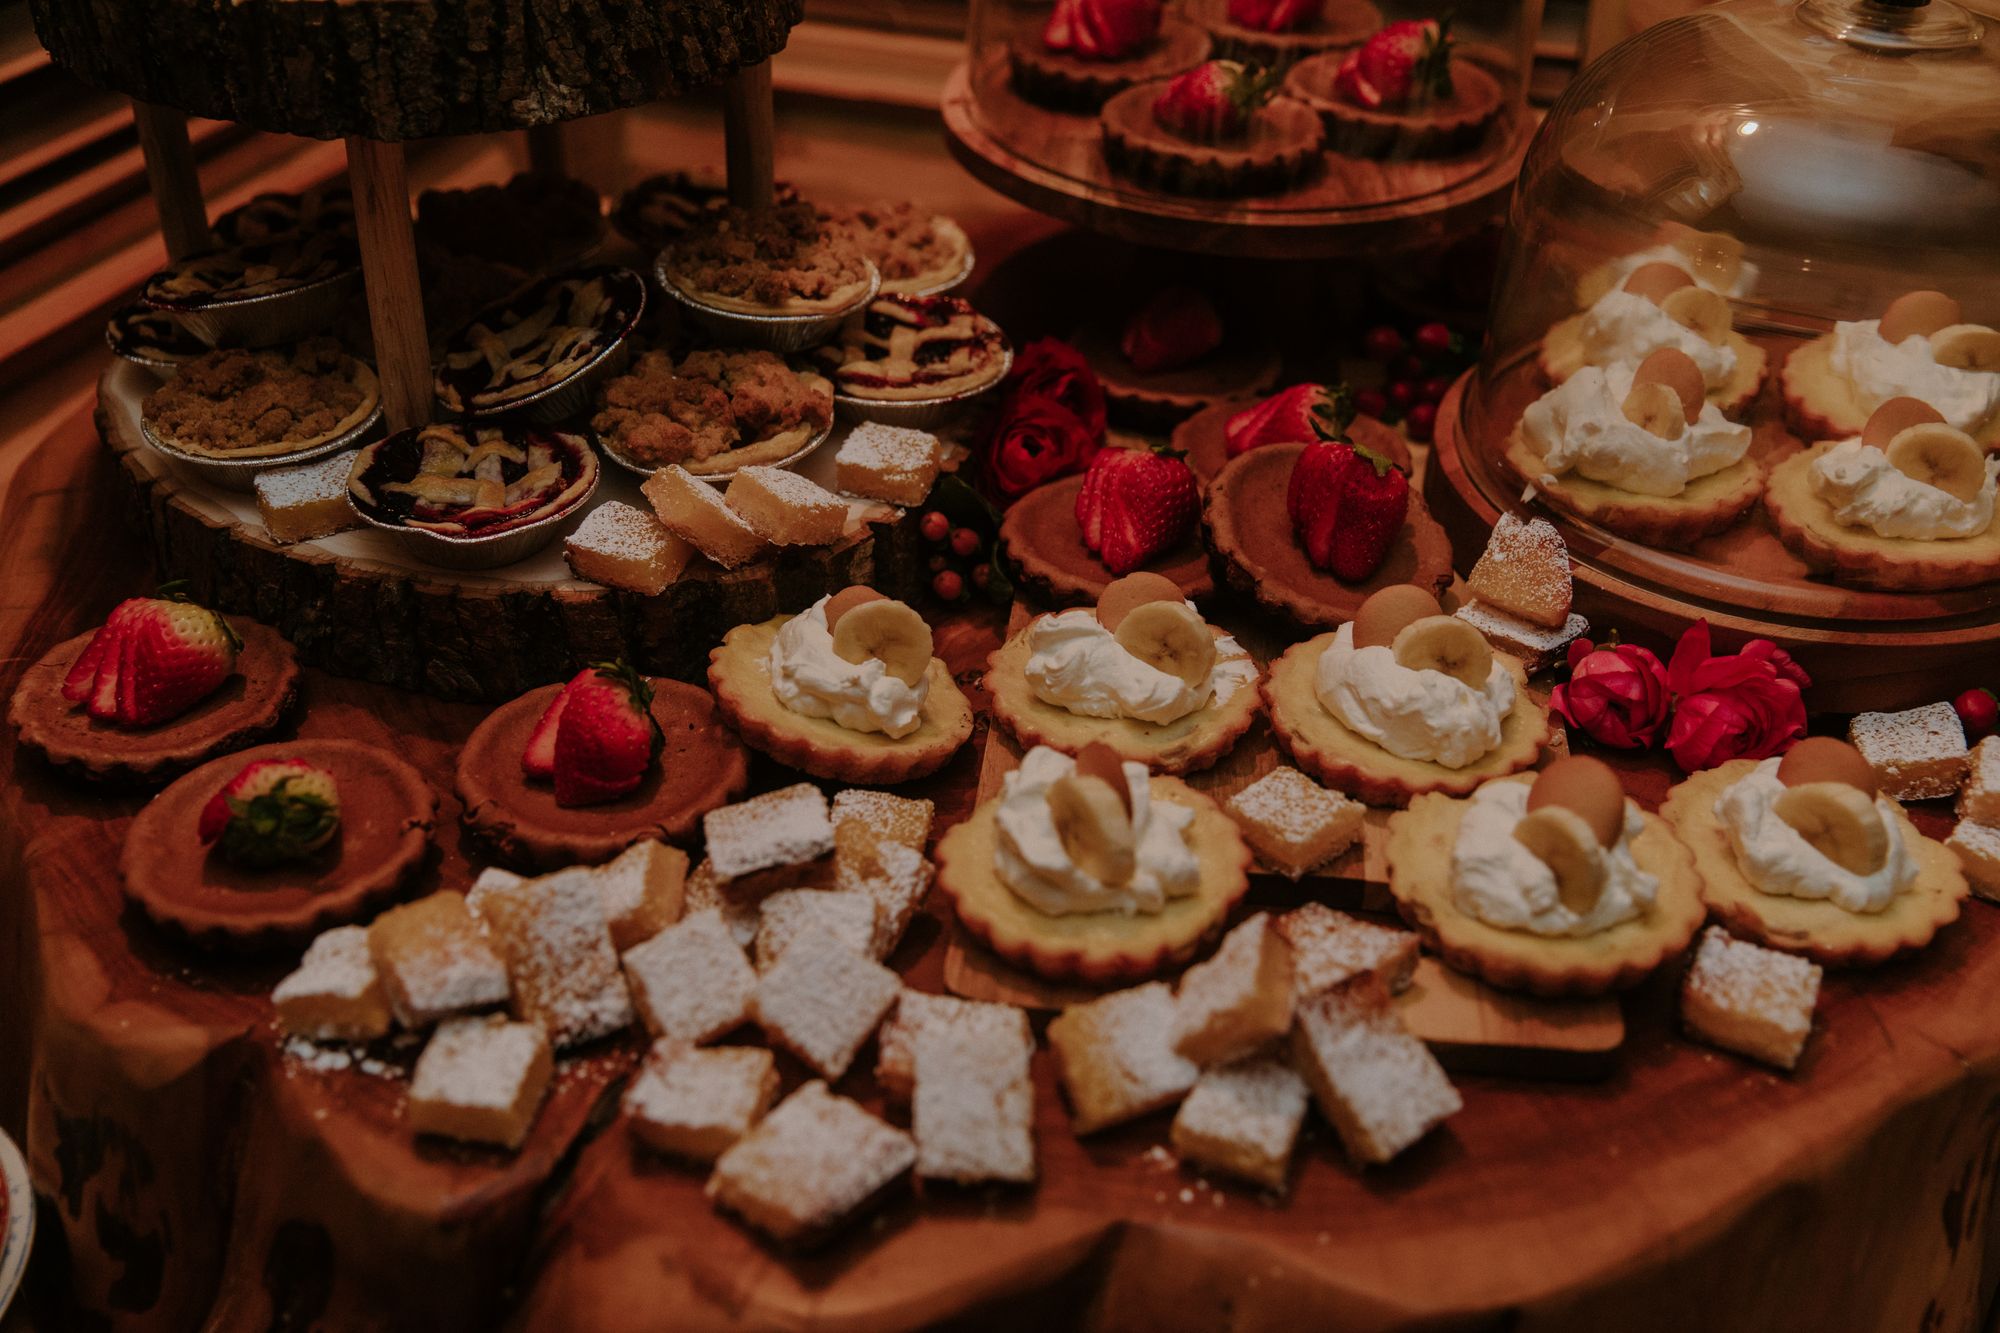
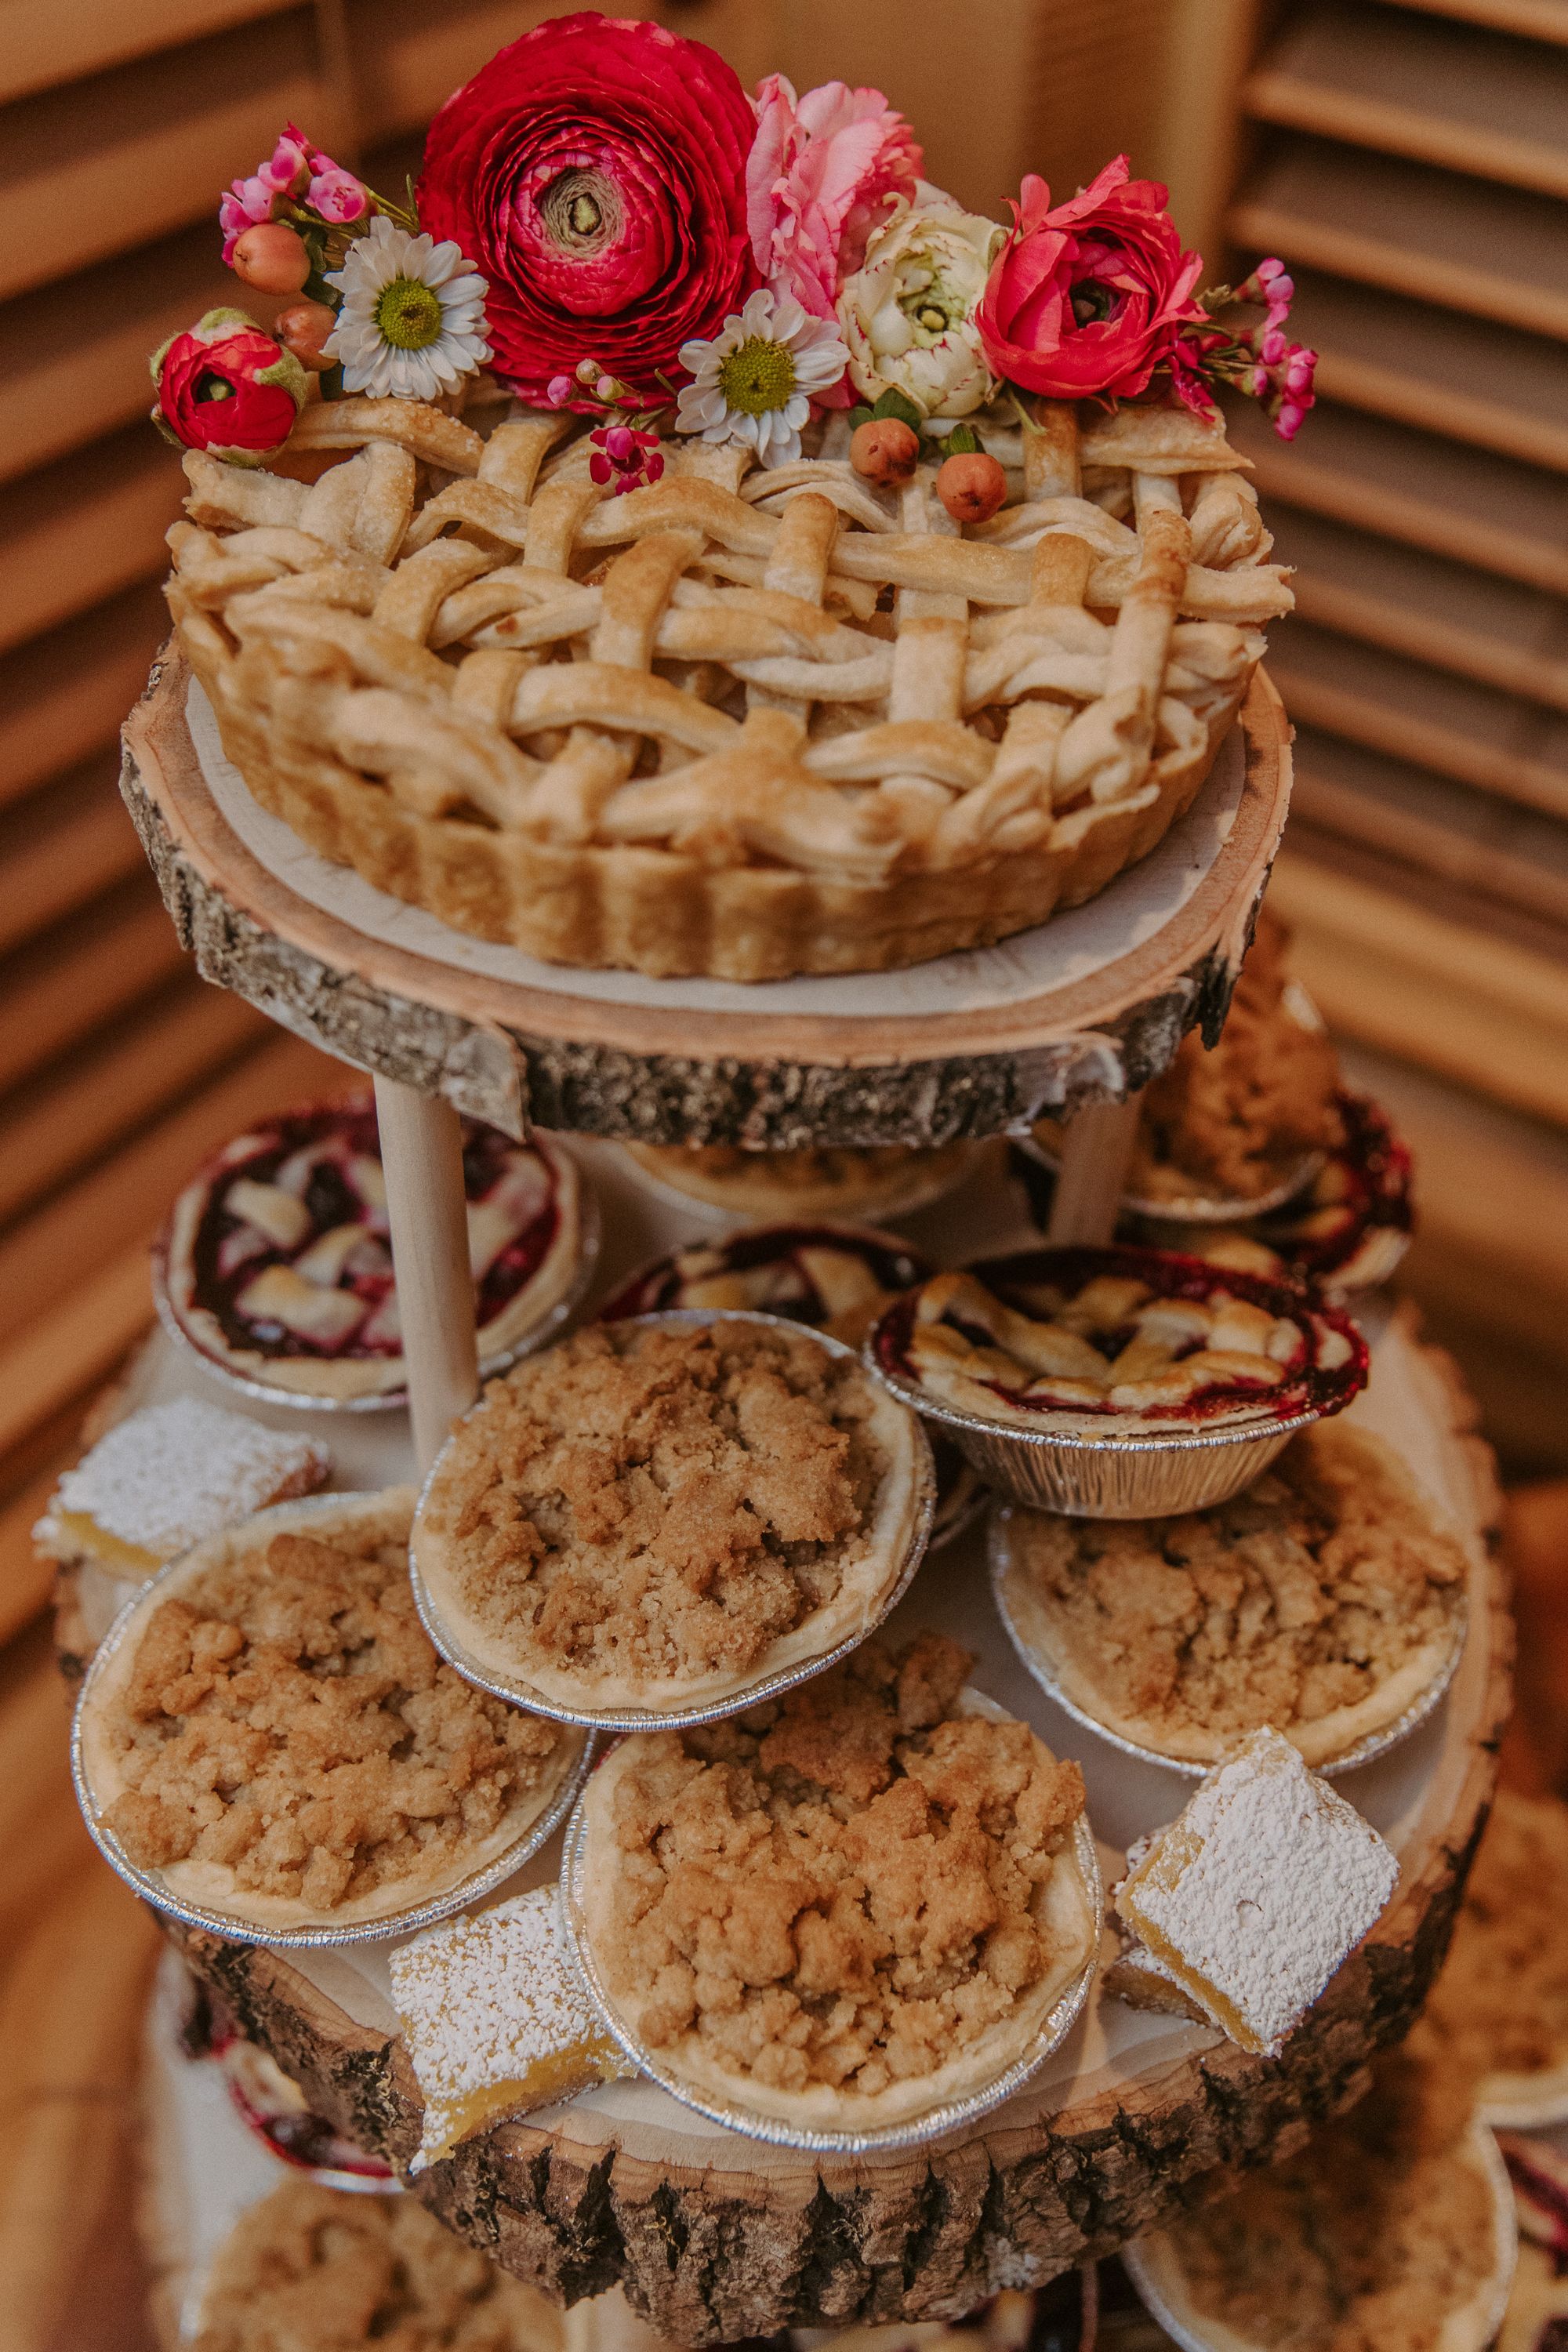
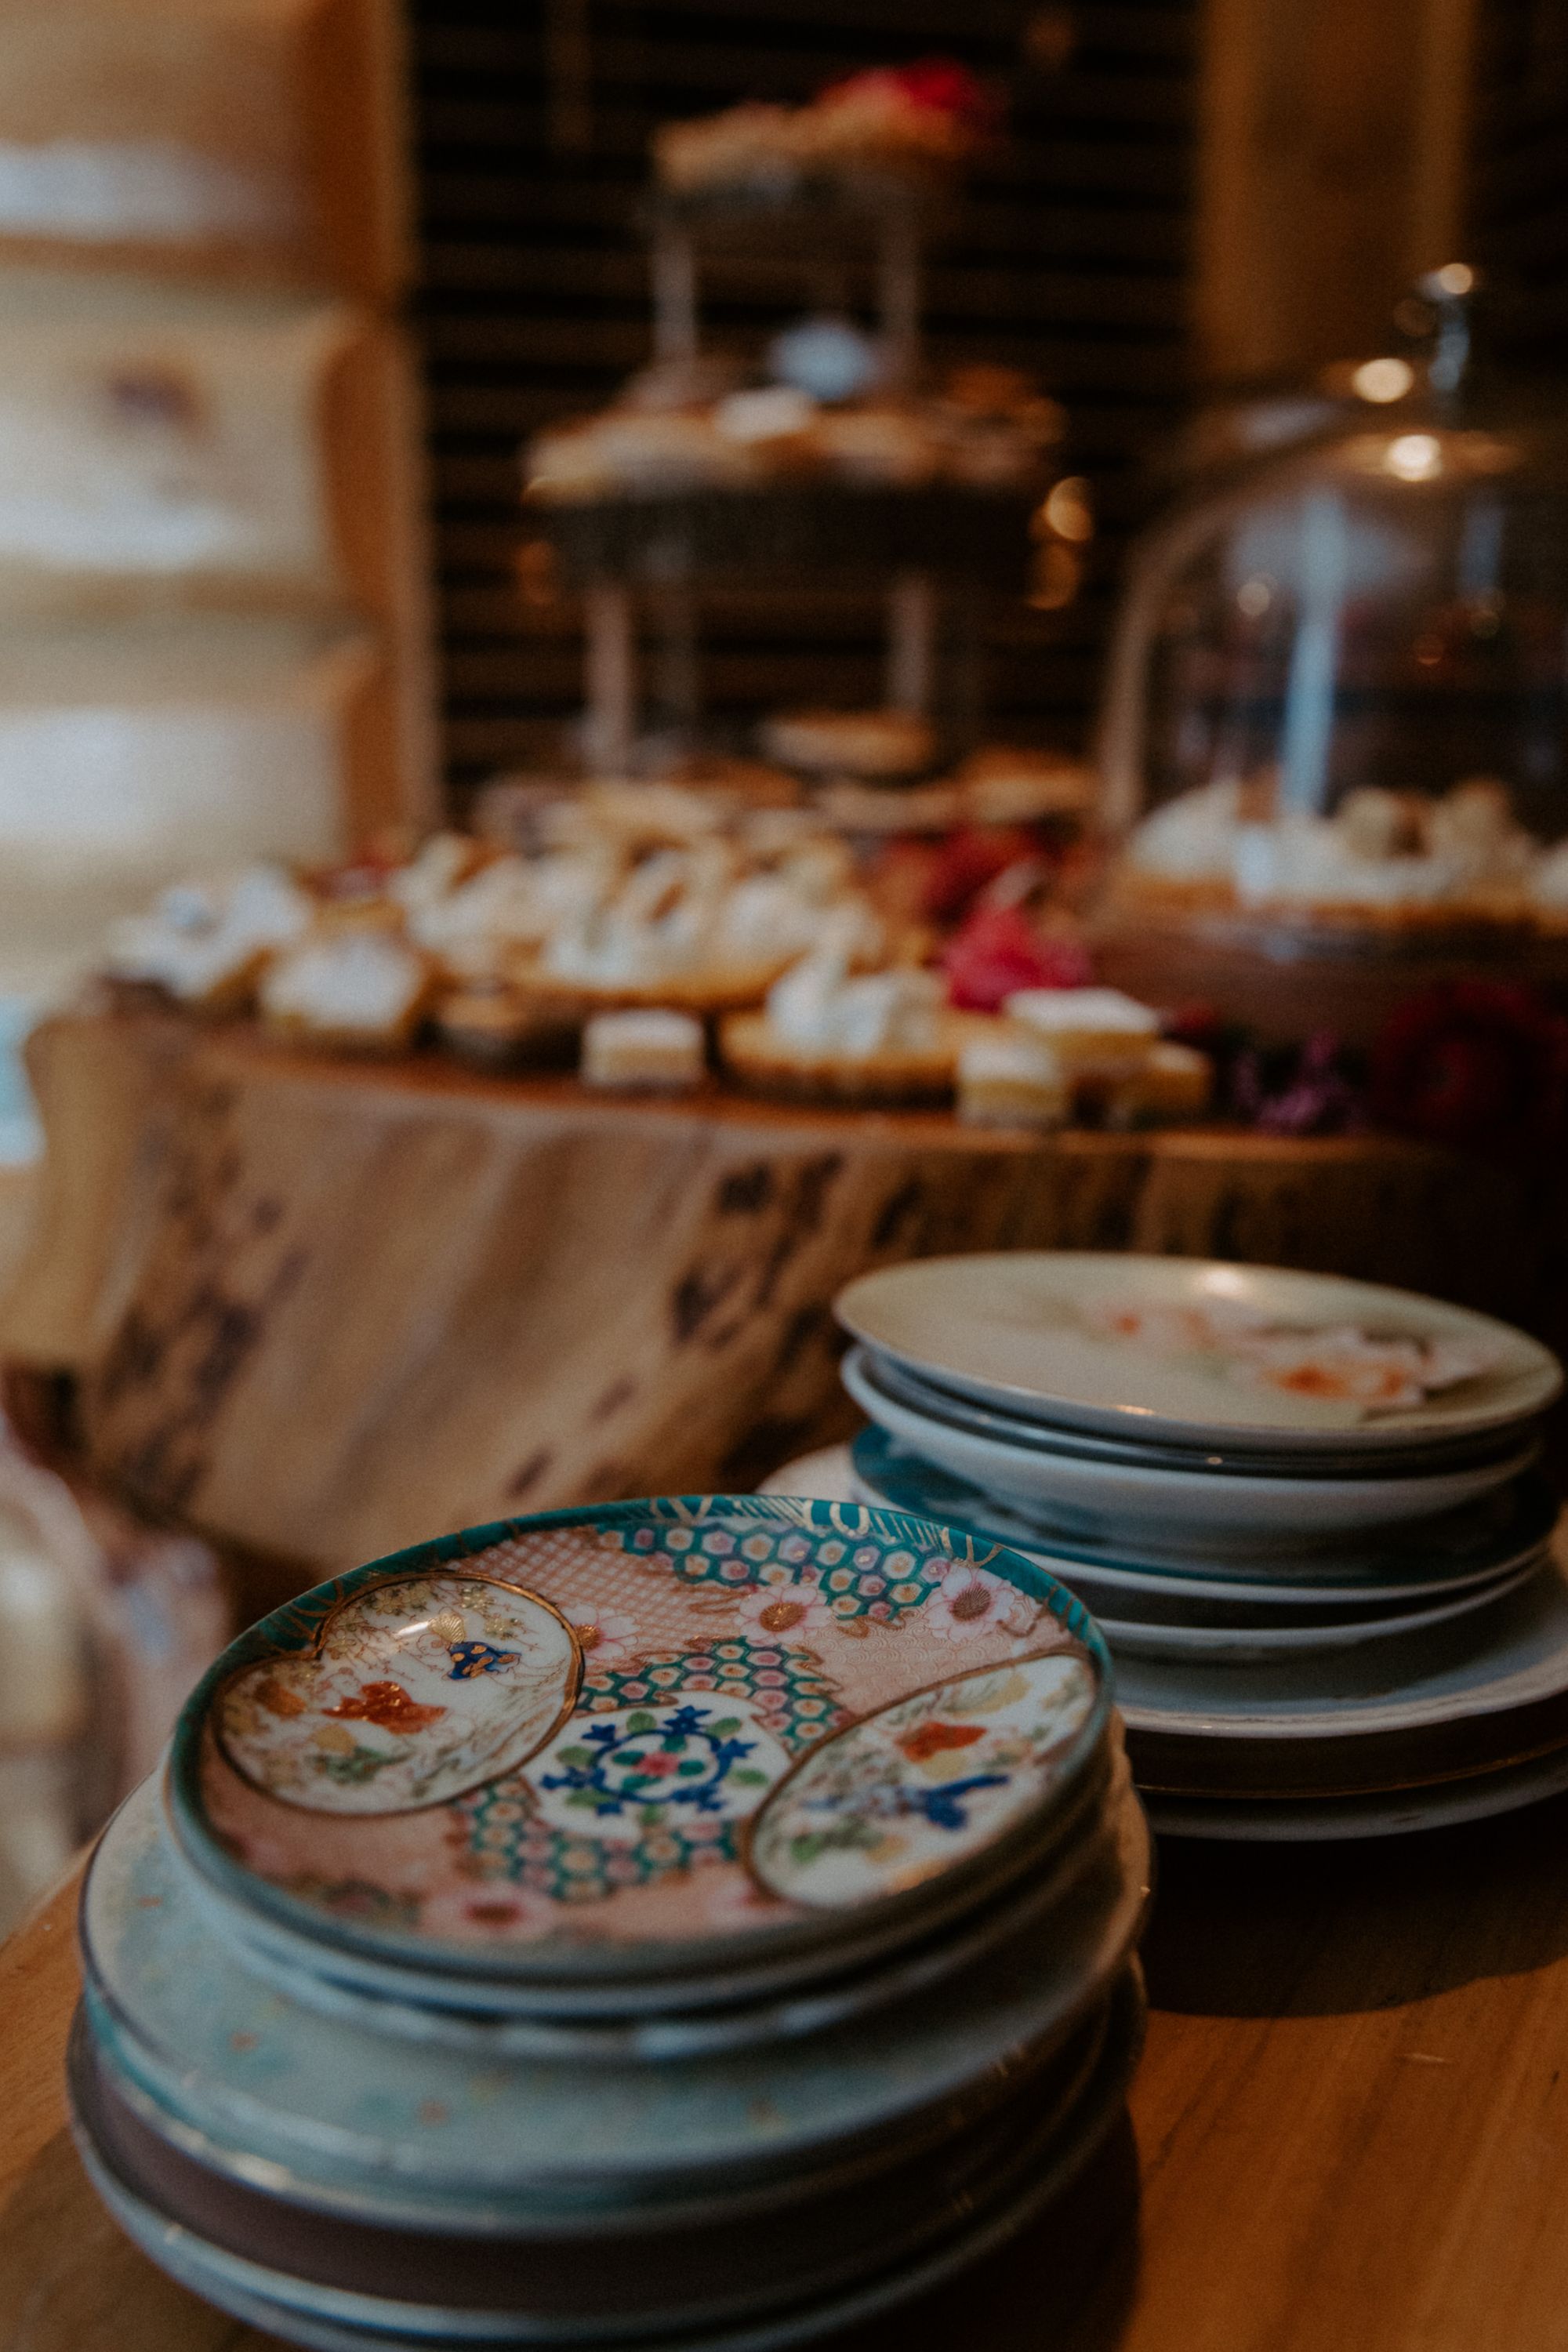
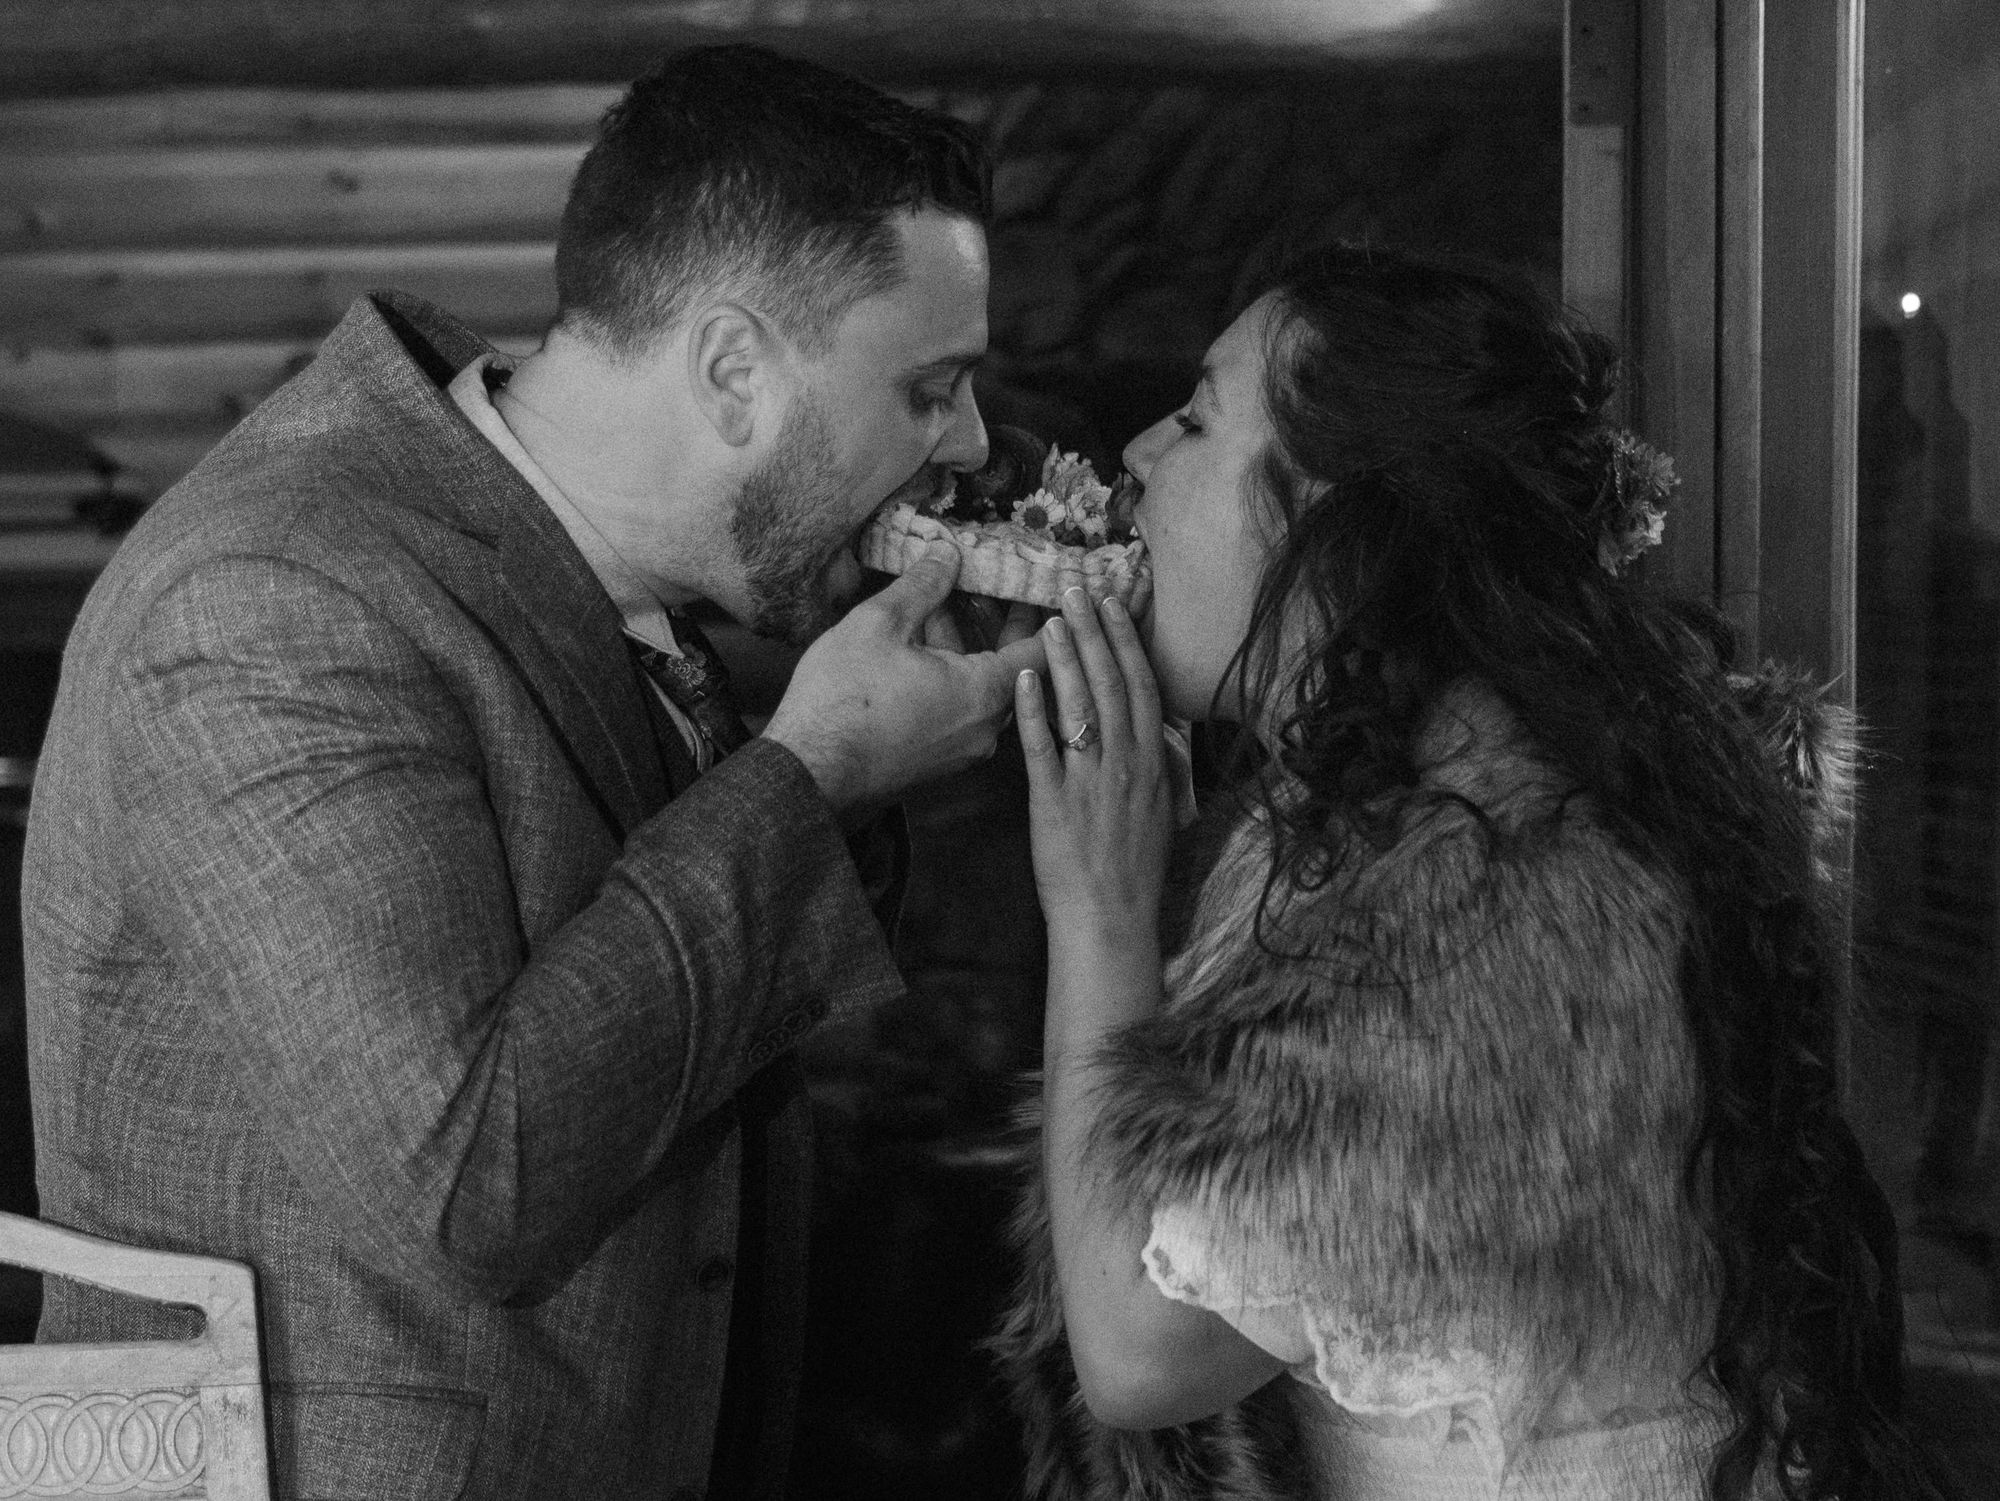
DIY Wedding Decorations and Equipment
When making my list of DIY wedding décor, I started with what was most necessary. Seating and dining was definitely at the top of the list.
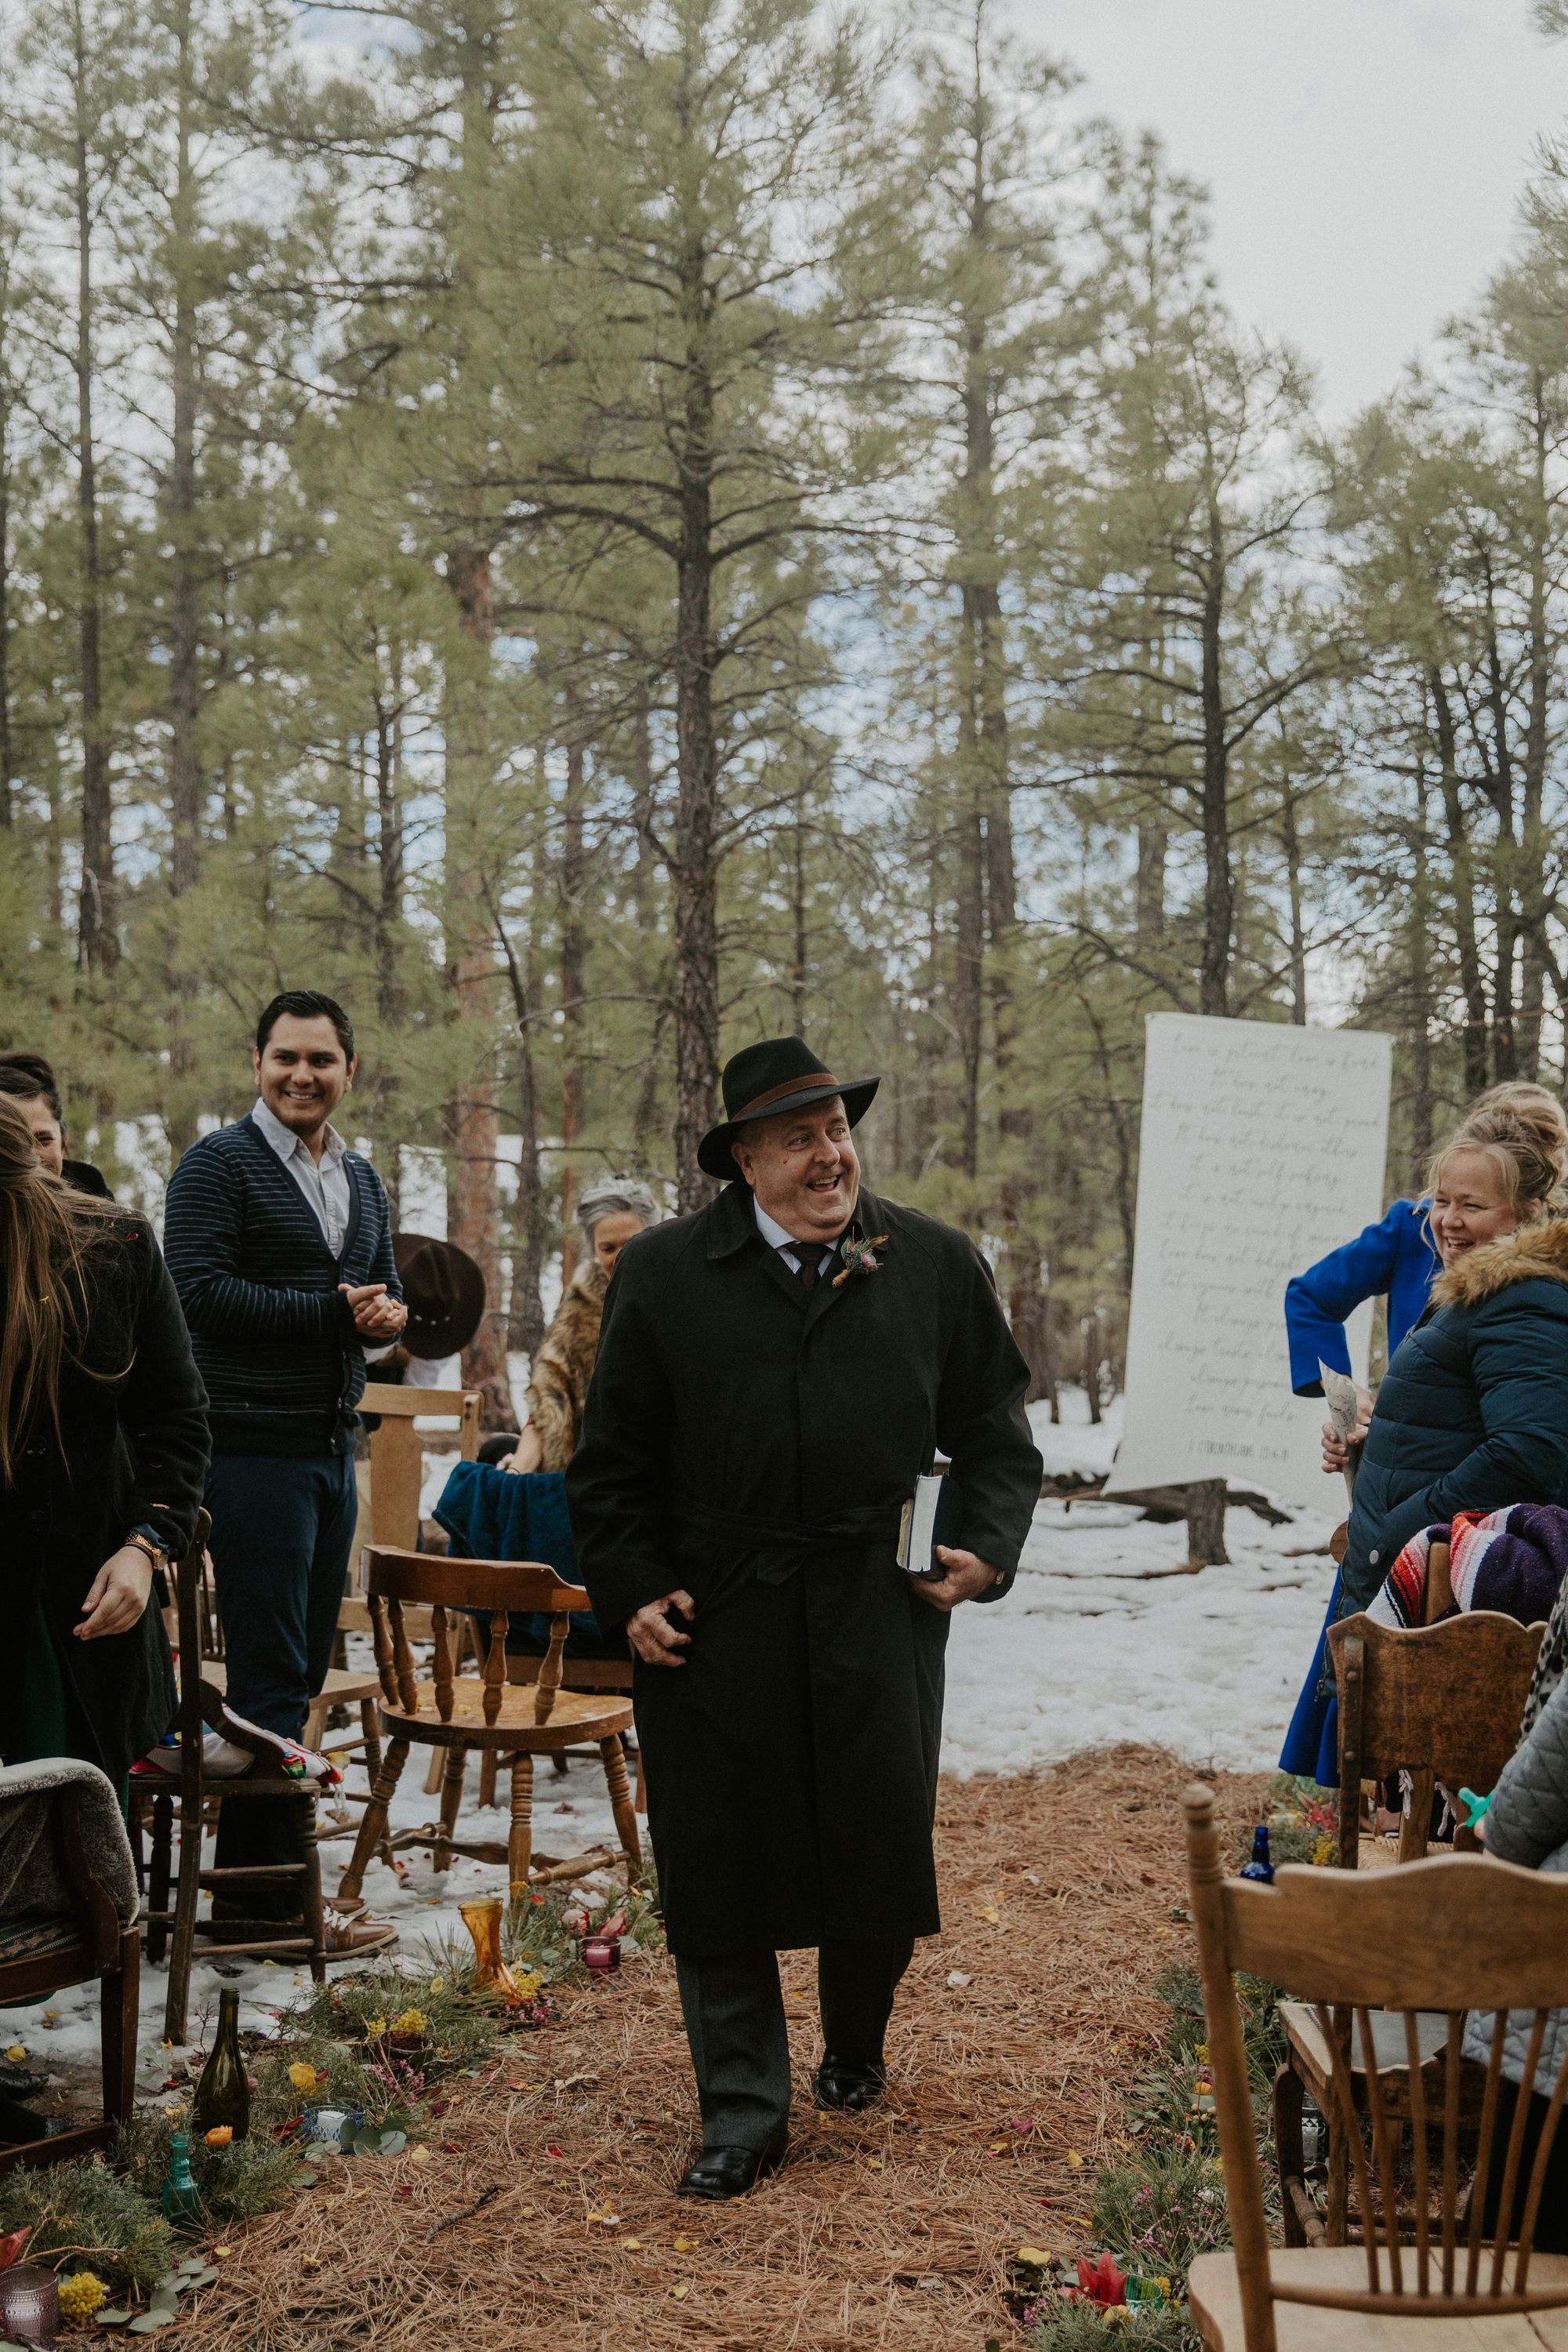
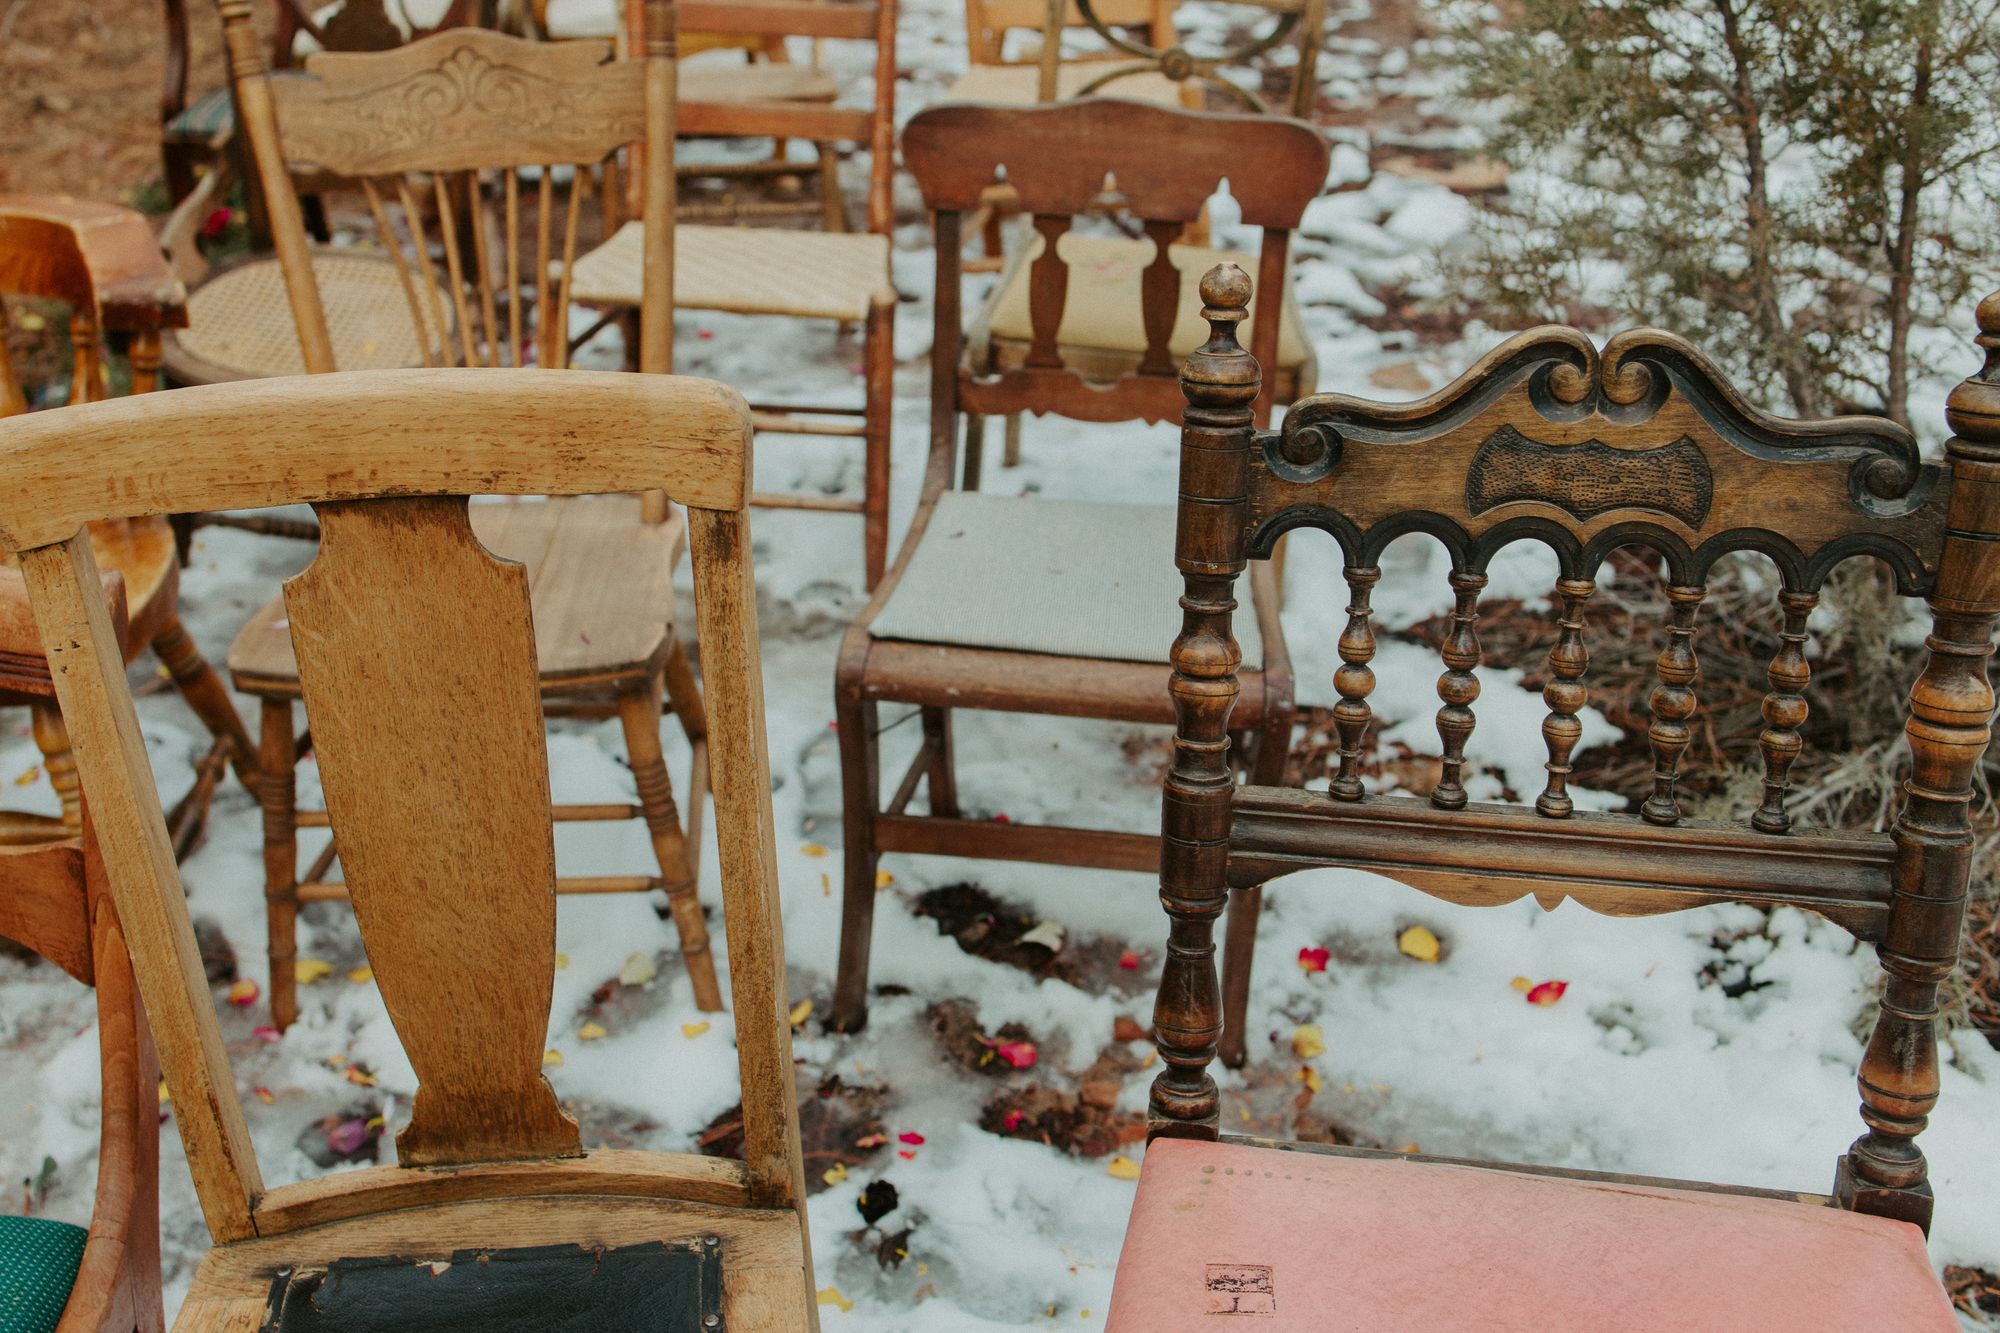
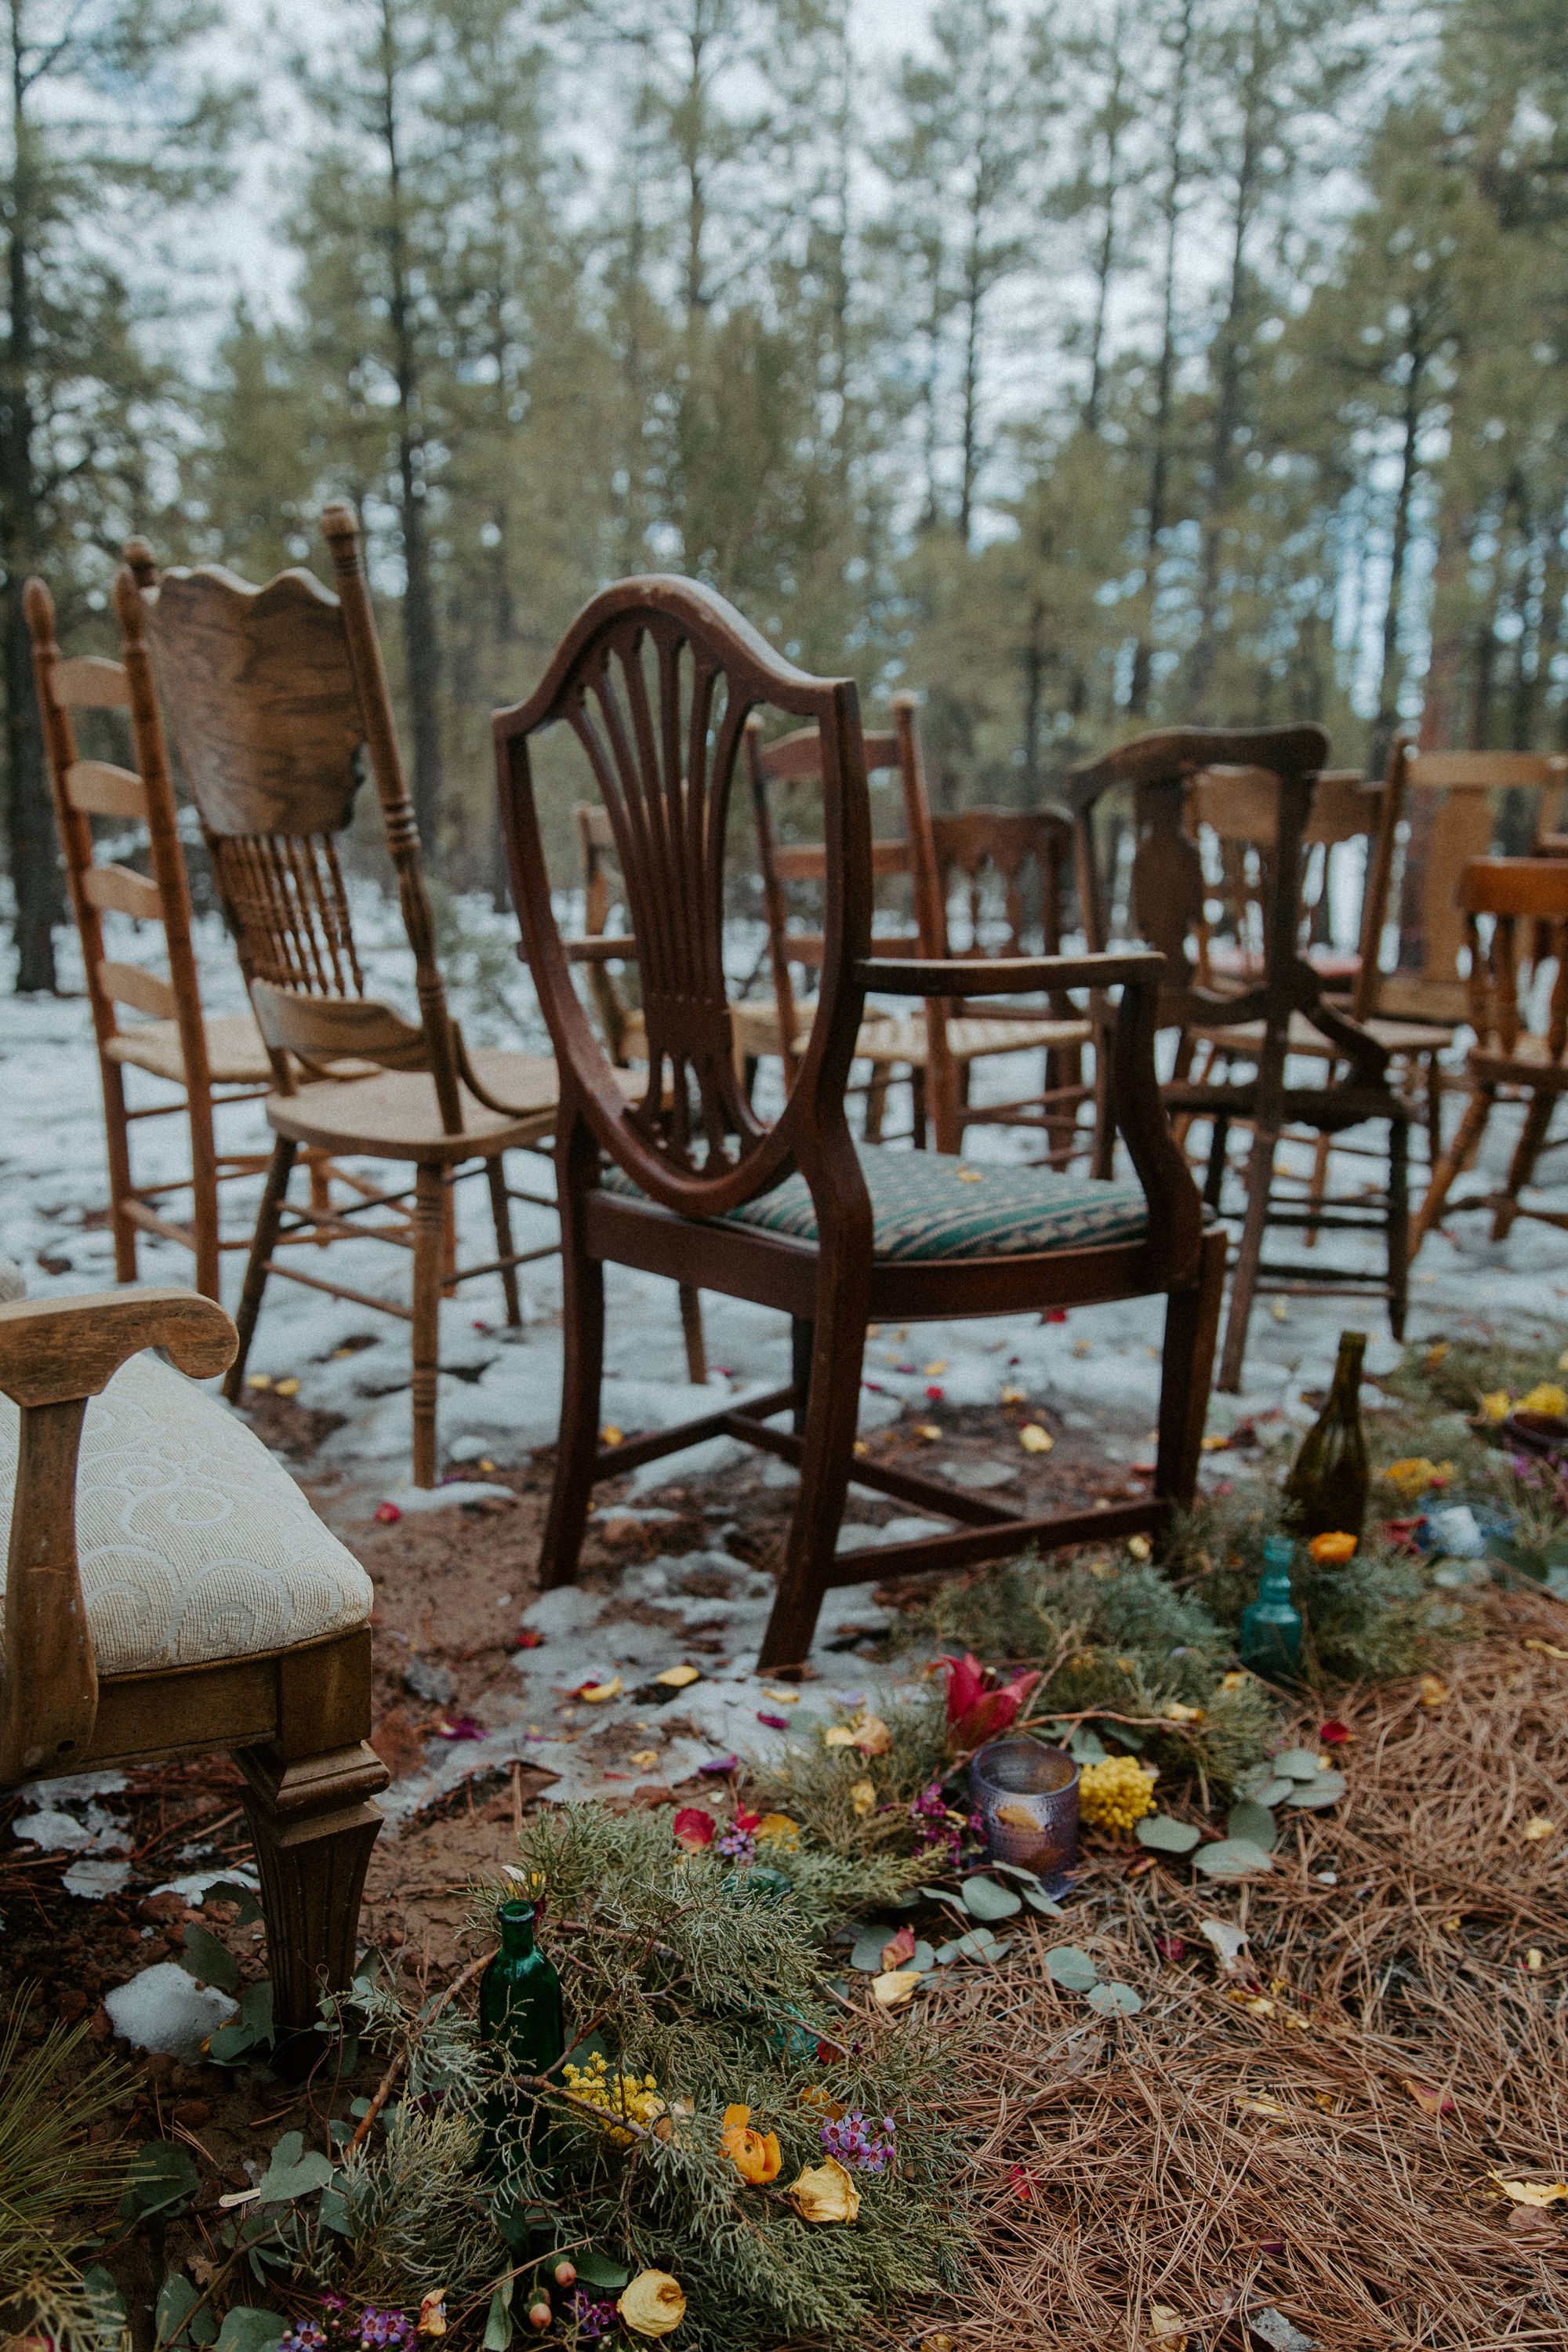
A lot of people like hay bales, or rustic wooden benches, or even tree stumps for their outdoor ceremony seating. While I liked all that, I wanted something a little more unique. Imagine my excitement when I found eclectic, vintage chairs from Rustique Rentals, a local event rental business. But hmm…$3 per chair adds up…
Wait, other rental companies are charging $2.95 for basic, wooden folding chairs? Oh, and they want to charge us extra if we have to pick them up the day before?
I was sold: $90 for a random selection of 30 unique chairs is totally affordable in comparison. Besides, they got double the use between the ceremony and reception!
Due to limited capacity on the cabin’s balcony, we needed exactly four 8-foot tables. Luckily, Taylor Event Rentals in Phoenix offered 8-foot folding tables to rent for $10 each. I enjoyed working with this company because they were also understanding of our travel for the event and did not try to charge us extra, especially since we picked up and dropped off ourselves. One more good reason to shop small and local!
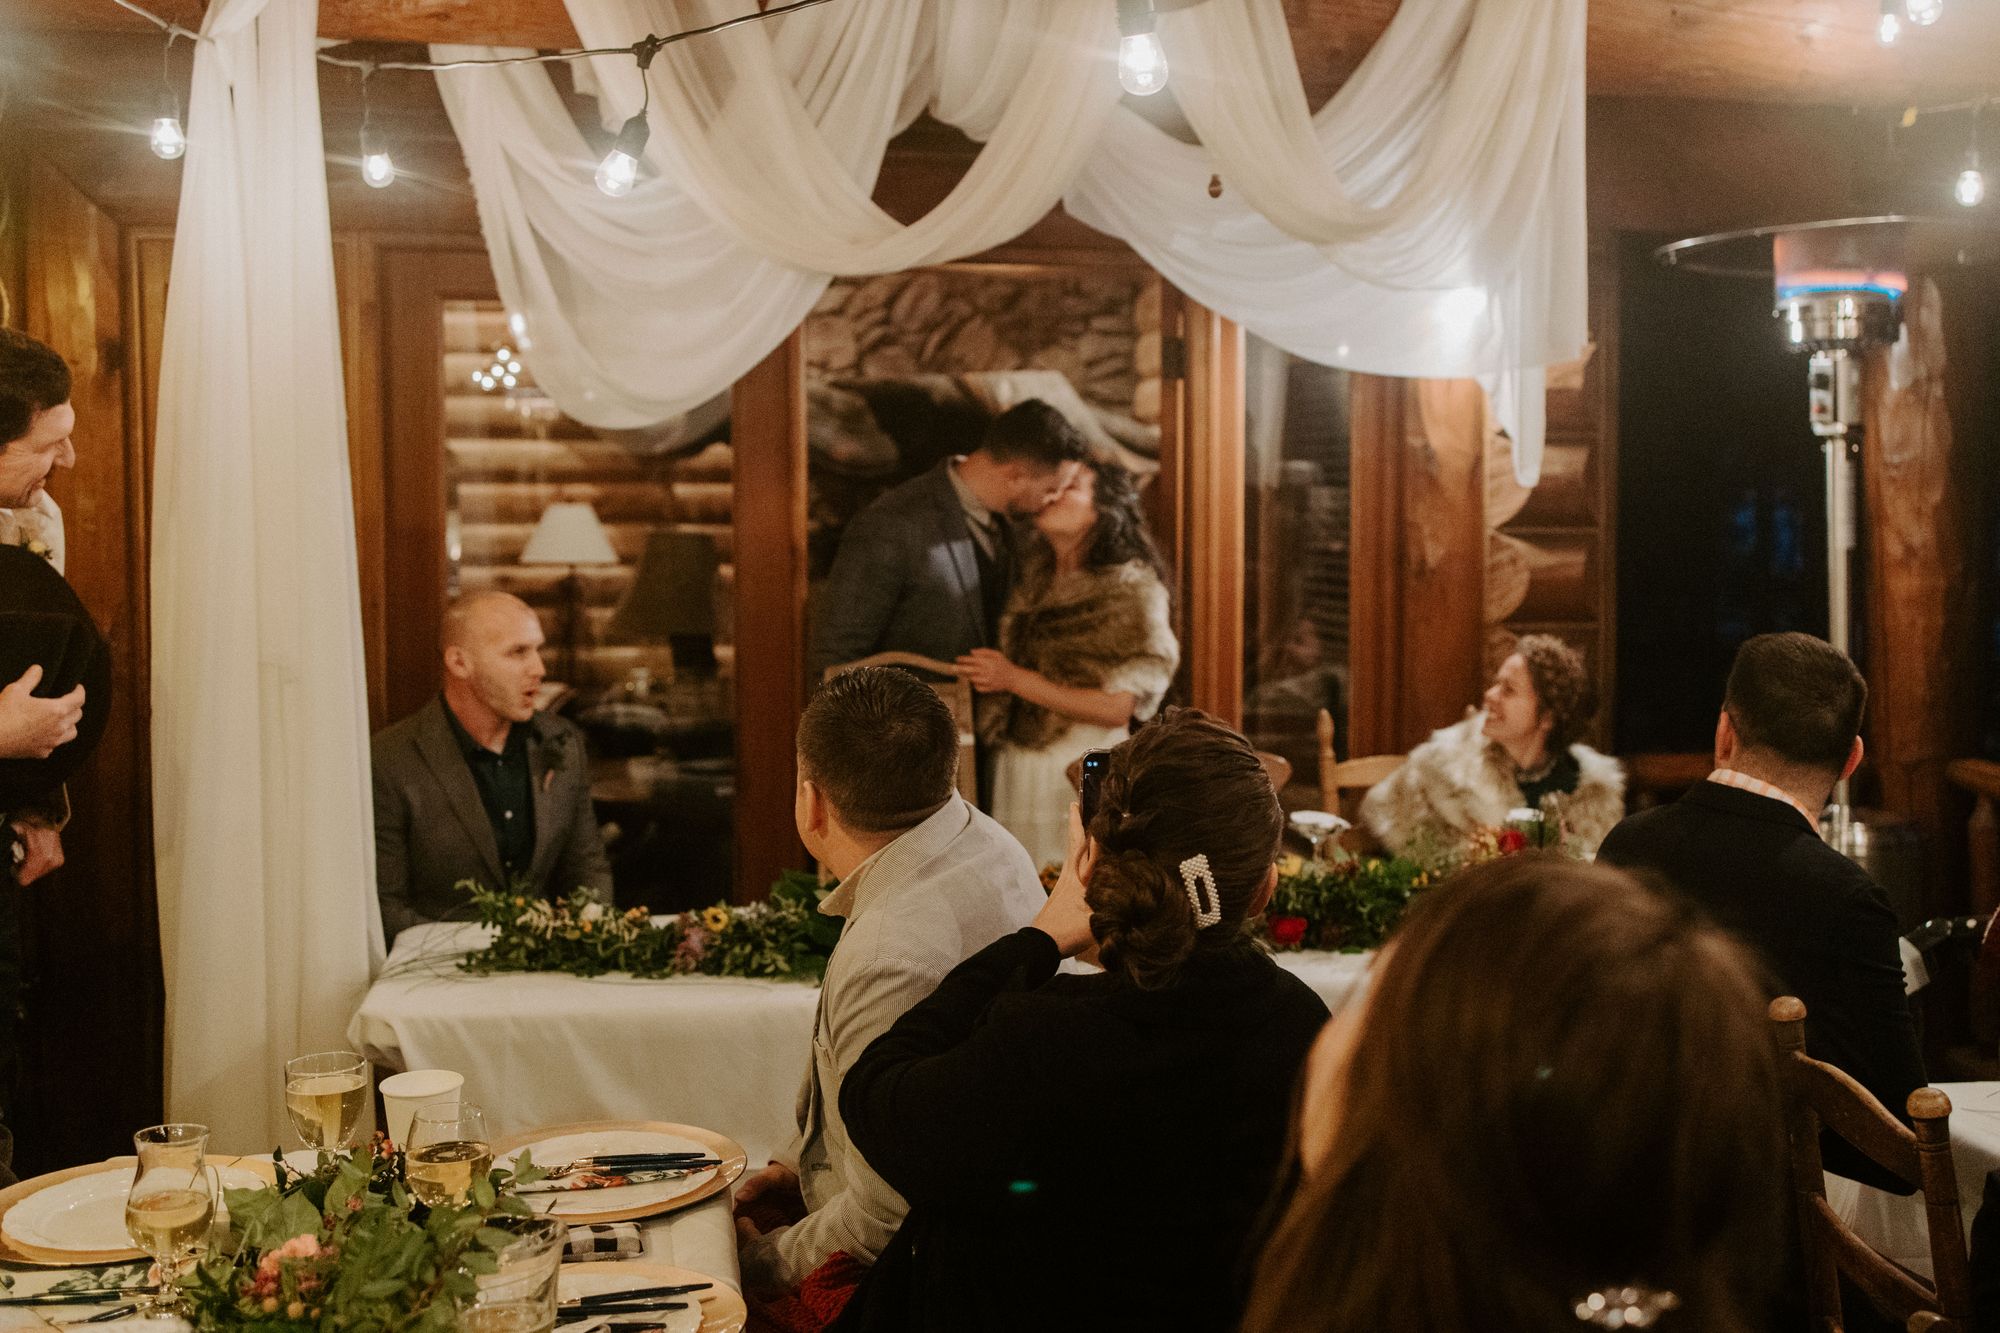
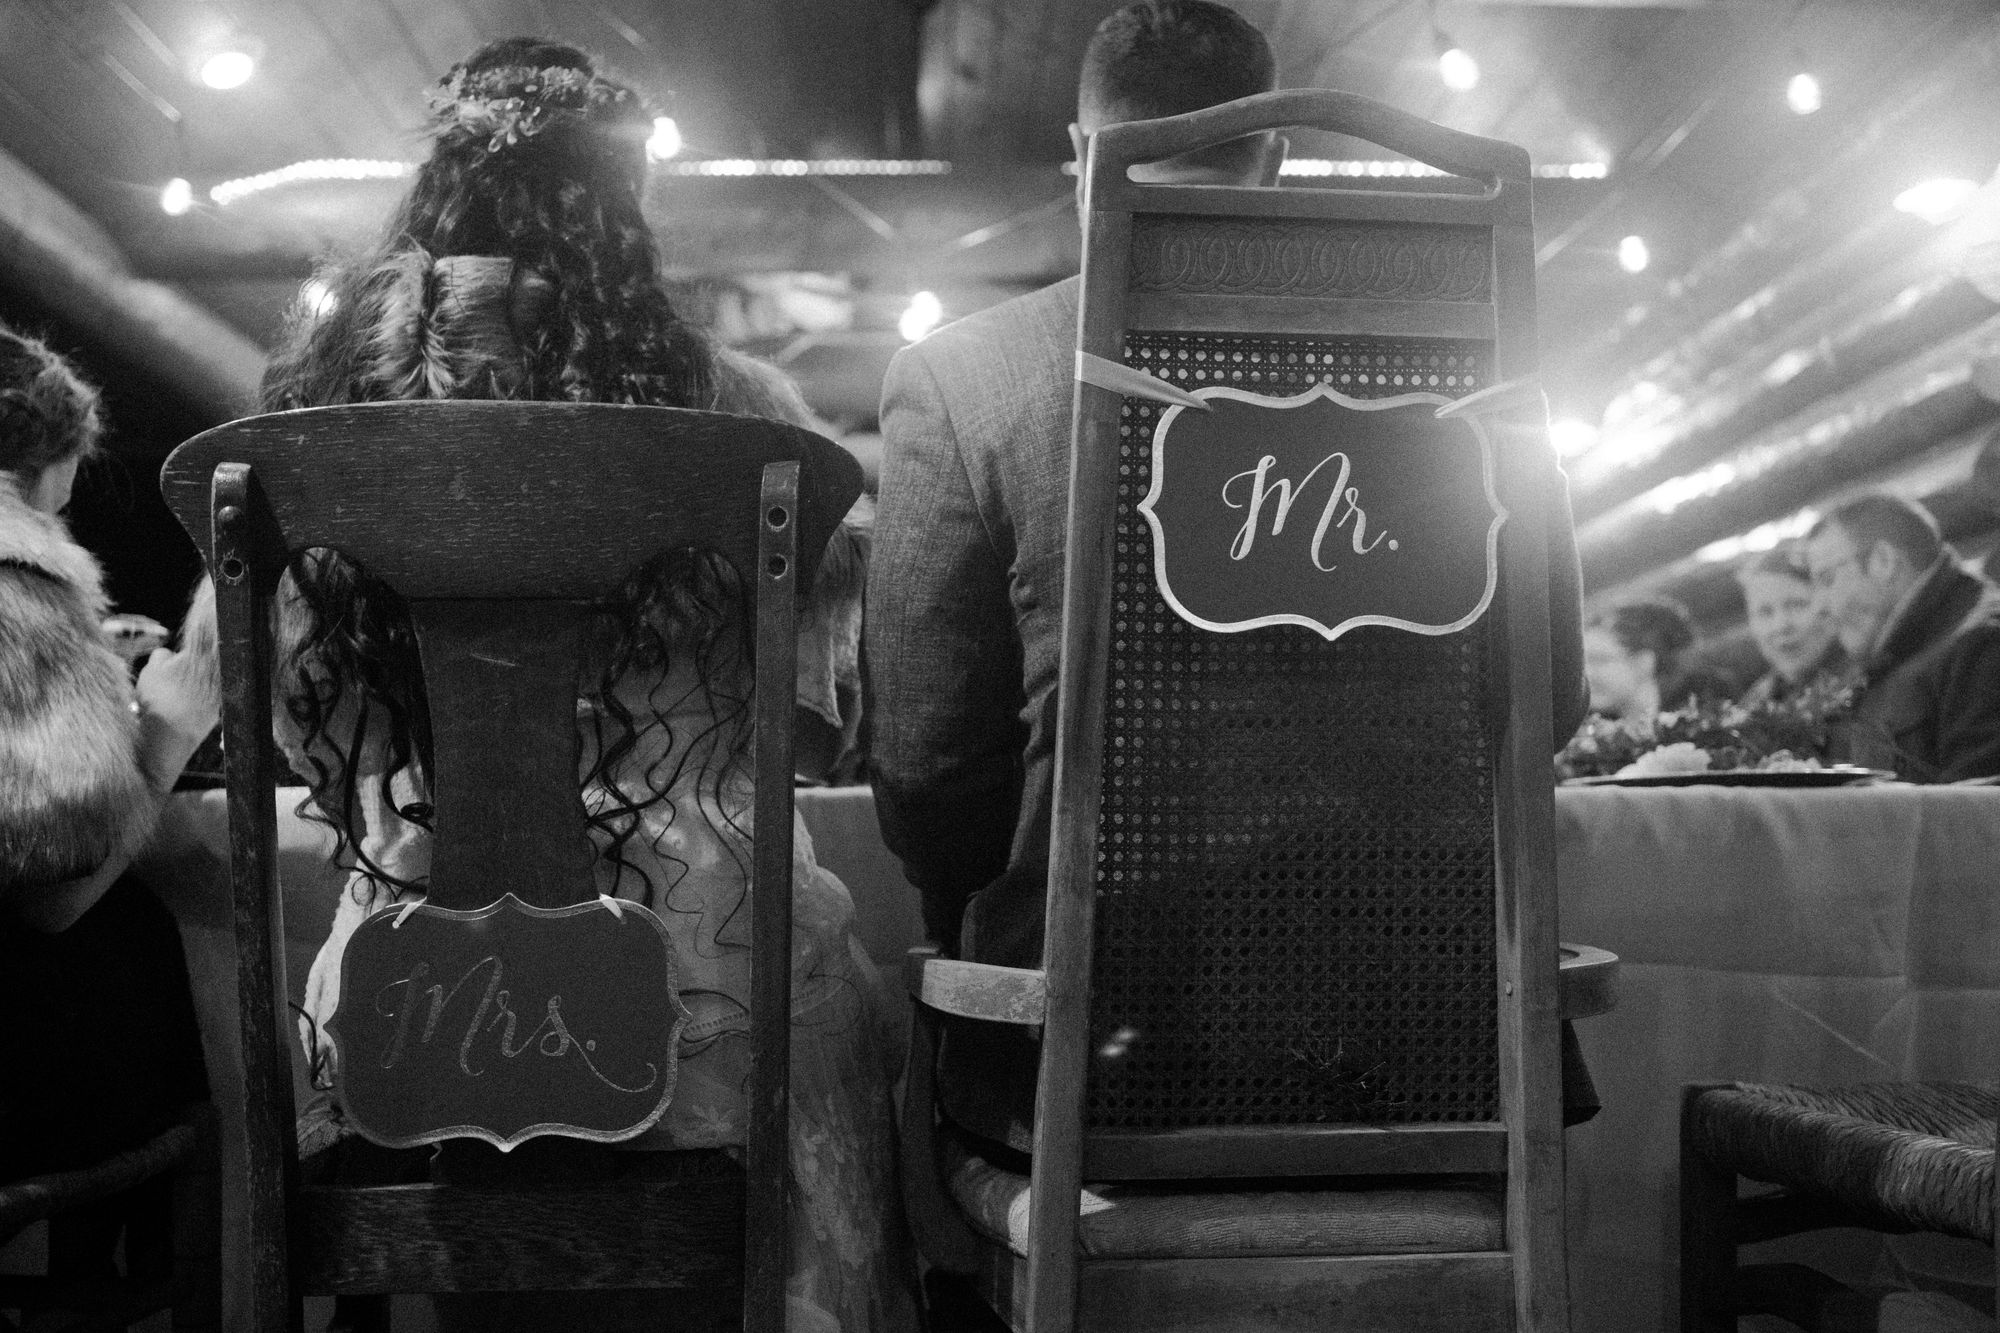
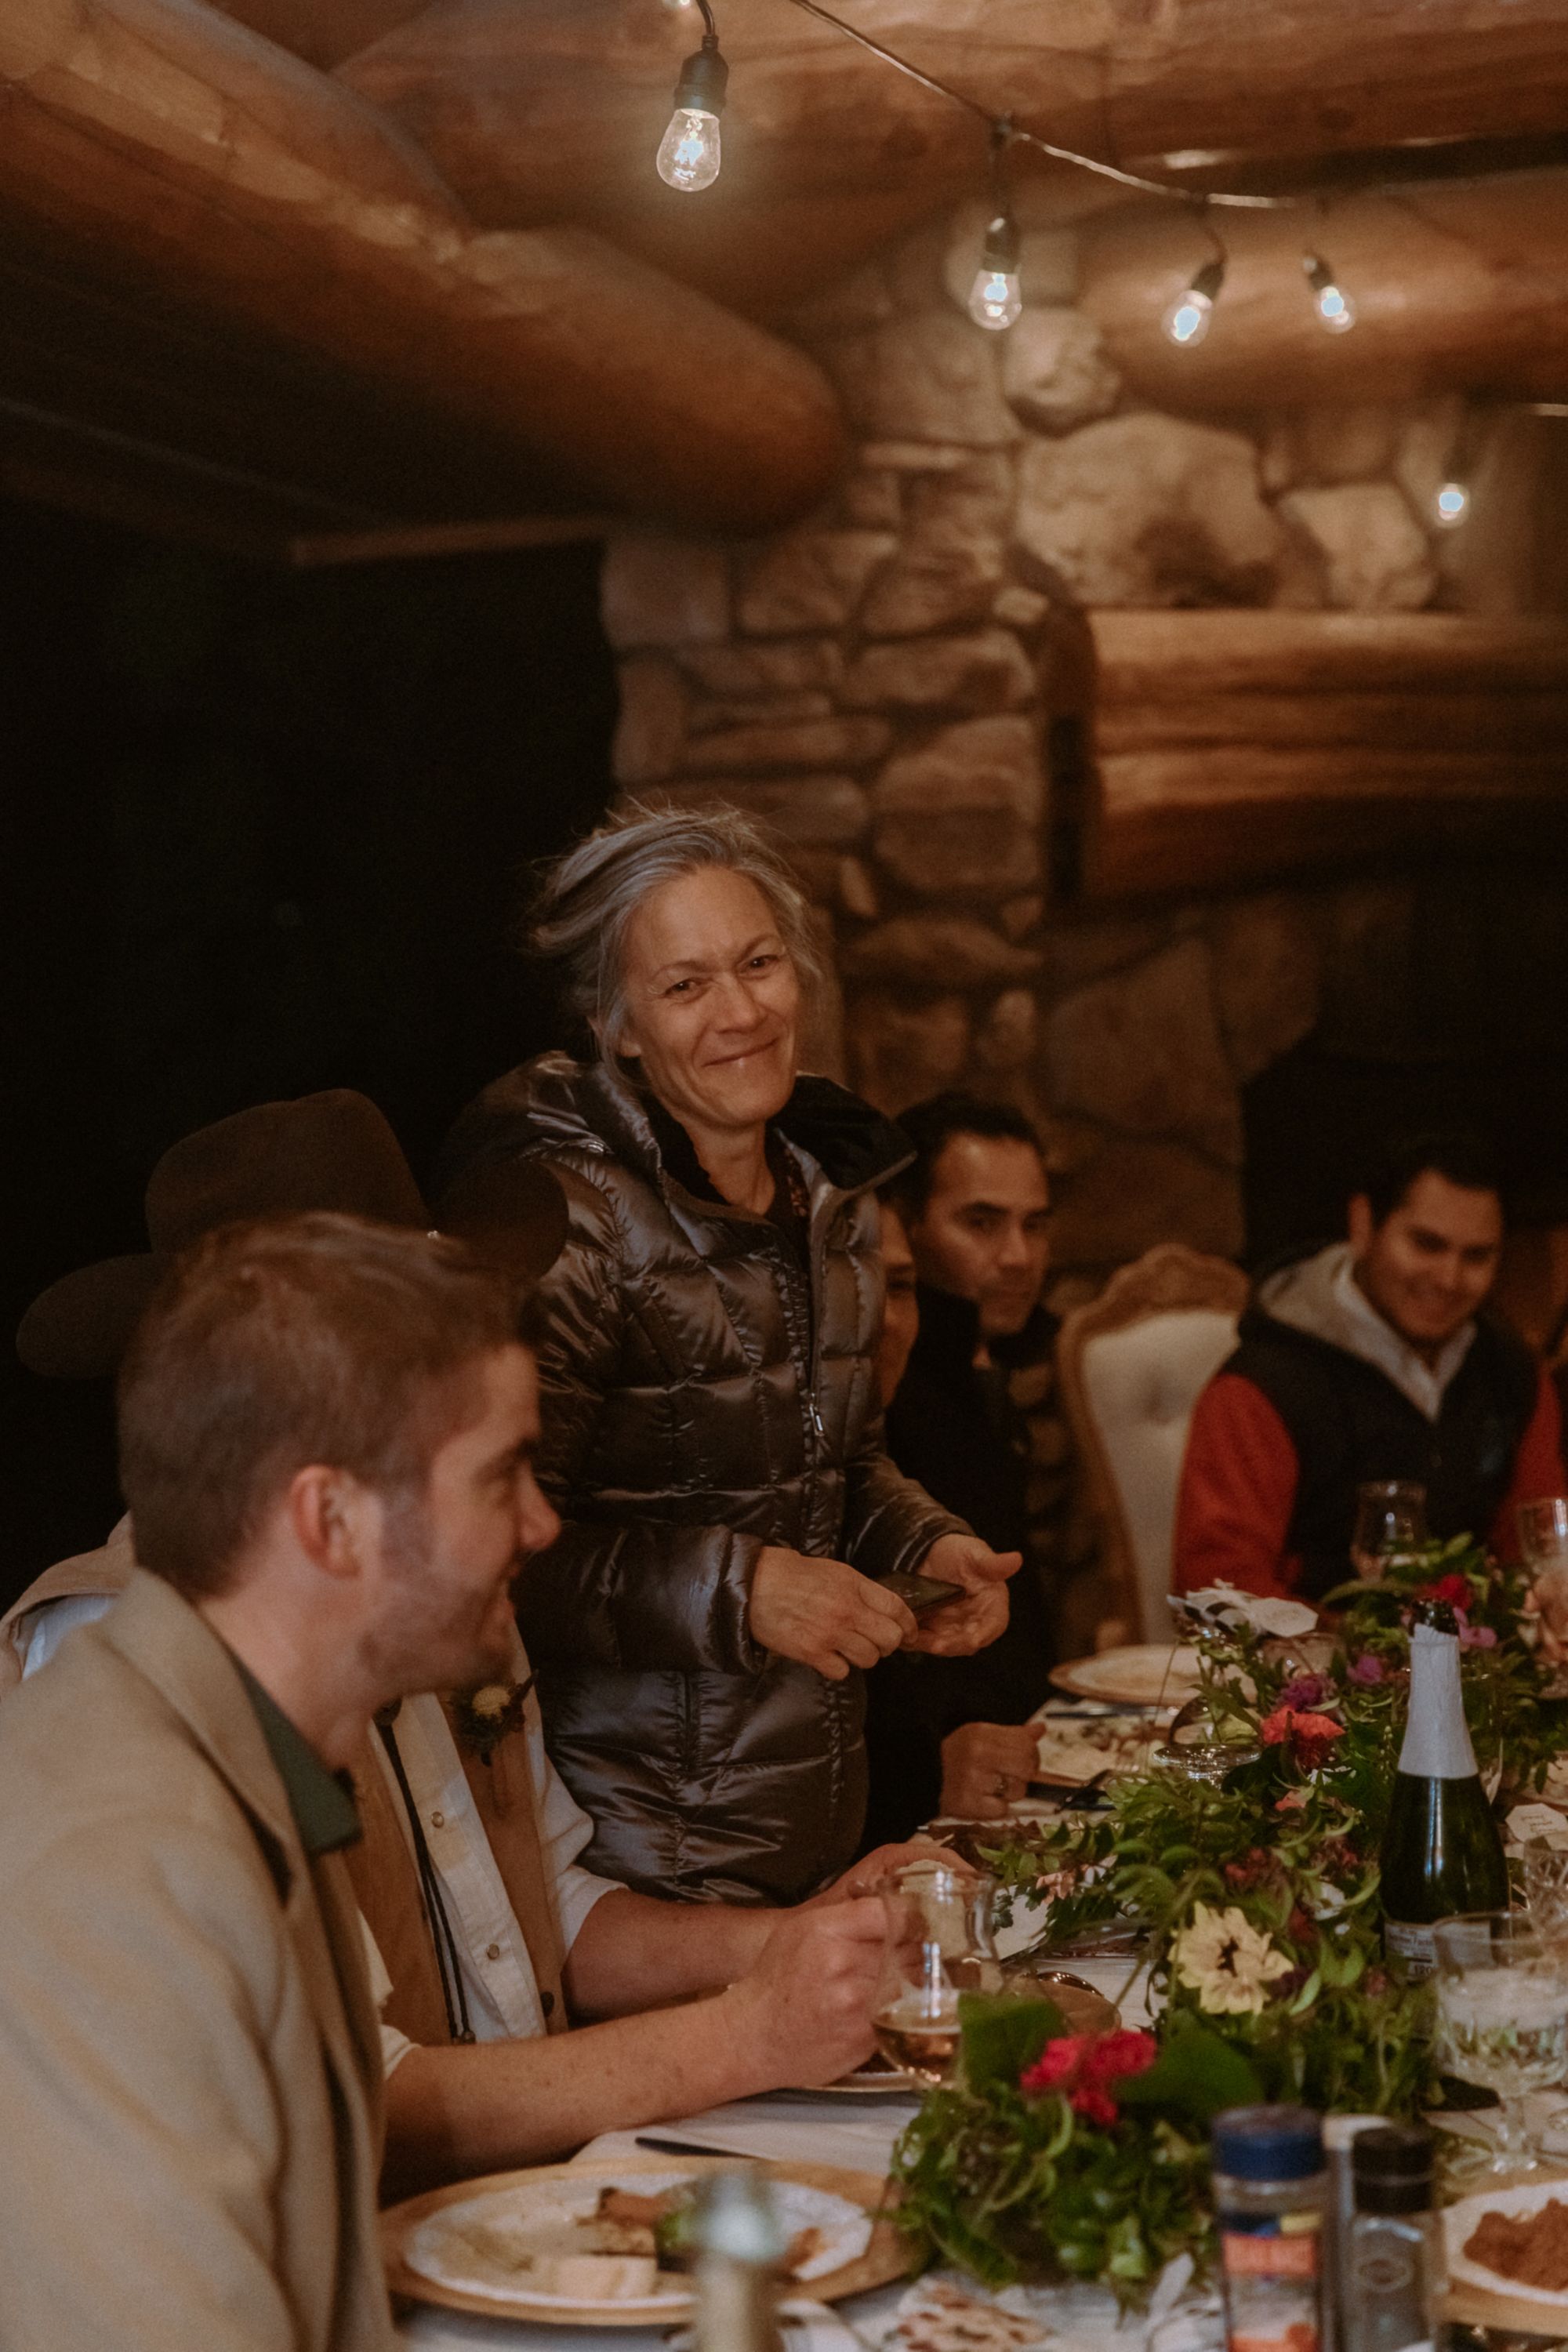
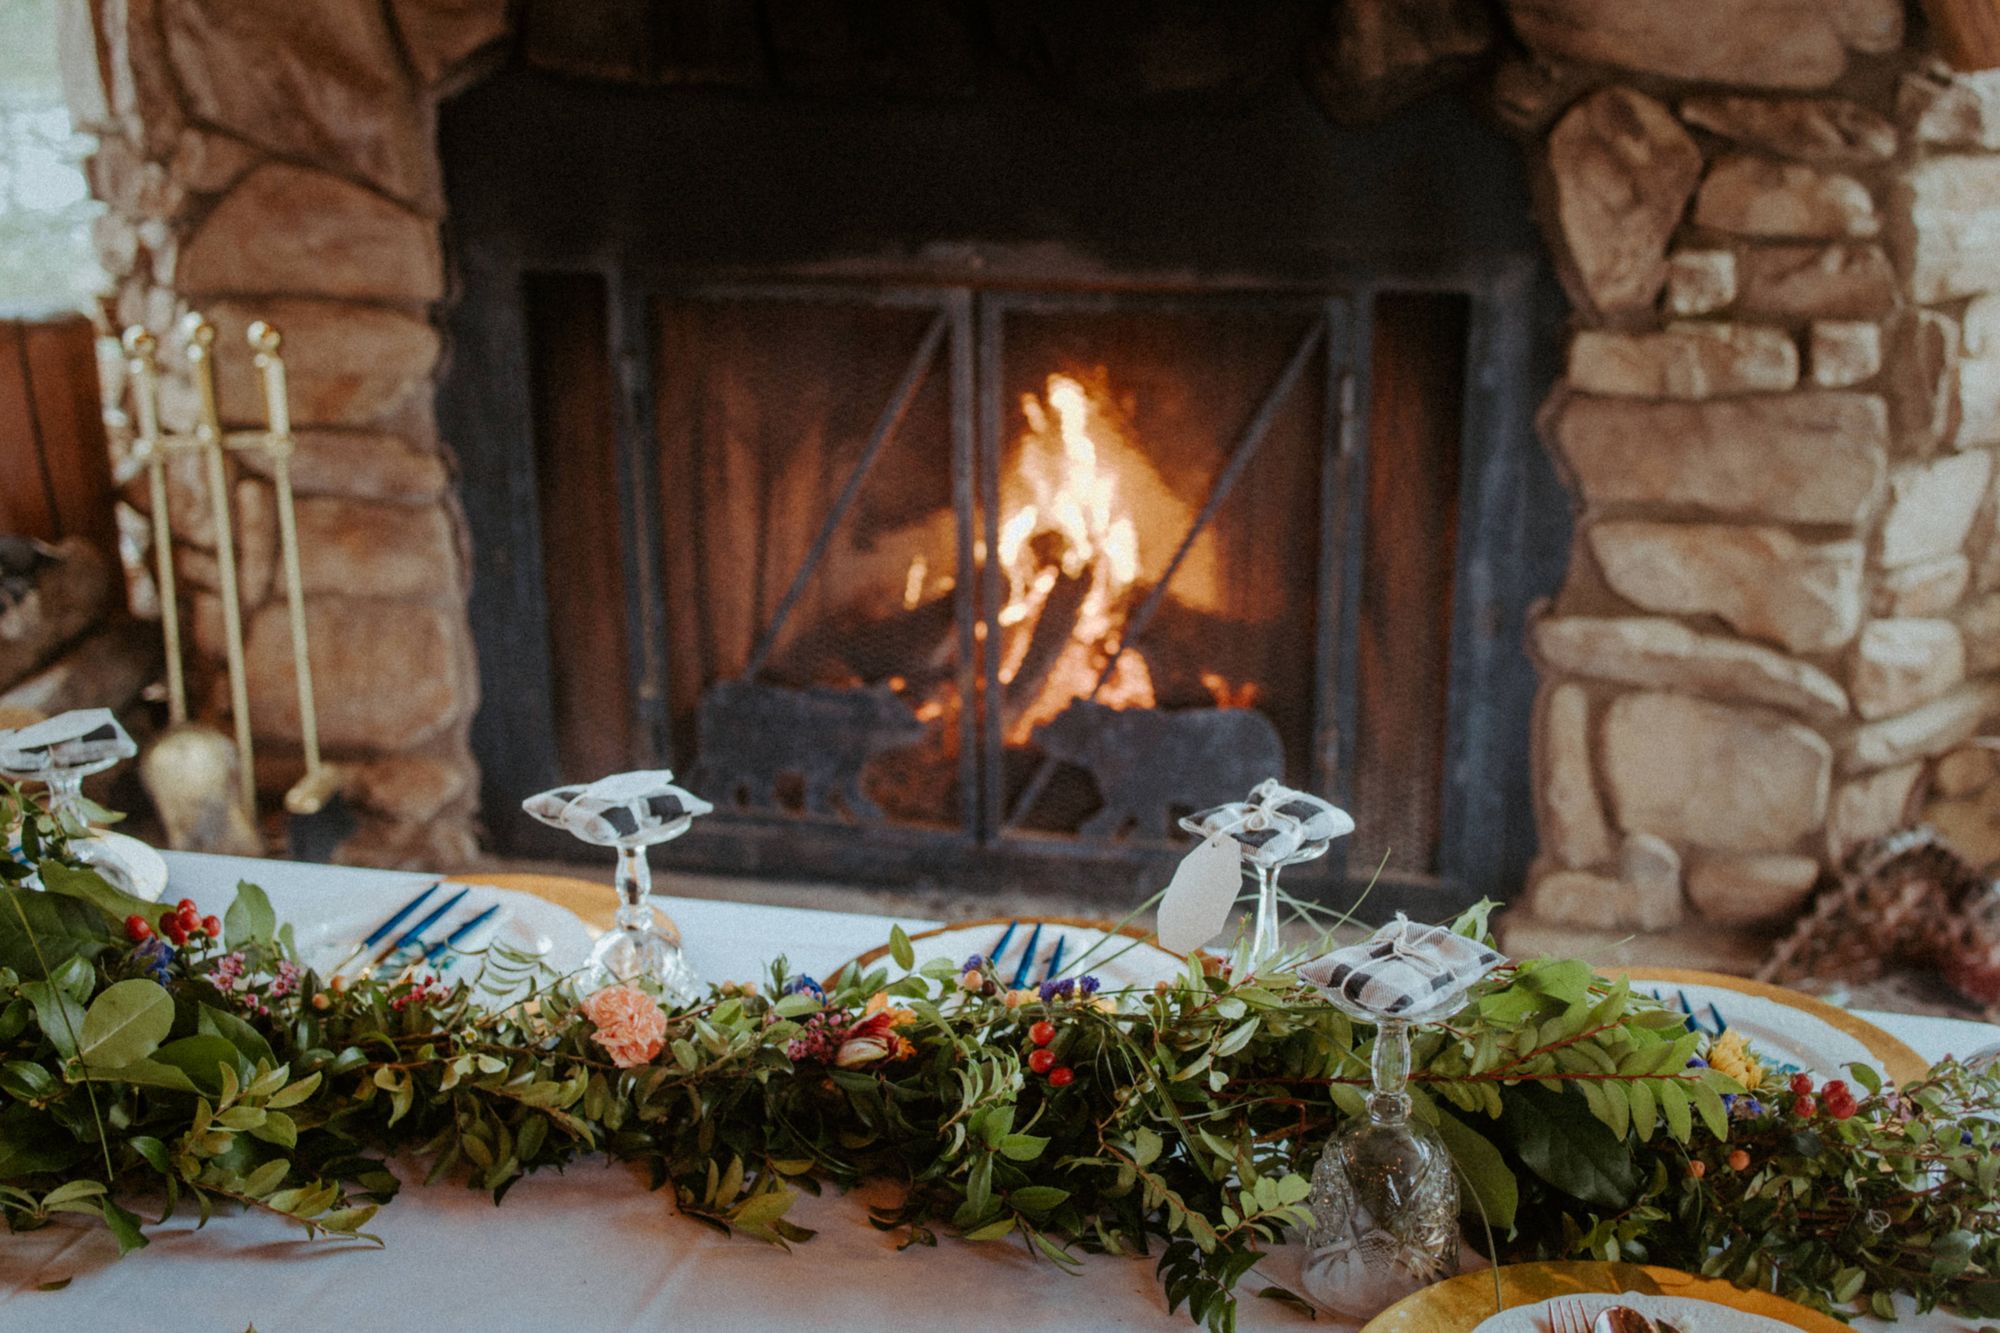
Now, onto the fun part – DIY wedding décor!
First of all, décor can add up quickly, even with DIY!
Check your own belongings first. Chalkboard signs, candles, sheer or lace materials, tiered stands for food displays, blankets, baskets, plants, and even cute tables can all be useful! Don’t be afraid to ask around, either. Once you know what you have, you can start searching for whatever else you need.
I didn’t want to waste money on stuff I’d never use again. Outdoor bistro lights could be used in our own backyard, so I had no problem purchasing this 2 pack of 48 ft. light strings to hang on the cabin’s balcony.
The benefit of having such a small wedding is that a specific color palette or theme isn’t totally necessary, especially if the setting is aesthetic. I’ve never been good at settling on color schemes. Why bother changing that for my wedding? The whimsical, woodland theme made it easy to mix in my favorite pops of color.
I began frequenting (well, more often than usual) thrift stores in search of jewel-toned candle votives and small vintage china plates for the dessert table. In only 2 visits, I’d gleaned all I needed and only spent $30 for stuff I knew I’d use again!
OfferUp also came in clutch when I found 120 yards of sheer white fabric and lace for $80. Soft chiffon always adds a feminine touch to any setting.
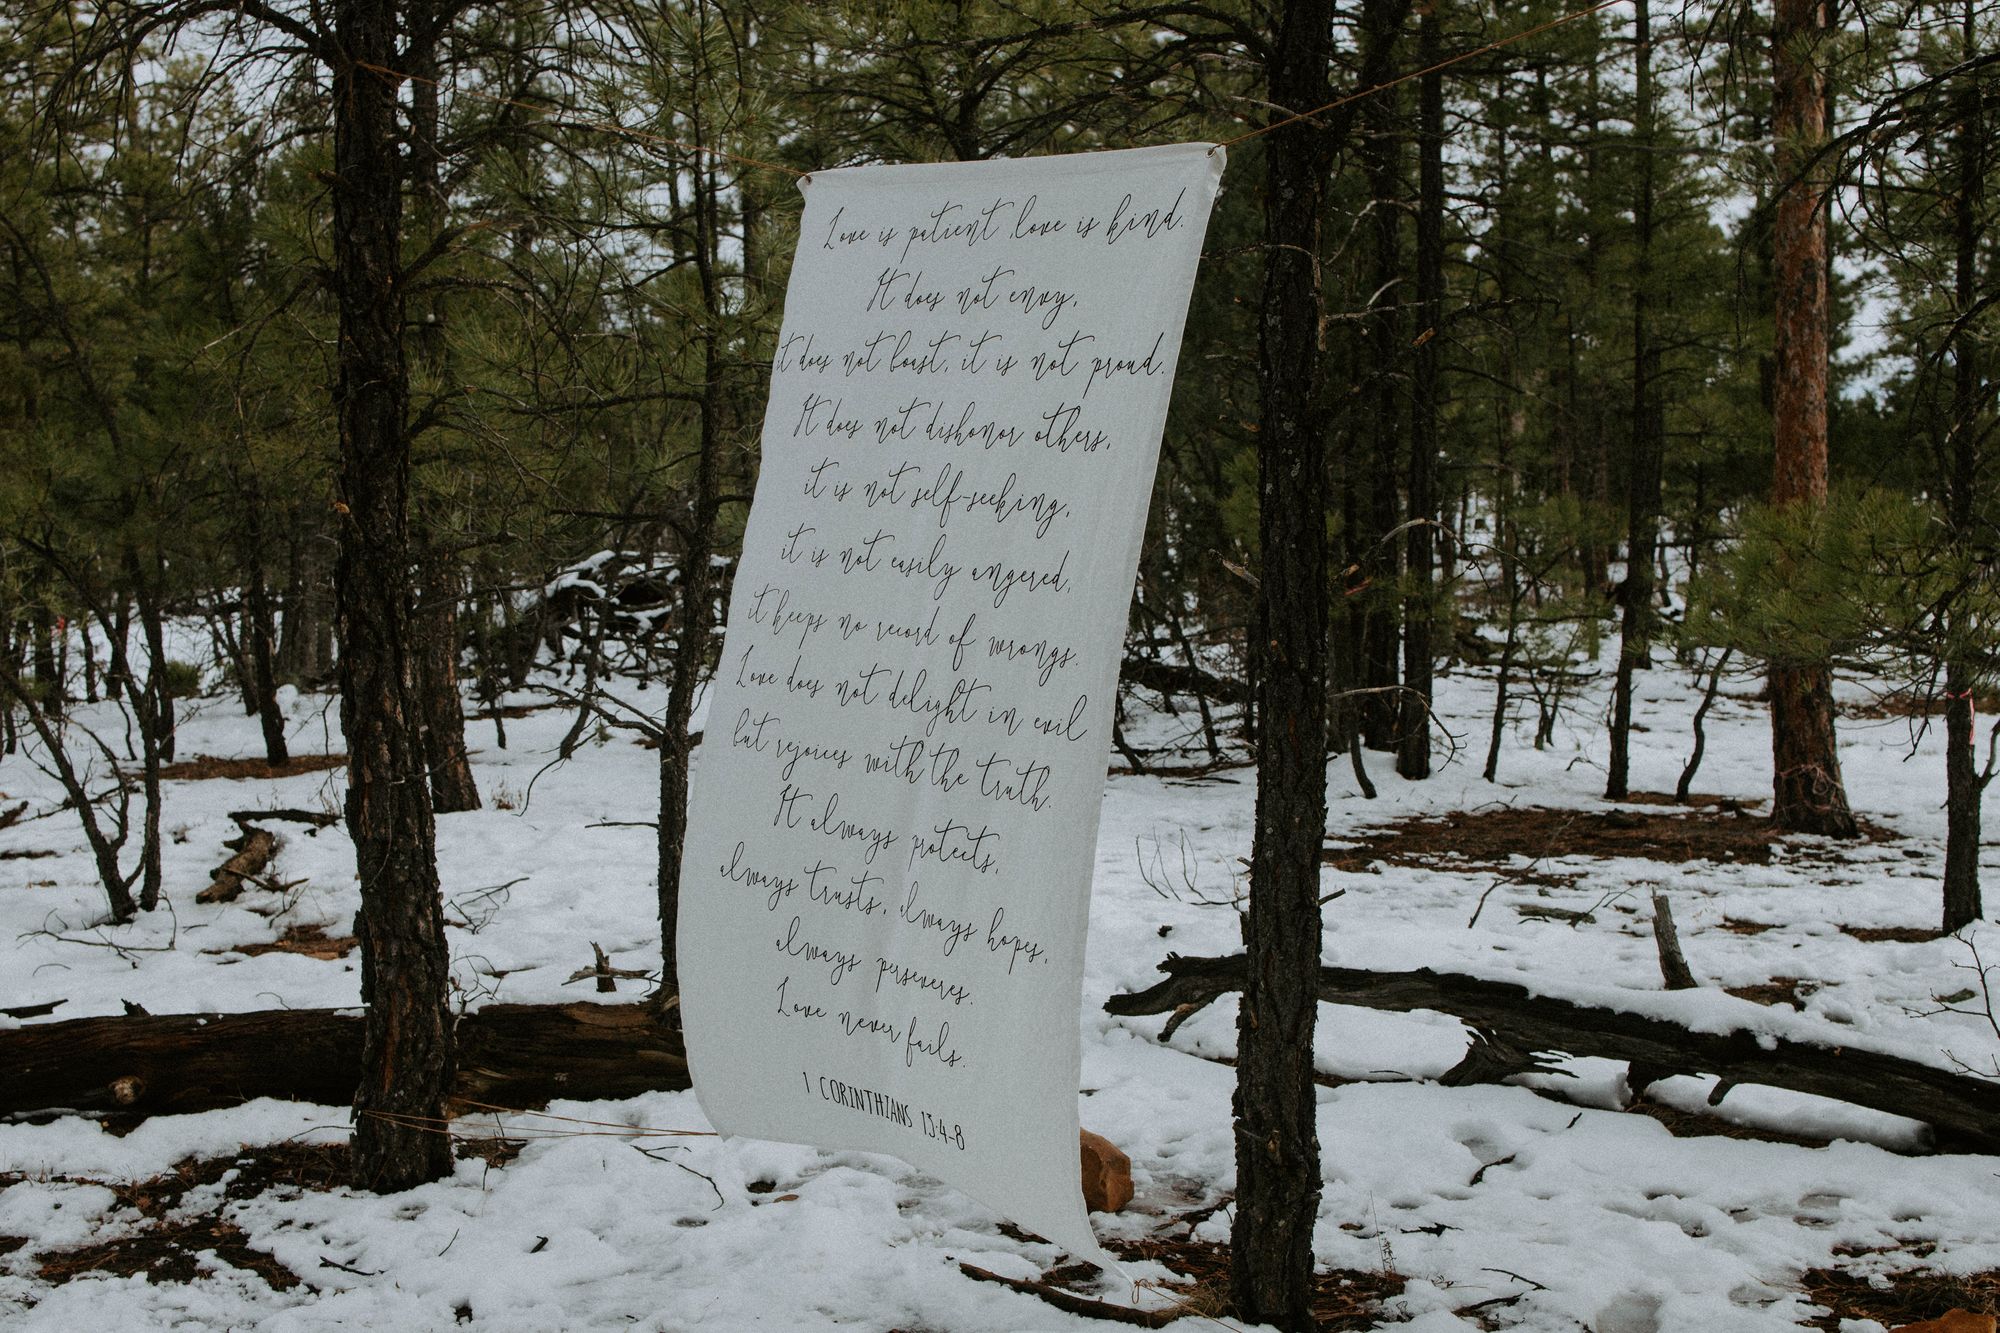
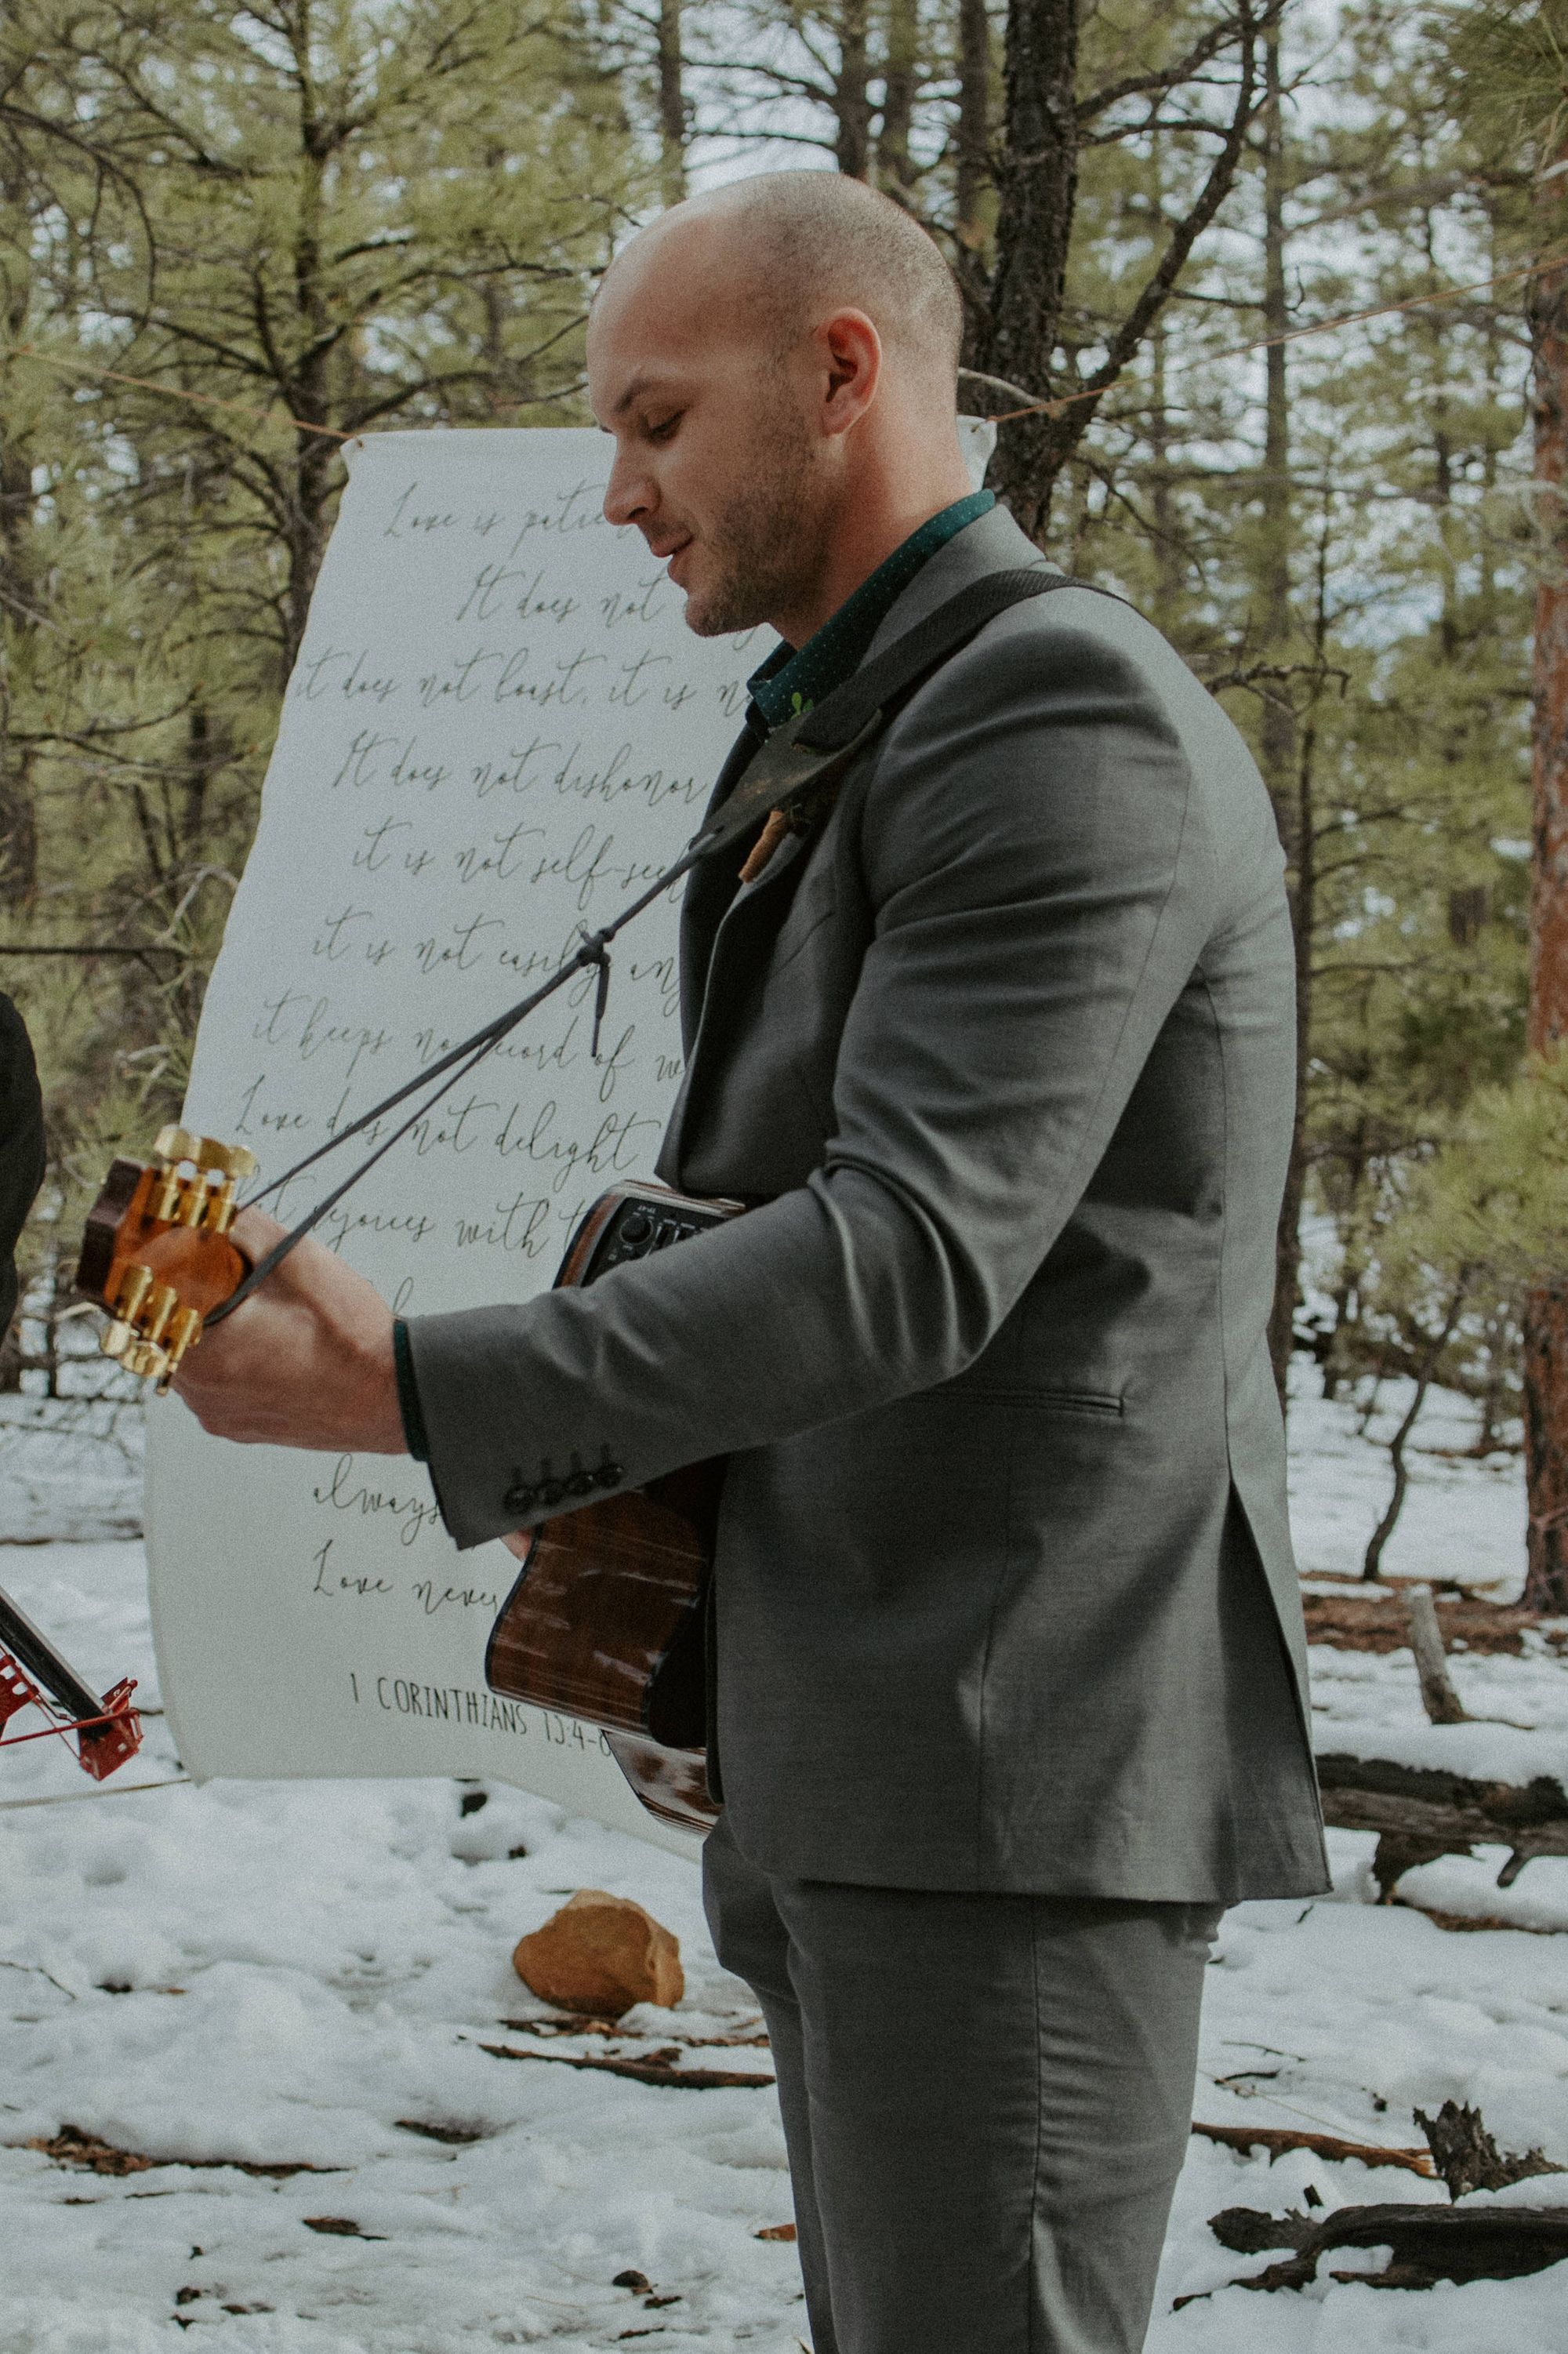
With coupons in hand, I shopped Hobby Lobby and Jo-Ann Fabrics and found navy and gold Mr. and Mrs. signs, a large canvas backdrop with 1 Corinthians 13 scripted on it, silk flowers for my hair comb and boutonnieres, and round wood slices that Andrew would turn into dessert stands.
Always, always check the clearance sections! All of our wedding décor was either marked down at least 60% since it was off-season.
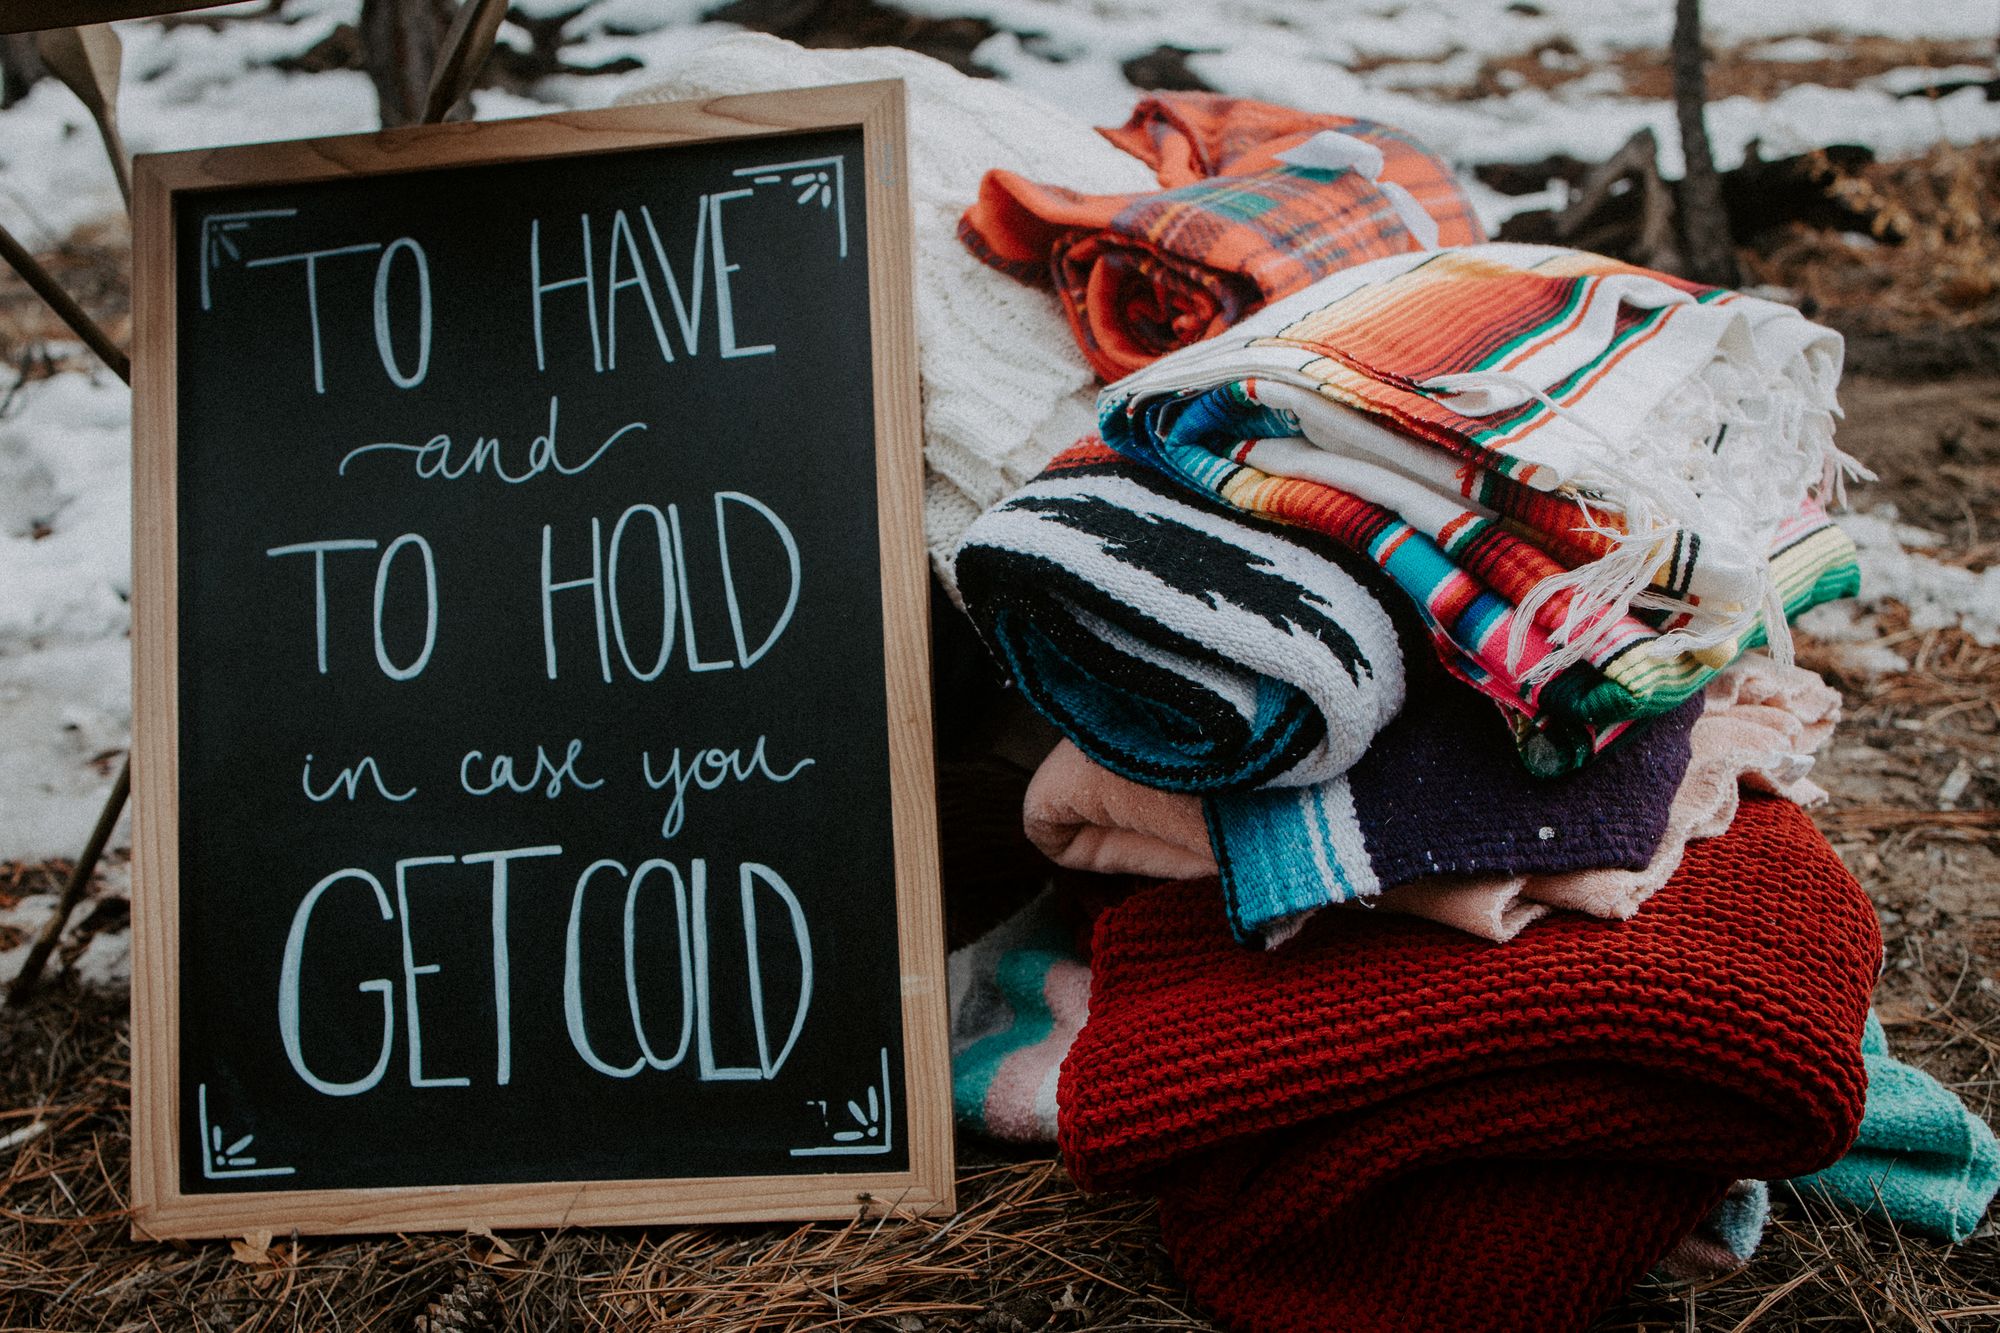
The rest of the décor like colorful blankets and chalkboard signs were gathered from around my home.
During the week before my micro wedding, I organized all décor items into appropriate bins, with glassware wrapped in newspaper, and stacked everything by the door when it was ready to go!
DIY Wedding Favors
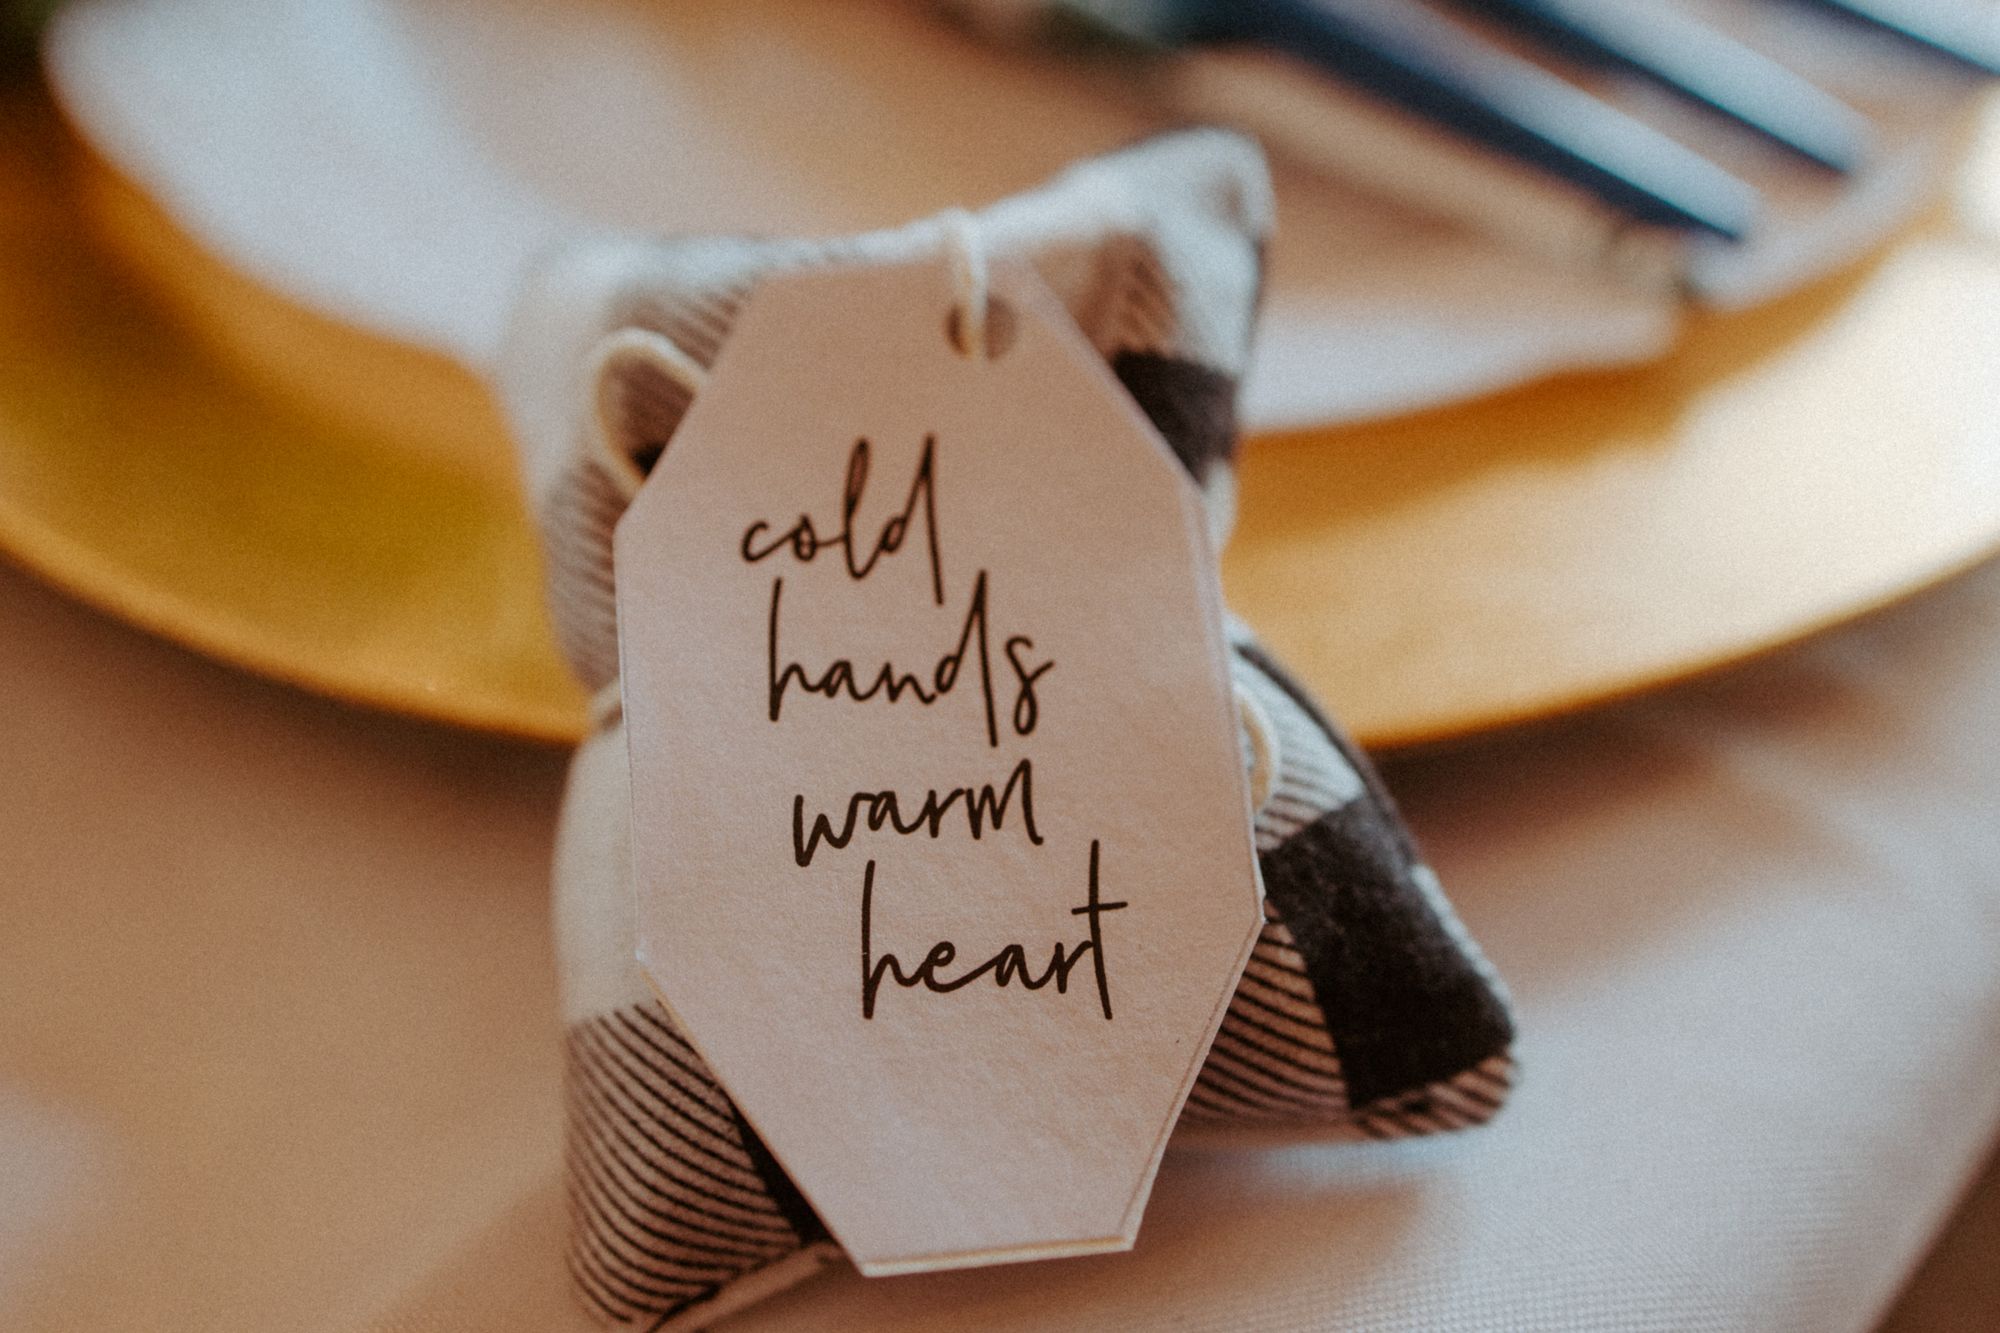
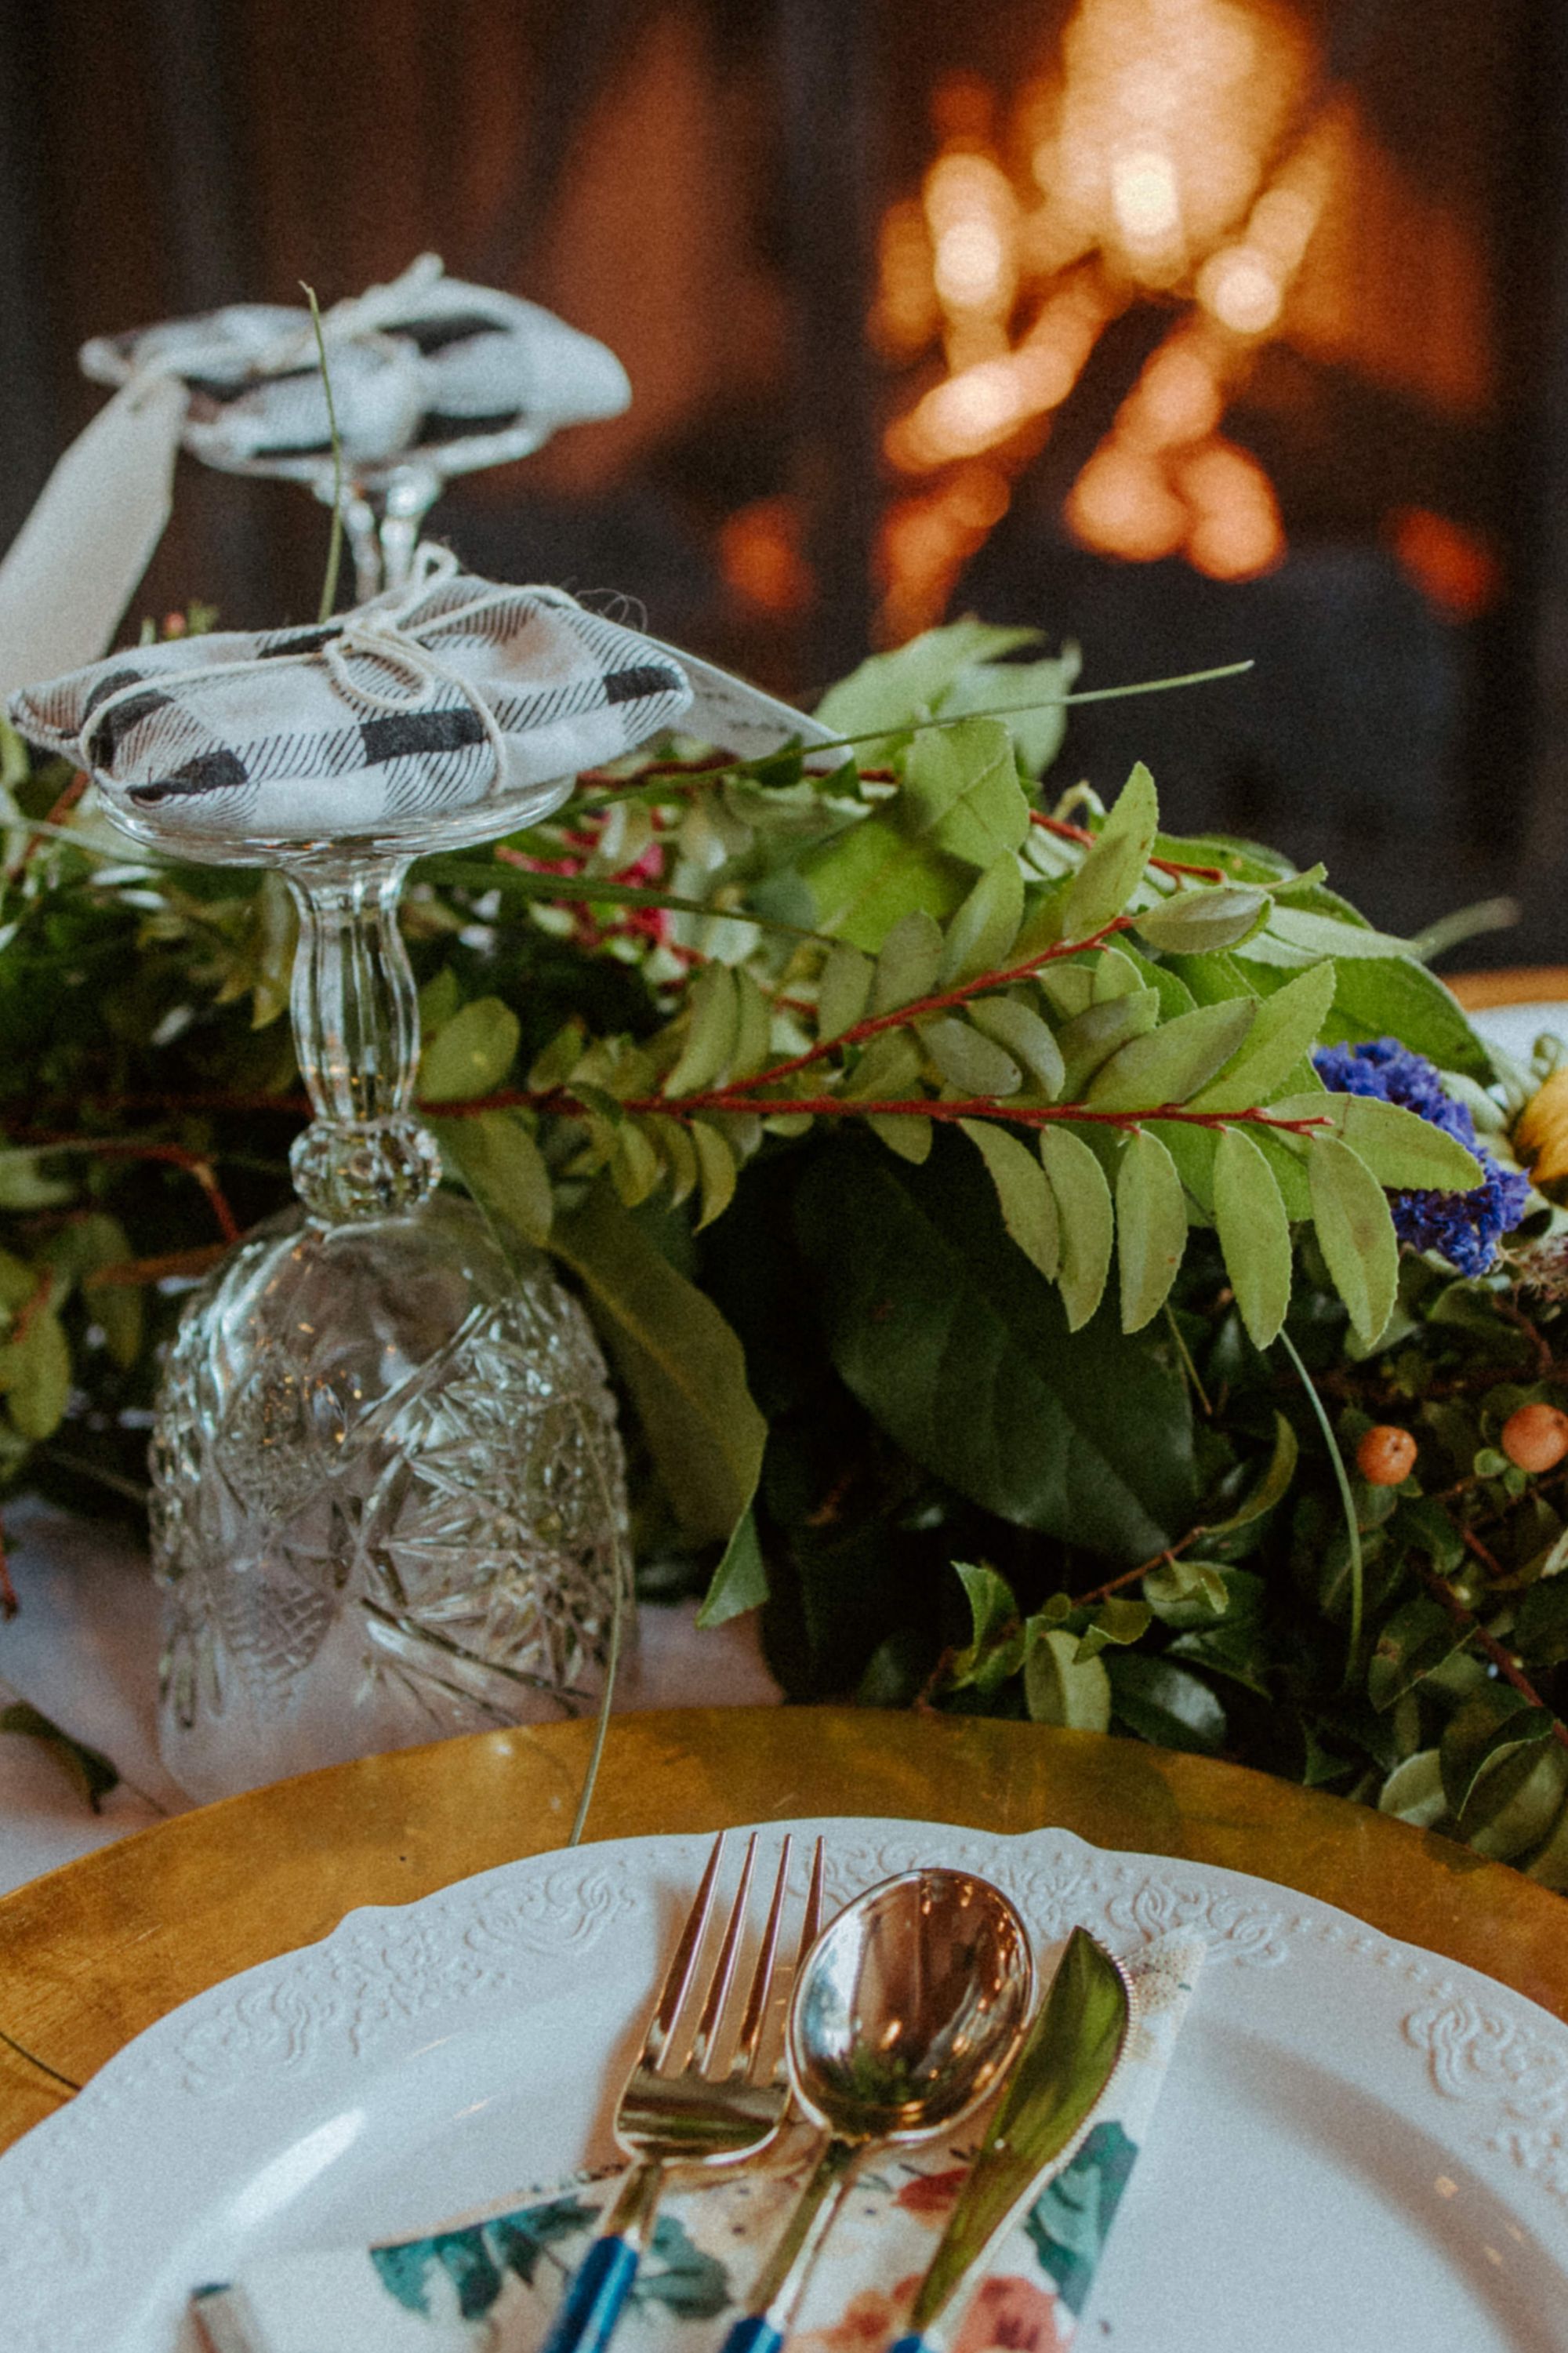
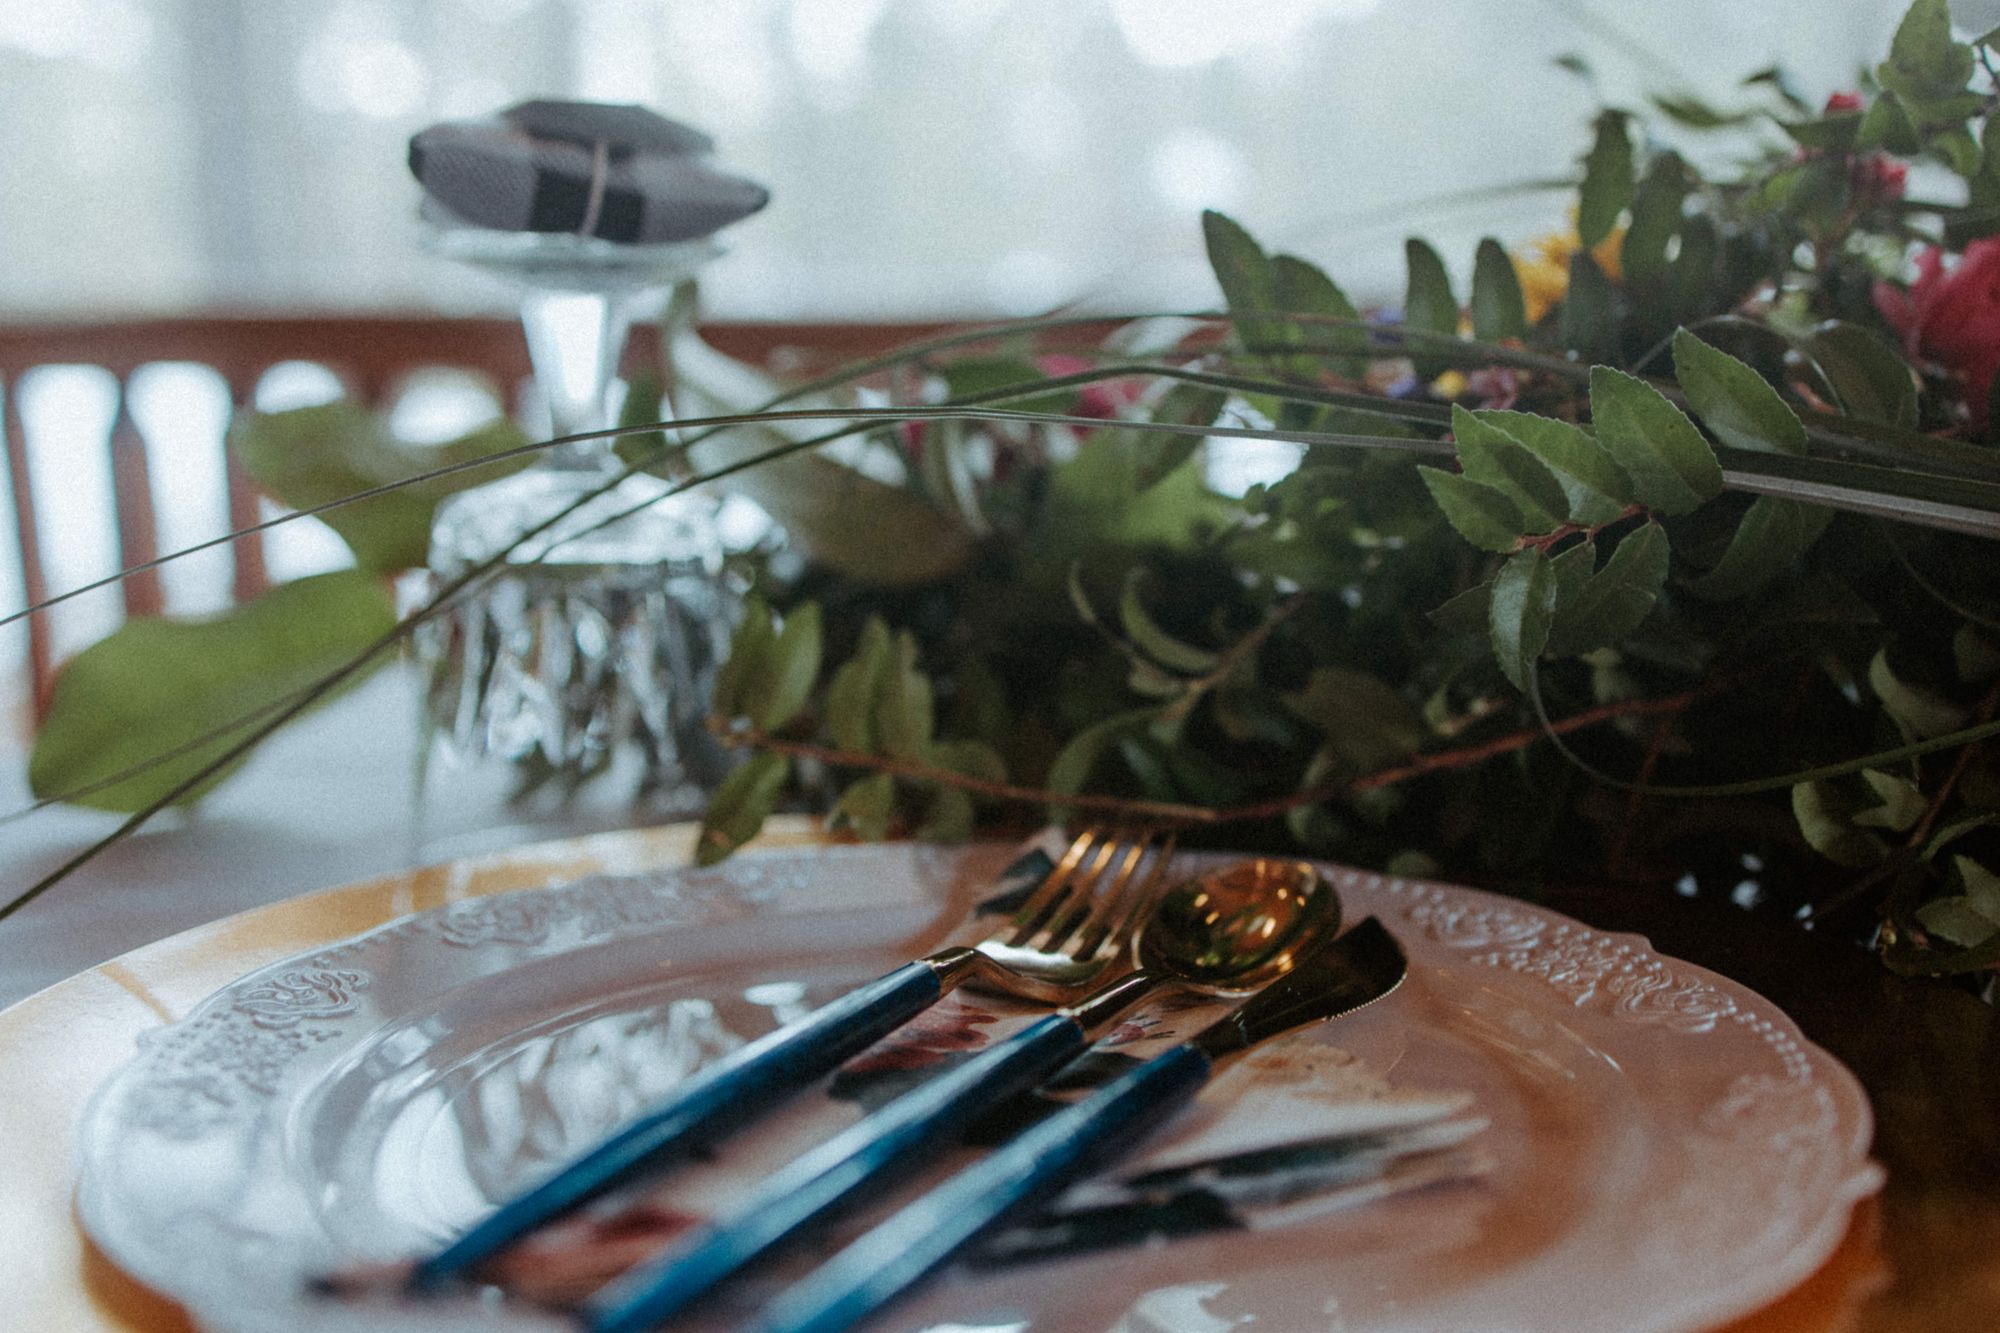
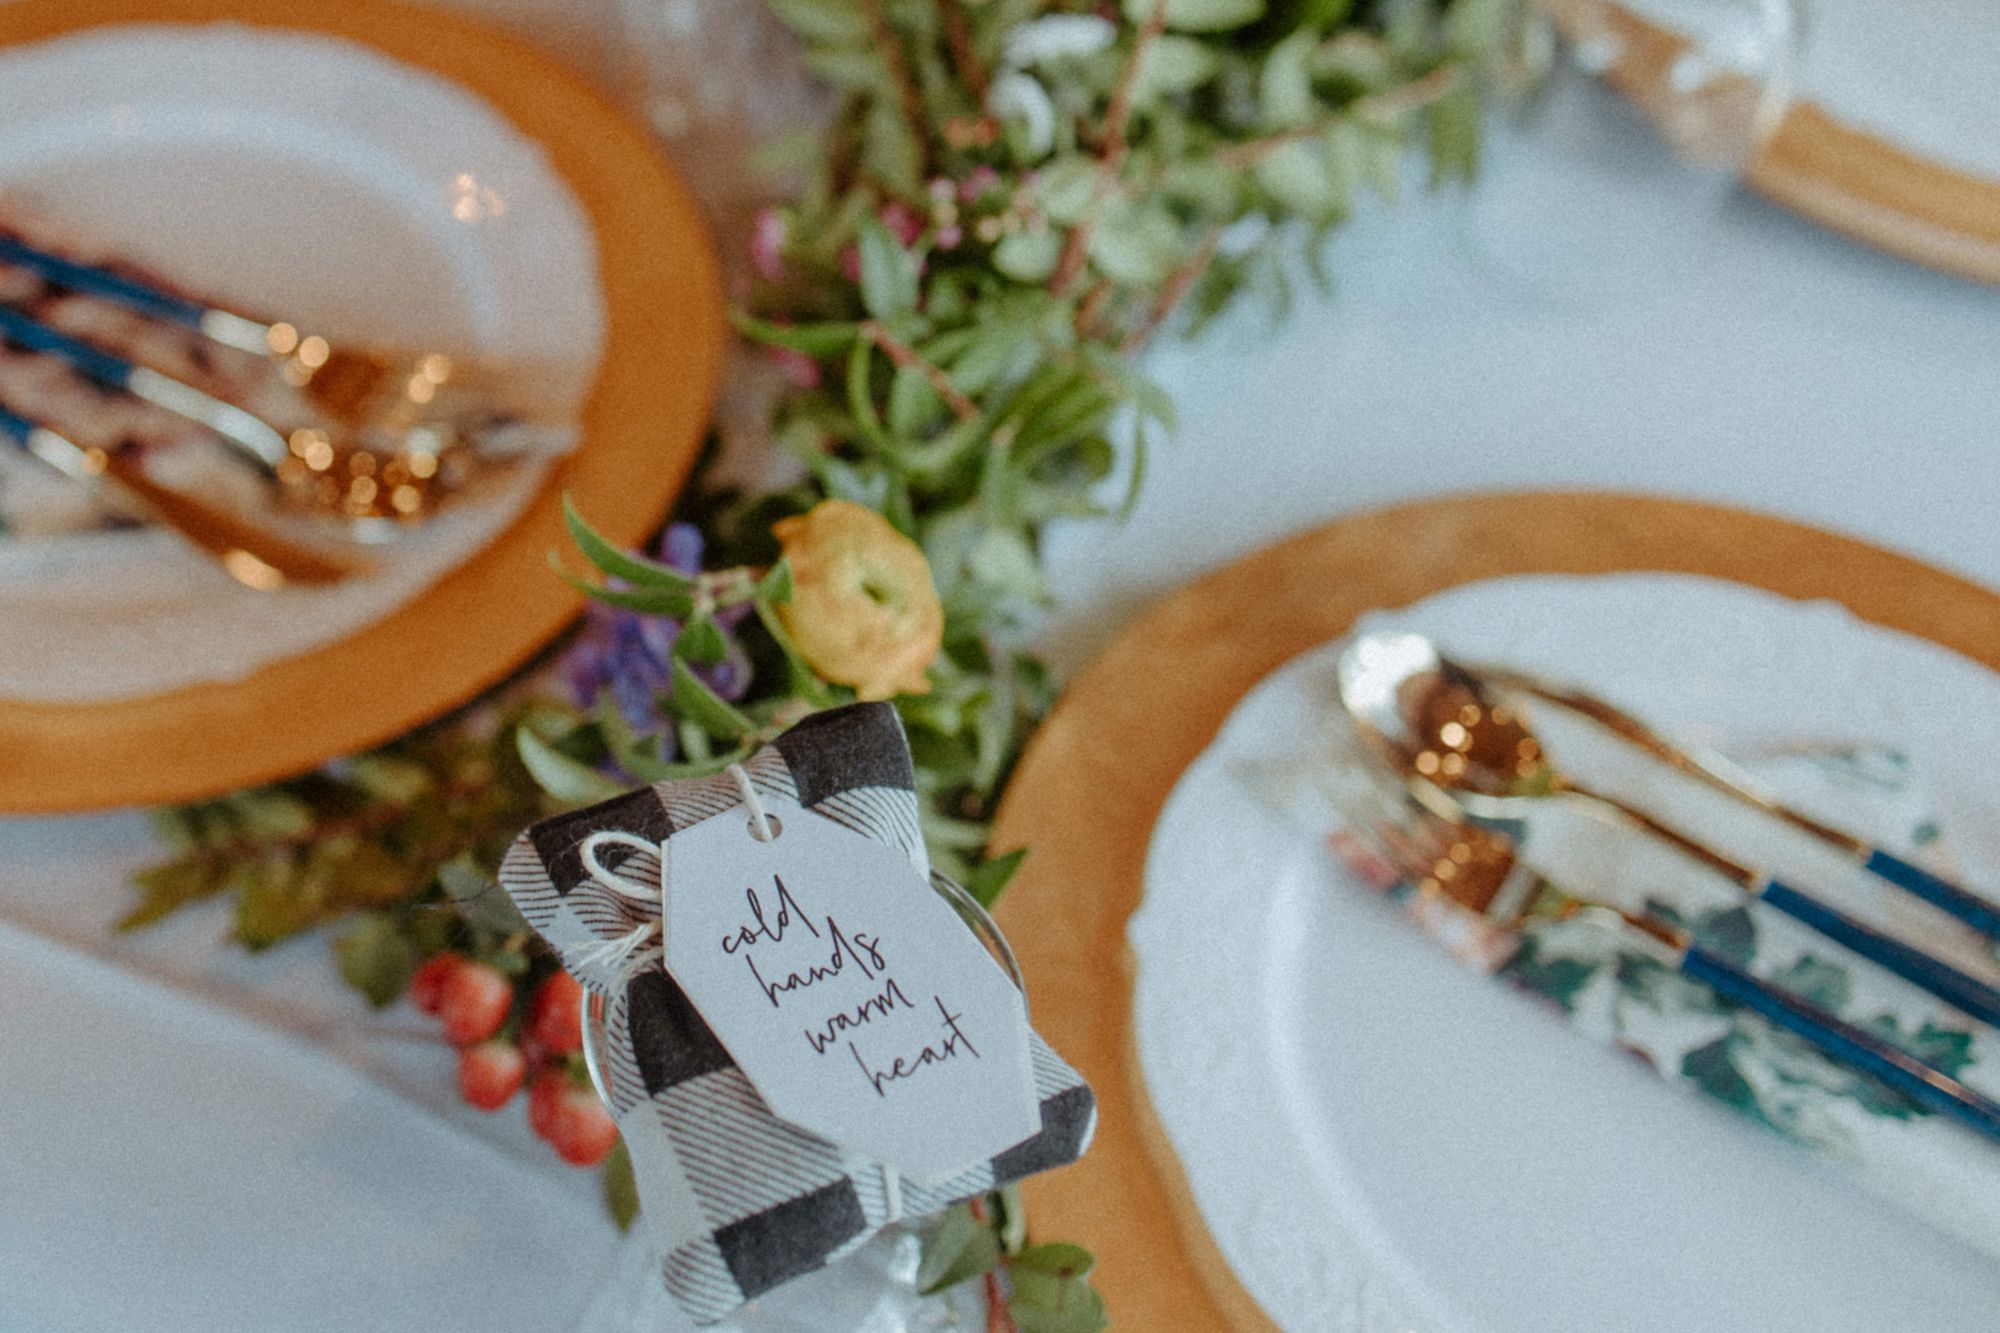
Honestly, this is probably one category you can altogether nix without offending anyone. I’d actually planned that myself, until I realized I already had all the materials required and a brother skilled with a sewing machine.
All we needed for these DIY wedding hand warmers was flannel material, flax seeds, scissors, thread, and a sewing machine. I printed off free tags and my grandma helped me tie them on with craft string. Voila!
Wedding Flowers and Bouquets
I promise, I’m not affiliated with Costco, I’m just a big fan! Did you know they have a floral department? You can actually order greenery table runnersonline to be delivered a day or two before your event.
Alternatively, or additionally, you can find greenery and wildflowers on open land, depending on the season. Emily cut down bushels (whatever a bushel is) of eucalyptus from a neighborhood alley to use as ceremony aisle markers.
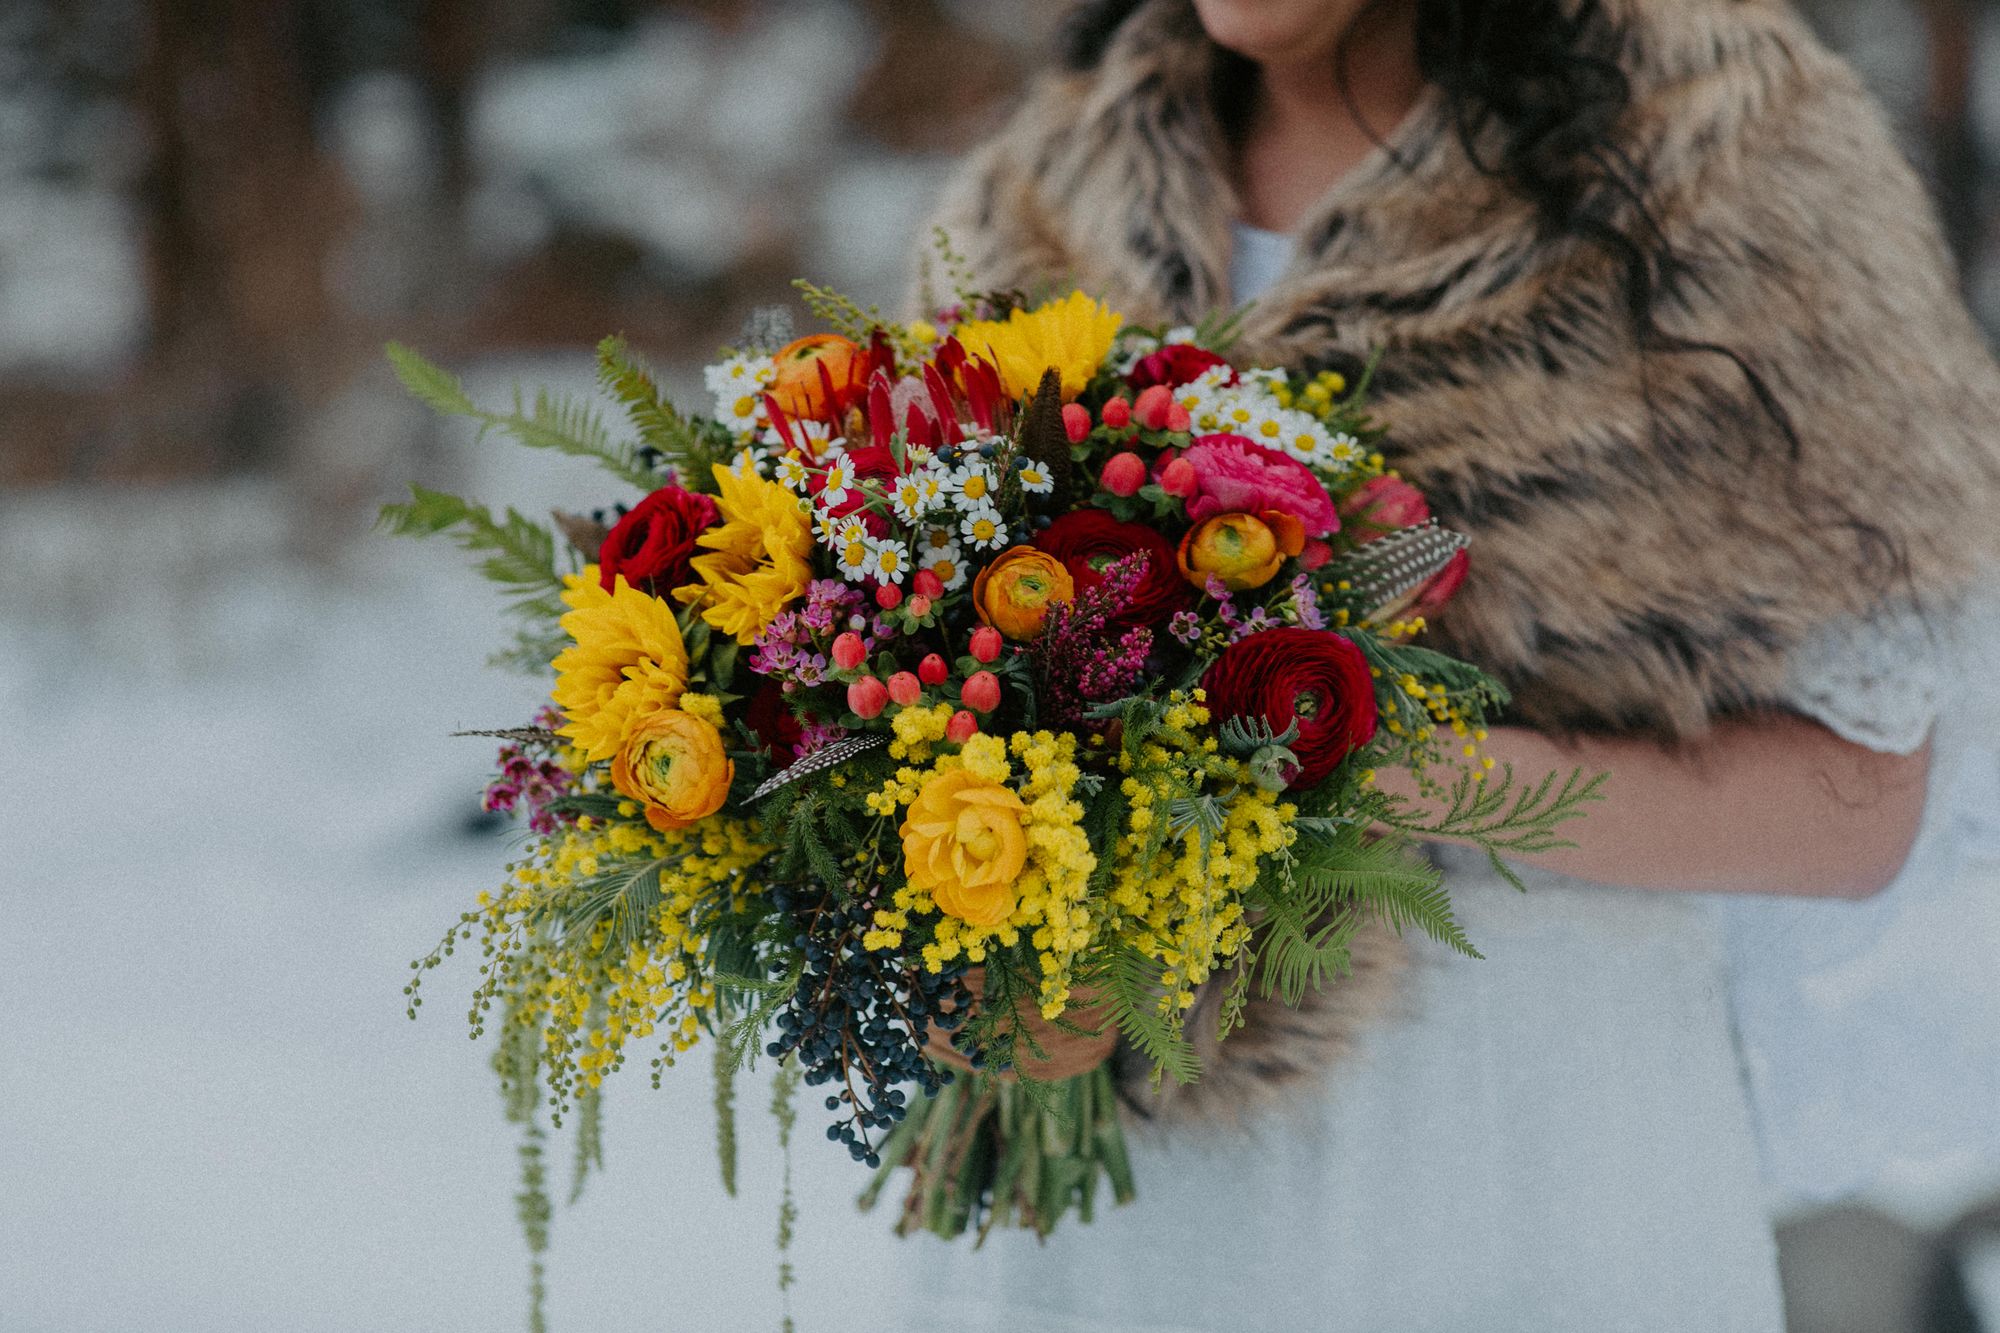
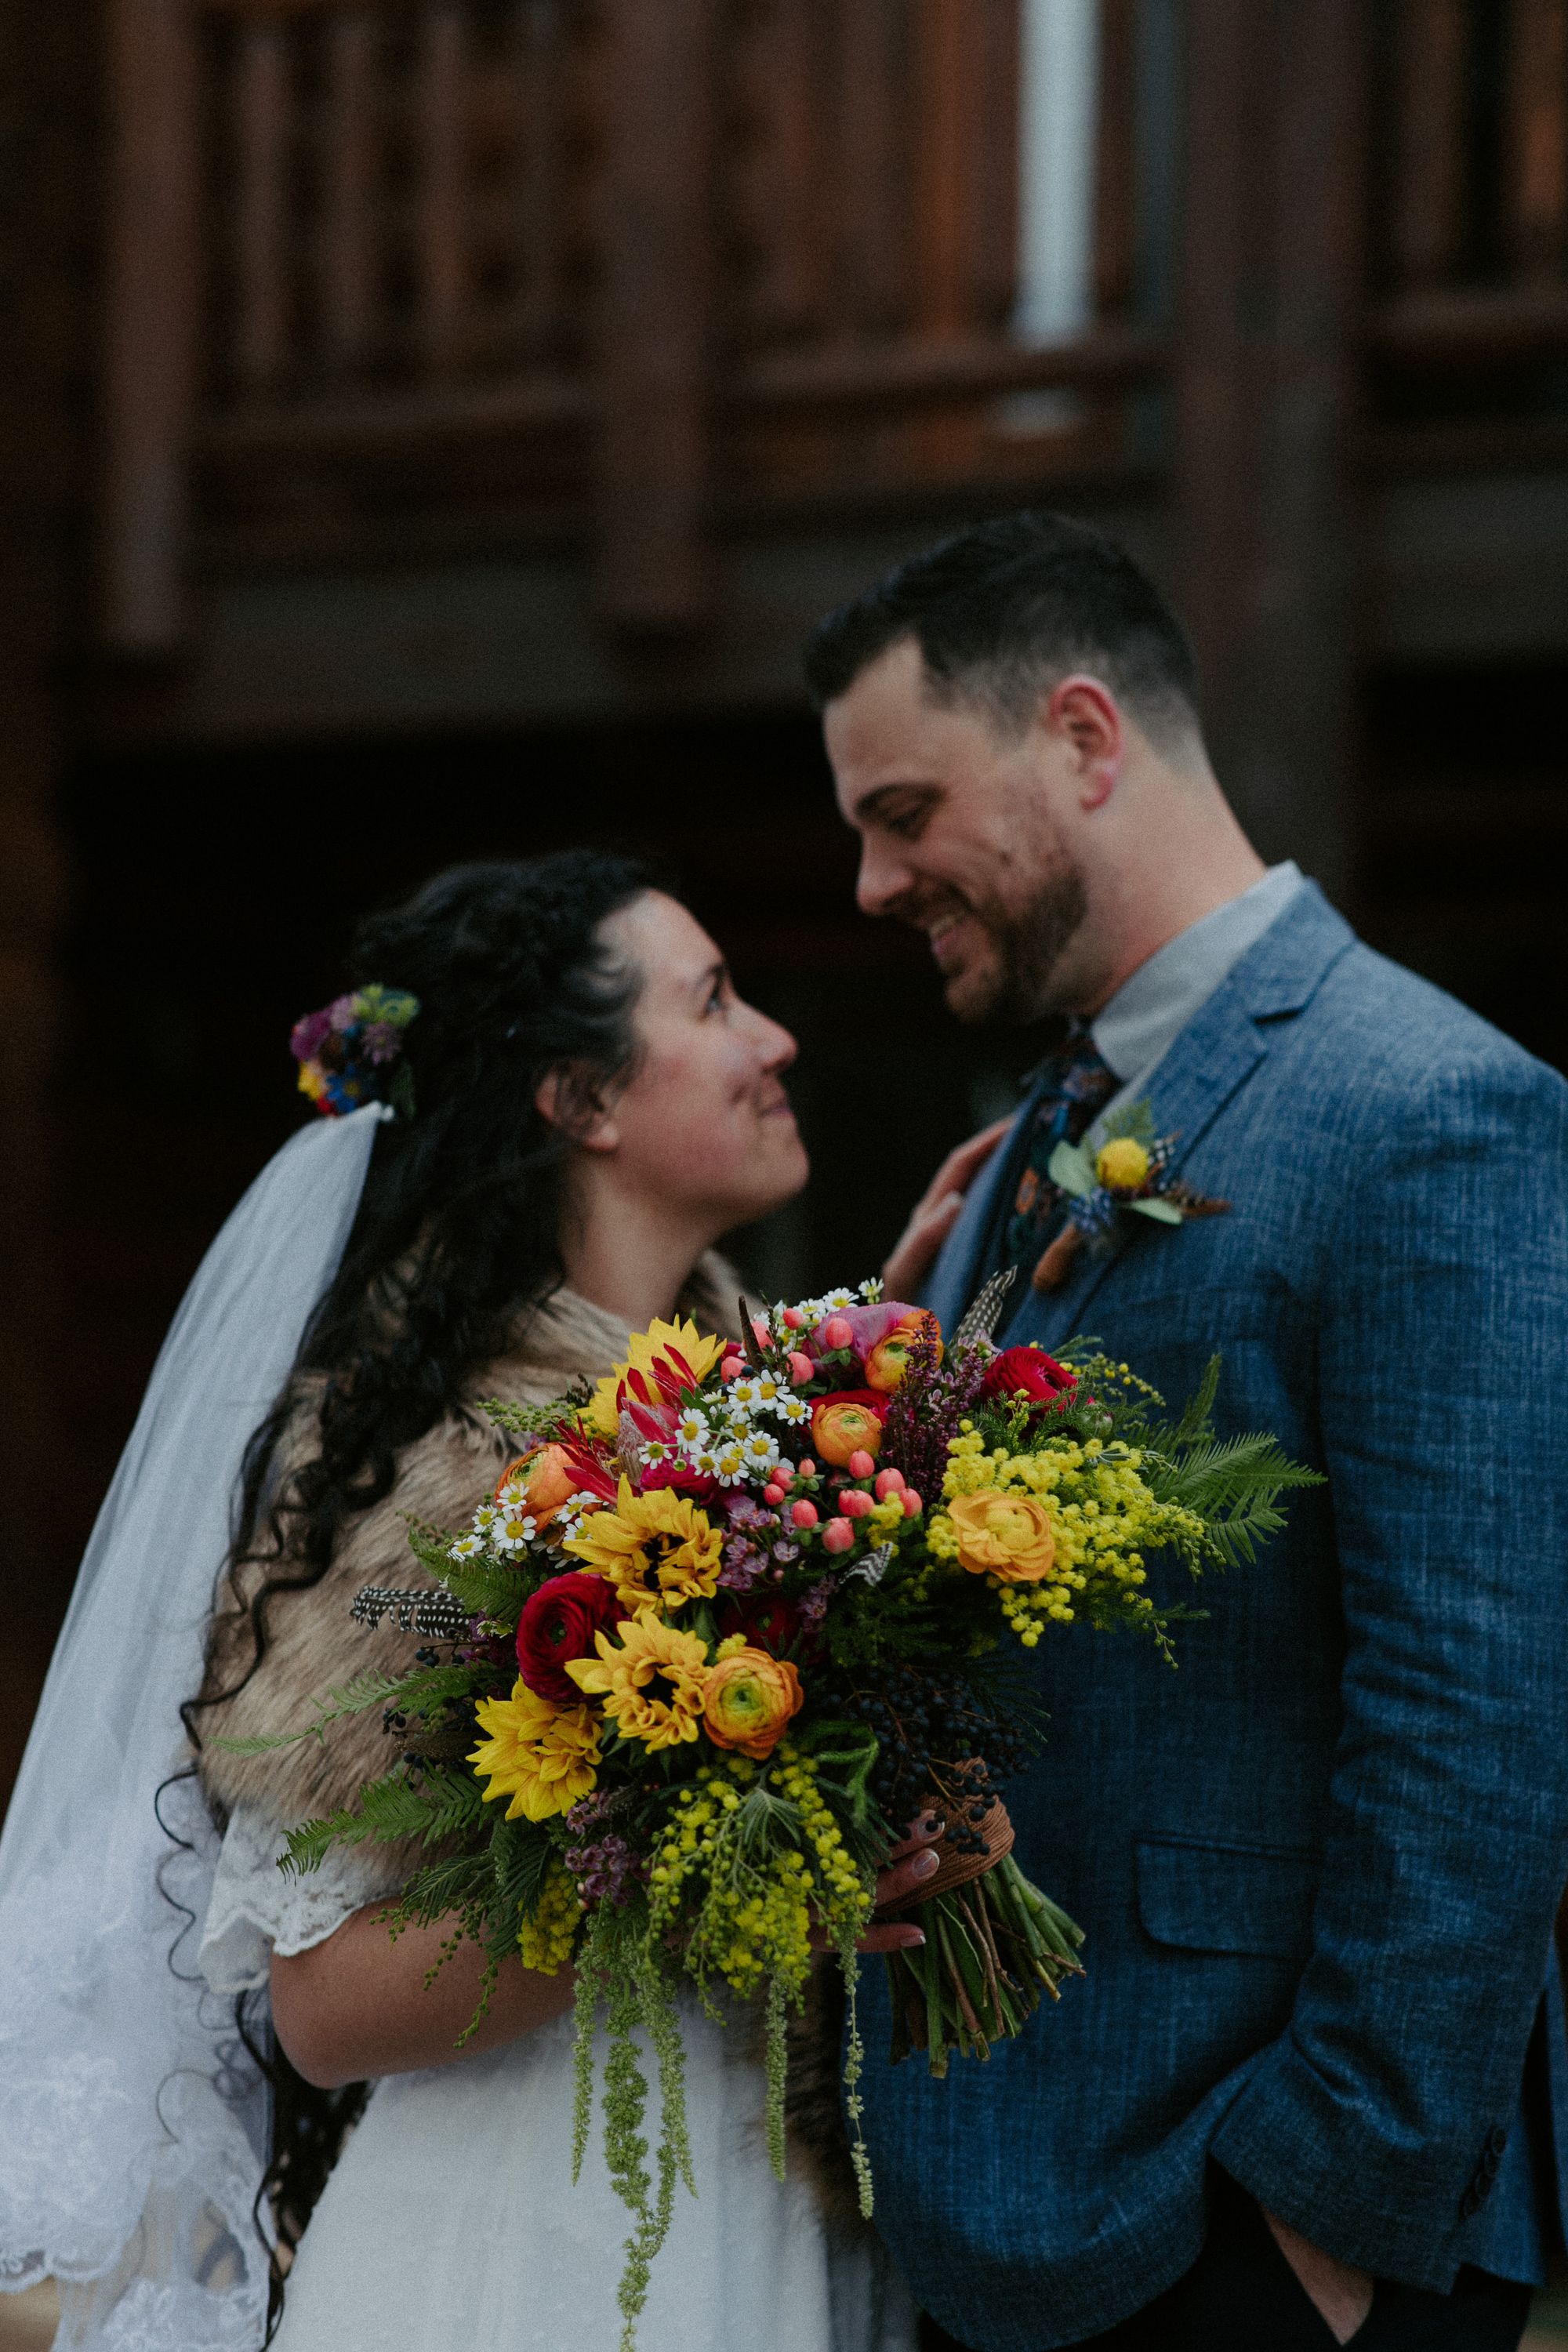
My wedding was February 15th. No joke, I originally planned to grab discounted, day-after Valentine’s flowers the morning of my wedding day to make the bulk of mine and my MOH’s bouquets. It totally would have worked! We had floral tape and wire, twine, and some craft feathers to add in as well.
However, my husband’s work, Mayesh,Wholesale Florist Inc., surprised me by not only donating two buckets of filler flowers, but they actually made mine and Emily’s bouquets as well. I don’t cry often, but this act of kindness and generosity brought me to tears! These flowers were the highest quality and the exact boho wildflower look I had in mind.
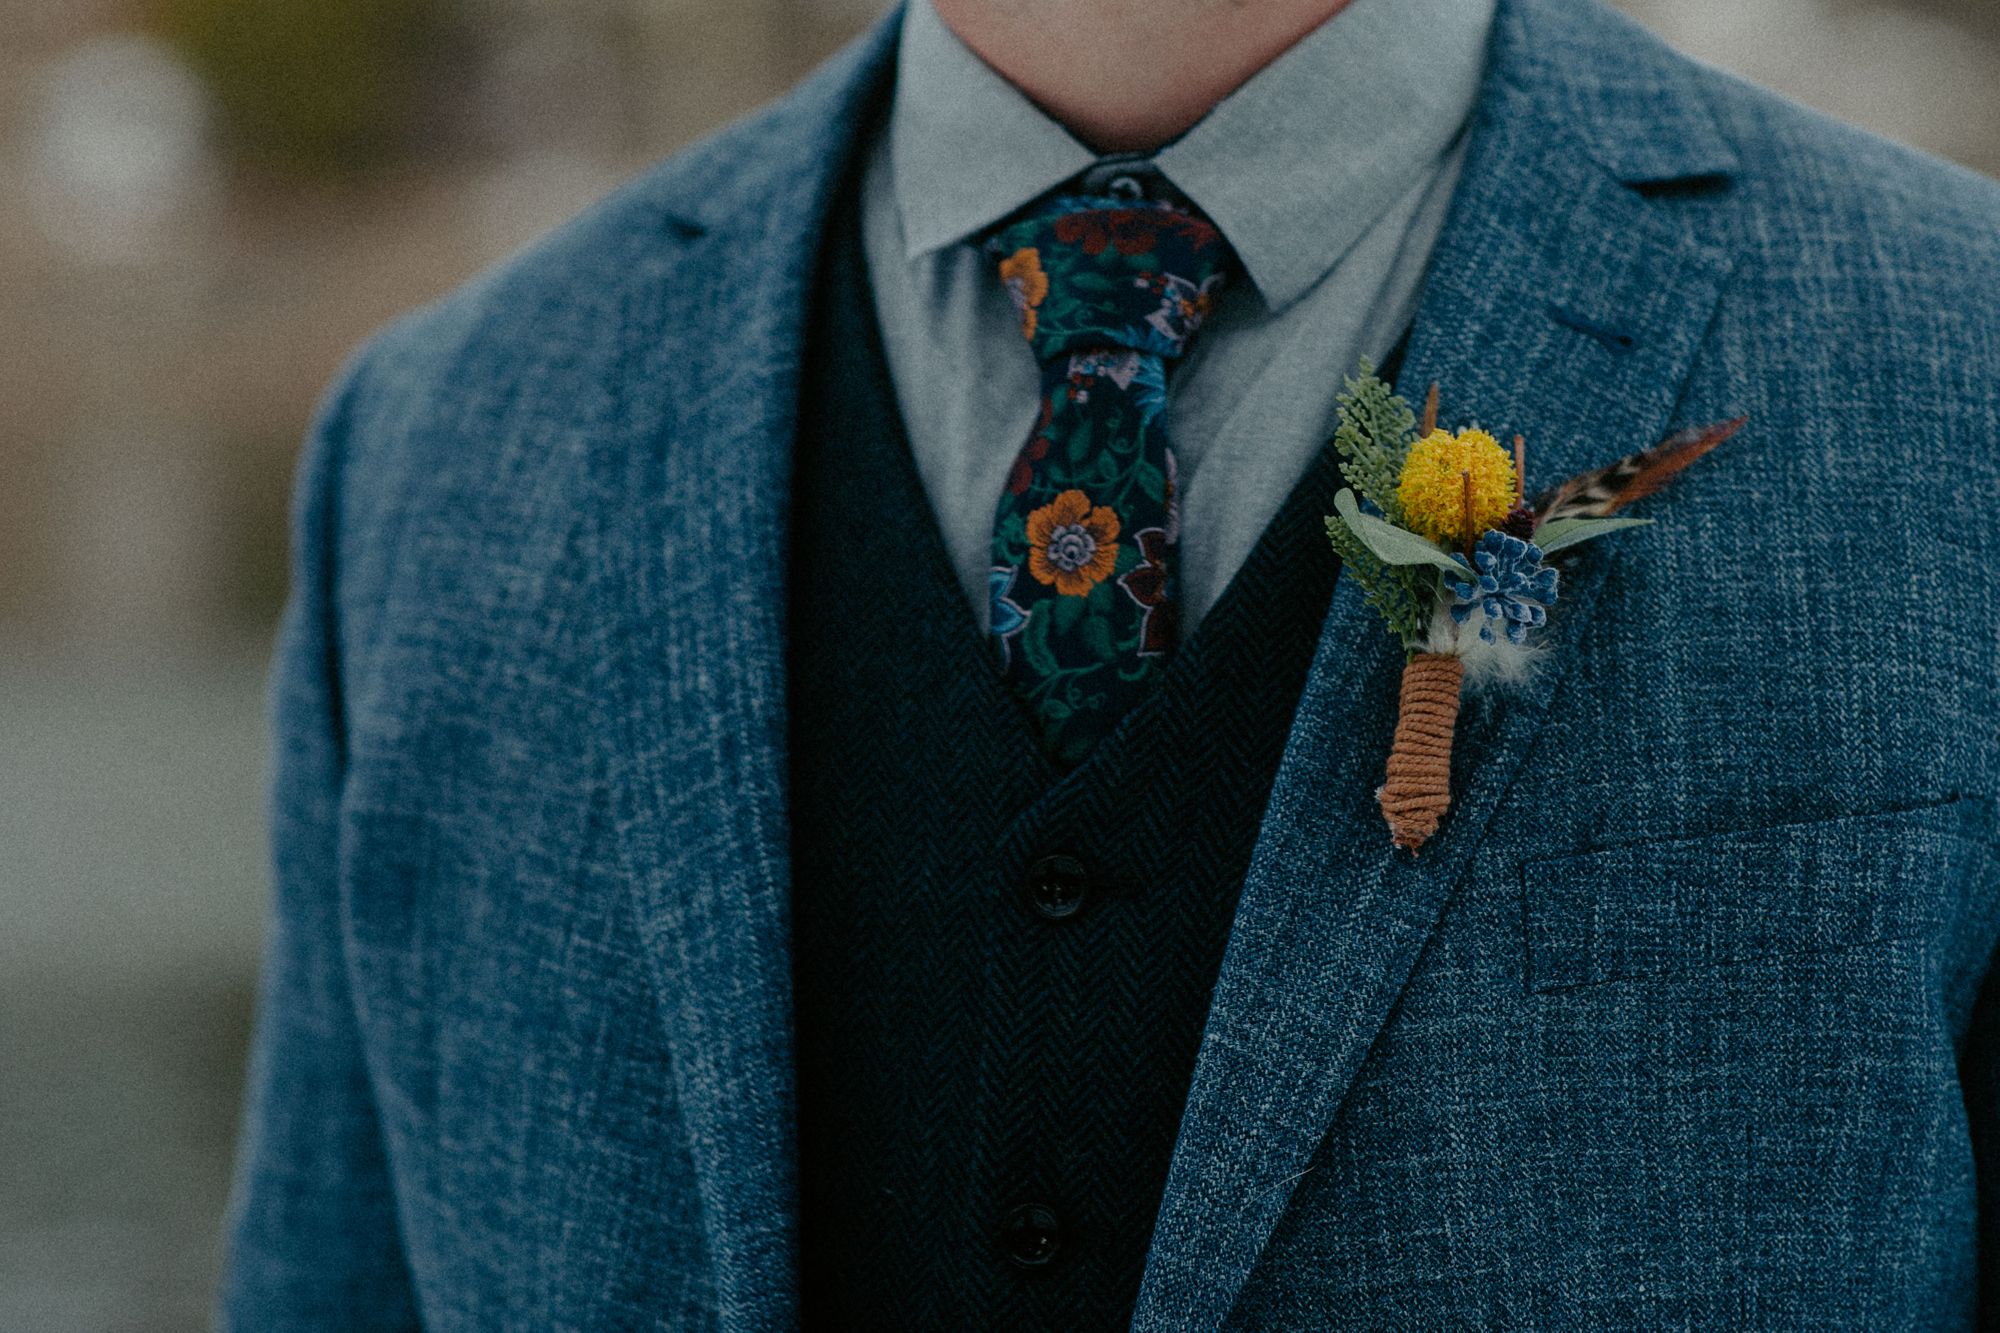
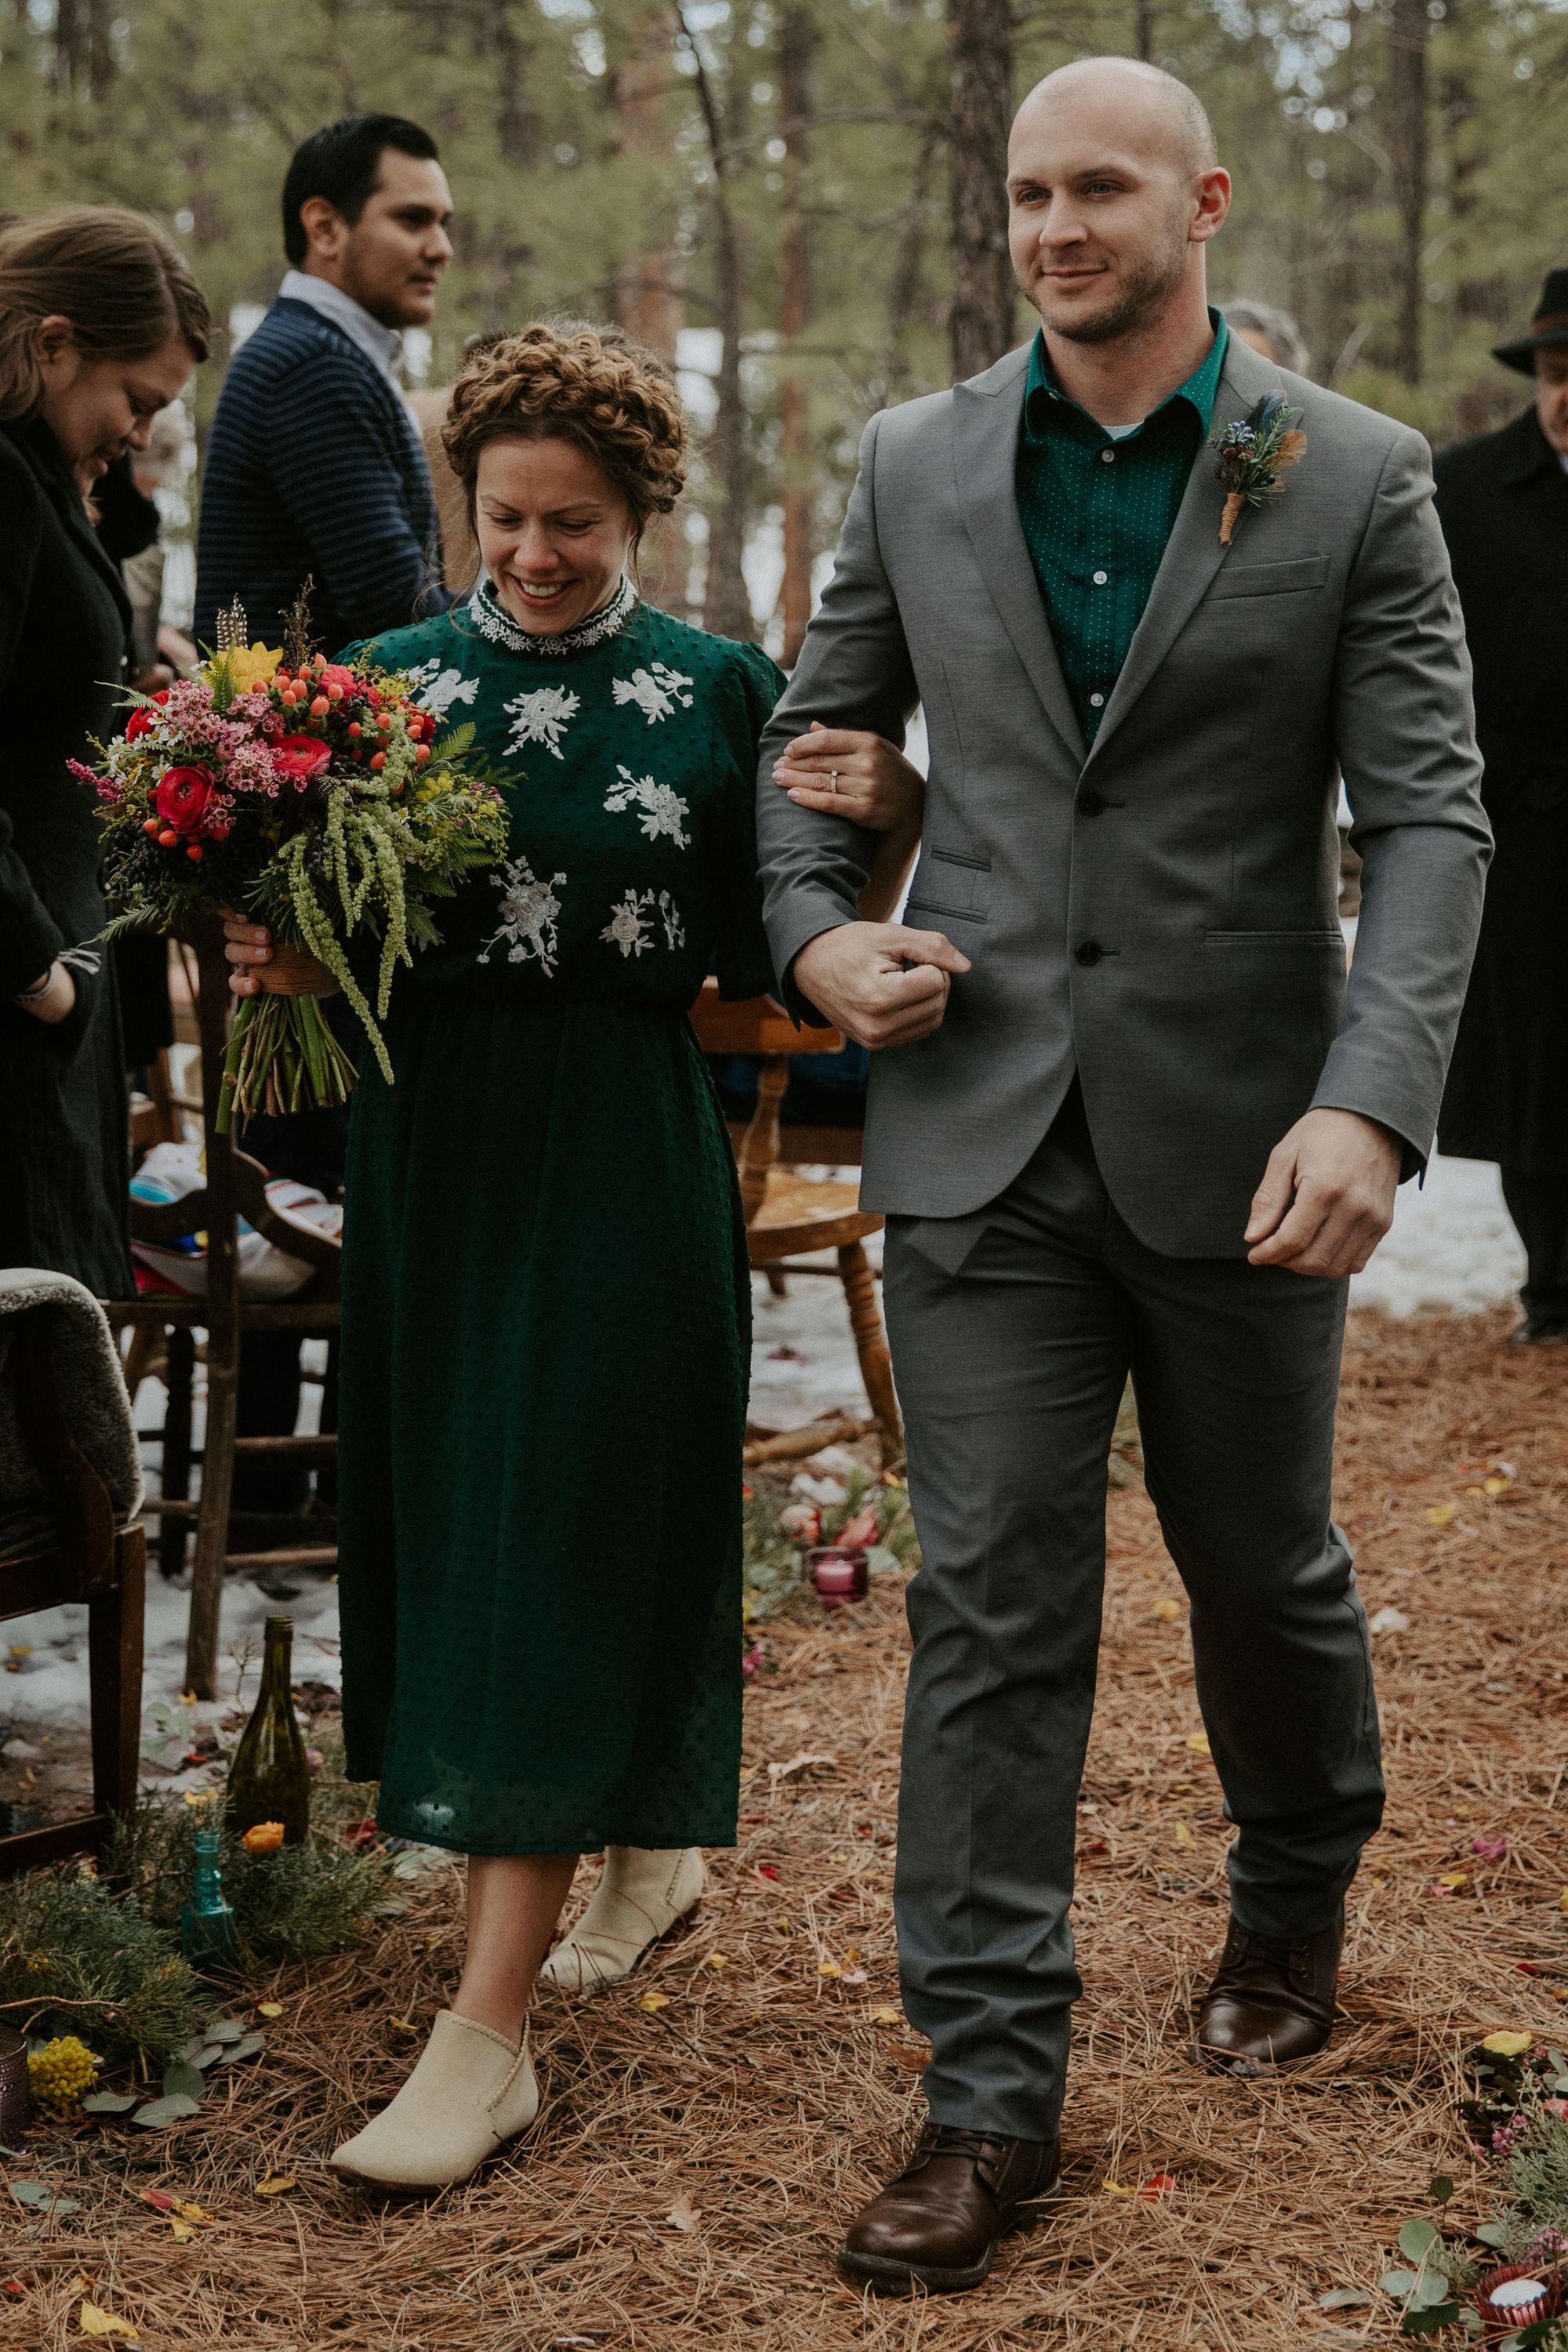
I had plenty of time the morning of the big day. After we wrapped our bouquets in twine, I made corsages for my grandmother, mother, and pastor’s wife from some of the fresh donated flowers. Emily had pre-made boutonnieres for my dad, groom, best man, and pastor from our Jo-Ann Fabrics haul of silk flowers, so all we had to do was glue on mini magnets to help hold them in place.
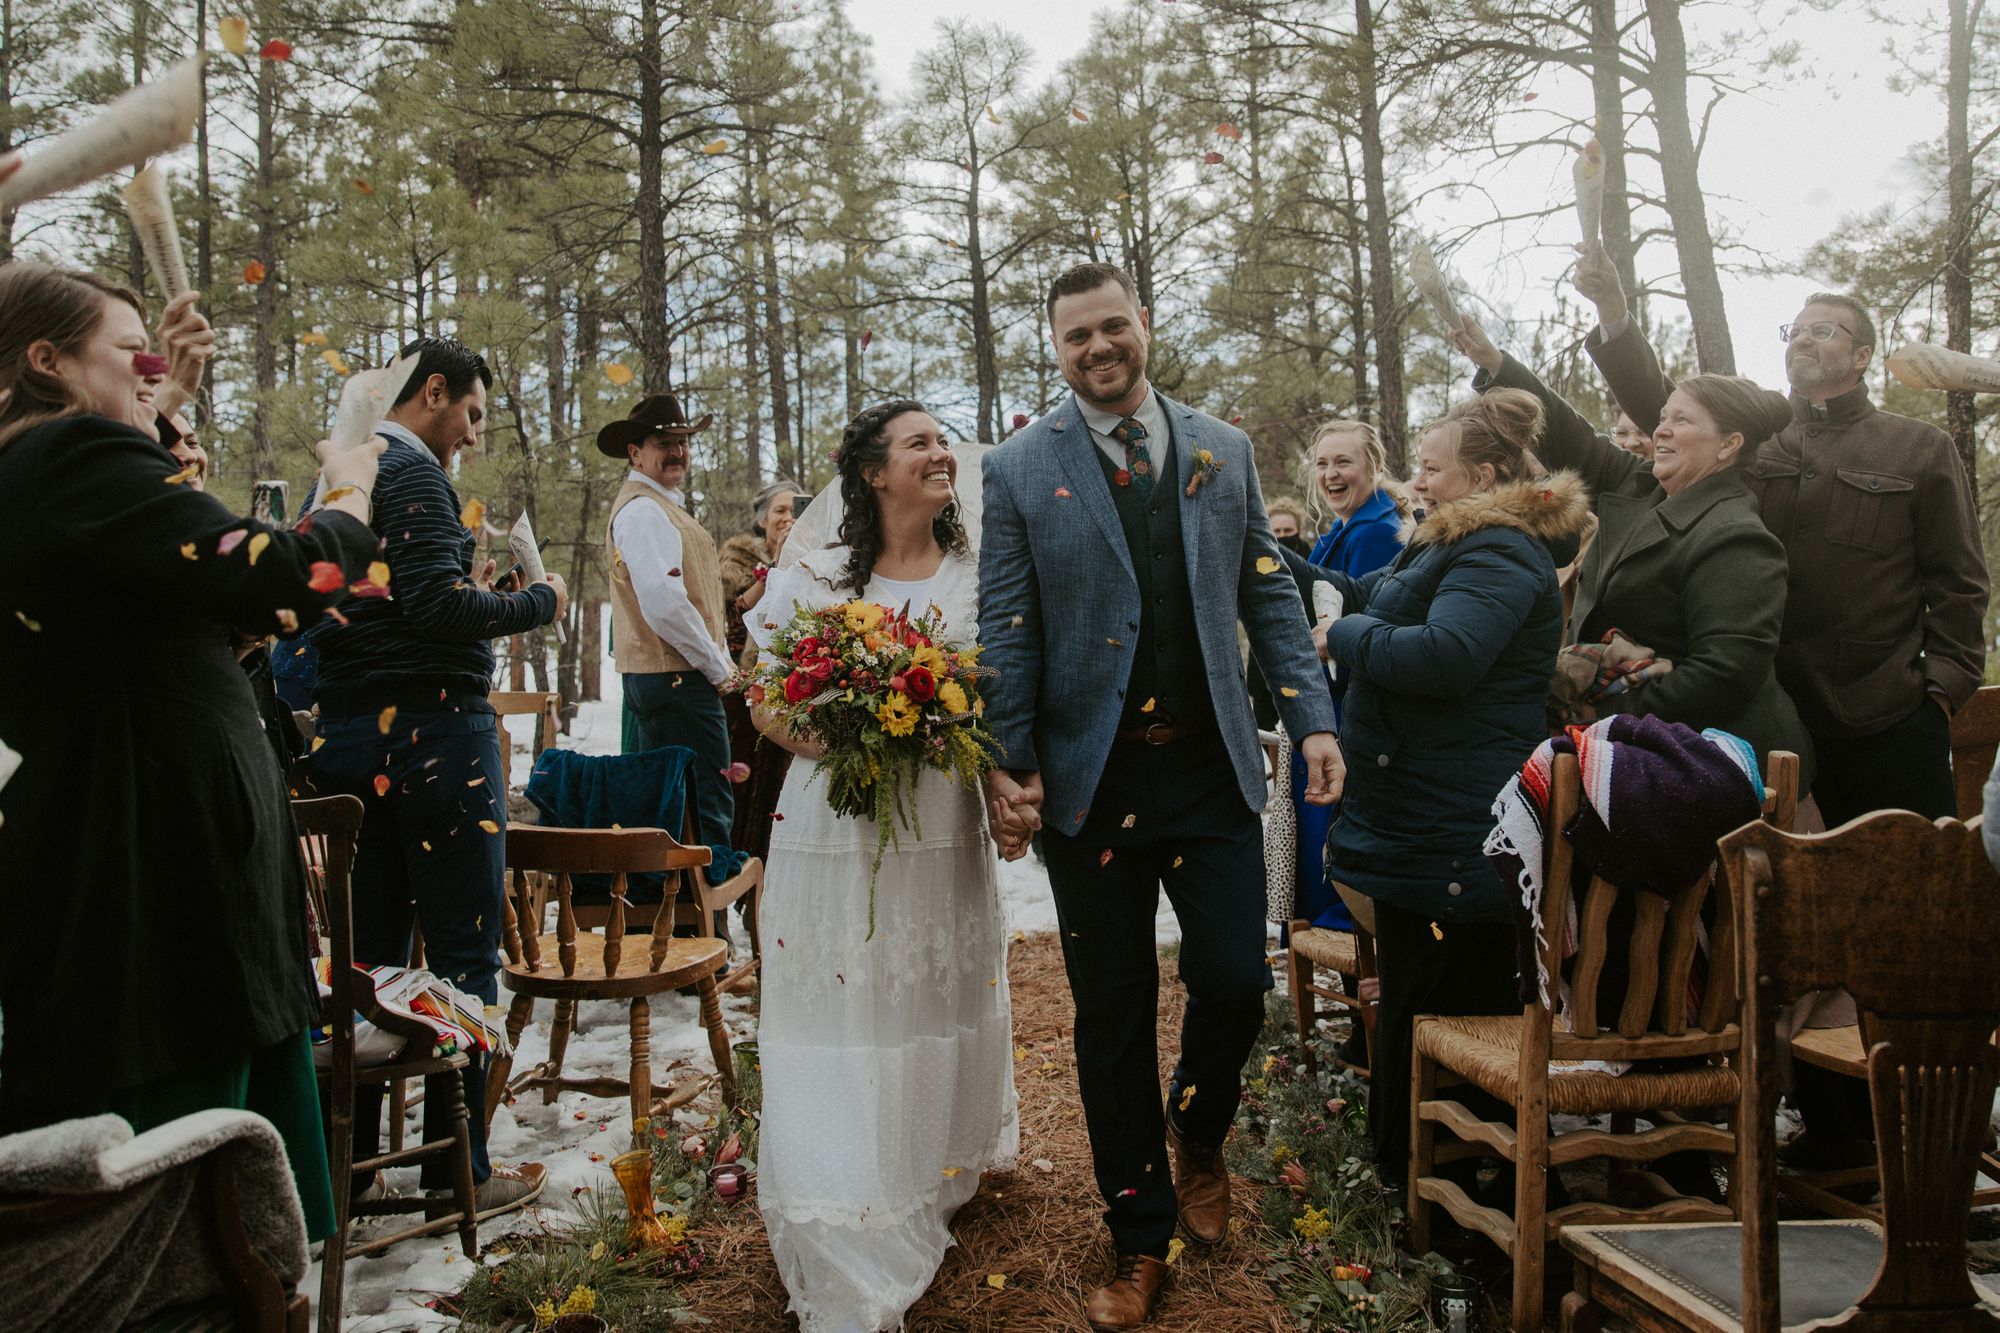
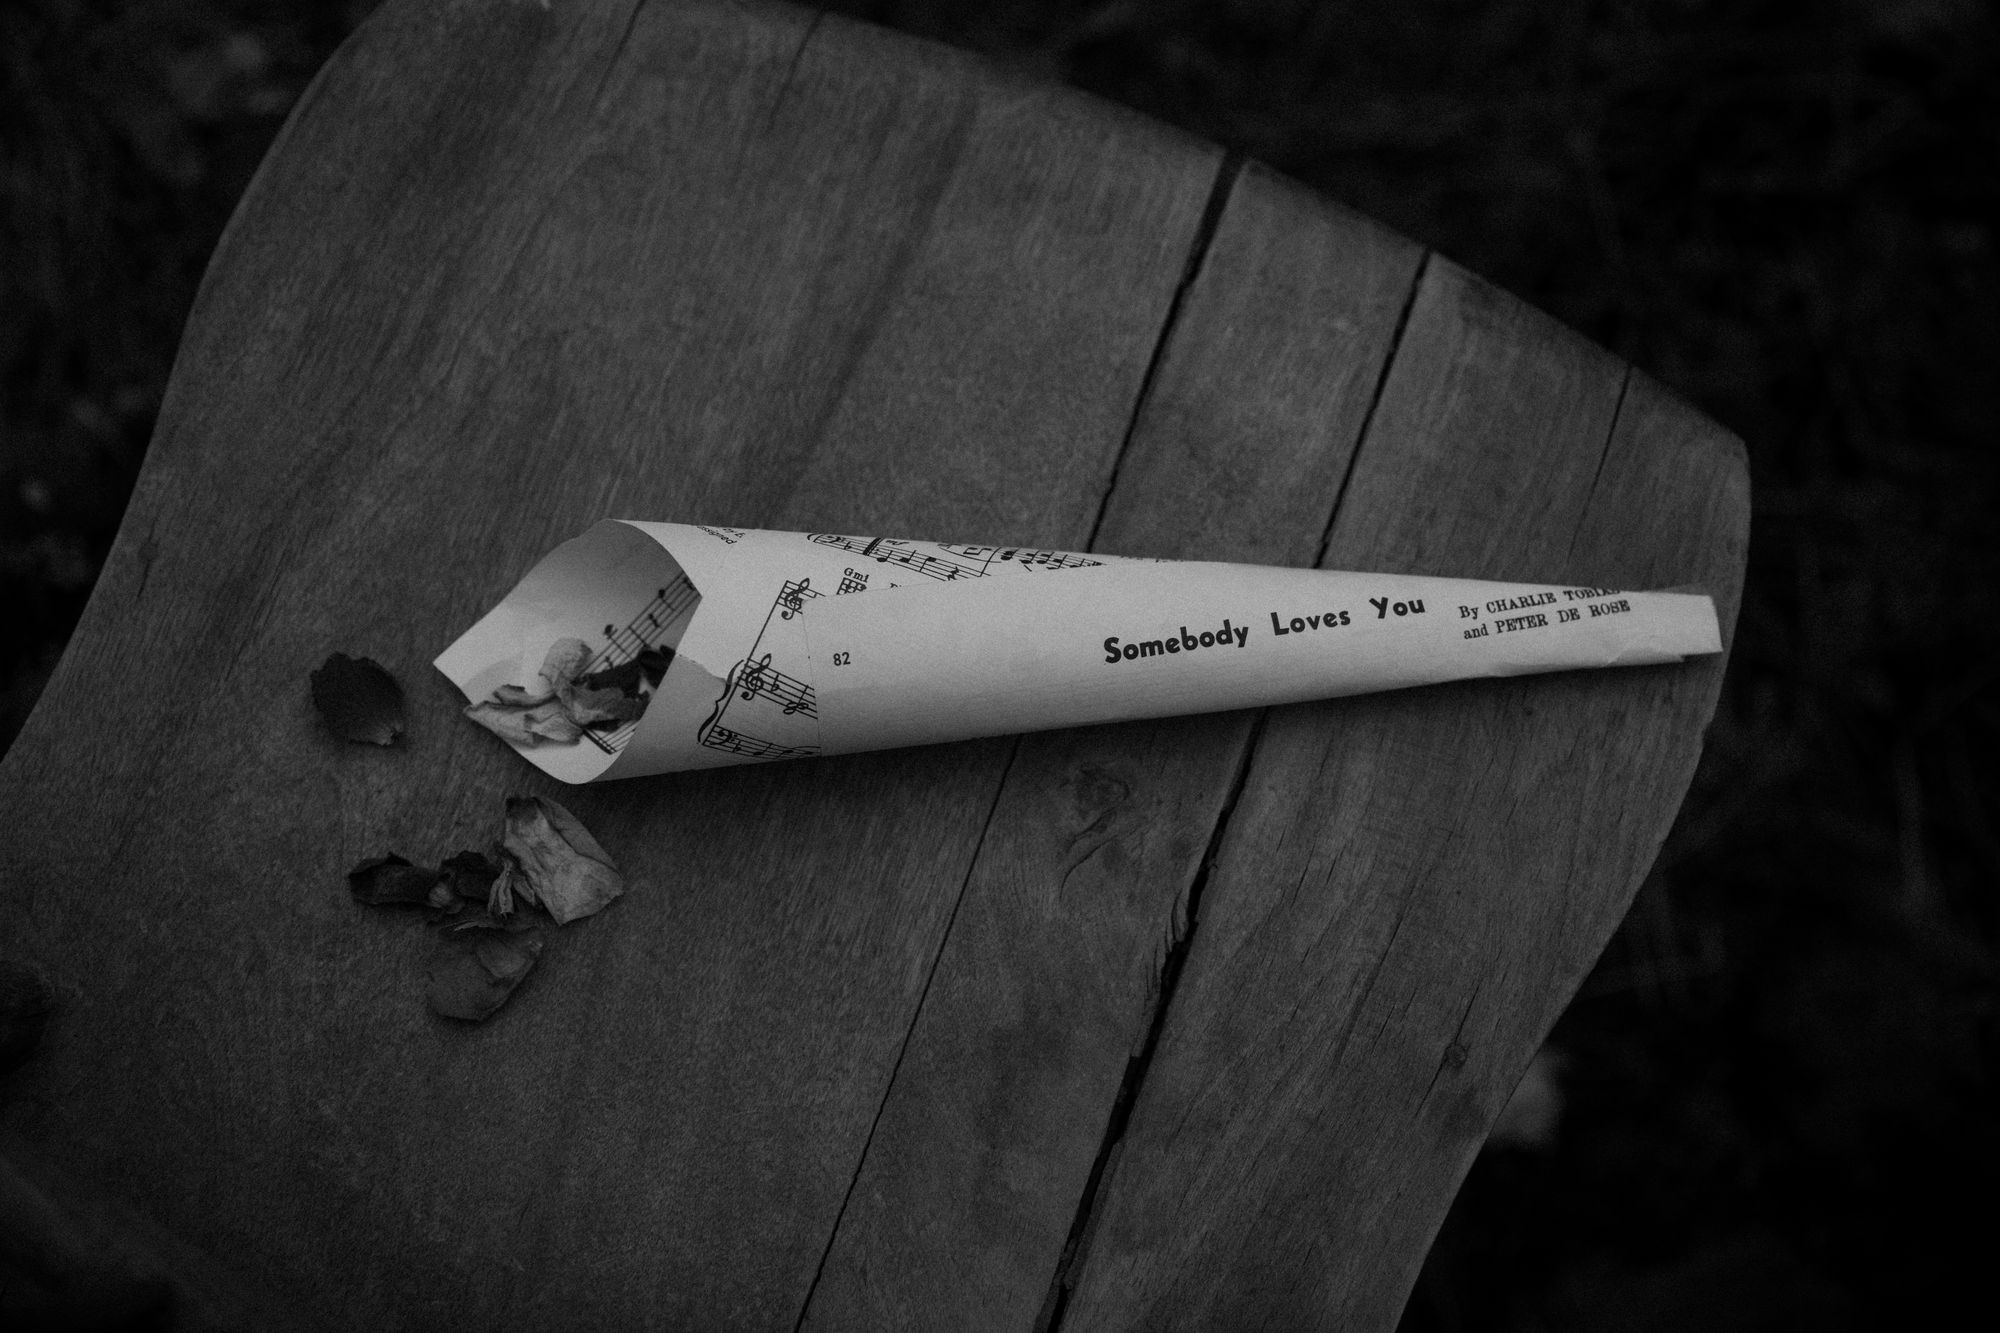
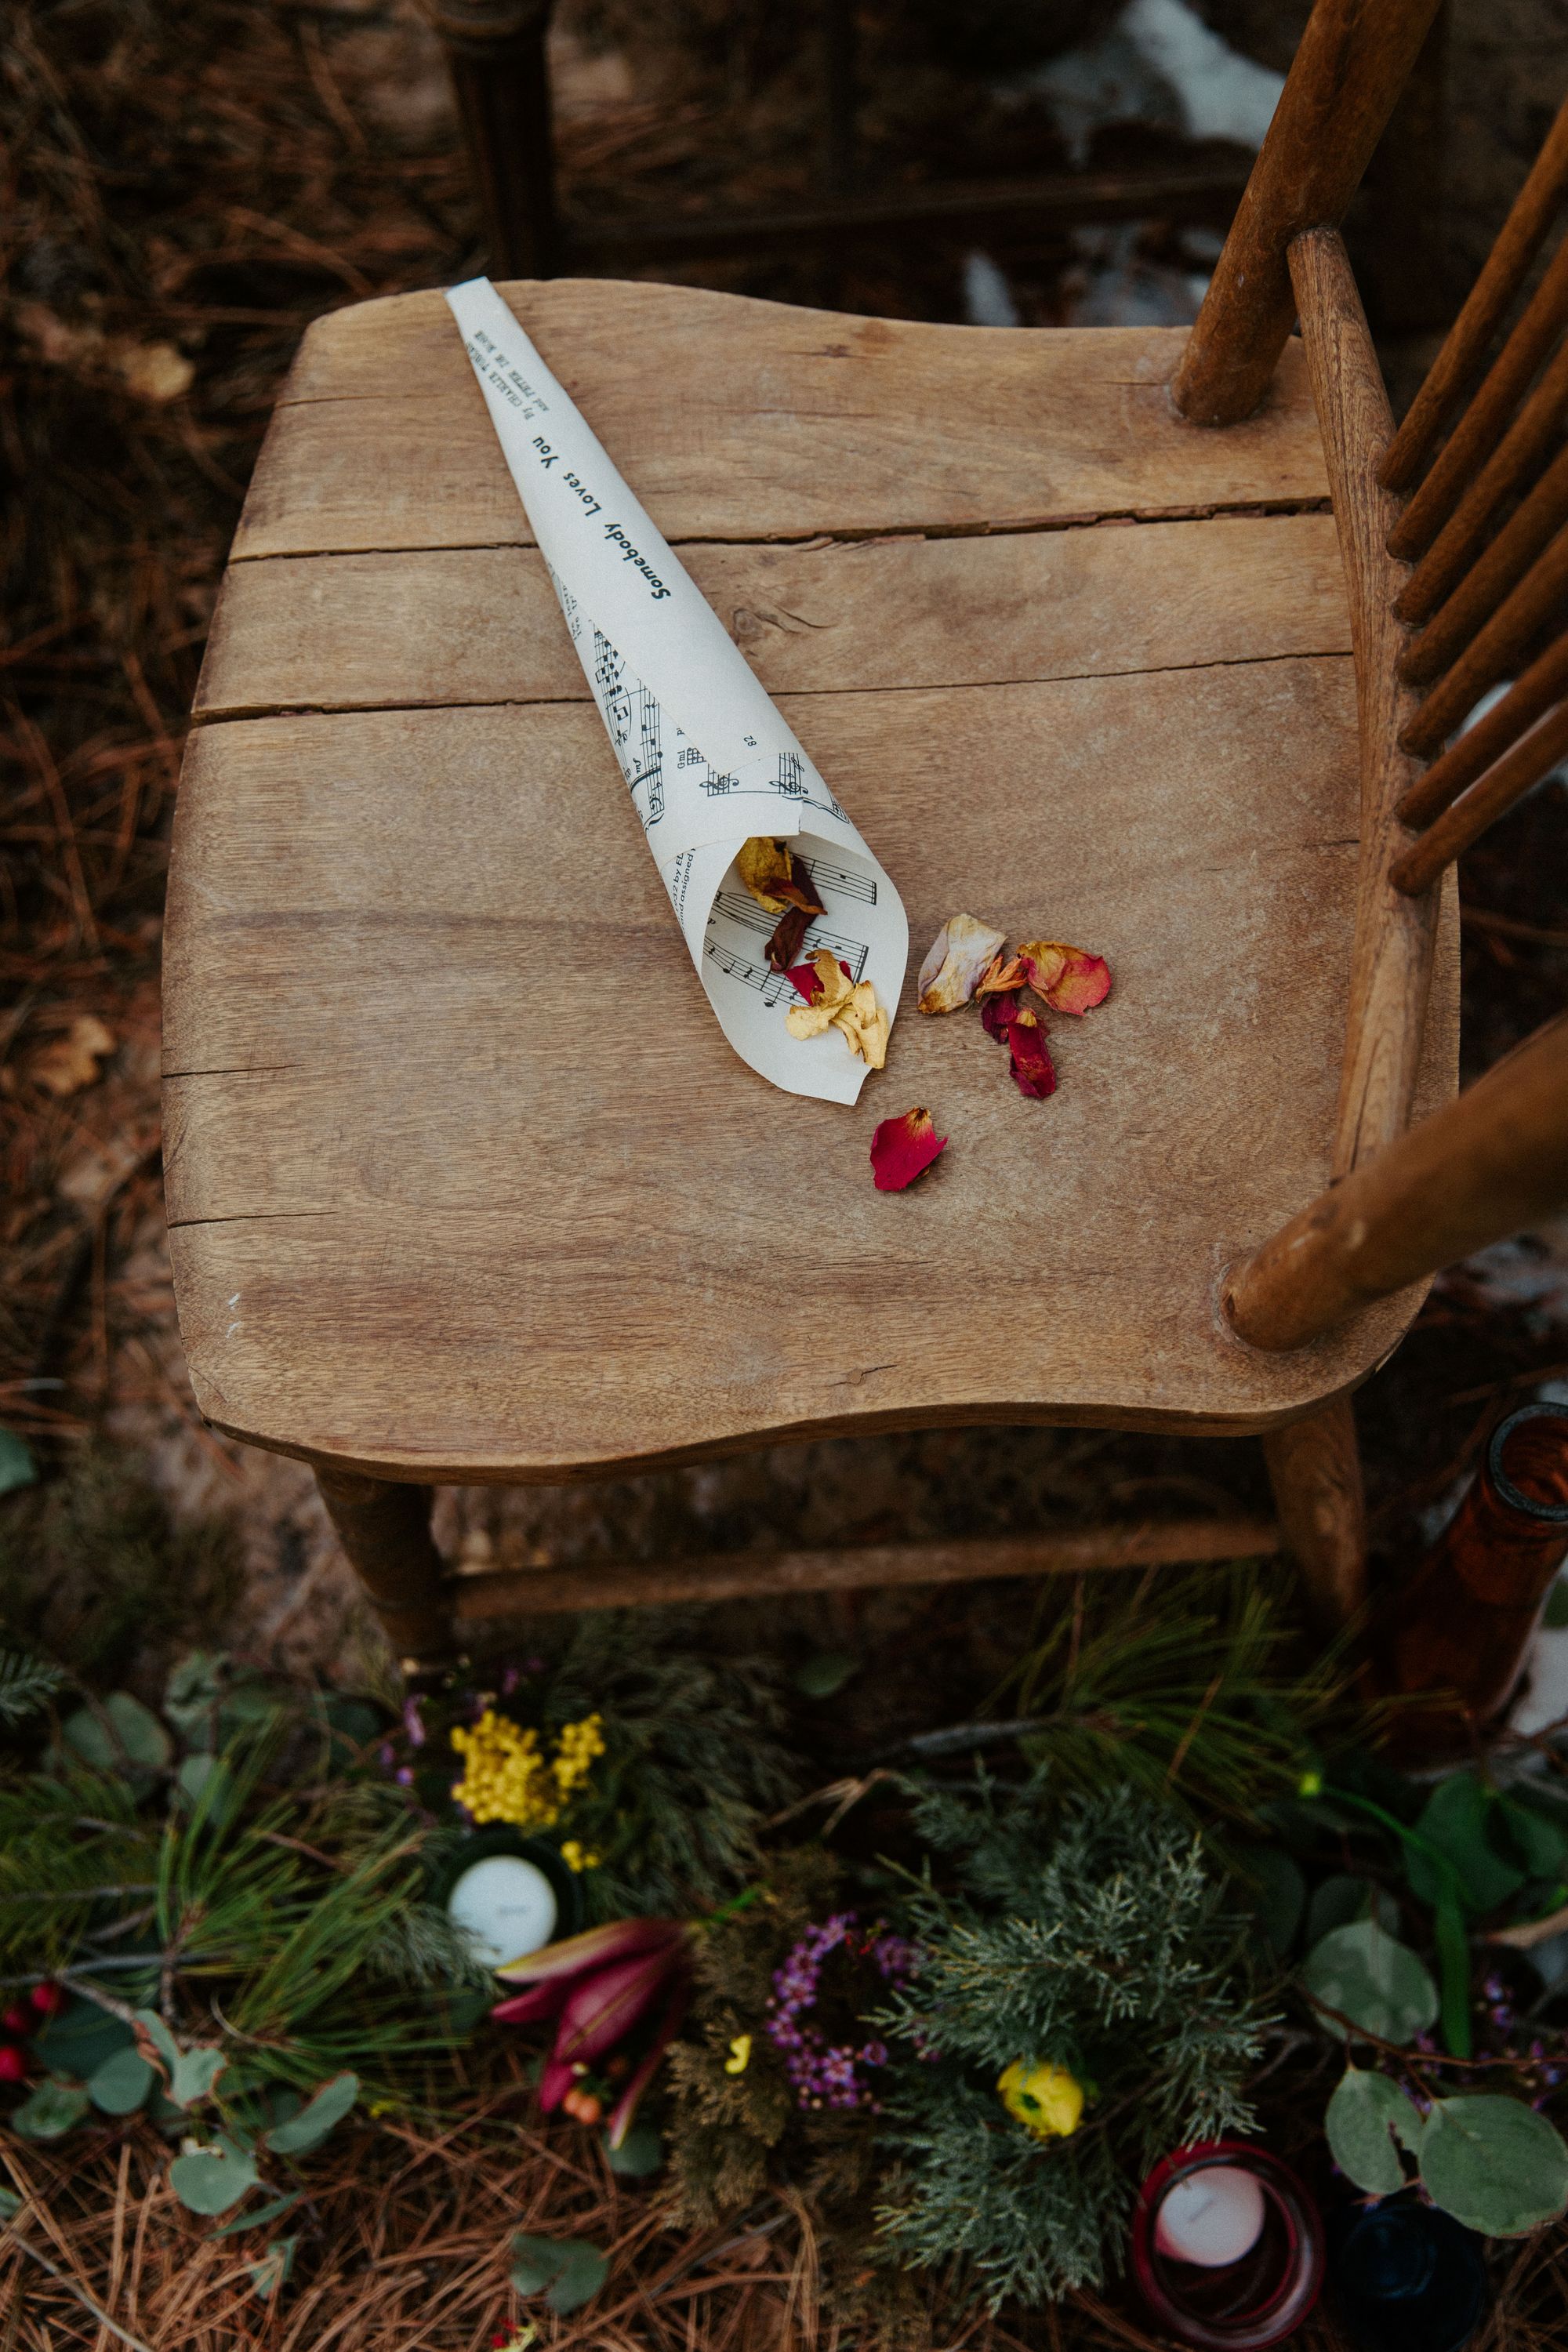
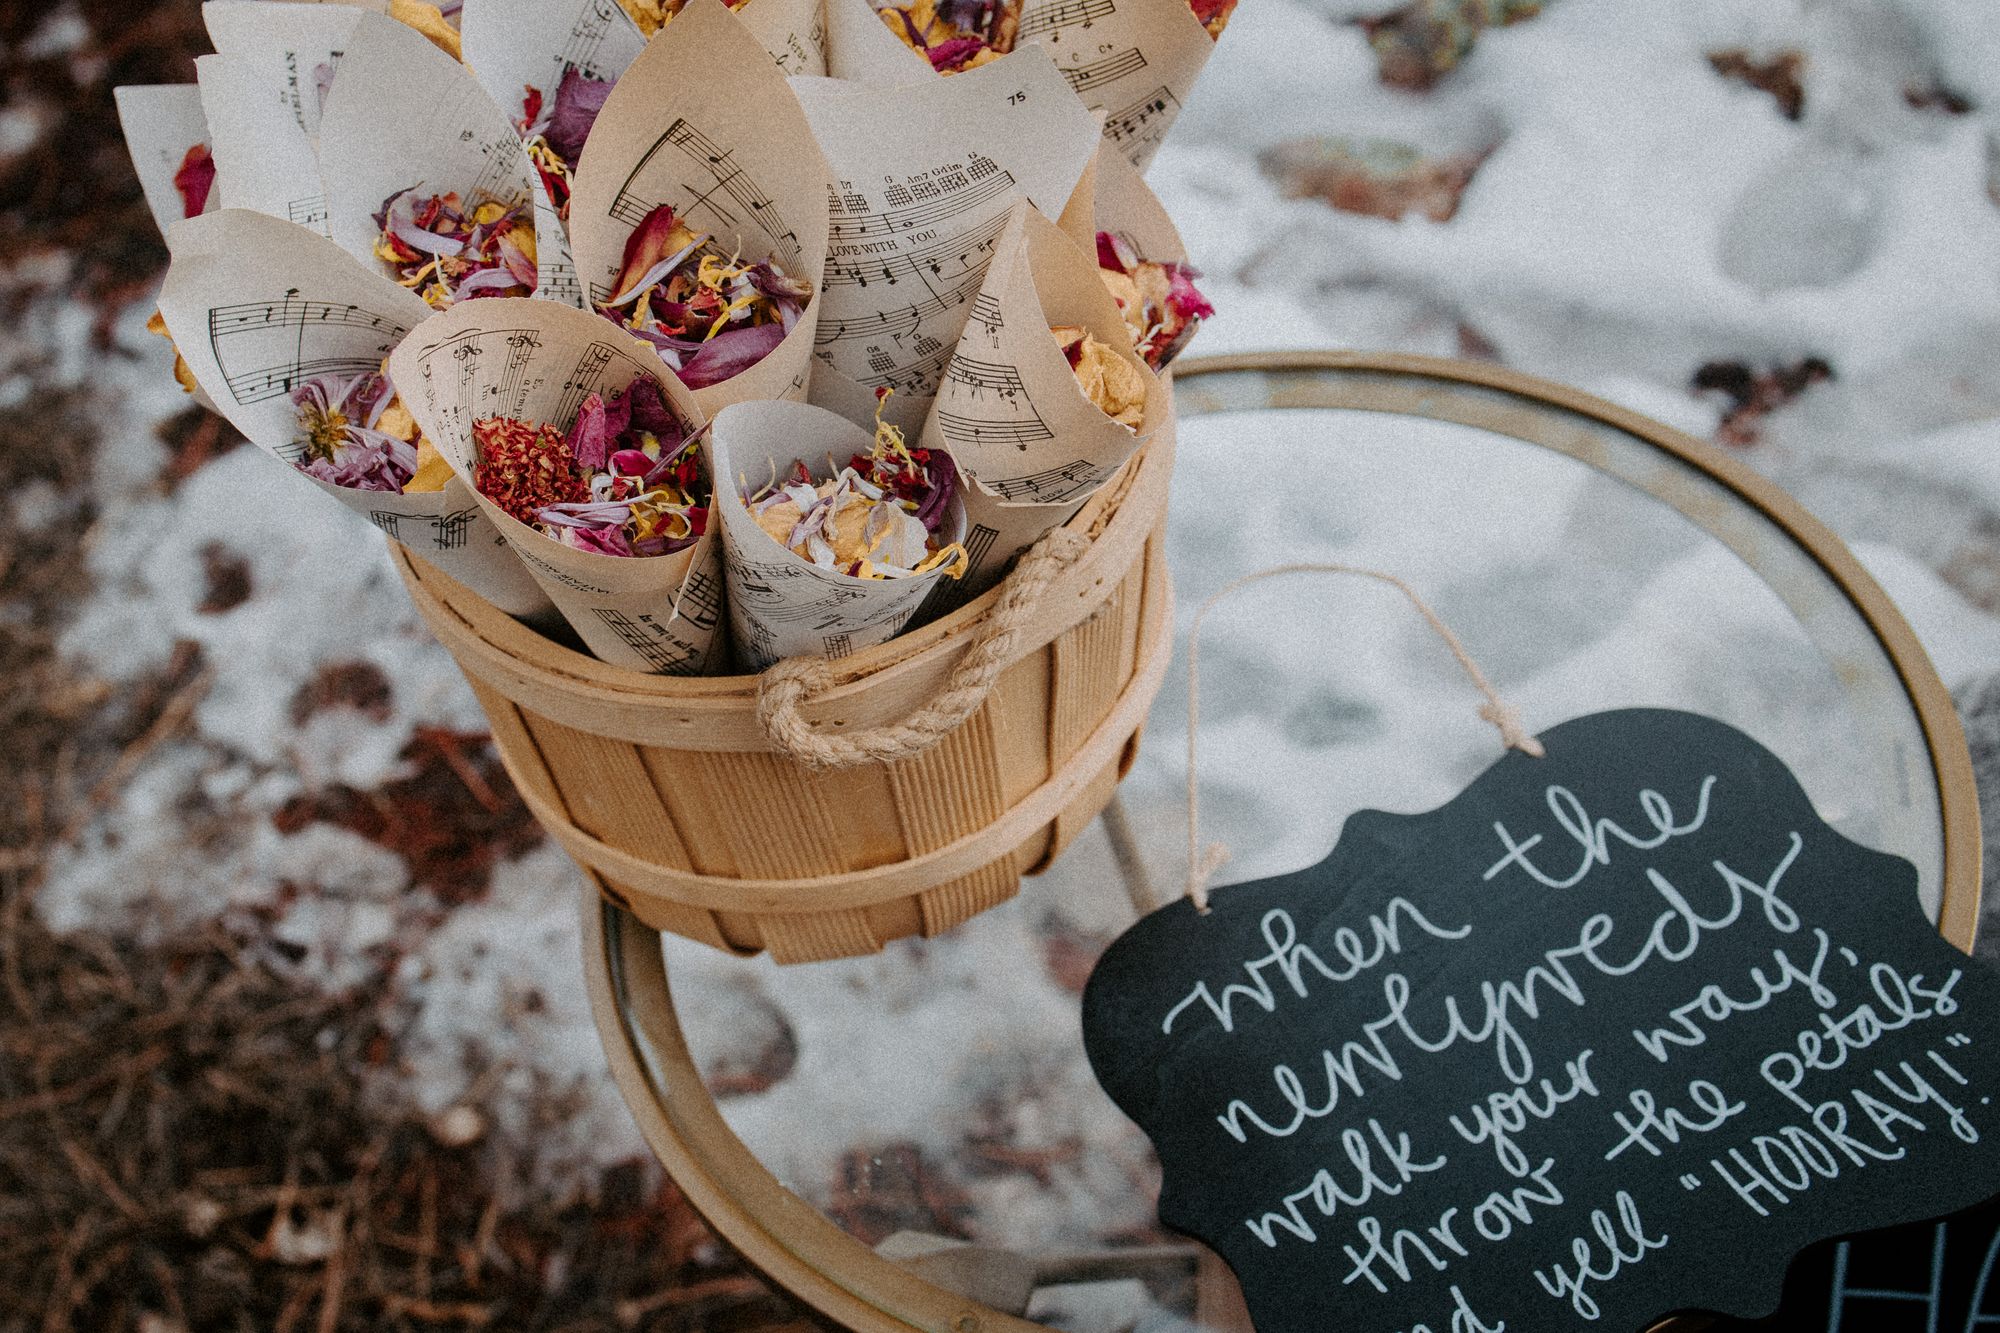
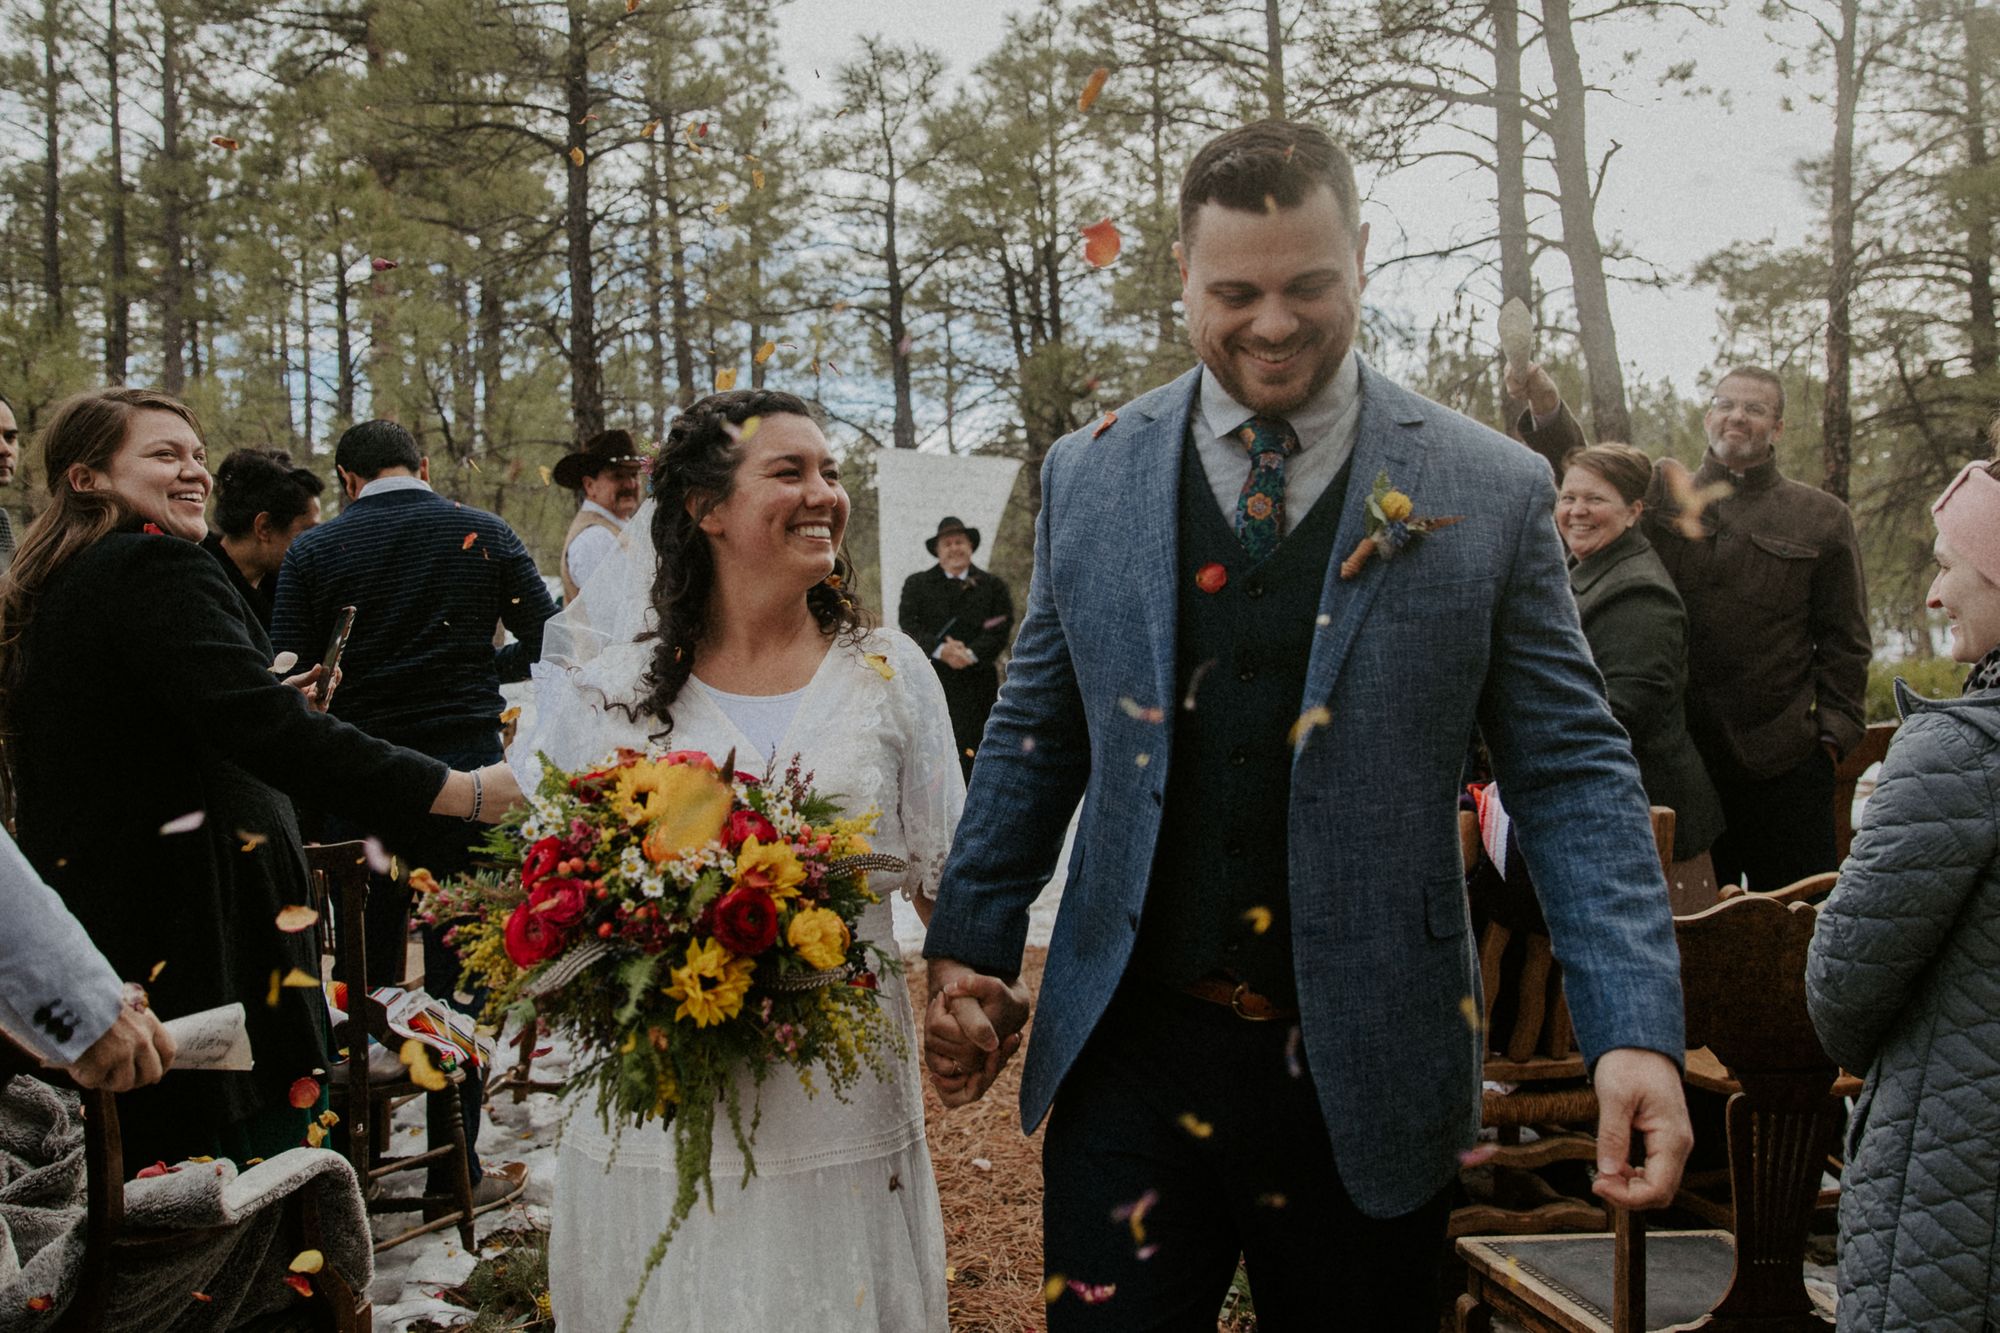
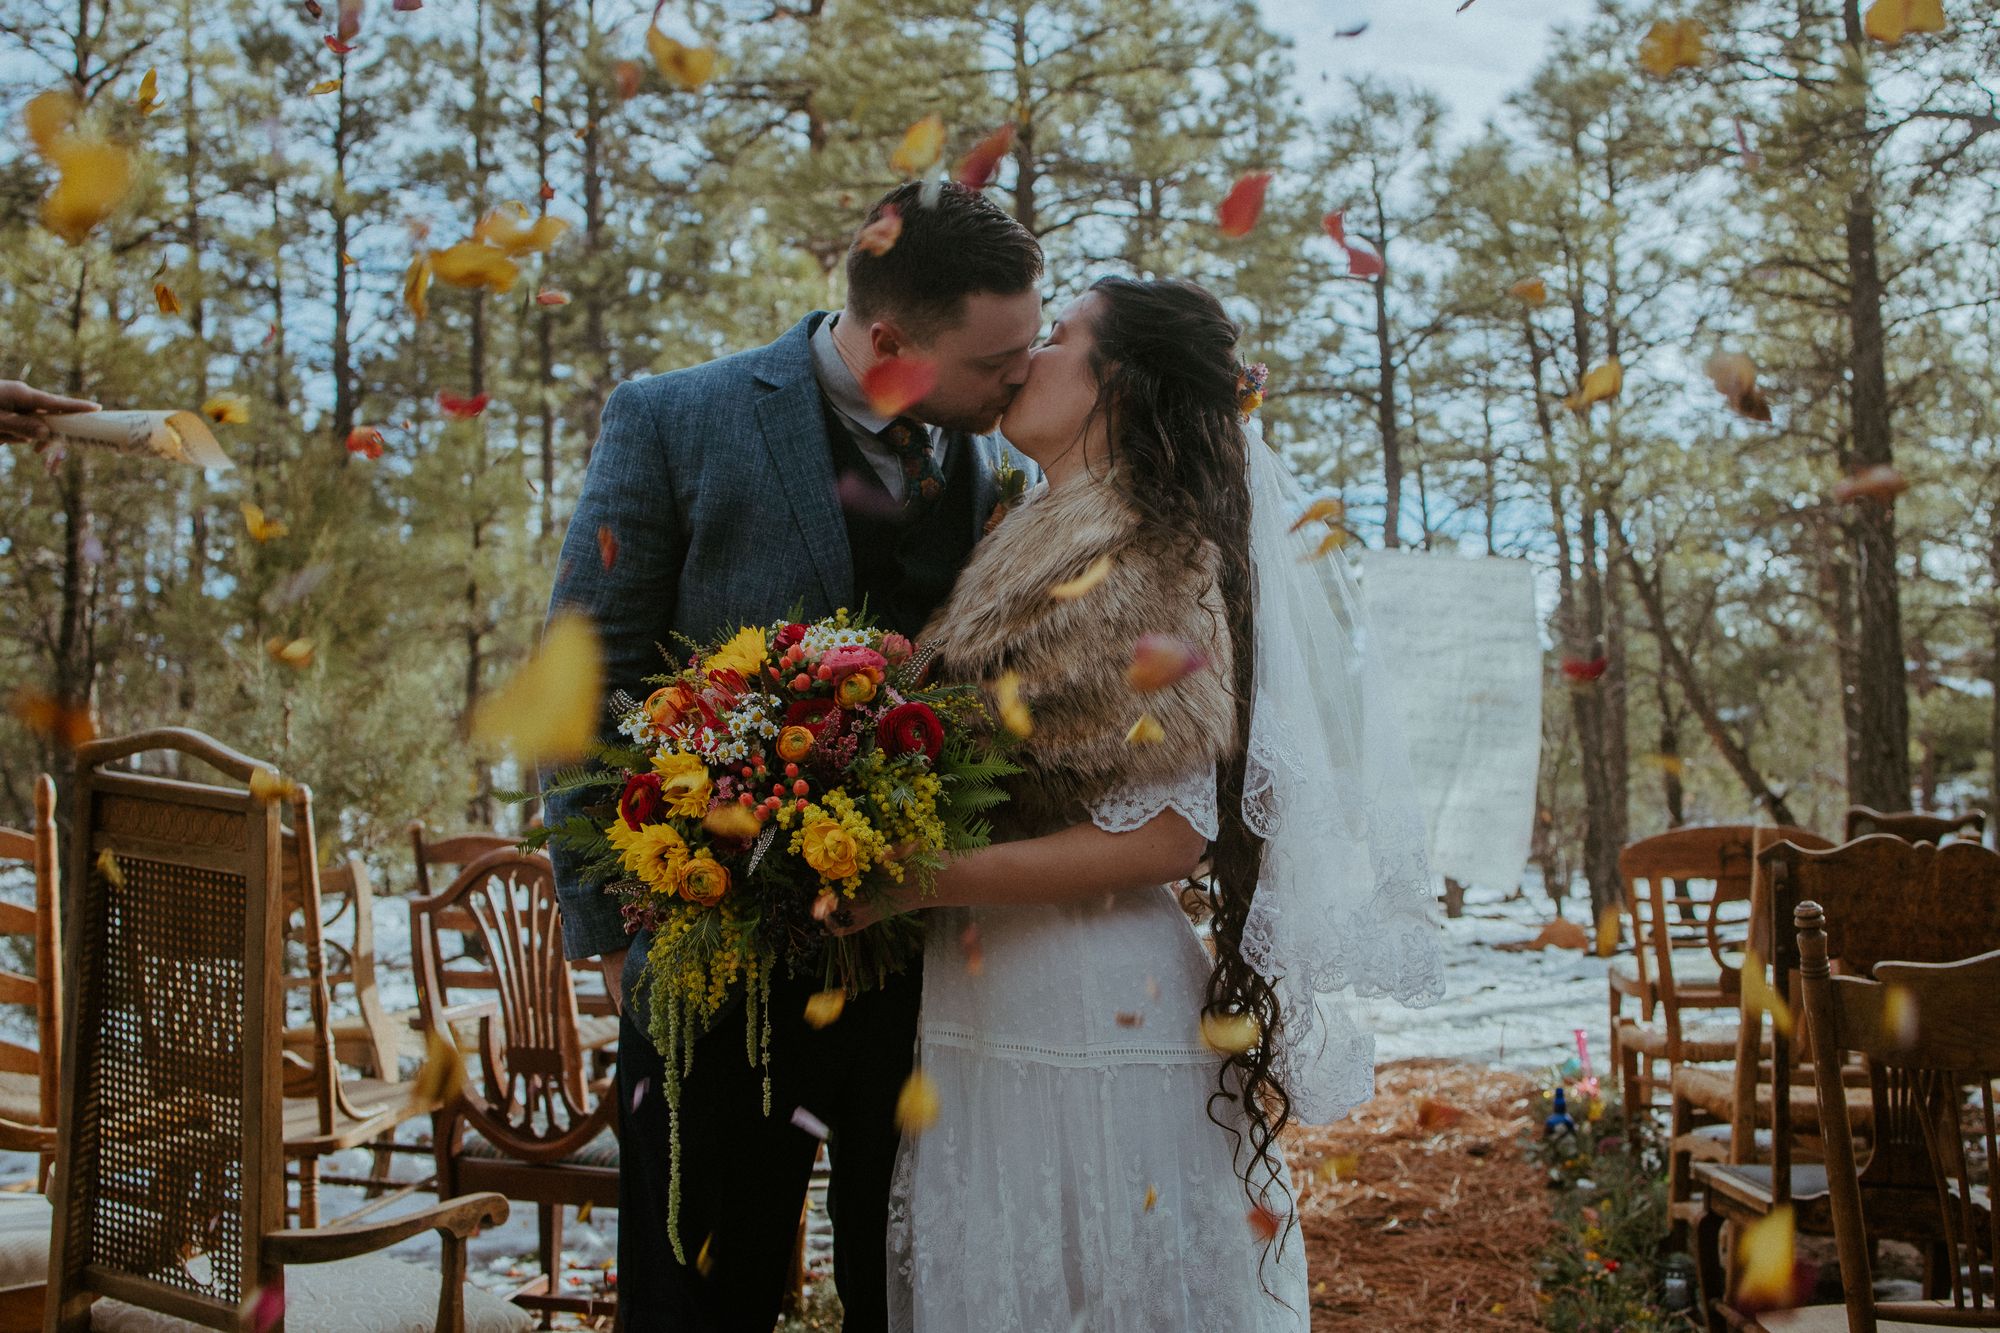
Since our ceremony was scheduled late in the day, and we weren’t allowed sparklers at night, we decided to do a faux send-off immediately following the ceremony. We had two goals: simple and sustainable.
Emily and I bought last-chance flowers at Fry’s 2 weeks before the big day. Once they started wilting, we plucked the petals and laid them out to dry in paper bags.
In the meantime, I bought music sheets from Goodwill’s book section and hand-rolled large paper cones. We filled these with all our dried petals the morning of the wedding.
These cute cones were then used by our guests to toss celebration confetti when we walked down the aisle as husband and wife!
In total, I spent less than $20 on florals!
DIY DJ, Video and Sound Setup
Most of Andrew’s family was unable to attend our wedding. In order to make them feel included, I reached out to our favorite videography guru and friend, Mitch with Faraway Southwest.
Of course, with anything technical, the cost will depend greatly on what you’re wanting to achieve. We didn’t need drone footage or video from every angle. A camera or phone on a tripod plus a remote mic was sufficient for us to virtually stream our ceremony.
If you have a similar setup in mind, it’s worth investing in a streaming capture card. In somewhat English, it’s a device that allows you to plug-in an HDMI camera to a USB port on your computer. This allows you to utilize an Open Broadcast Server (OBS) to then stream your live or recorded ceremony on YouTube like Mitch so generously did for us here.
Keep in mind, you’ll want some sort of Wi-Fi service to stream live, otherwise it’s better to upload your recorded video later for quality’s sake. You will also want to bring extension cords to keep equipment powered either from a nearby outlet or a generator. Many truck beds have plug-ins if your ceremony is in a more remote location.
Lastly, music is vital to setting the ambiance of your micro wedding!
Andrew and I put together two separate Spotify playlists ahead of time. One was solely instrumental for our processional, while the other consisted of our favorite love songs to be used during the reception.
My brother, Joel, kindly took over as designated DJ. We gave him access to our playlists a few days before the wedding. He used his phone to connect to high quality speakers like these AOMAIS GO Bluetooth Speakers. You want something that is optimal outdoors and has less than 1% volume distortion.
If you want to make your wedding tunes even simpler, you can ask a friend to play their guitar or other easily-transported musical instrument. As you can see in the video, Andrew’s brother and Best Man, Ryan, played and sang my entrance song (Love Never Fails by Brandon Heath). Big round of applause to my new bro!
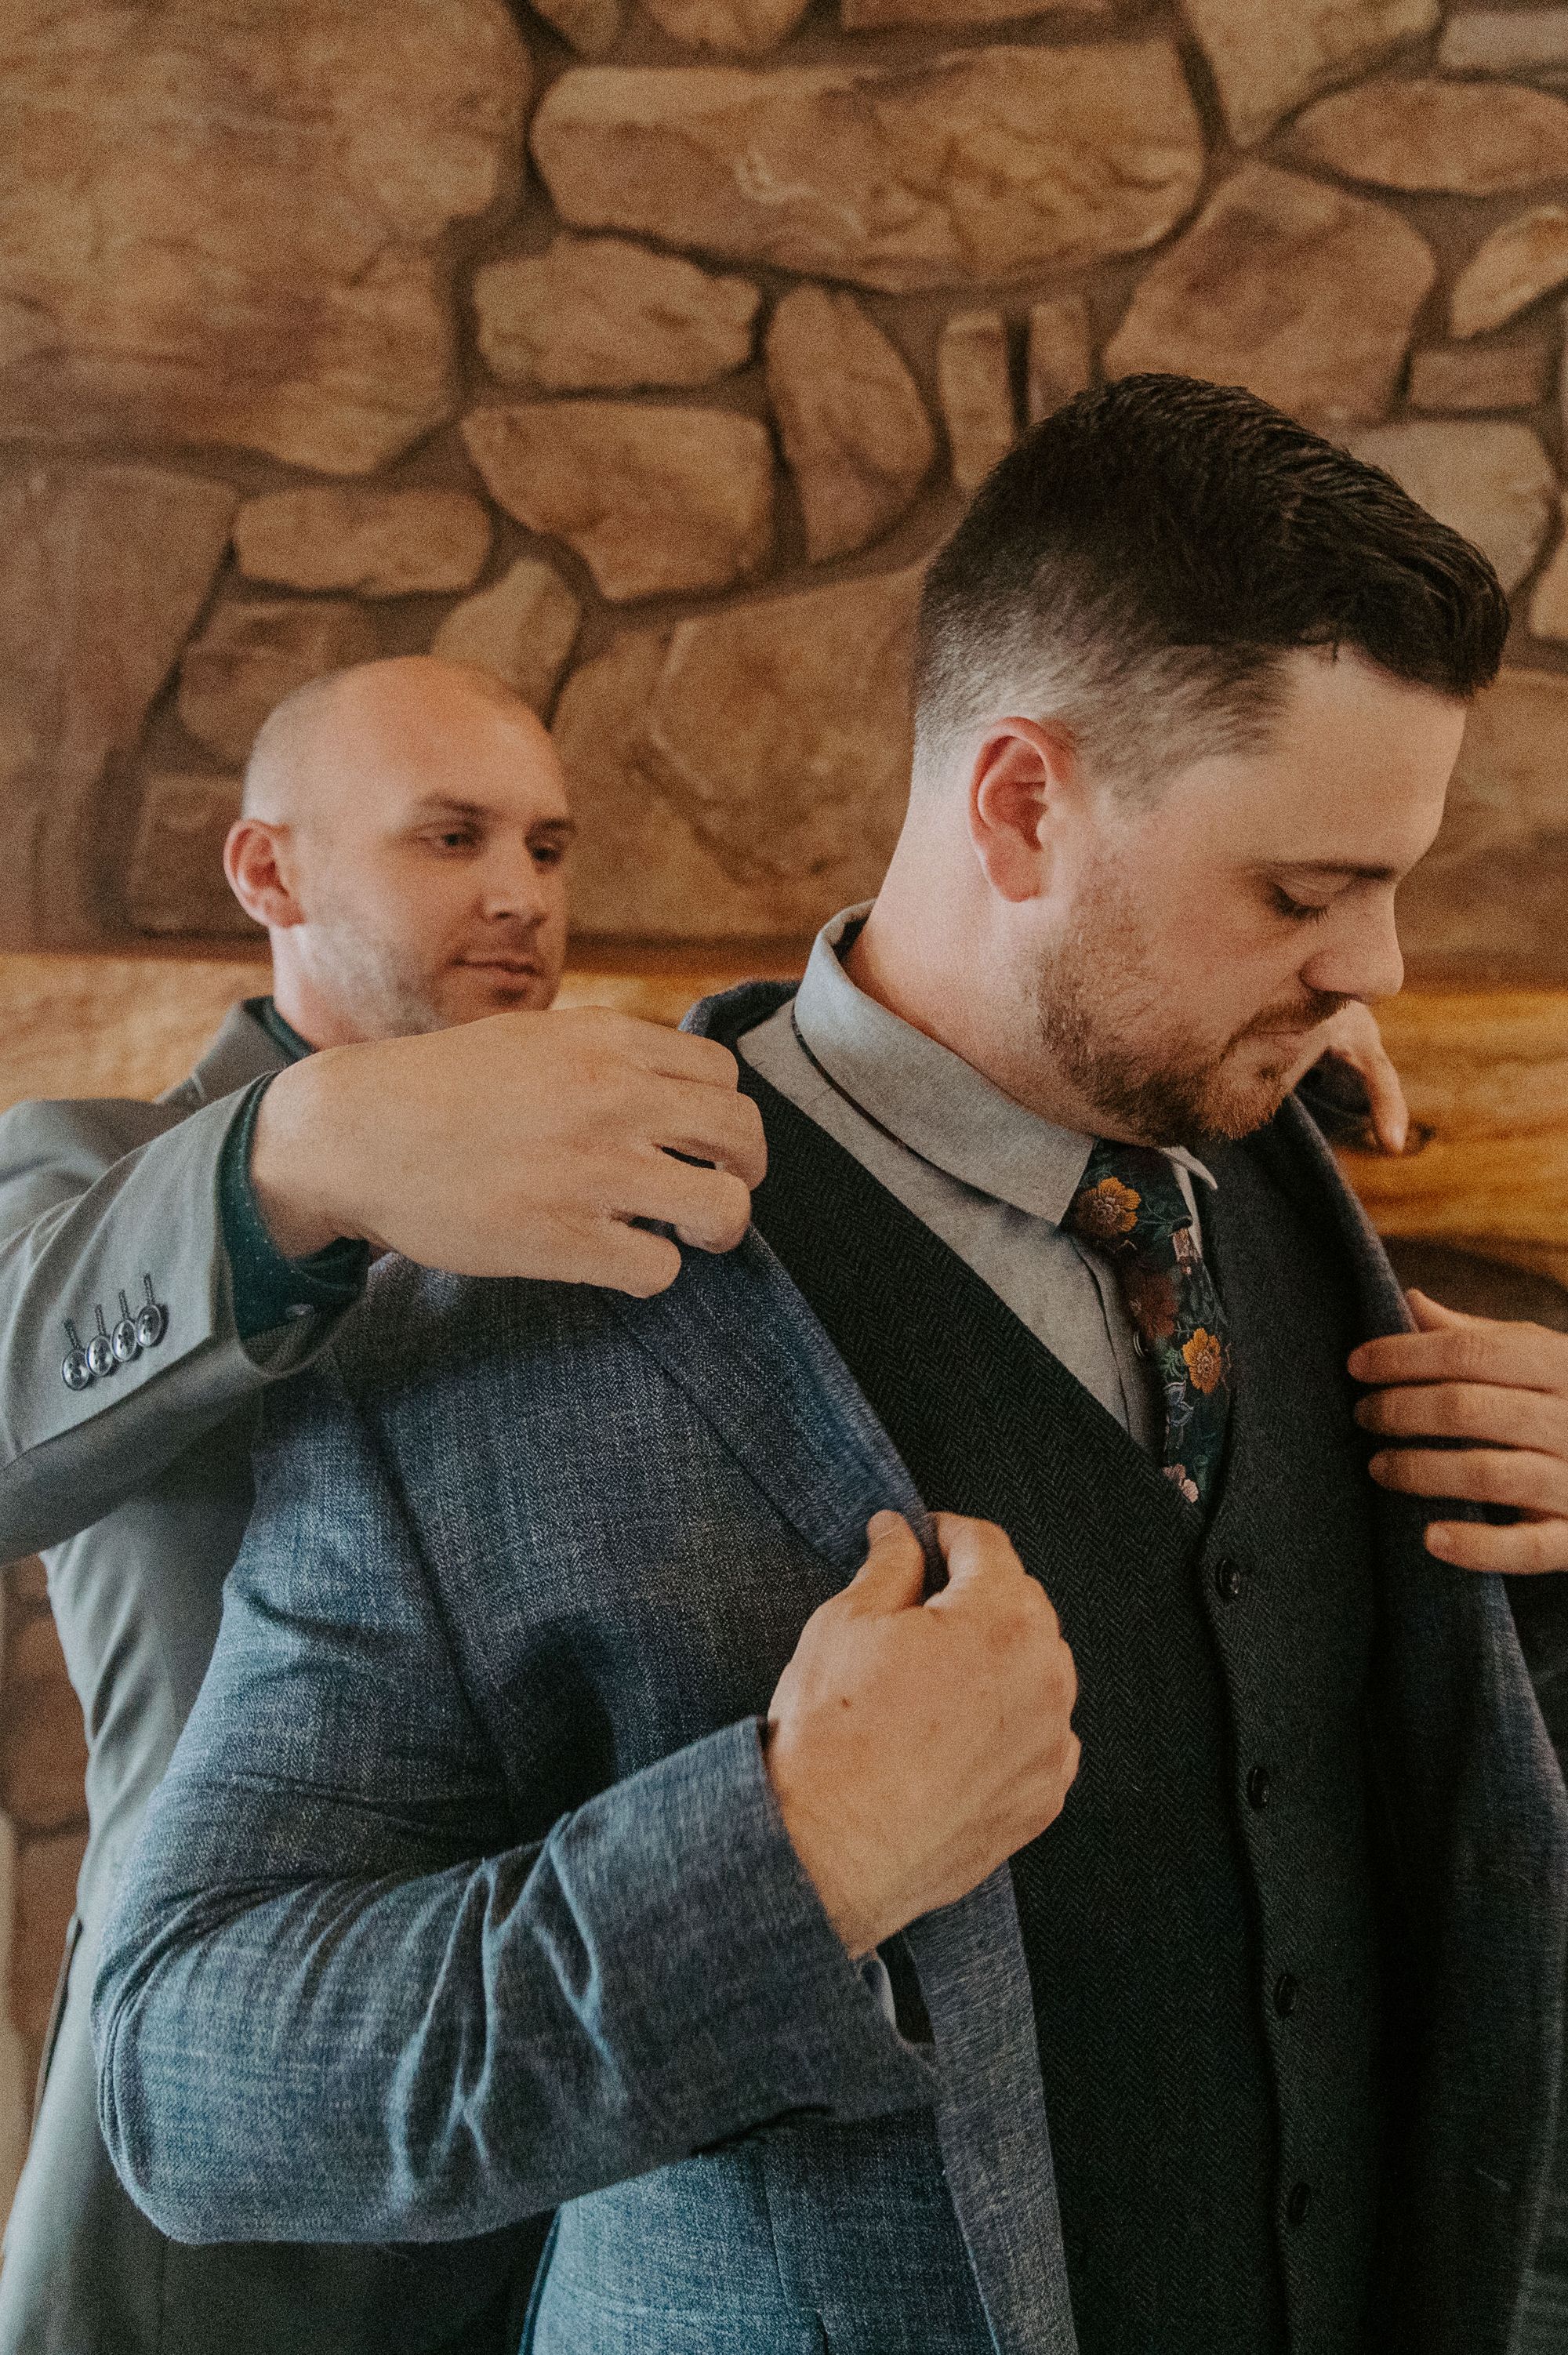
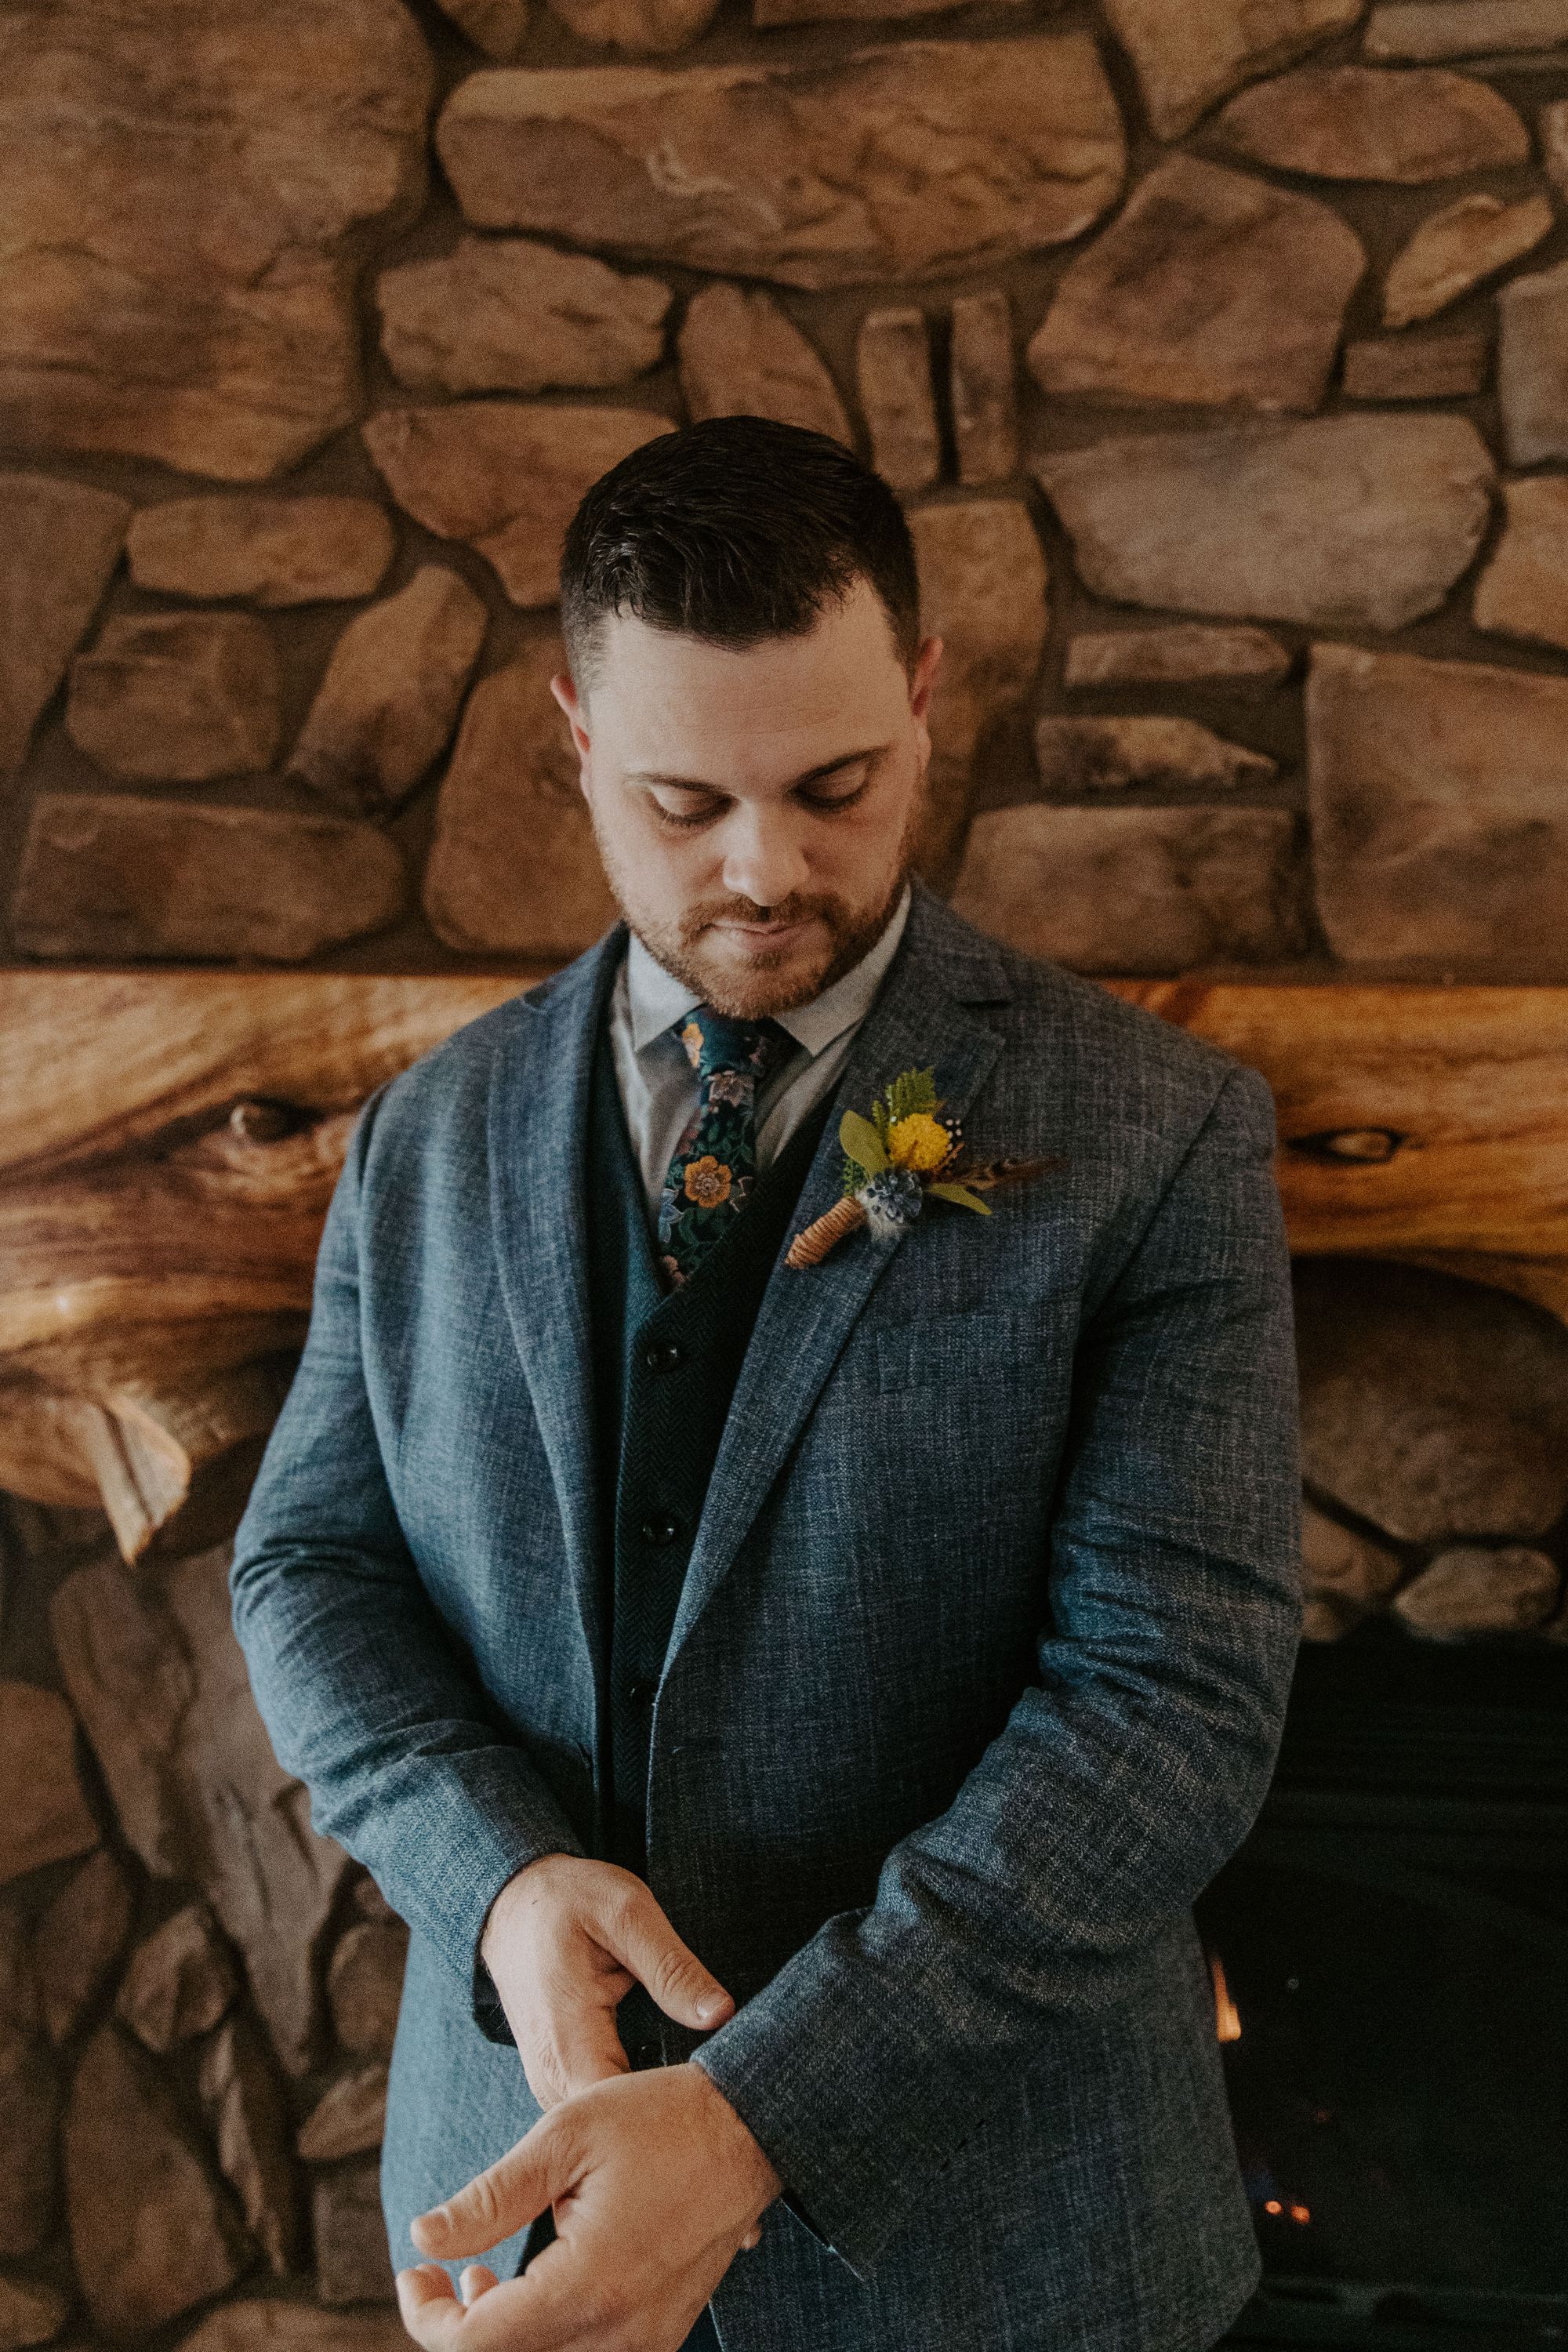
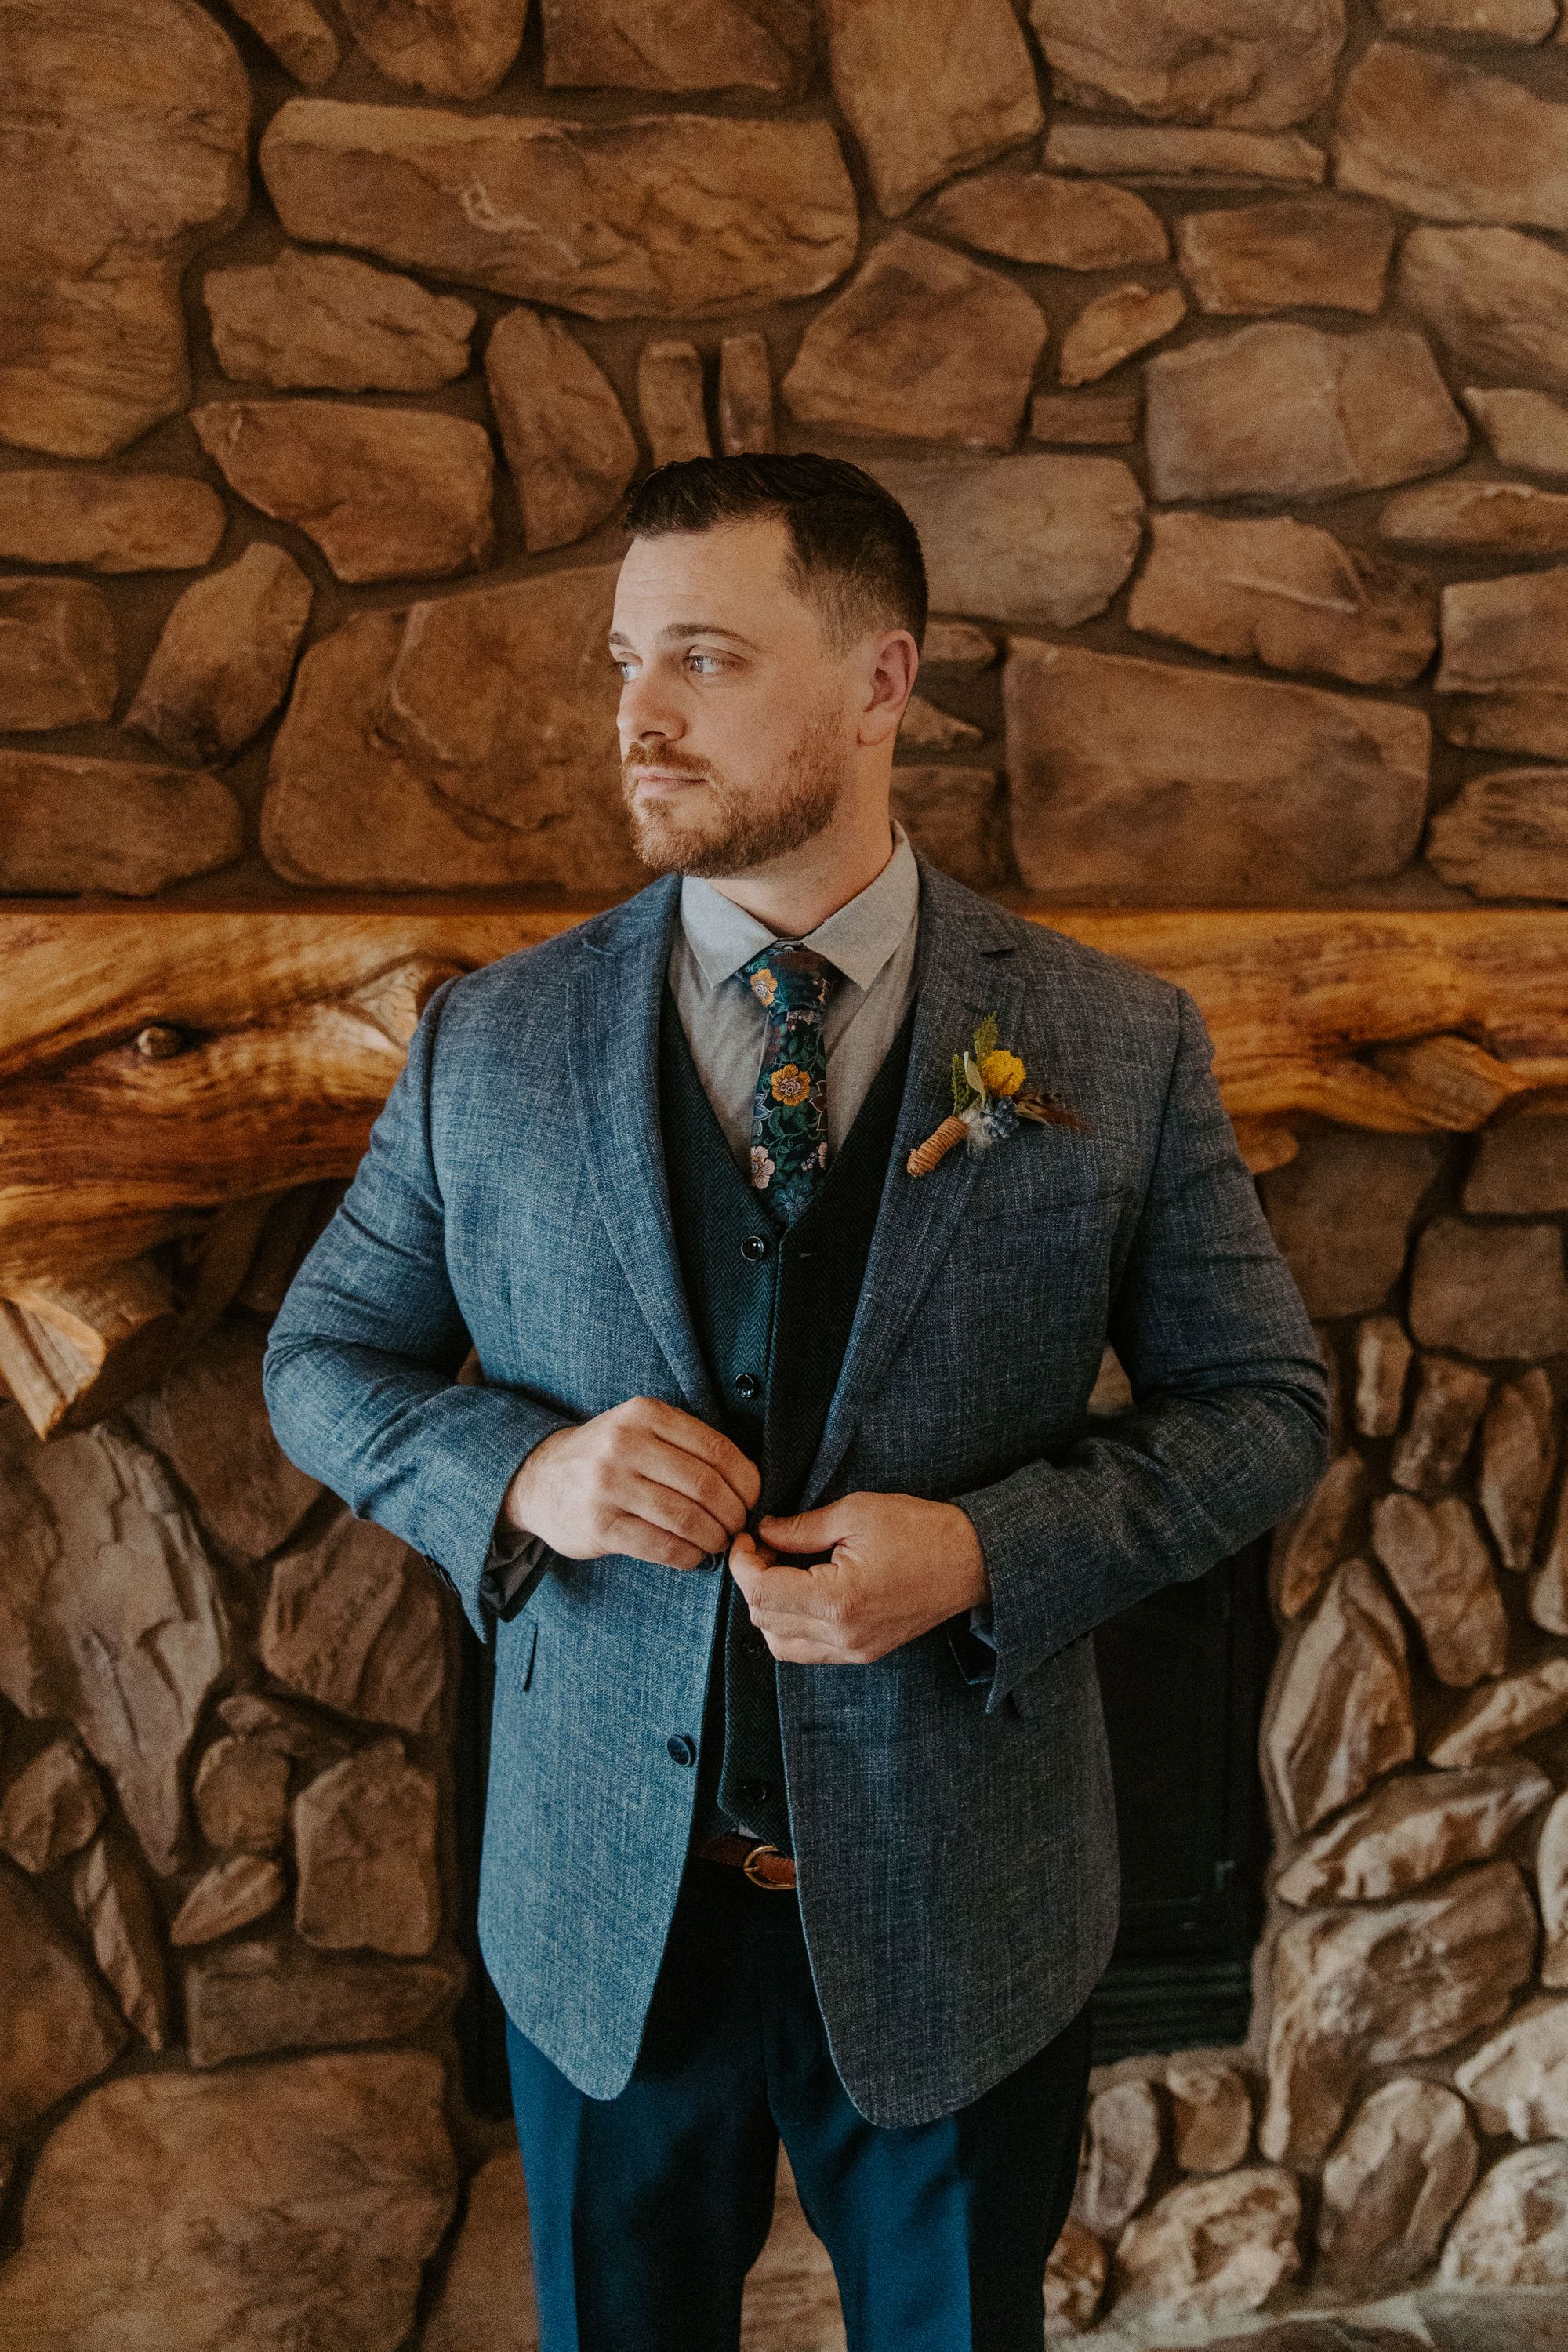
Groom's Attire
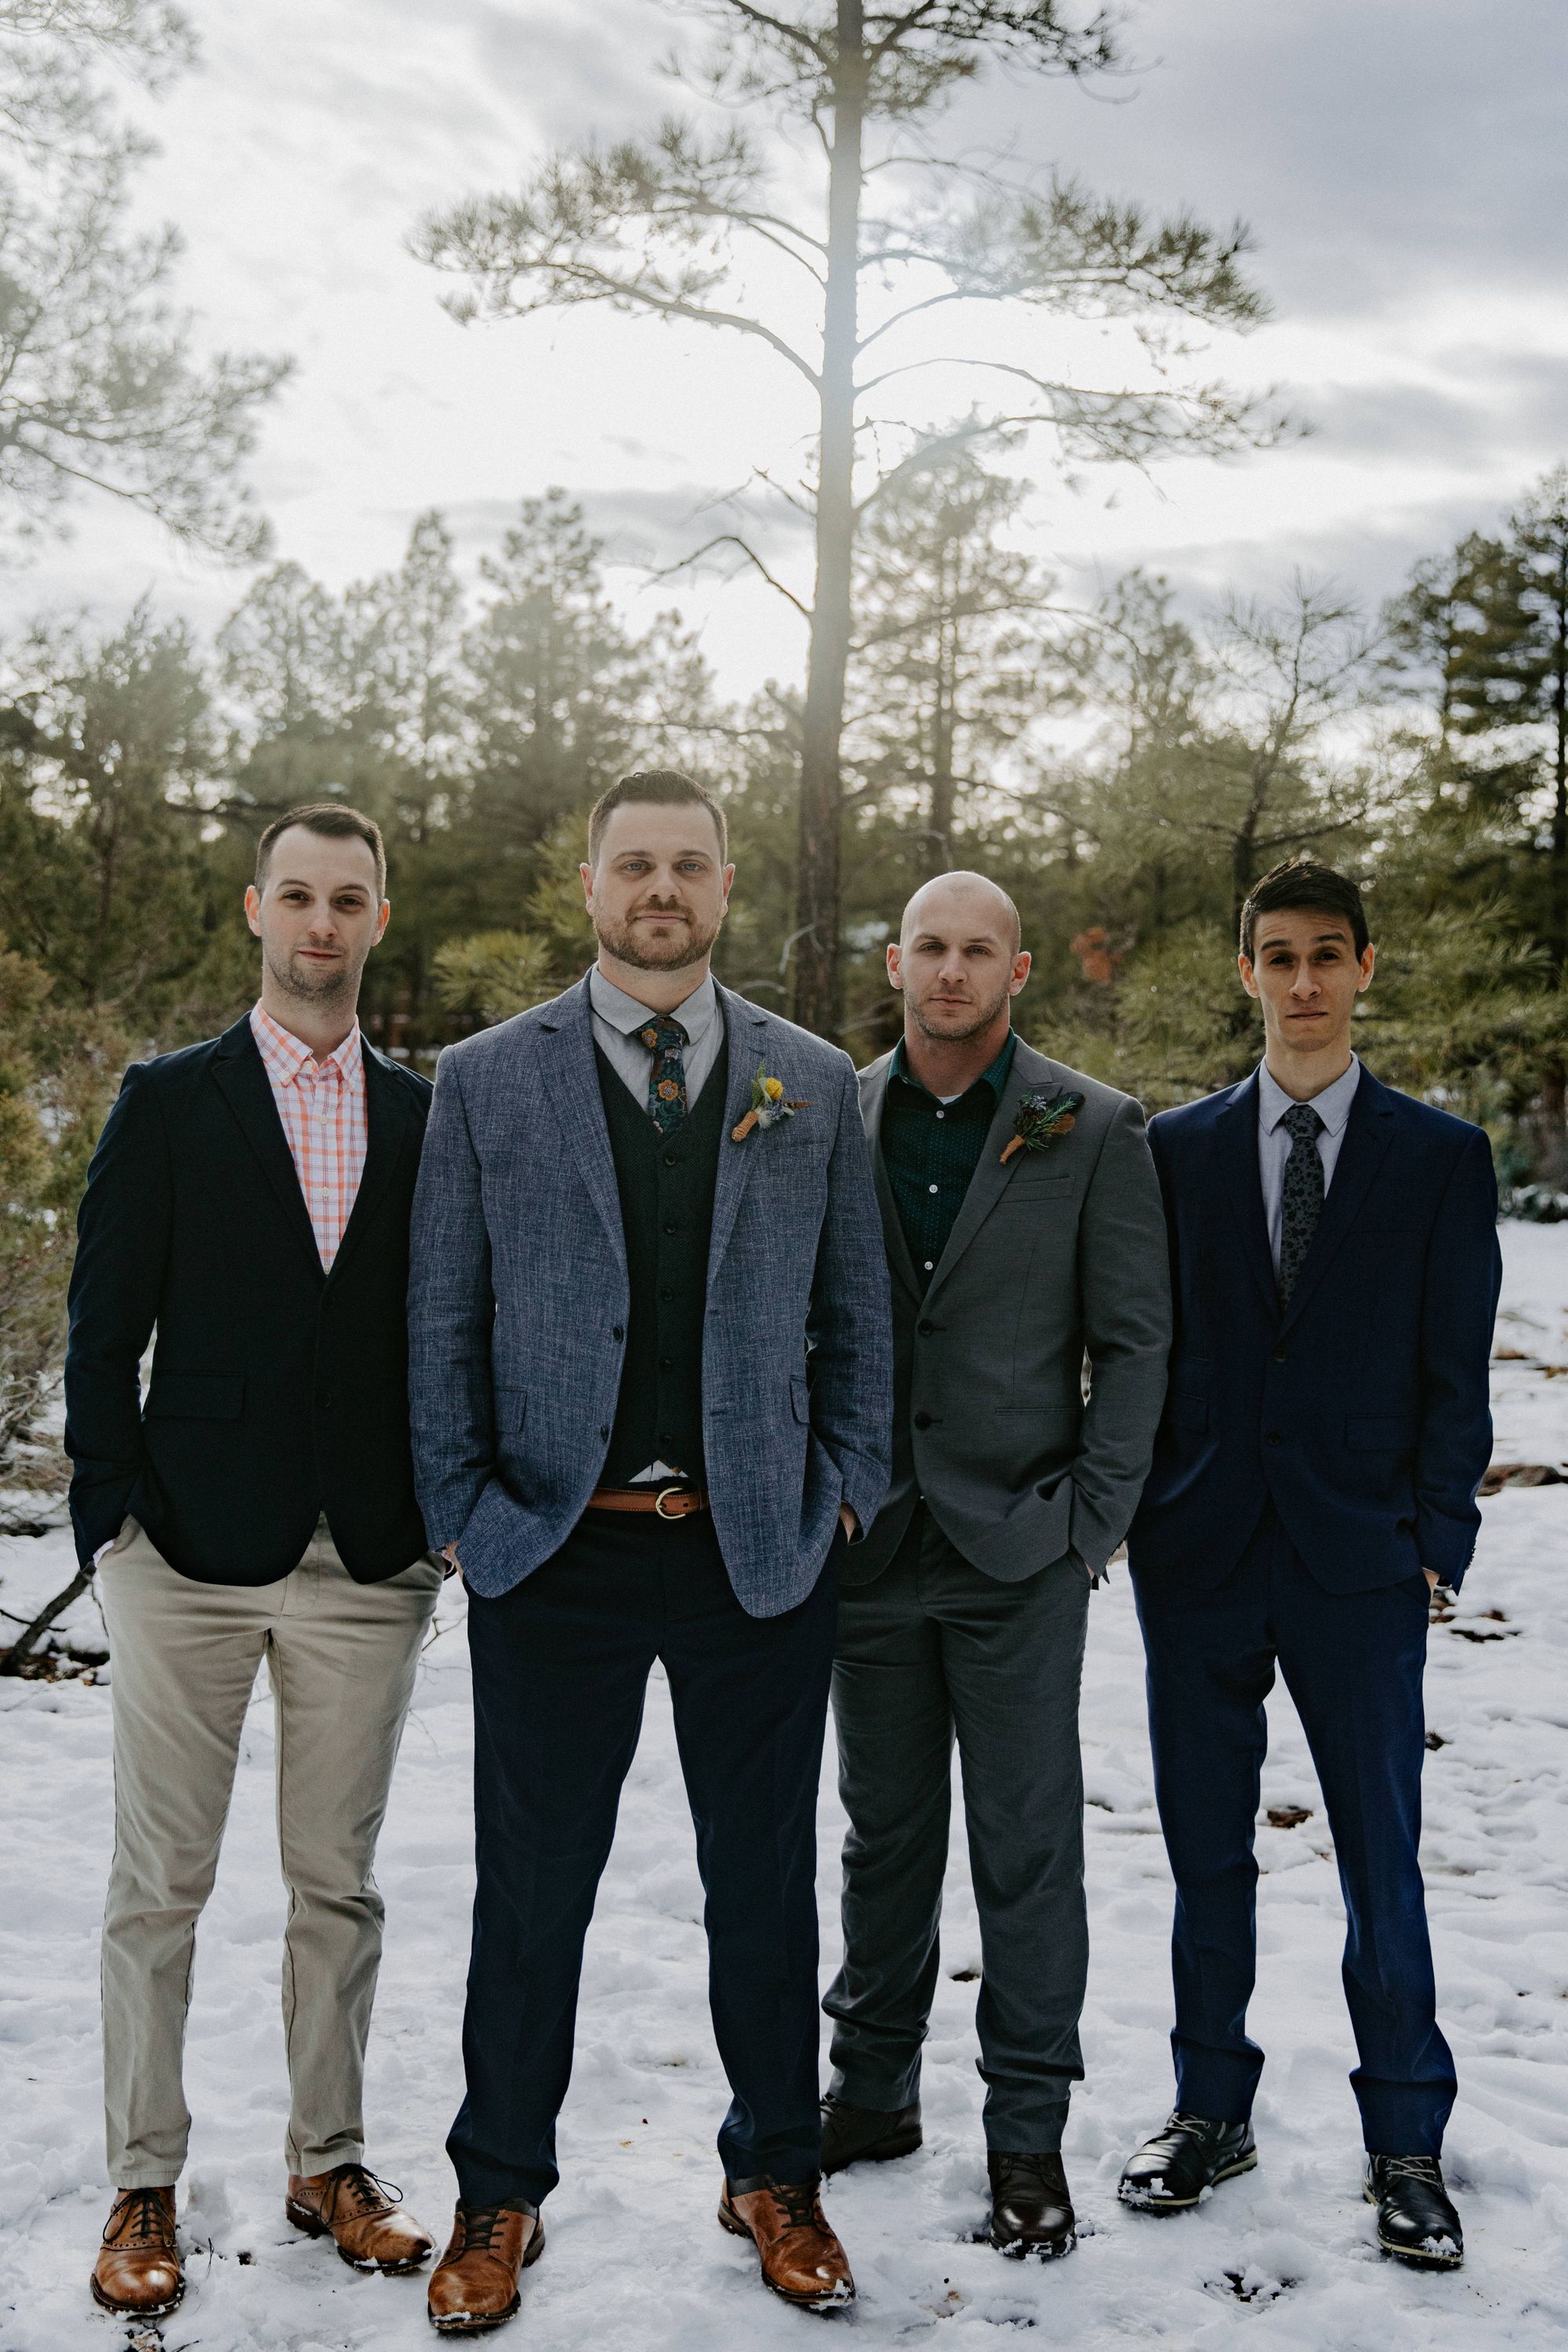
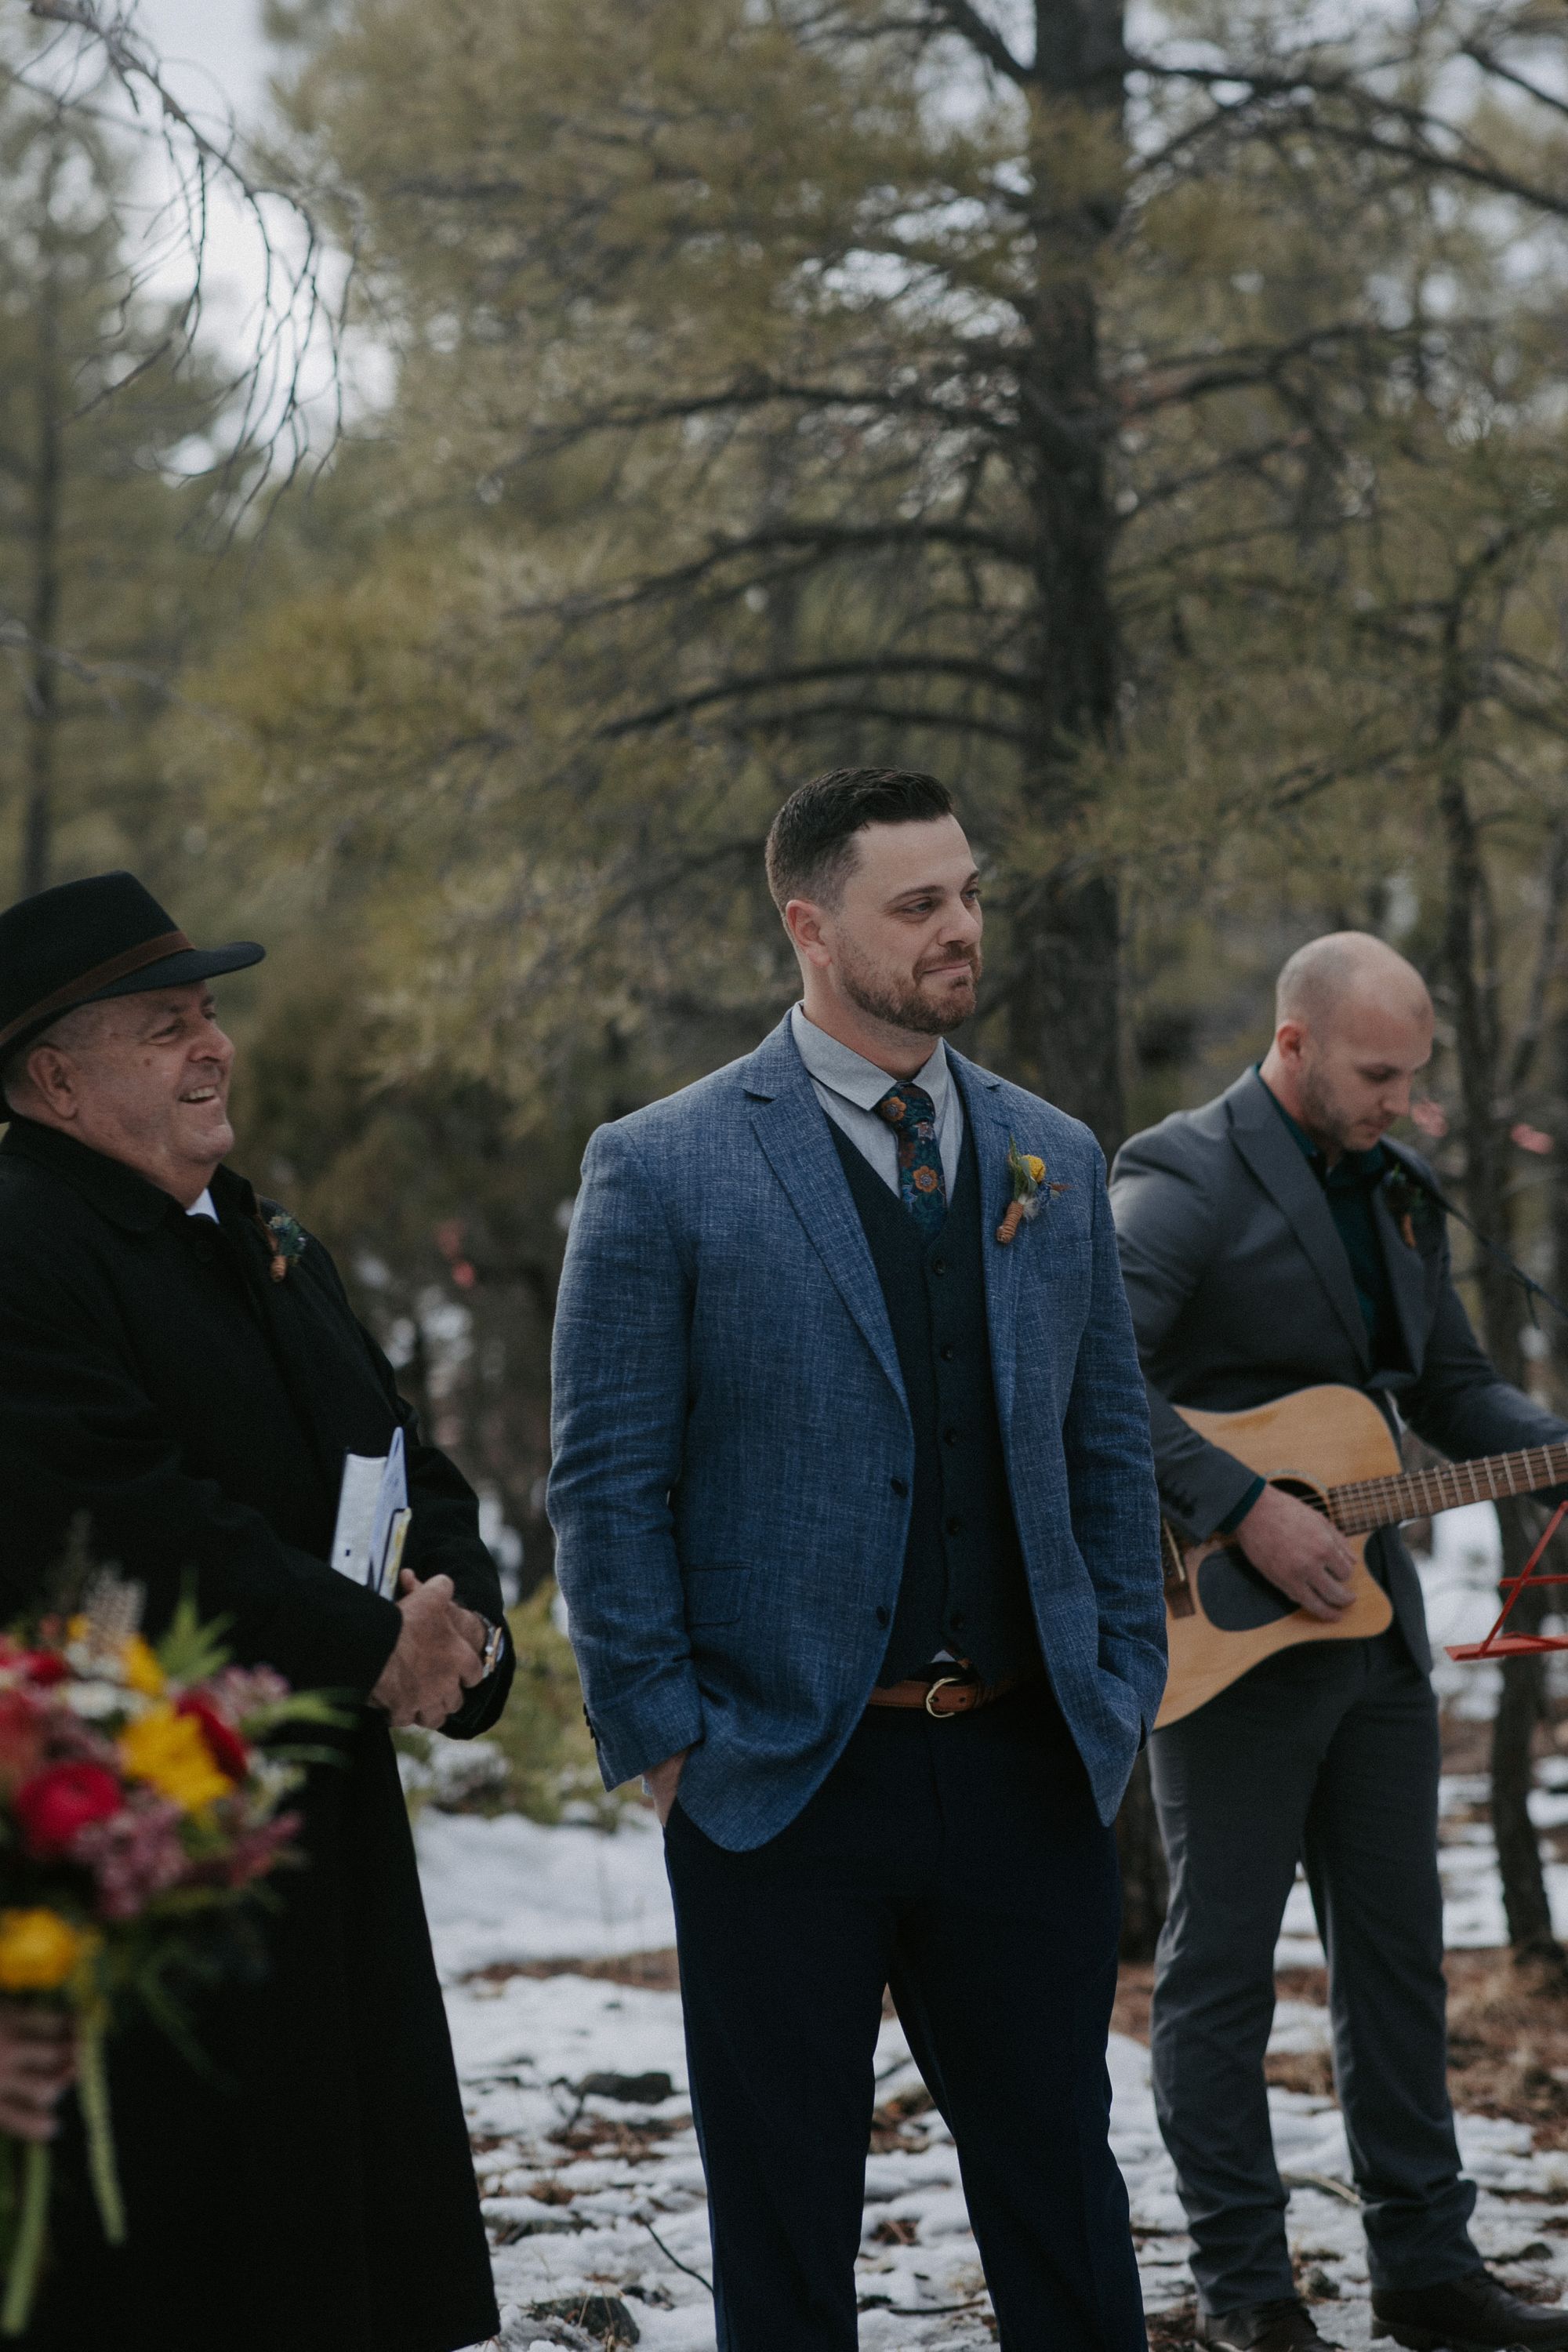
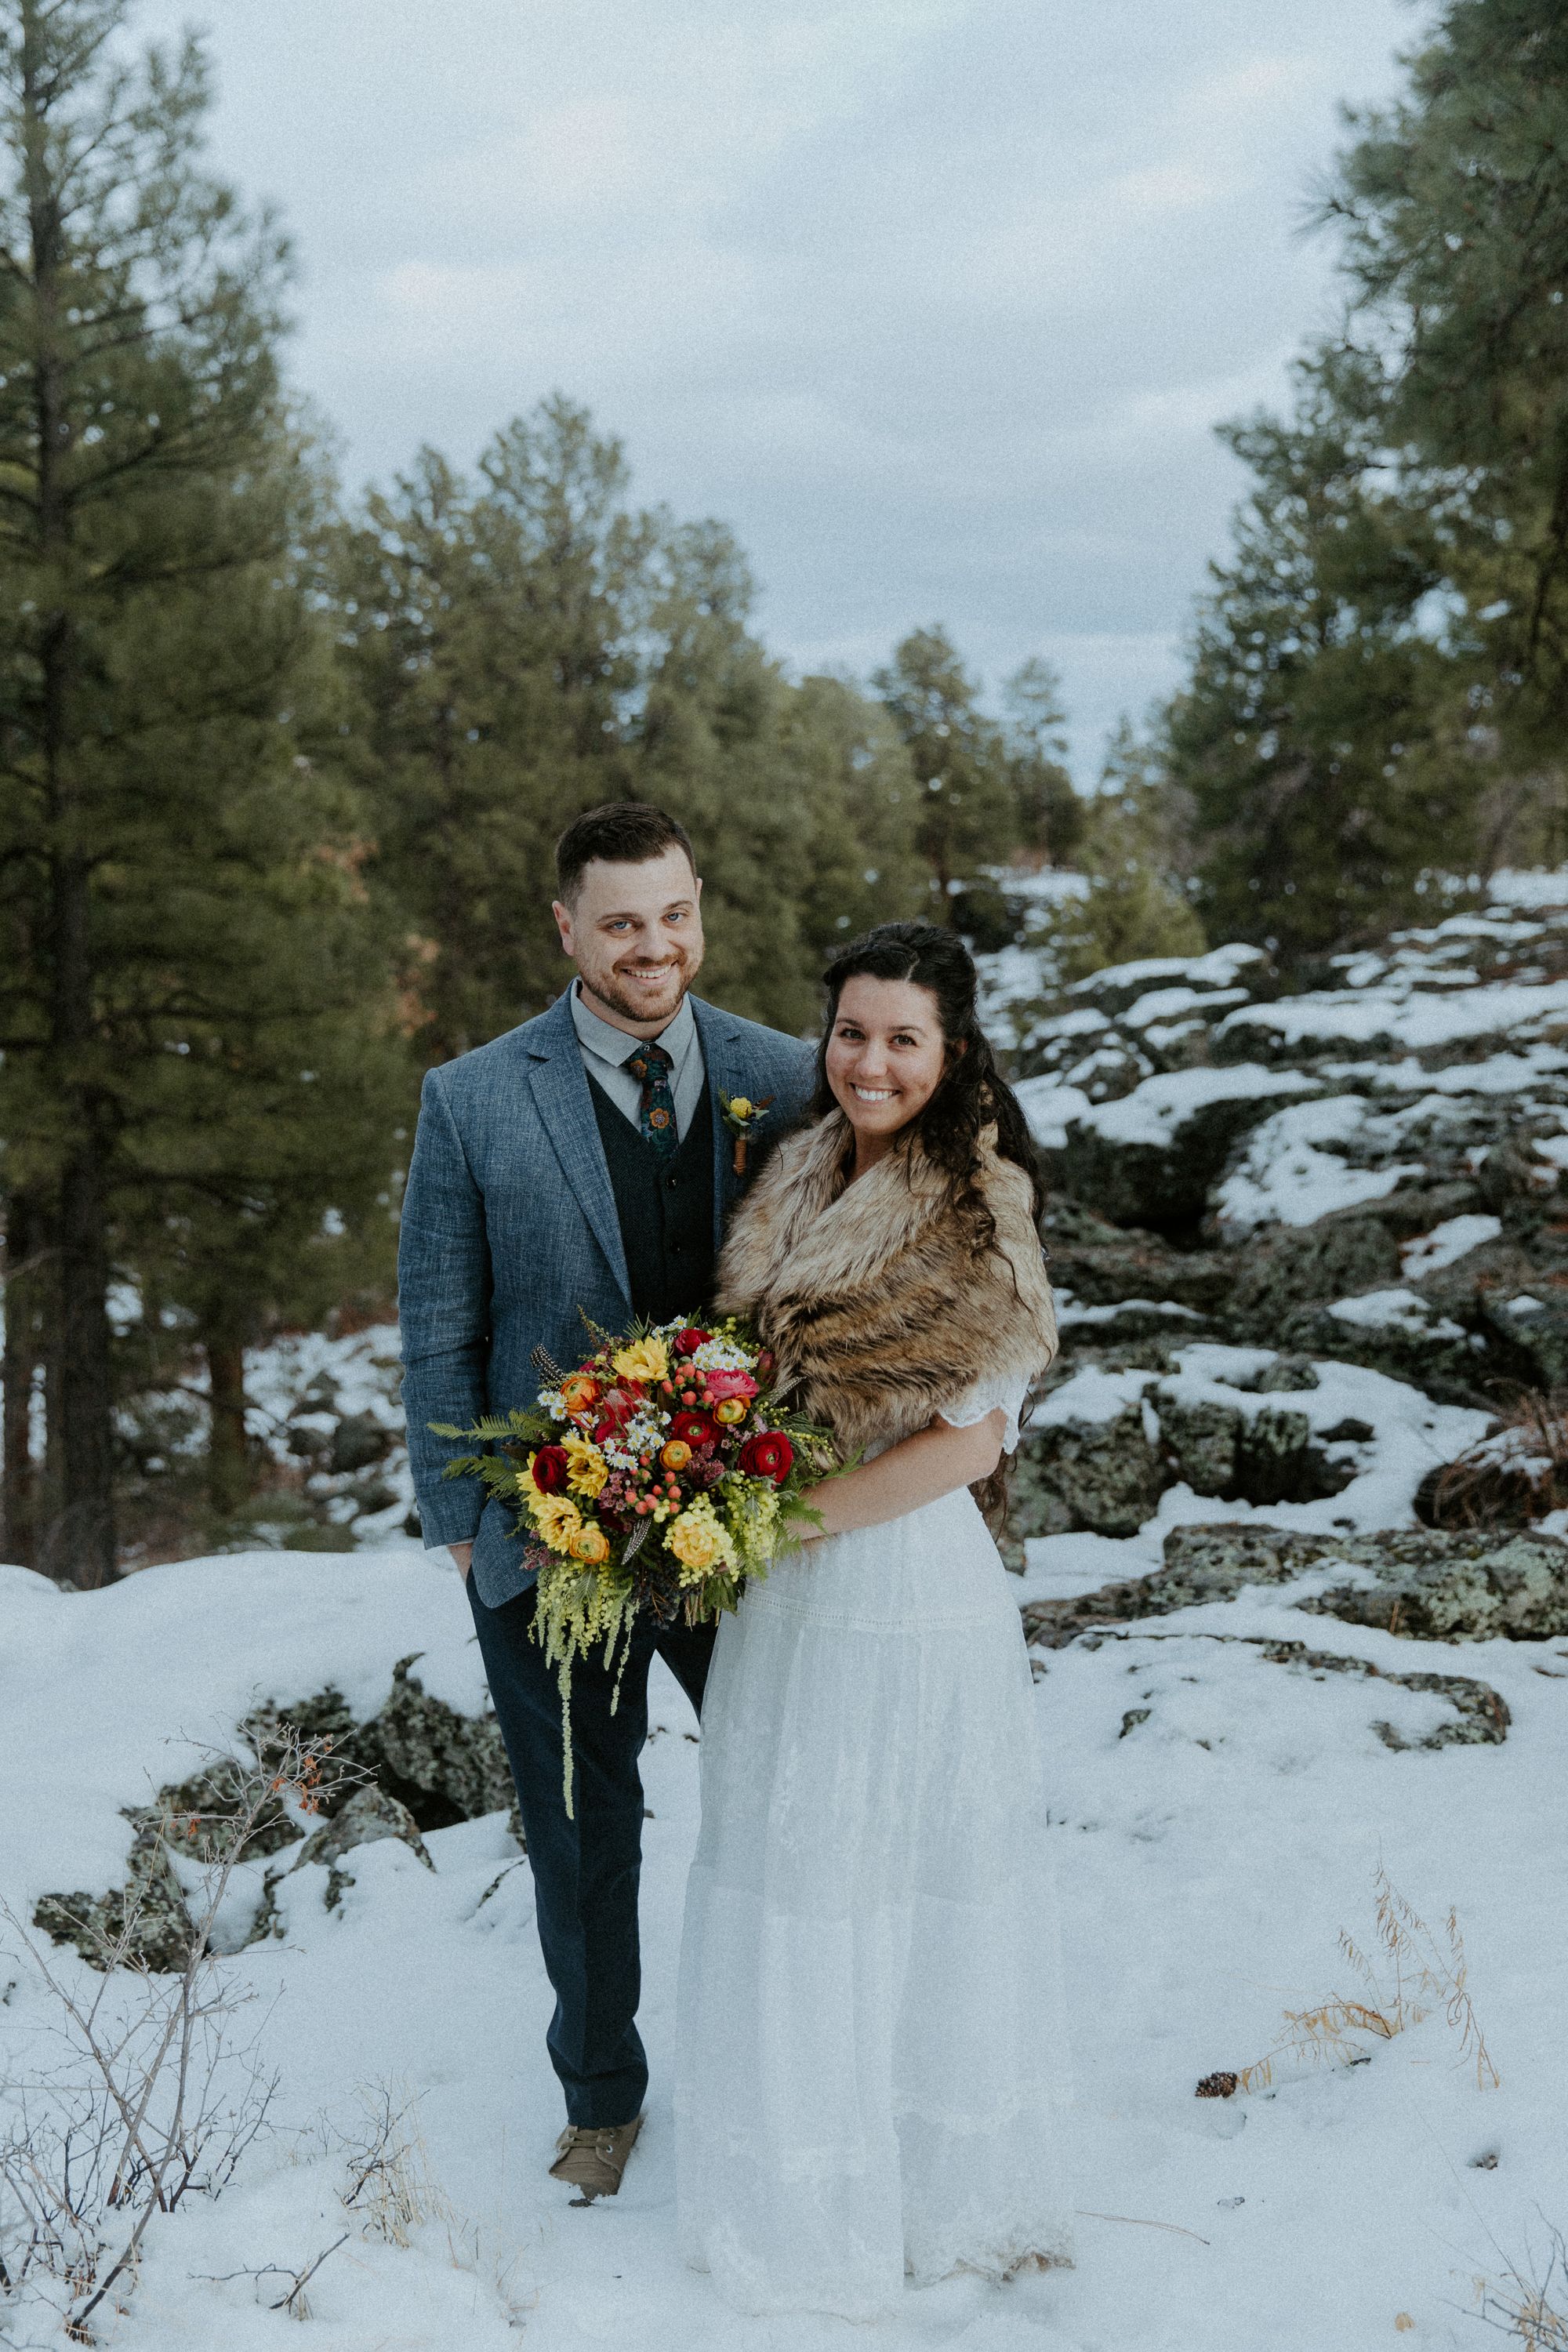
Believe it or not, piecing together a mismatched suit is not as easy as it seems! We started with his tie and used it to create the full ensemble.
- Floral, jewel-toned tie: $36
- Grey dress shirt: Ross, $15
- Navy dress pants: Ross, $17
- Light blue tweed suit jacket: Men’s Wearhouse, $90 on clearance (not including $25 alterations)
- Paul Jones Men's Tweed Navy Vest: Amazon, $30
- Personalized Mr. Kennedy Socks: Etsy, $11
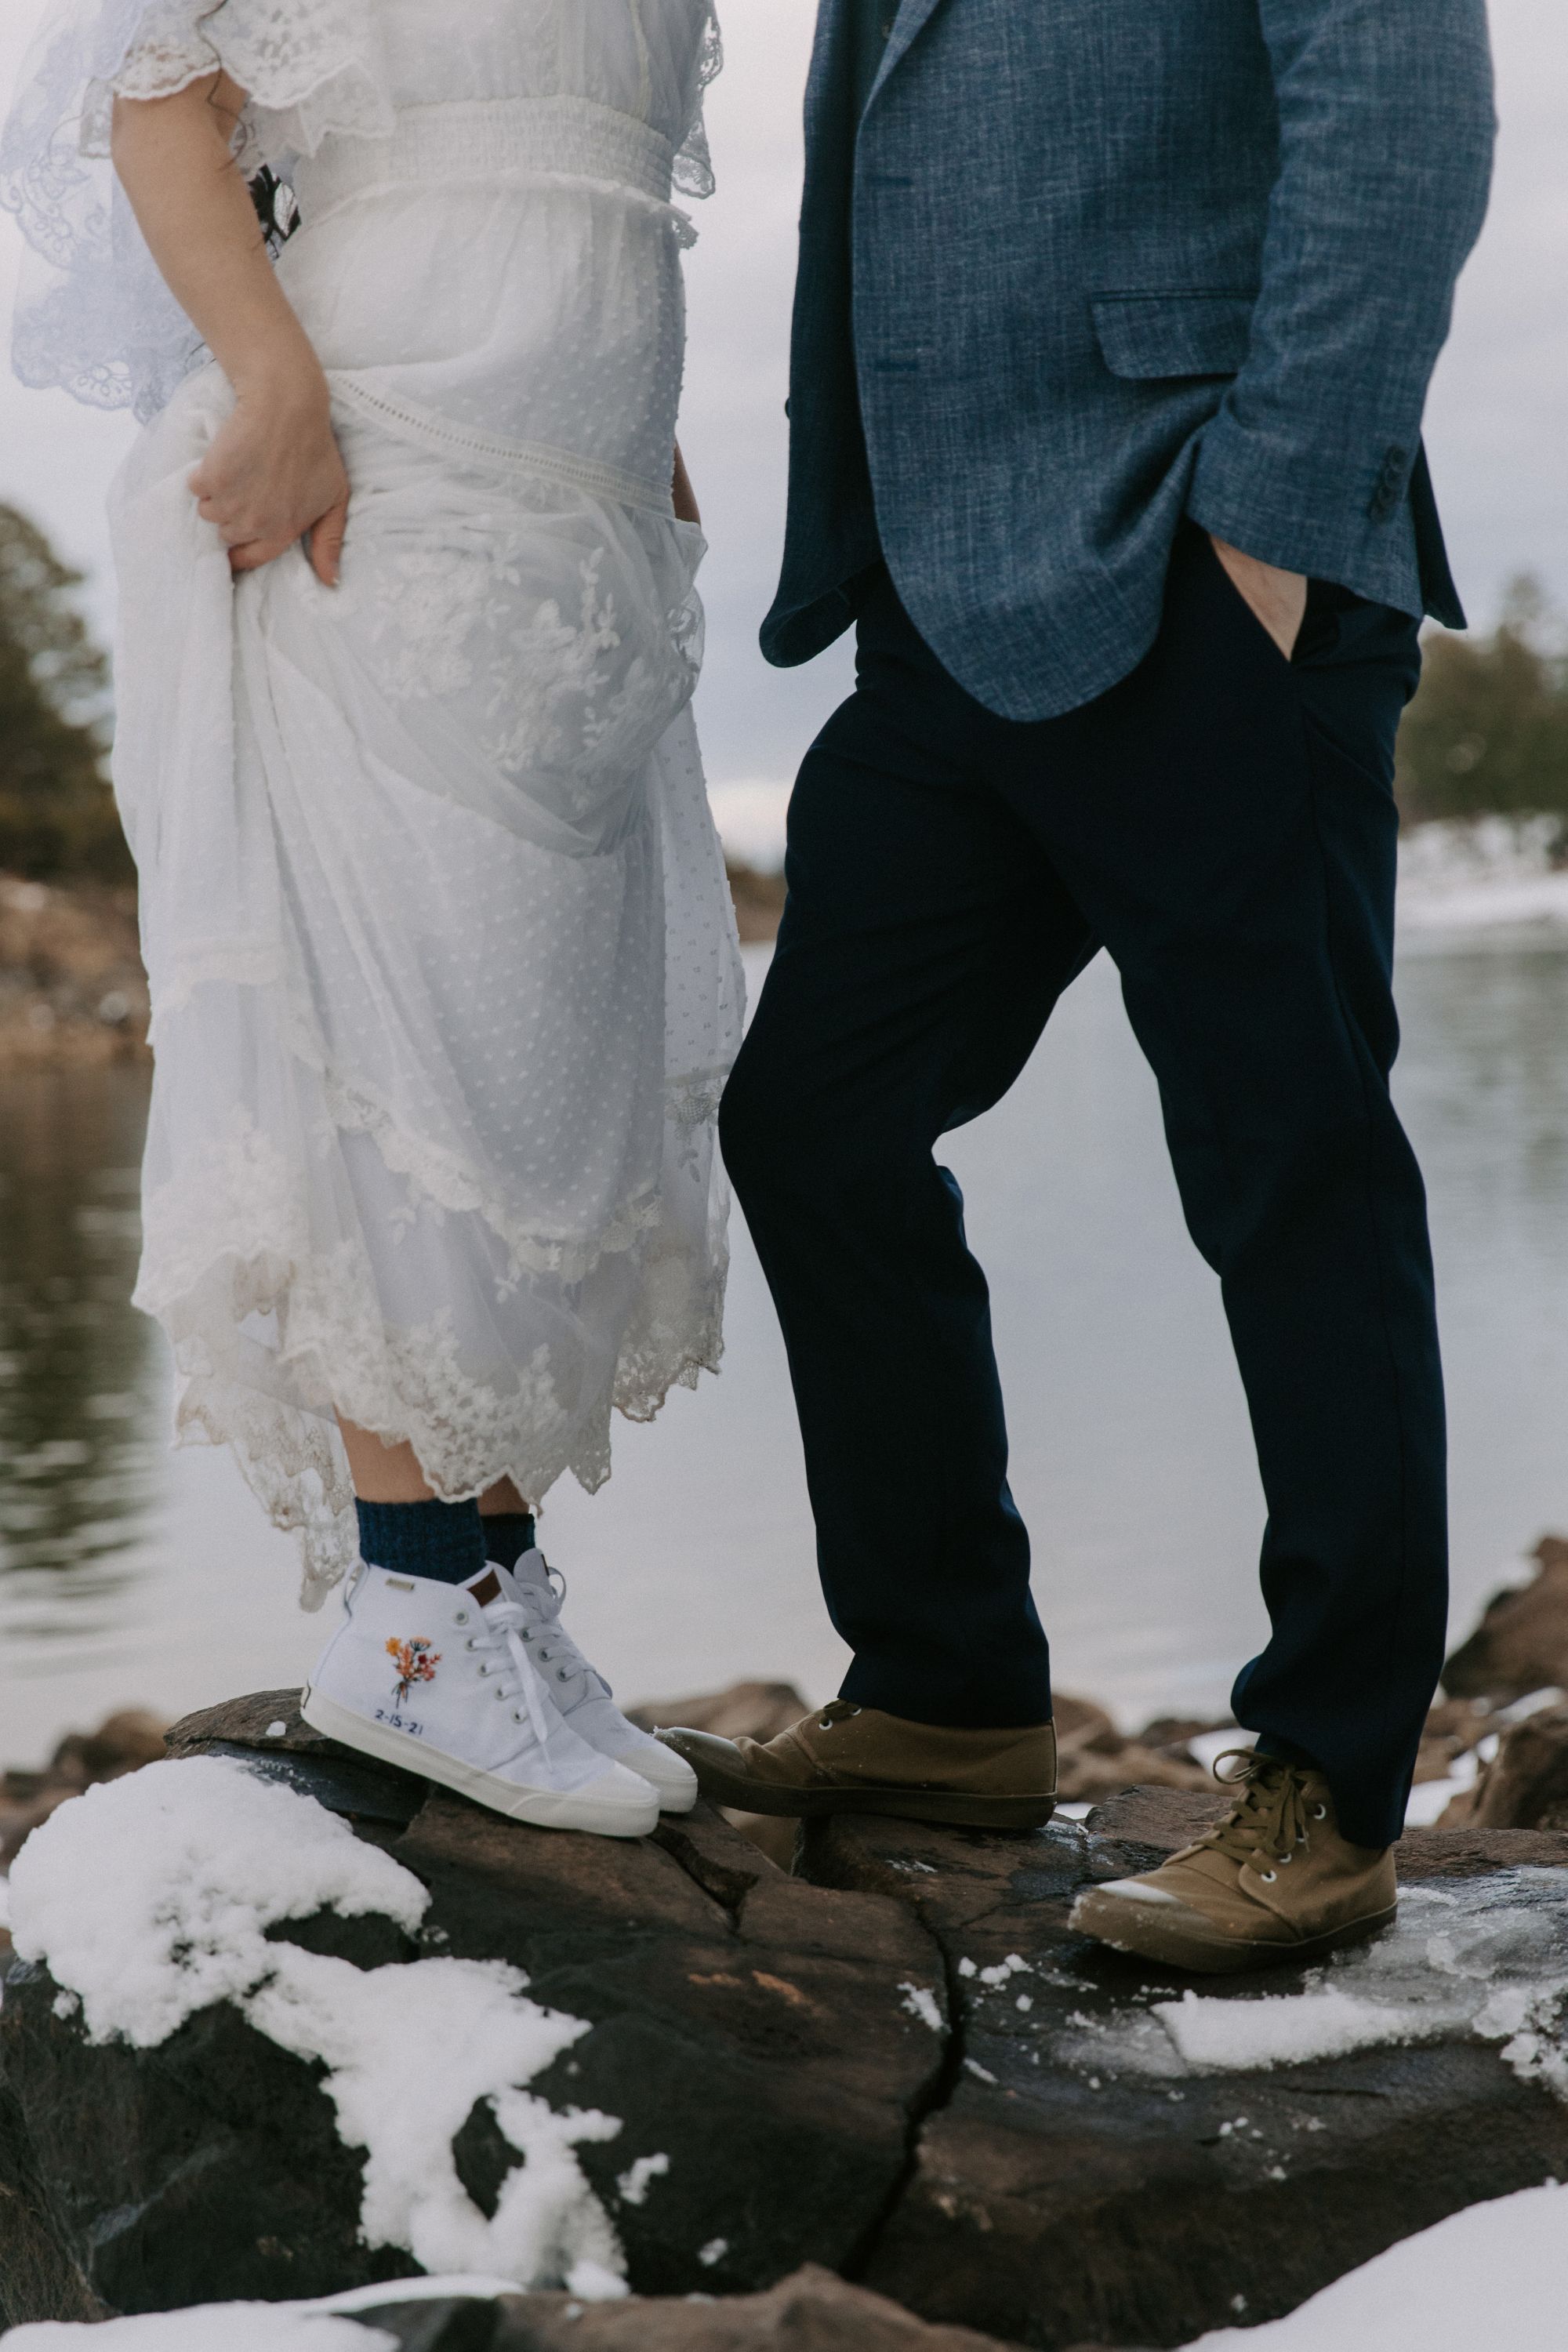
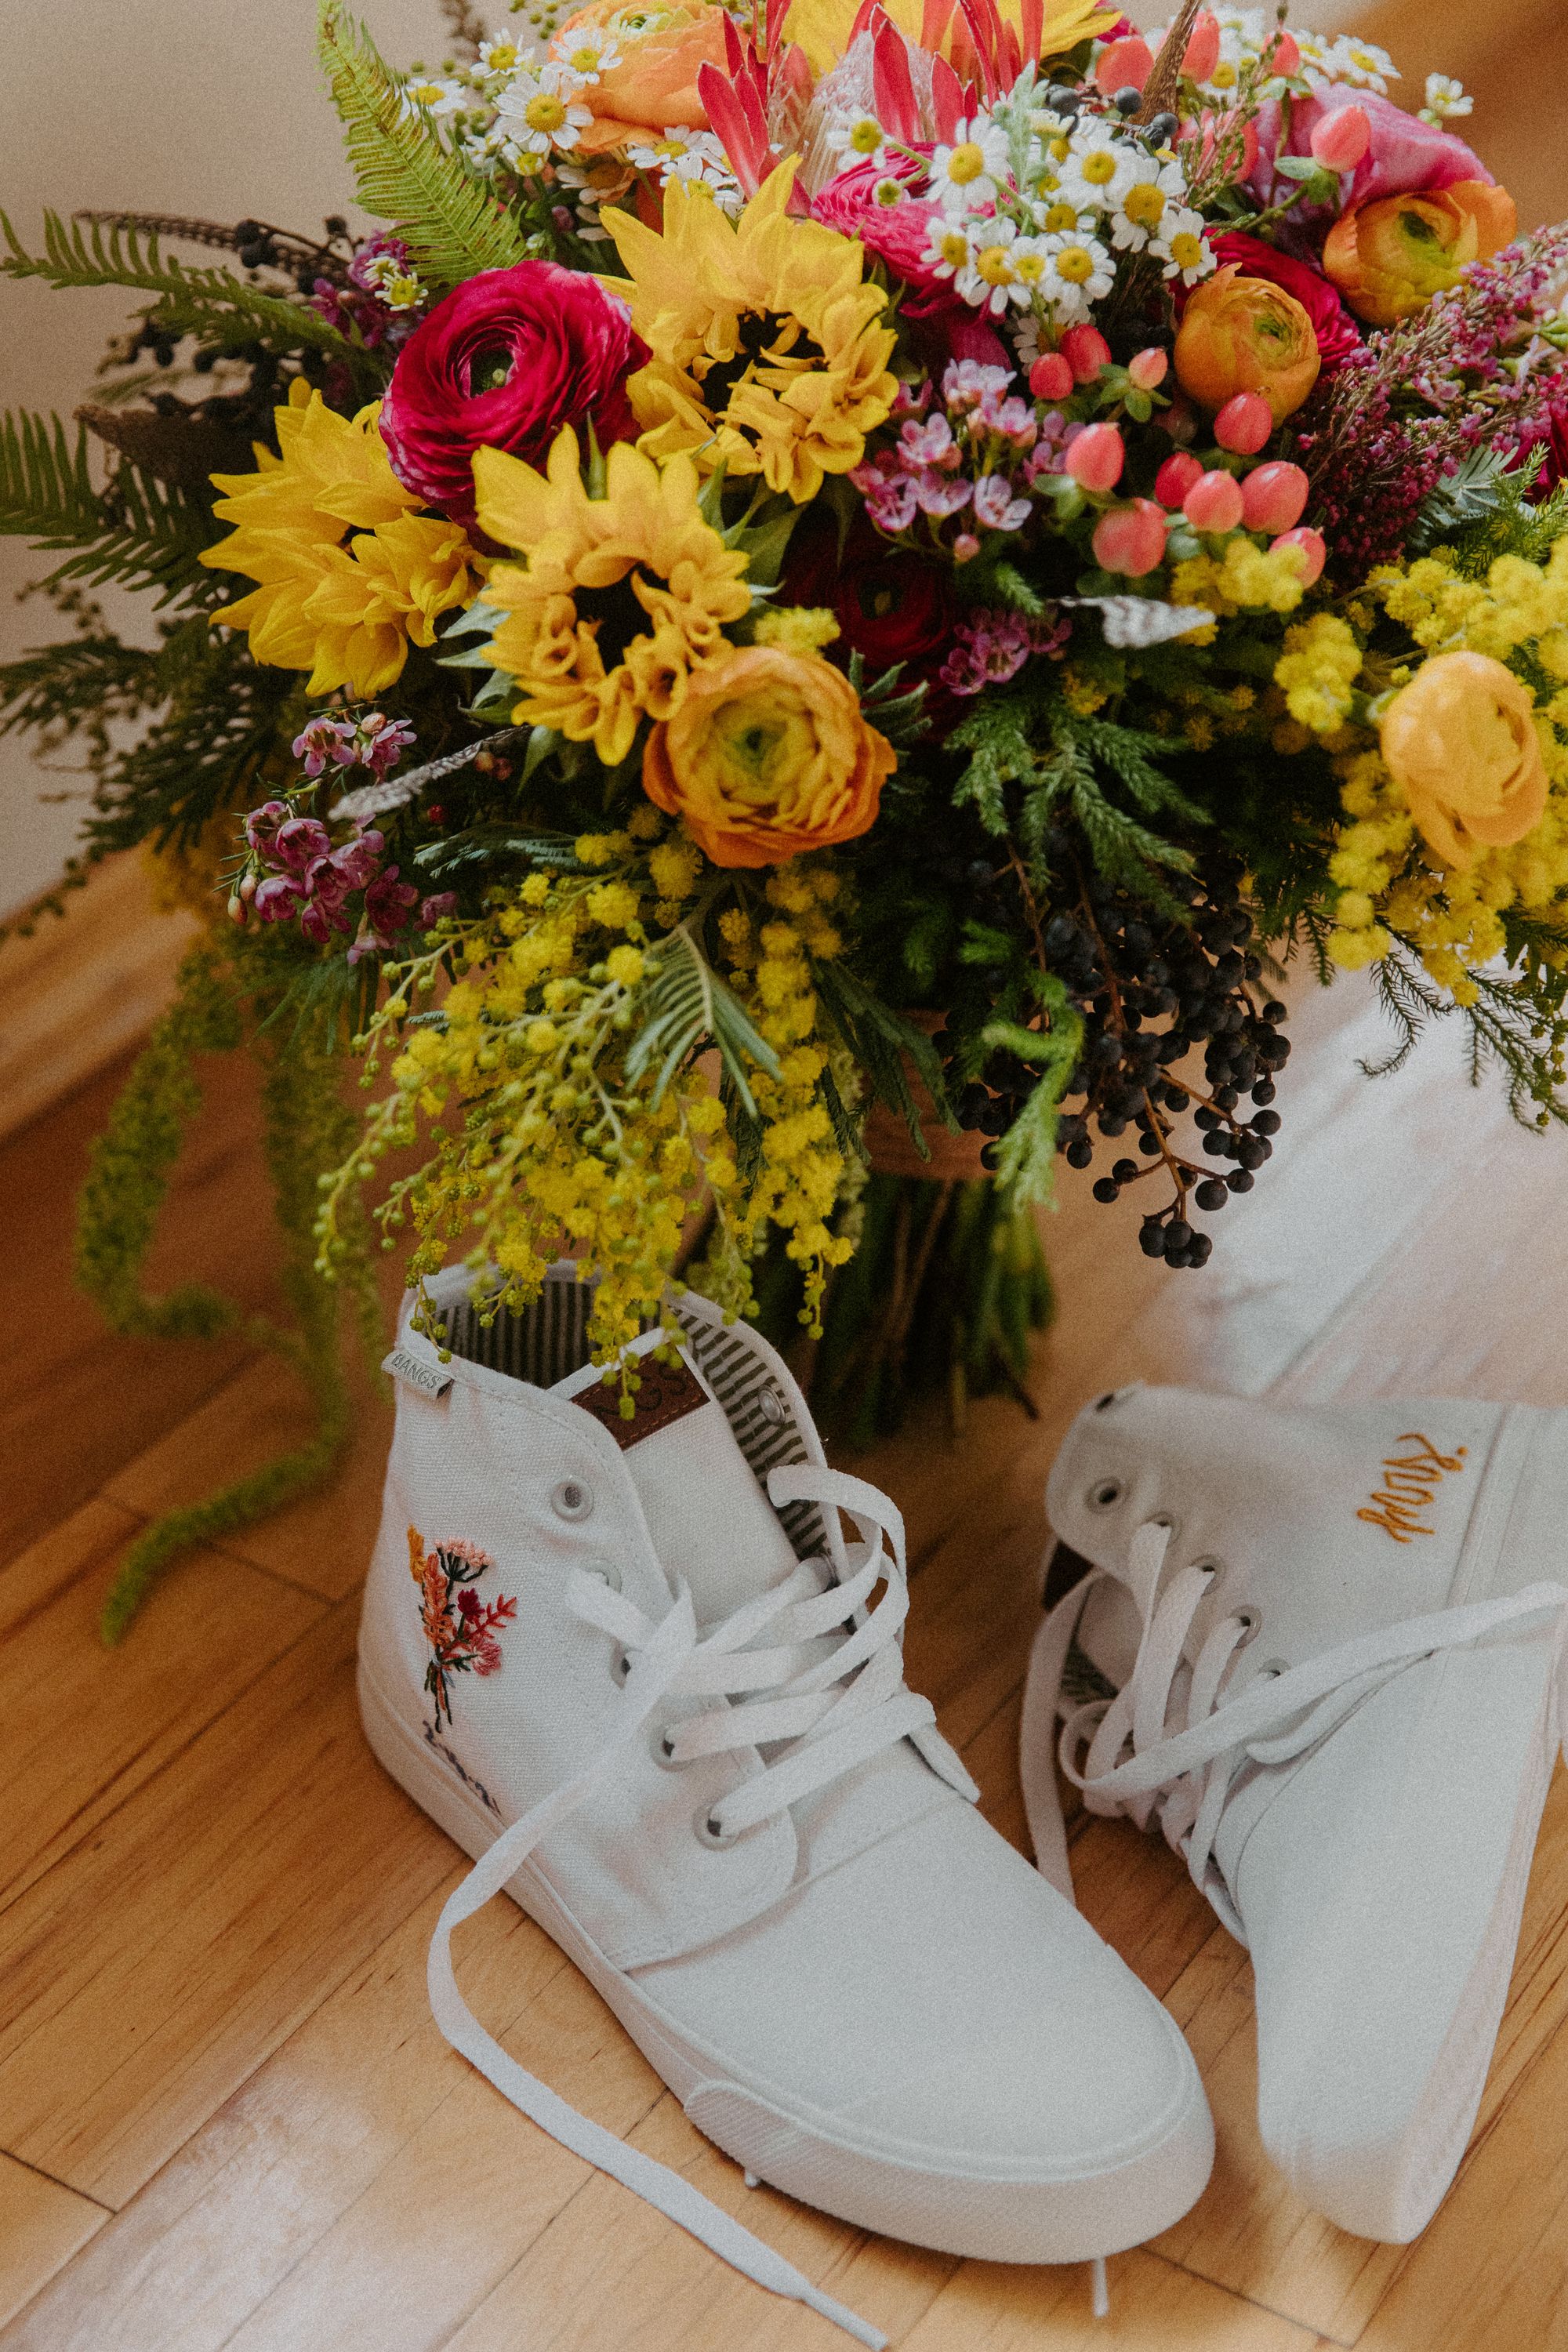
- Bullboxer brown leather dress shoes/High Top Old Pine BANGS shoes: already owned (originally $100, $50 respectively)
Bride’s Attire
Everyone is different. I love a natural, relaxed look. I don’t wear makeup, which meant saving a ton of cash!
The night before, Emily braided the front of my hair and we used simple foam curlers for the rest. This way, less product was needed to hold my curls, allowing my hair to still look soft and free.
- Dress: Amazon, $46 (it’s this link, but the A-white option)
- White 3/4 length sleeve undershirt: borrowed from my mama :)
- Long Slip: Amazon, $22
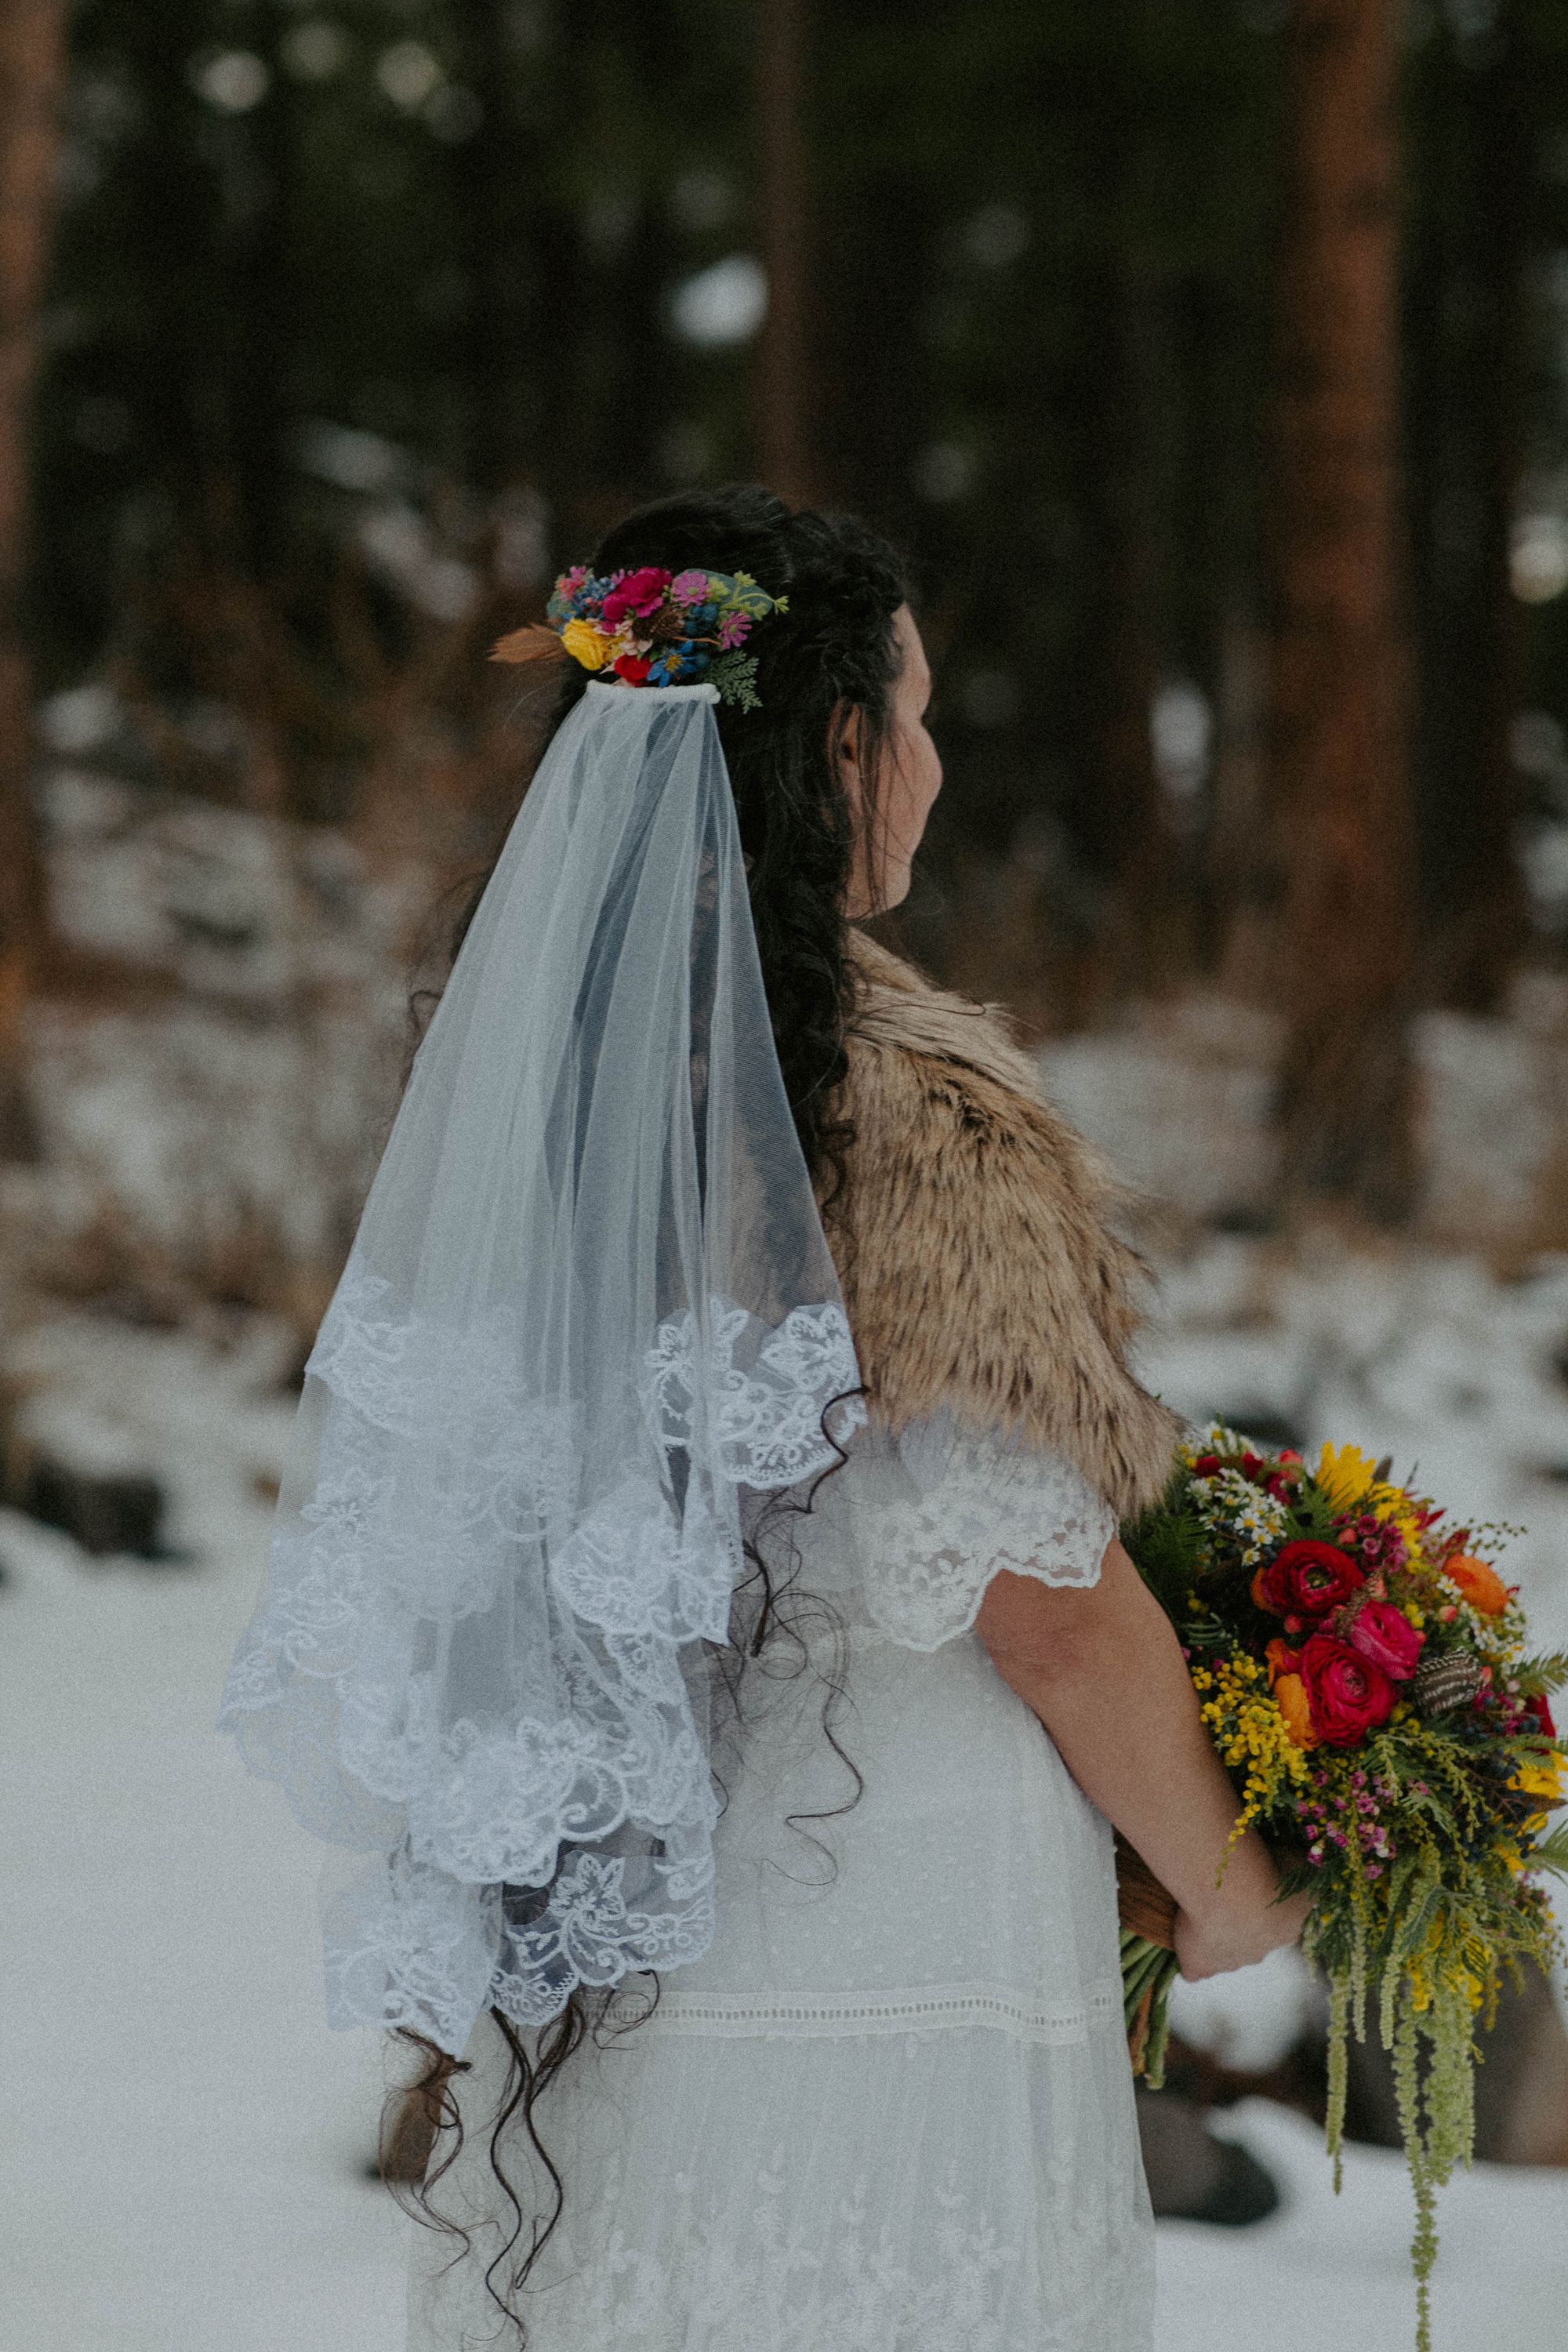
- Veil: OfferUp, $30 (including shipping)
- Shoes: High Top Everest Ice BANGS, $55, designed by my friend Kayla (use code BANGSFAM2021 for 10% off!)
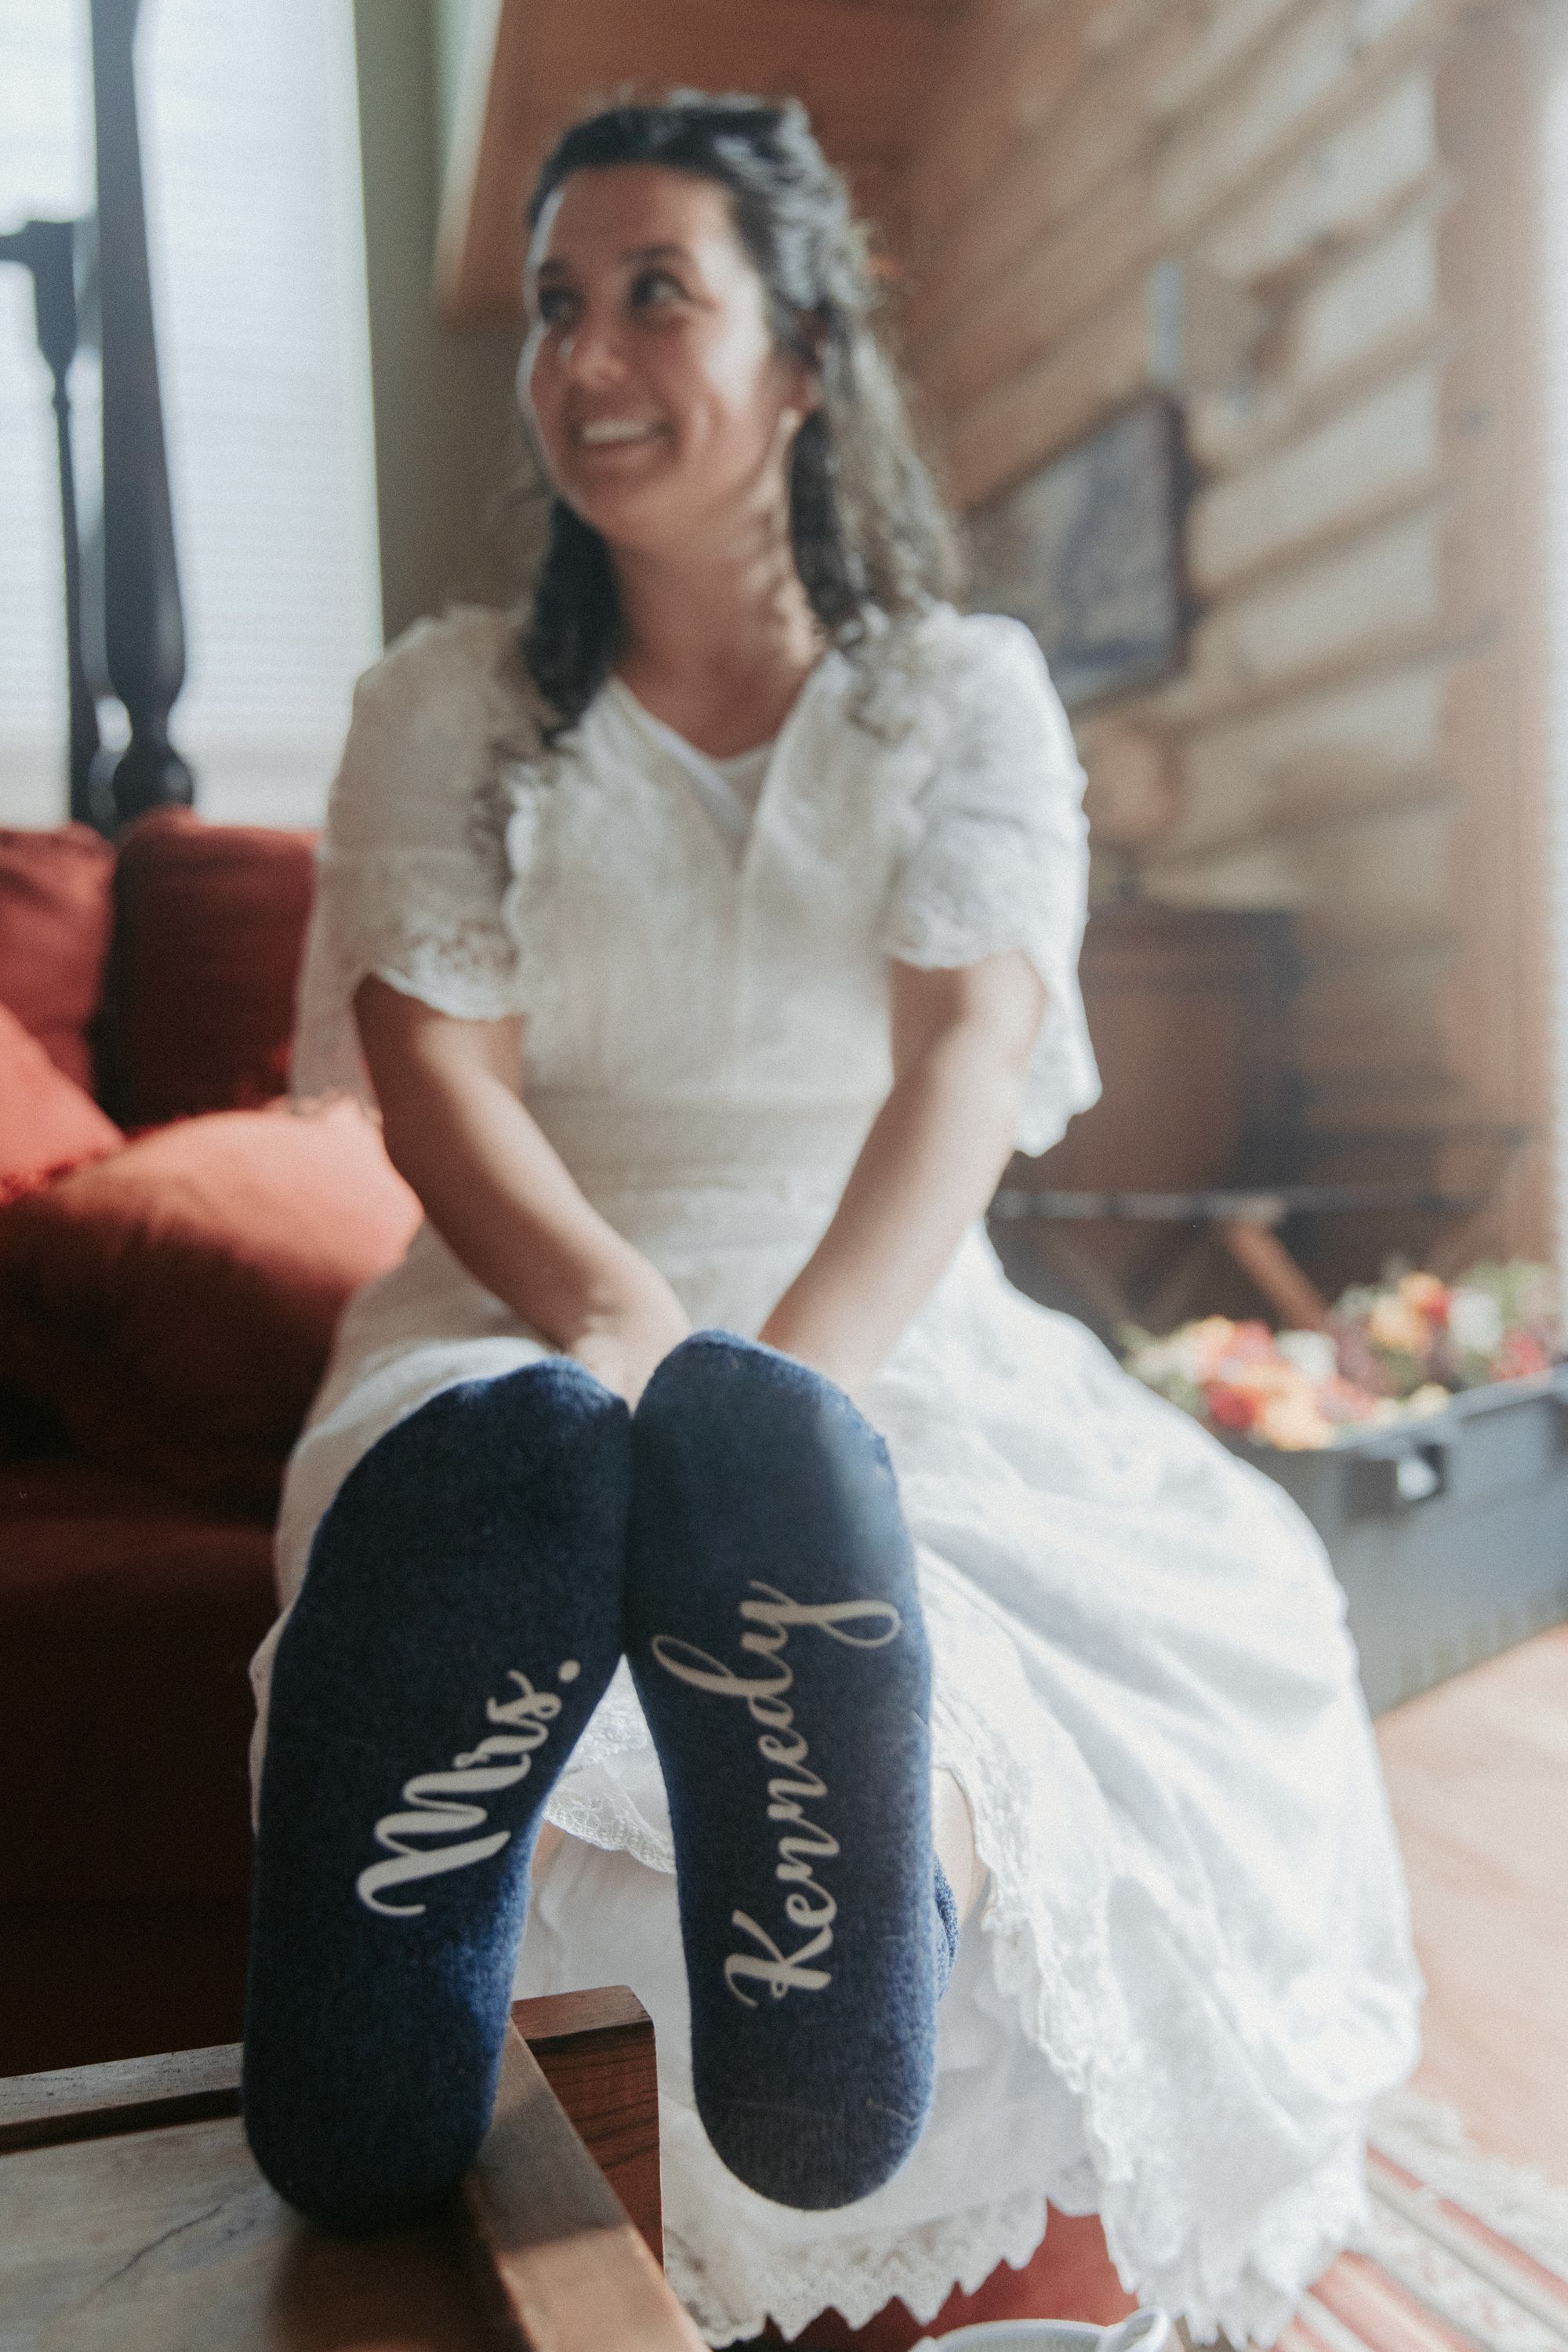
- Personalized Mrs. Kennedy Socks: Etsy, $11
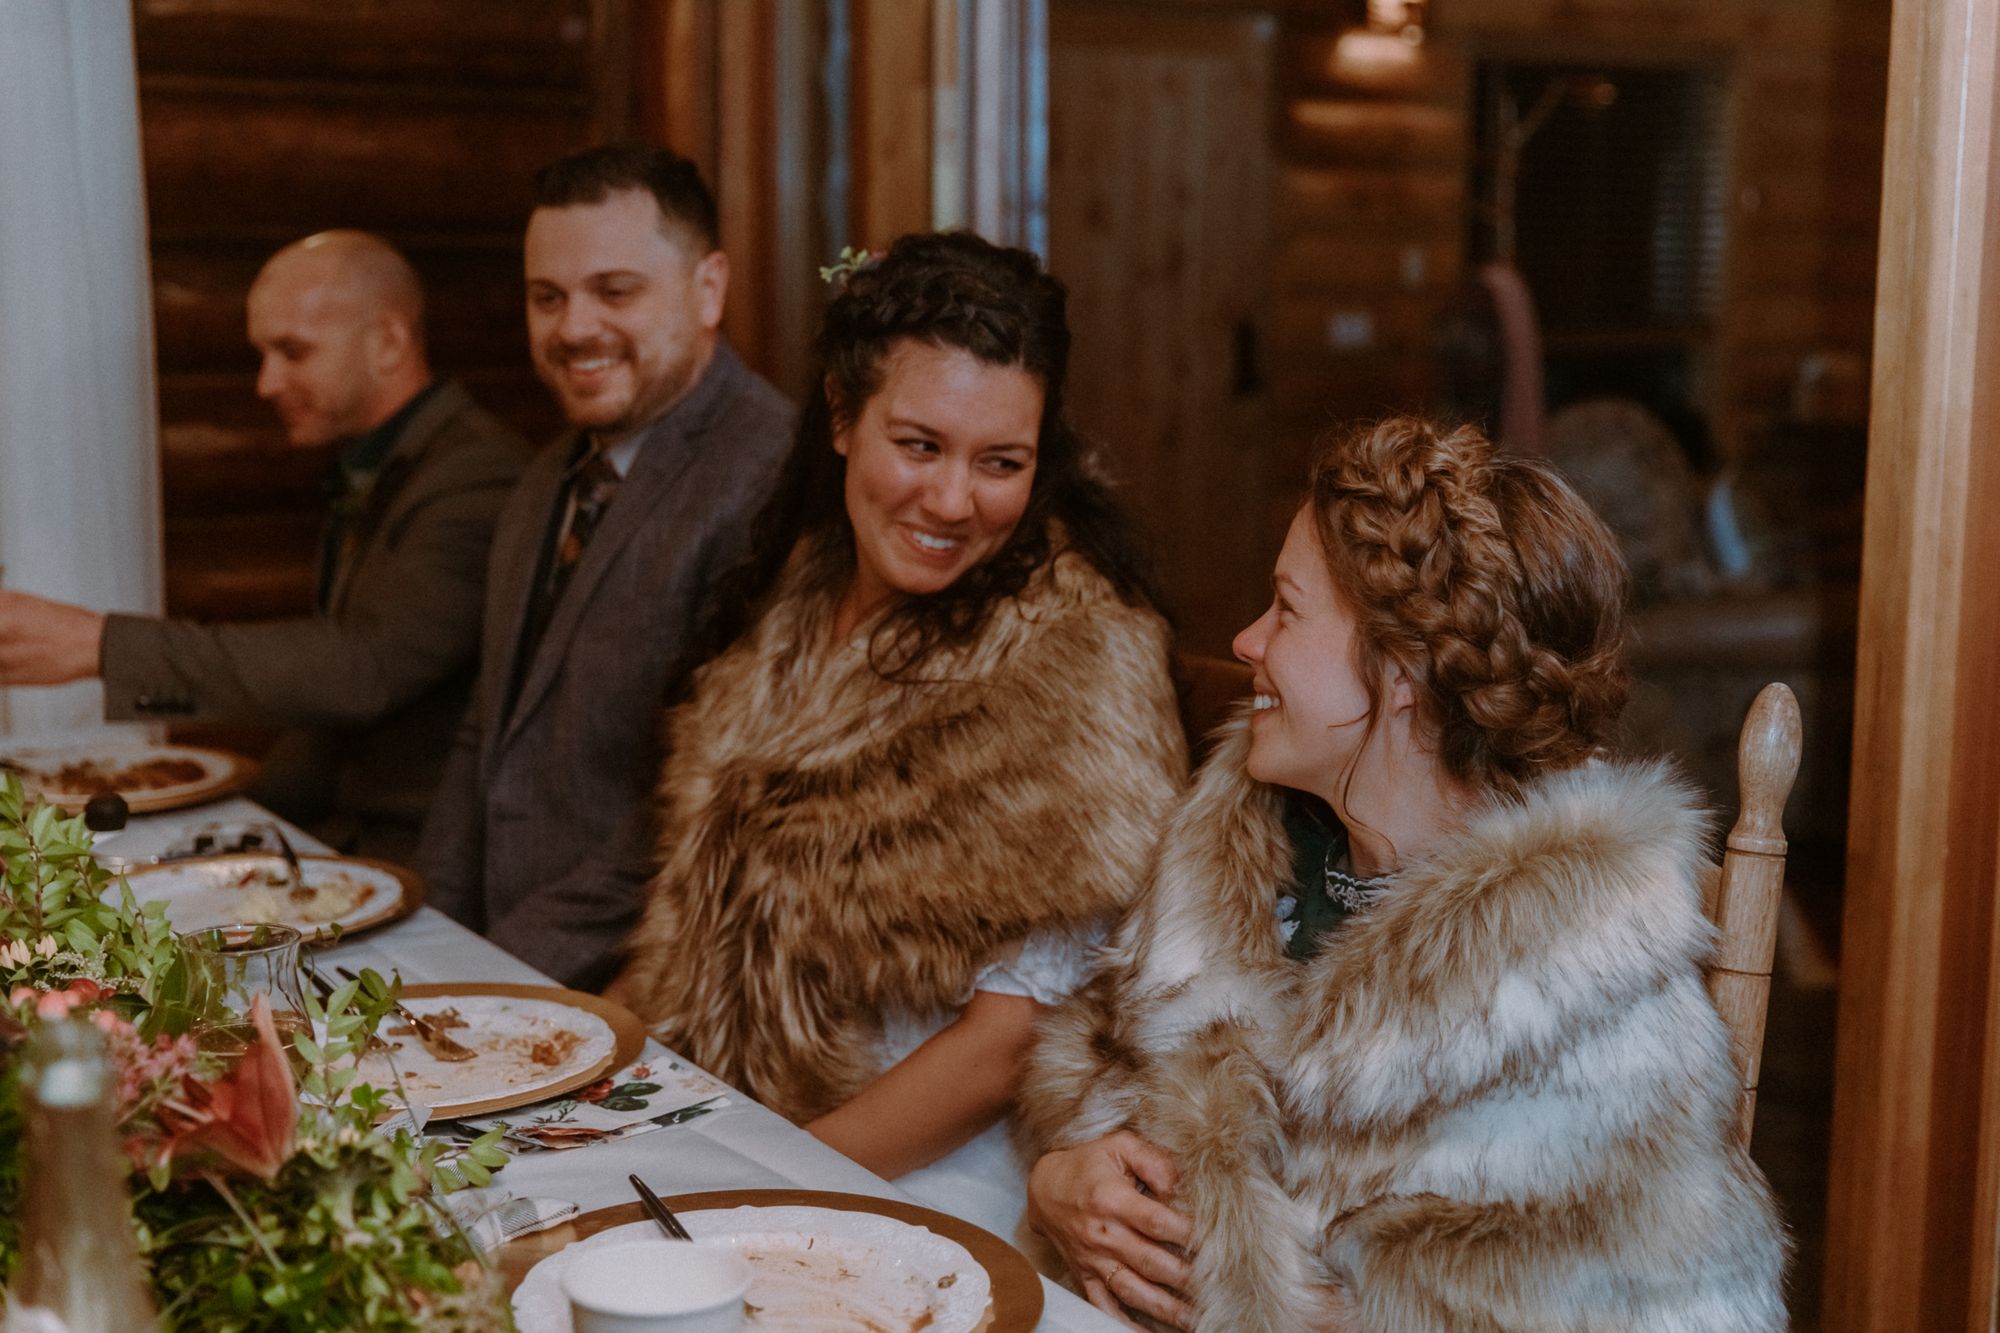
- Fur Shawl: Amazon, $40
- Hair Comb: $10, created from Jo-Ann Fabrics’ crafts by Emily
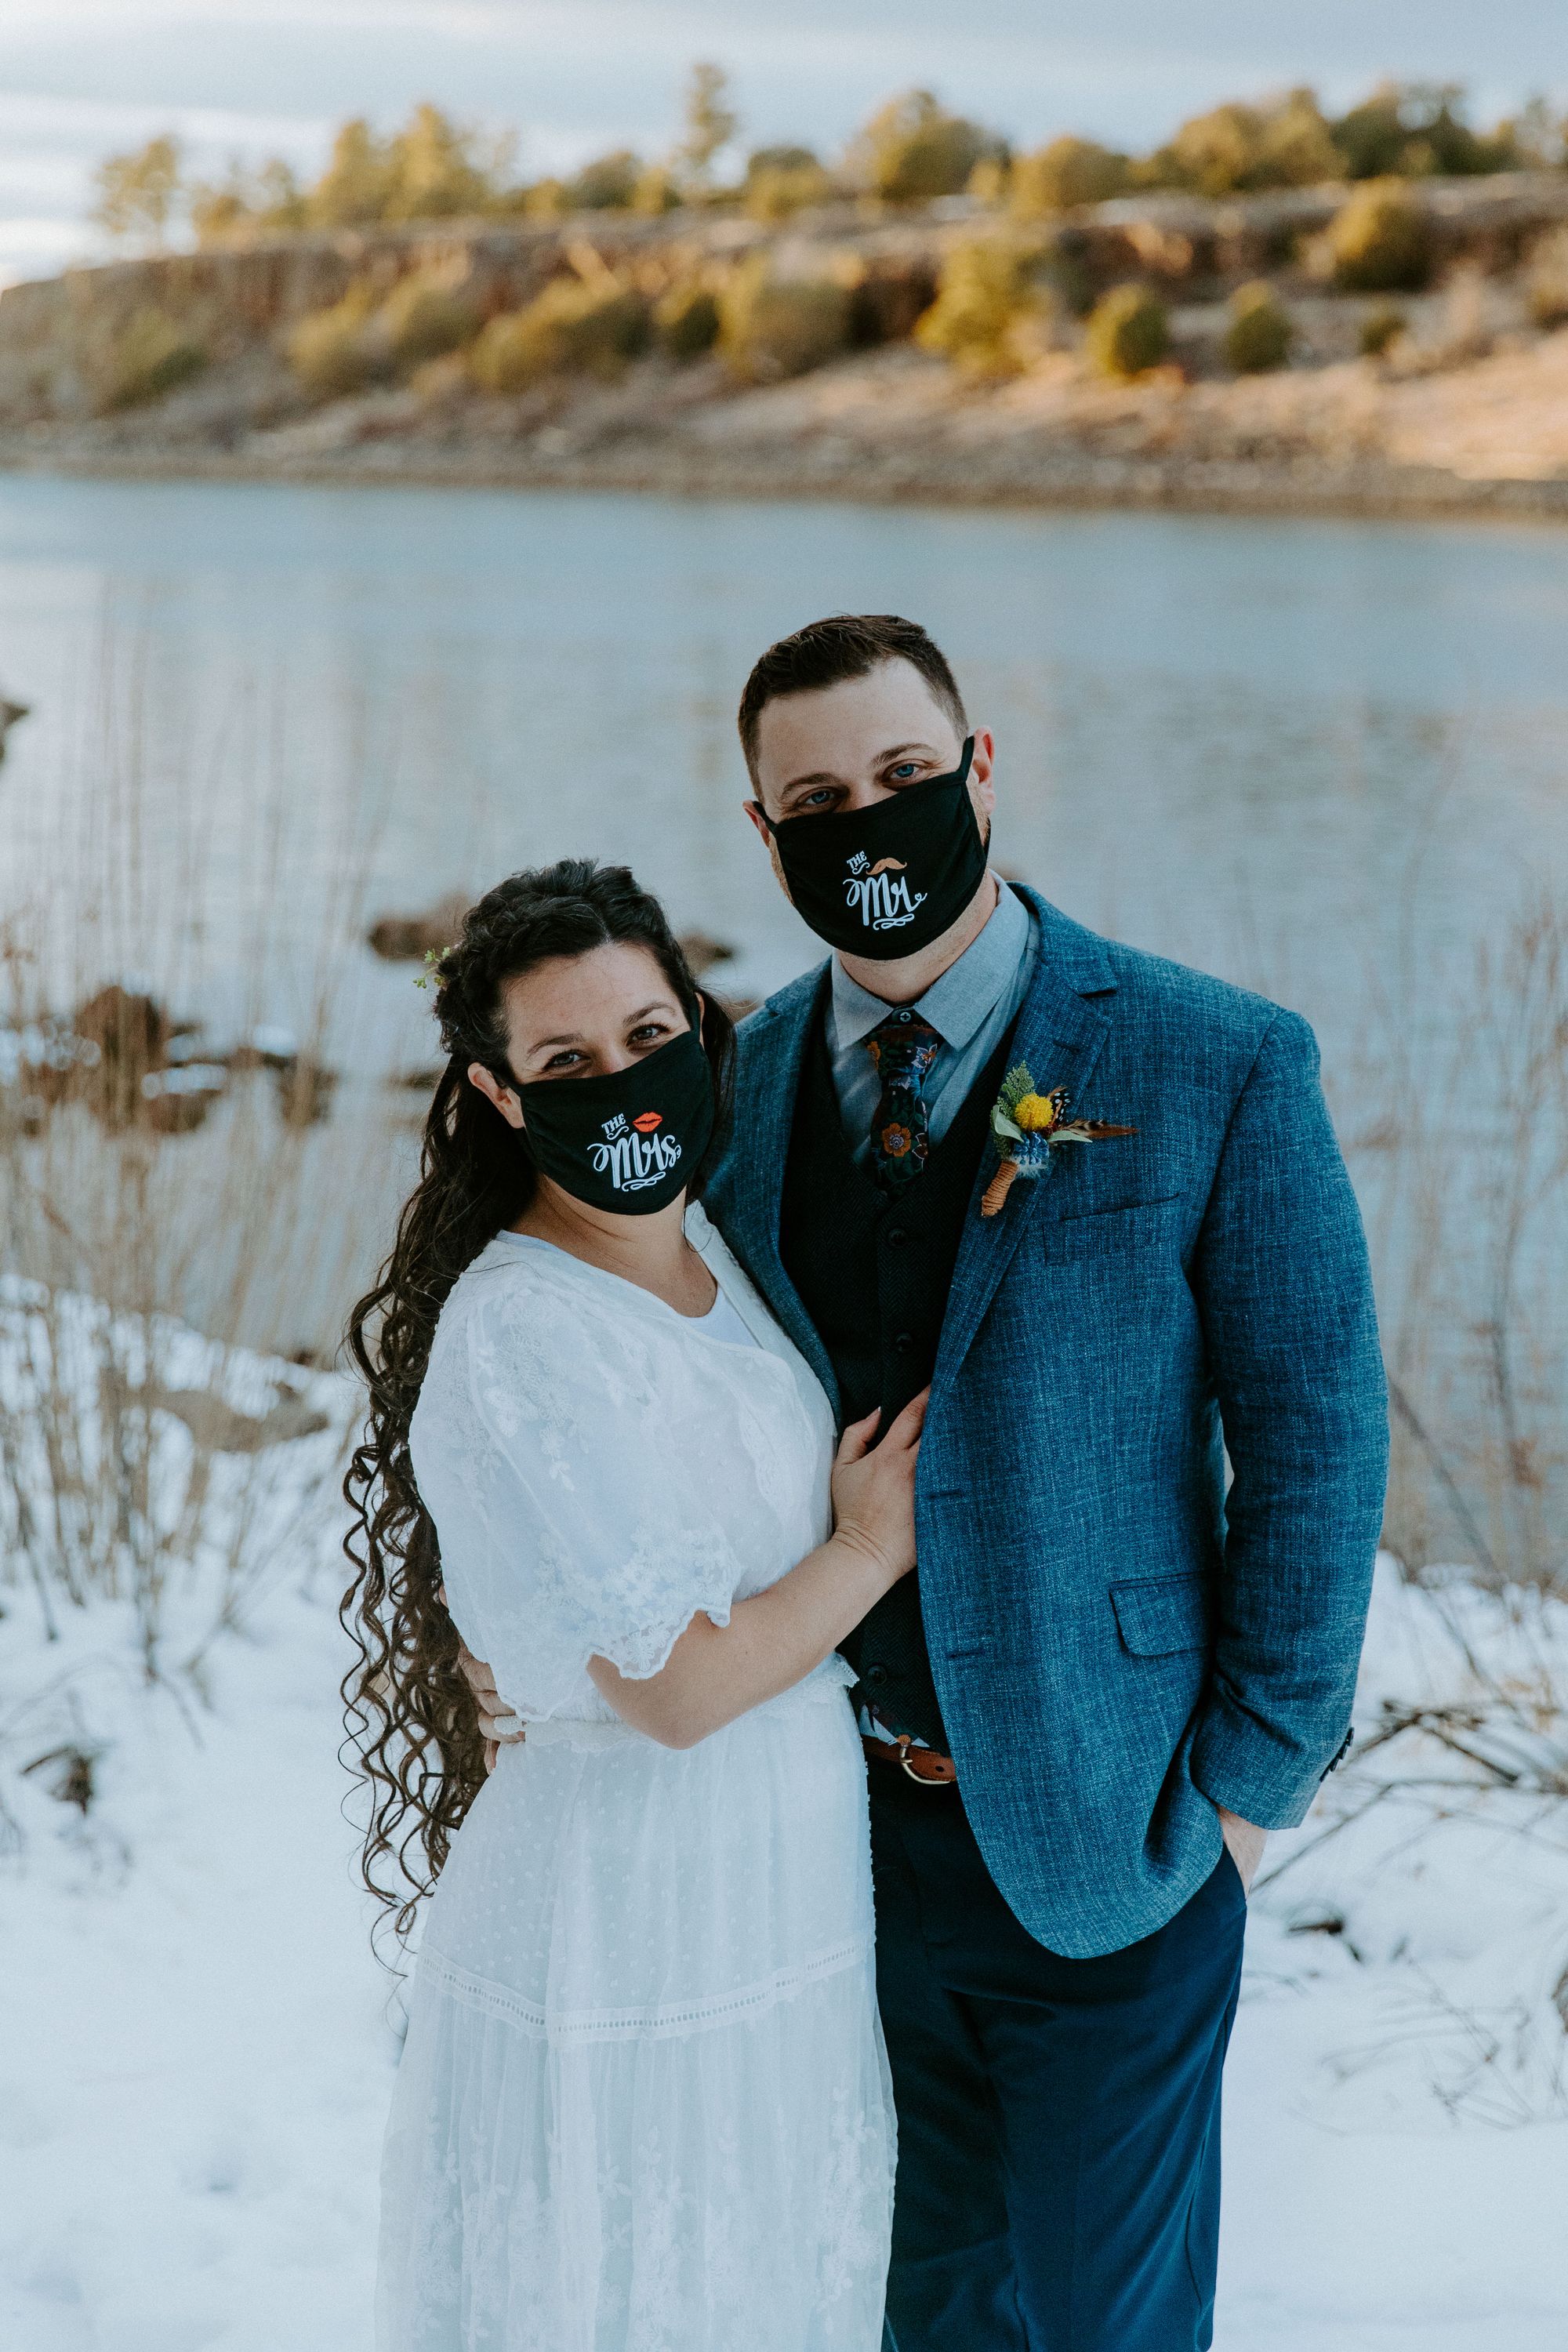
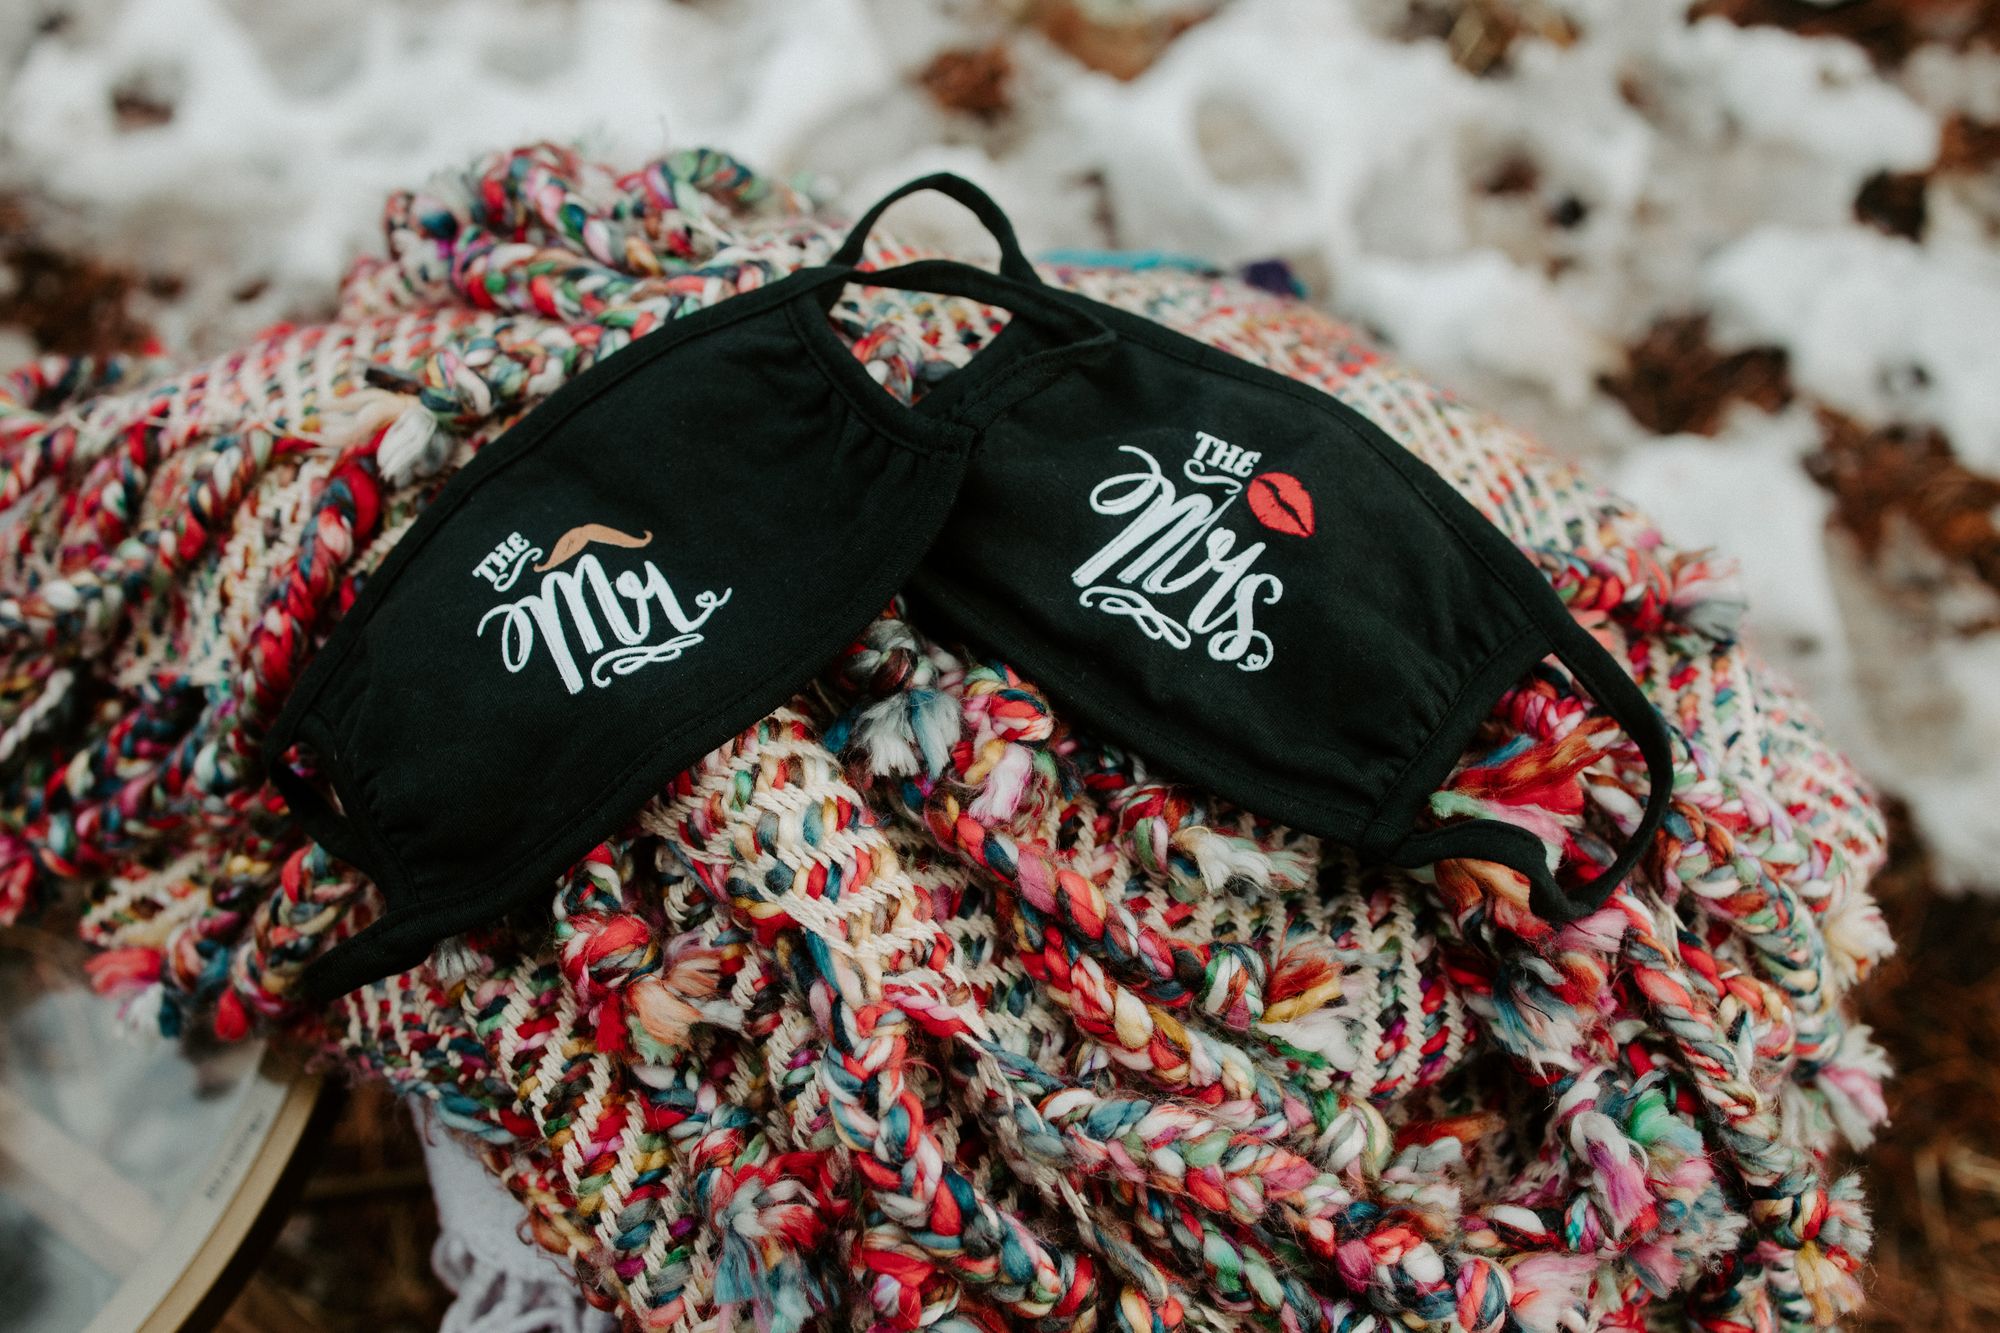
Lastly, we couldn’t resist buying some matching Mr. and Mrs. face masks to mark the occasion!
Gifts
If you have extra room in your budget for some sentimental gifts to Mother or Father of the Bride, et cetera, there are plenty of practical options.
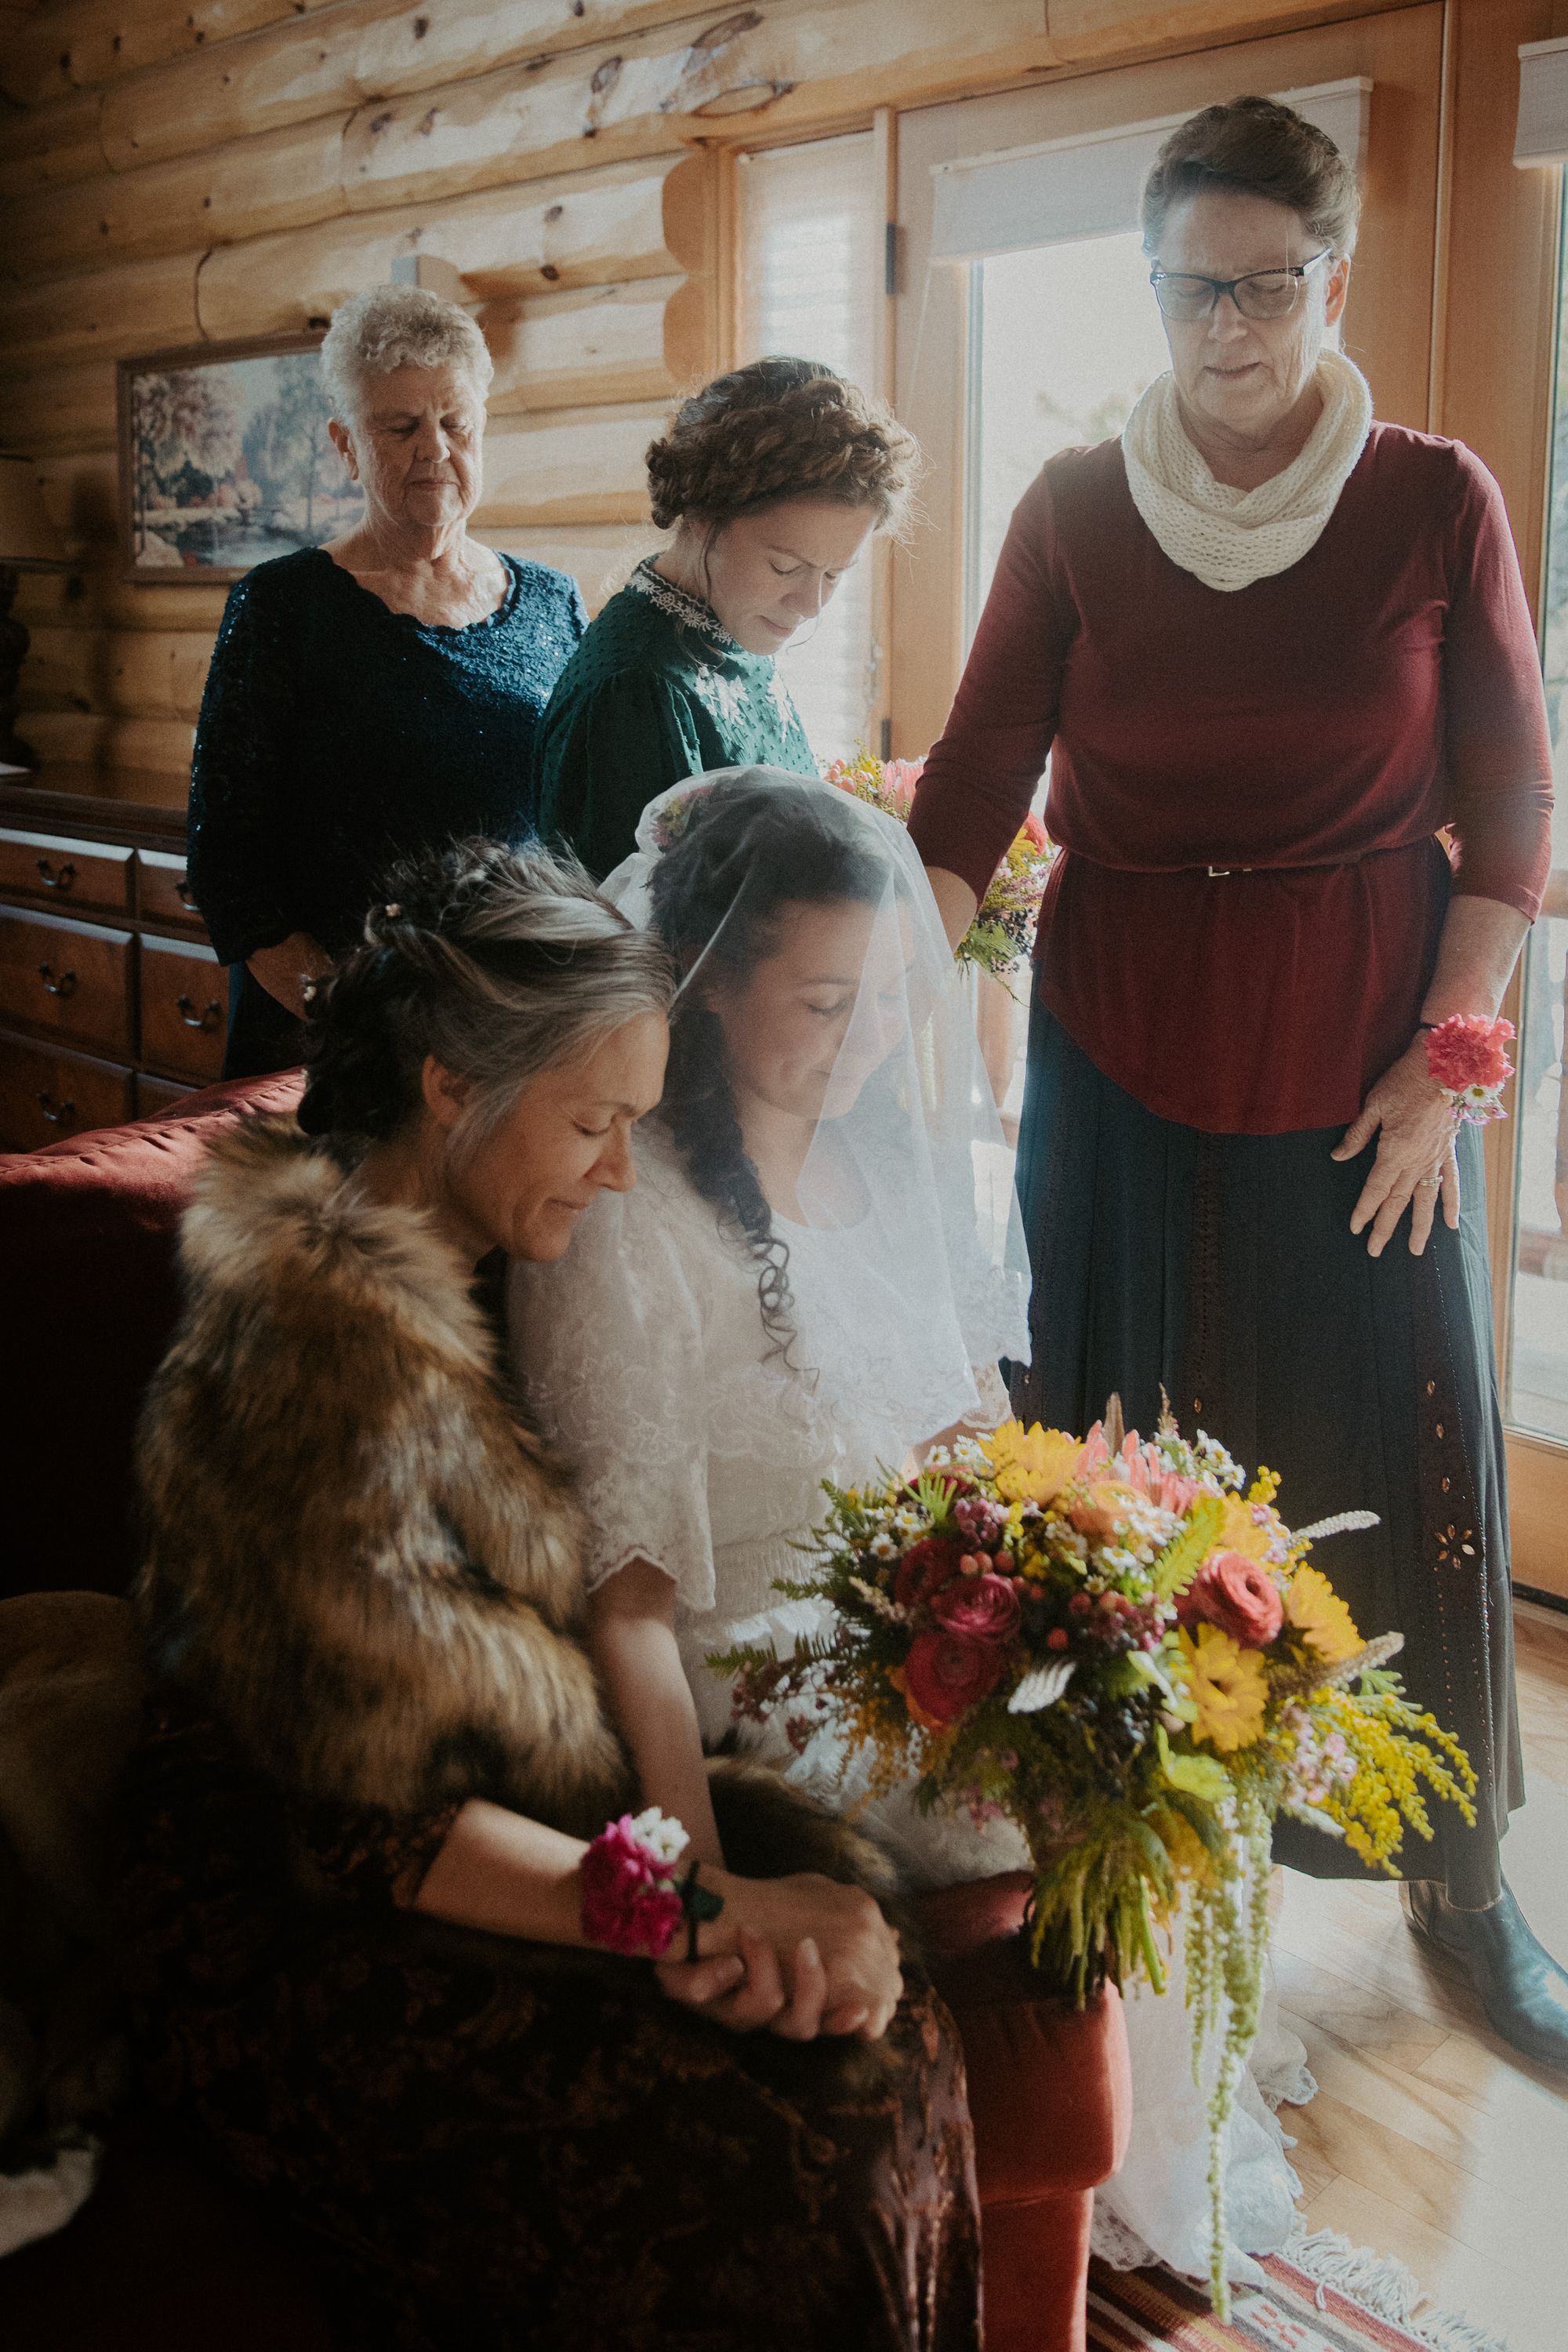
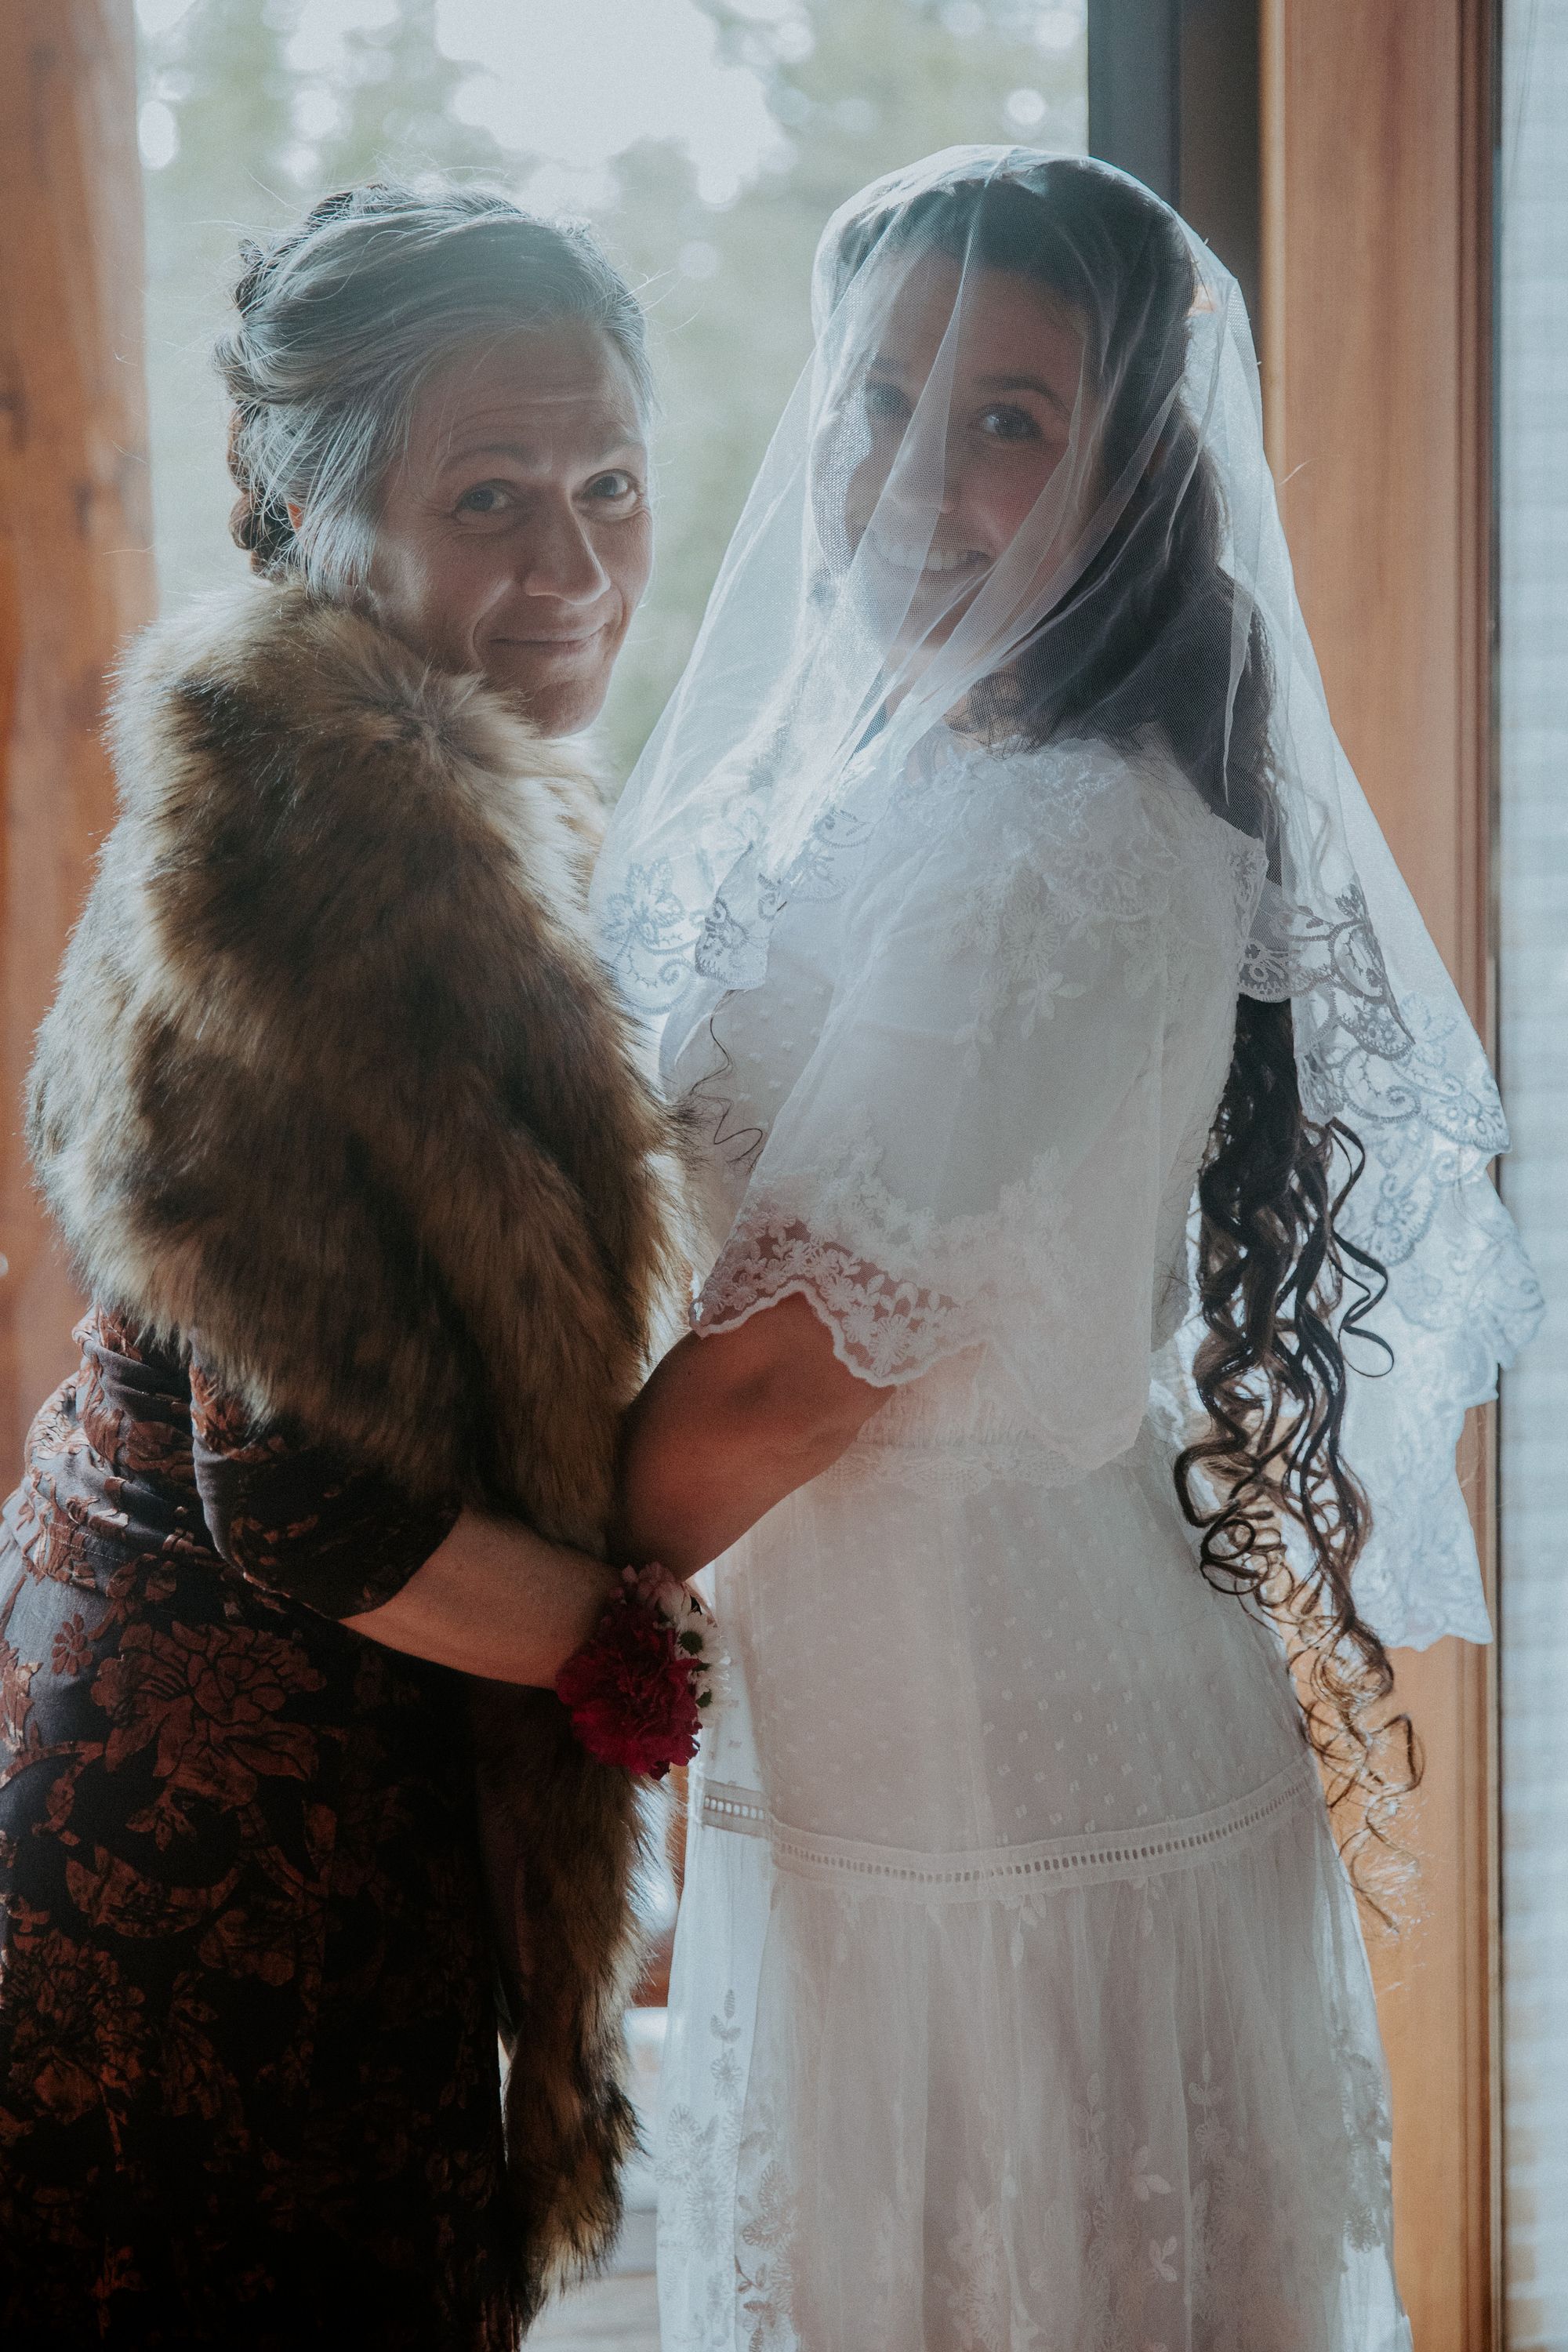
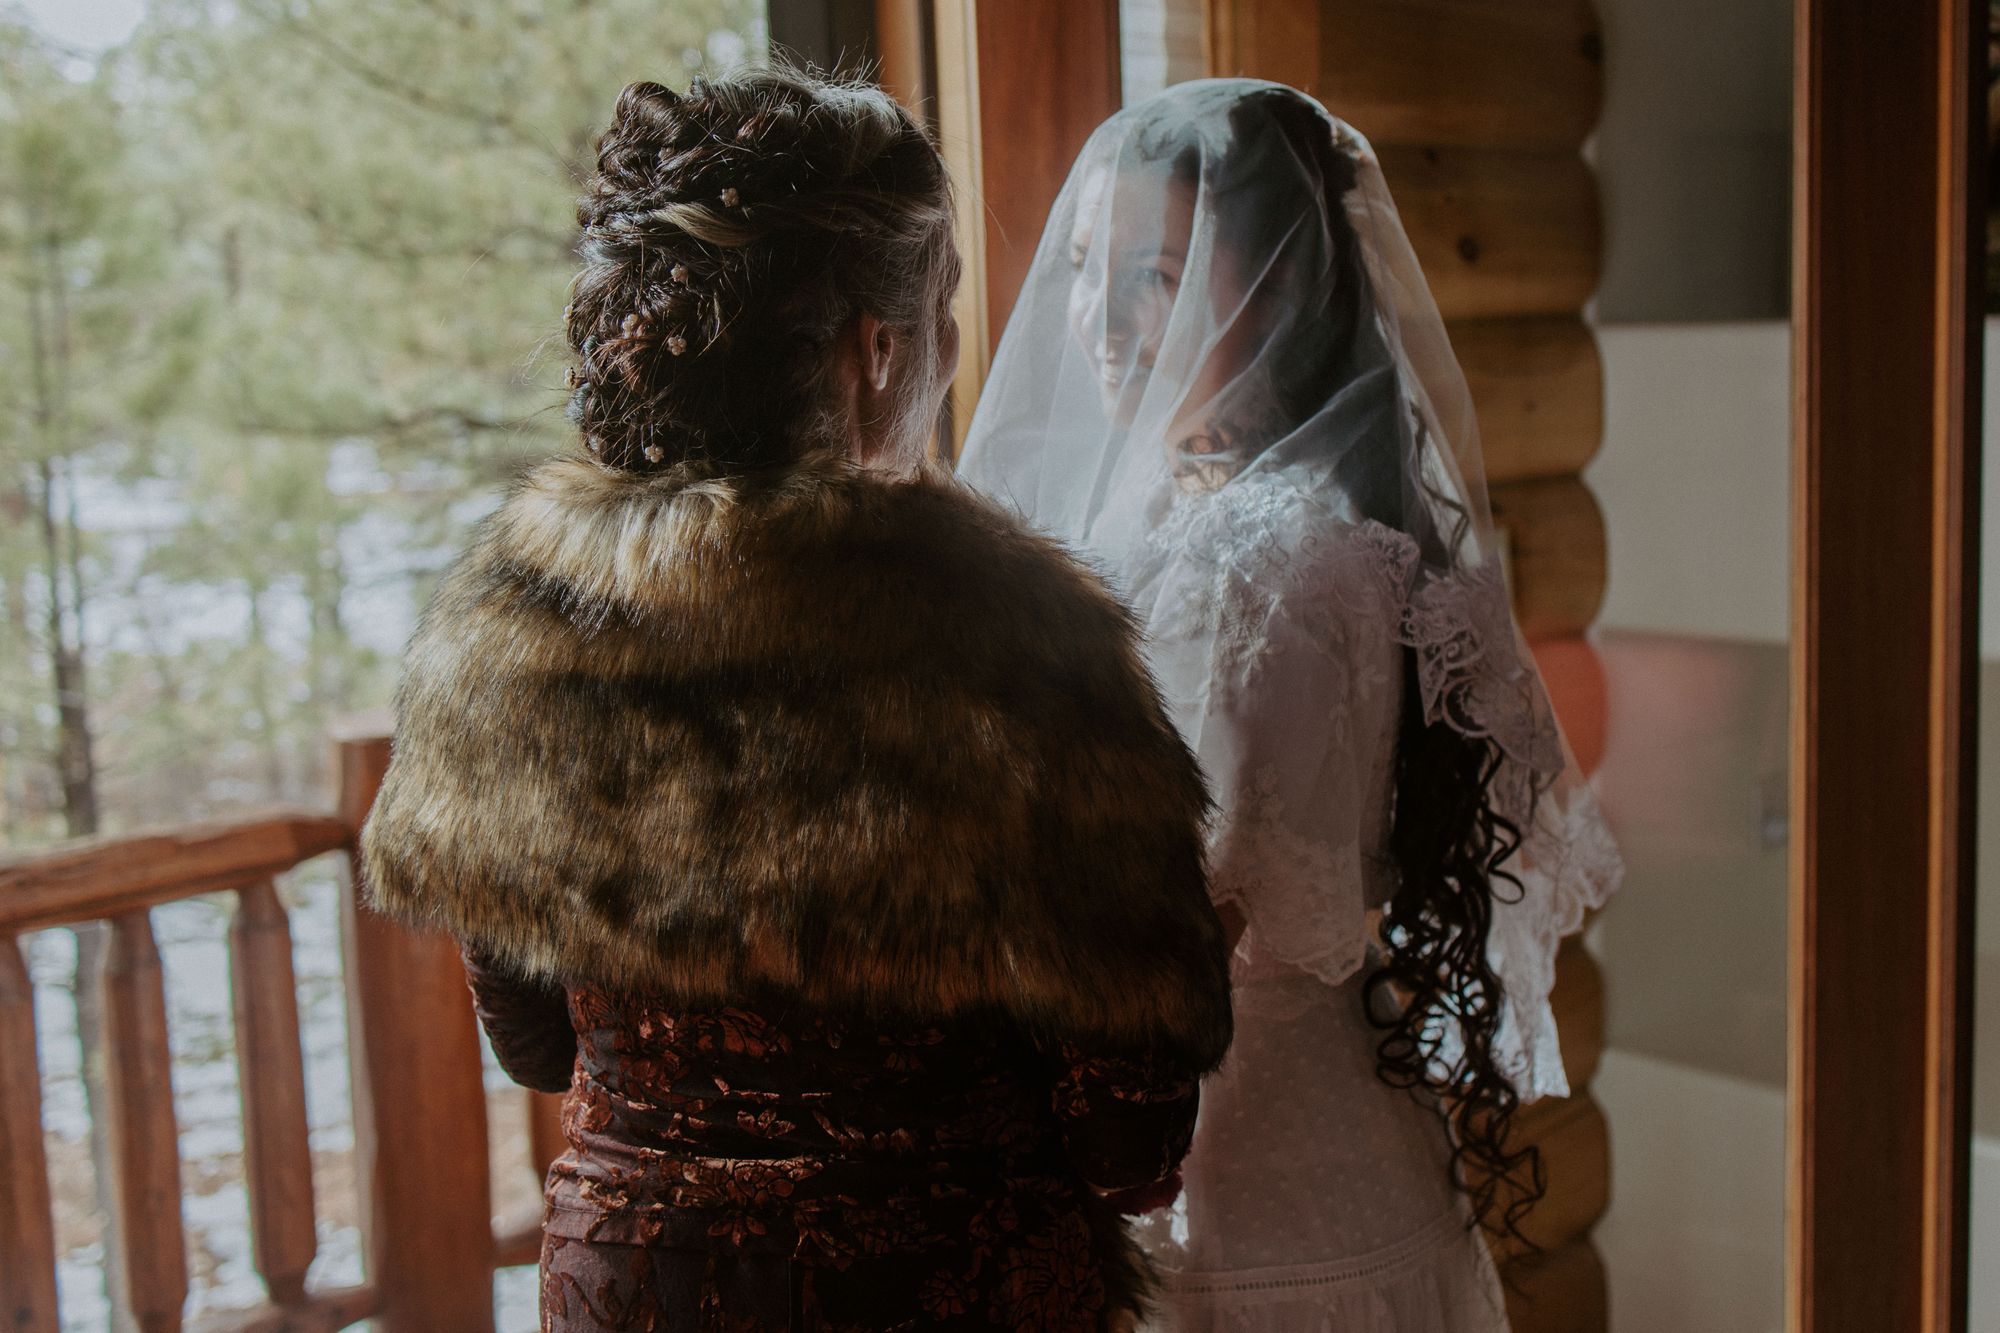
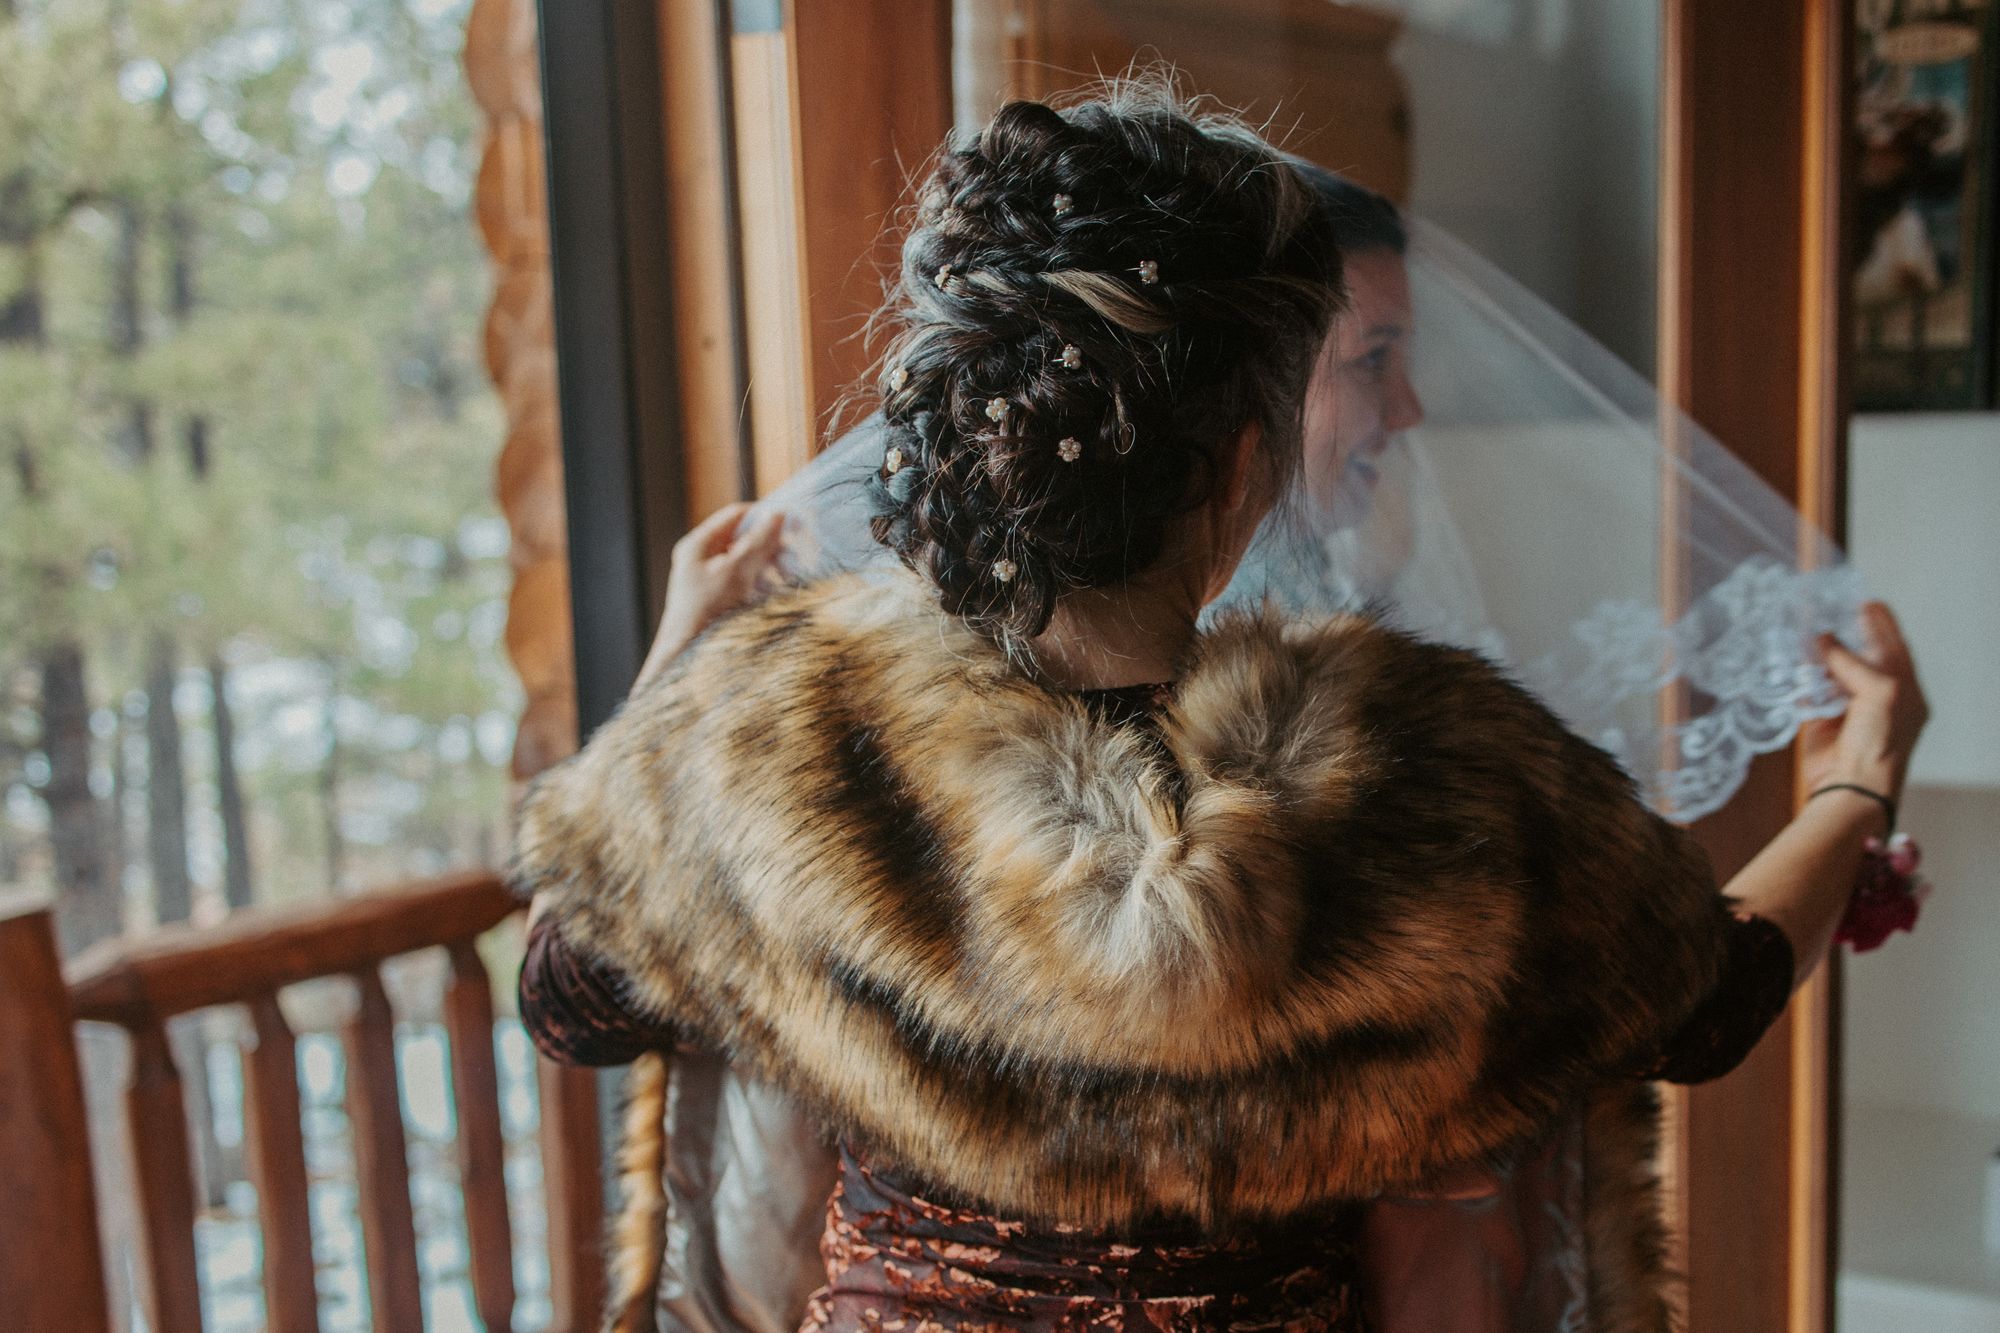
My friend Naomi did my mom’s luxuriously long hair for the wedding. To make her feel a little extra special, I bought her a set of pearl hair pins and a gorgeous faux fur stole to match Emily and me.
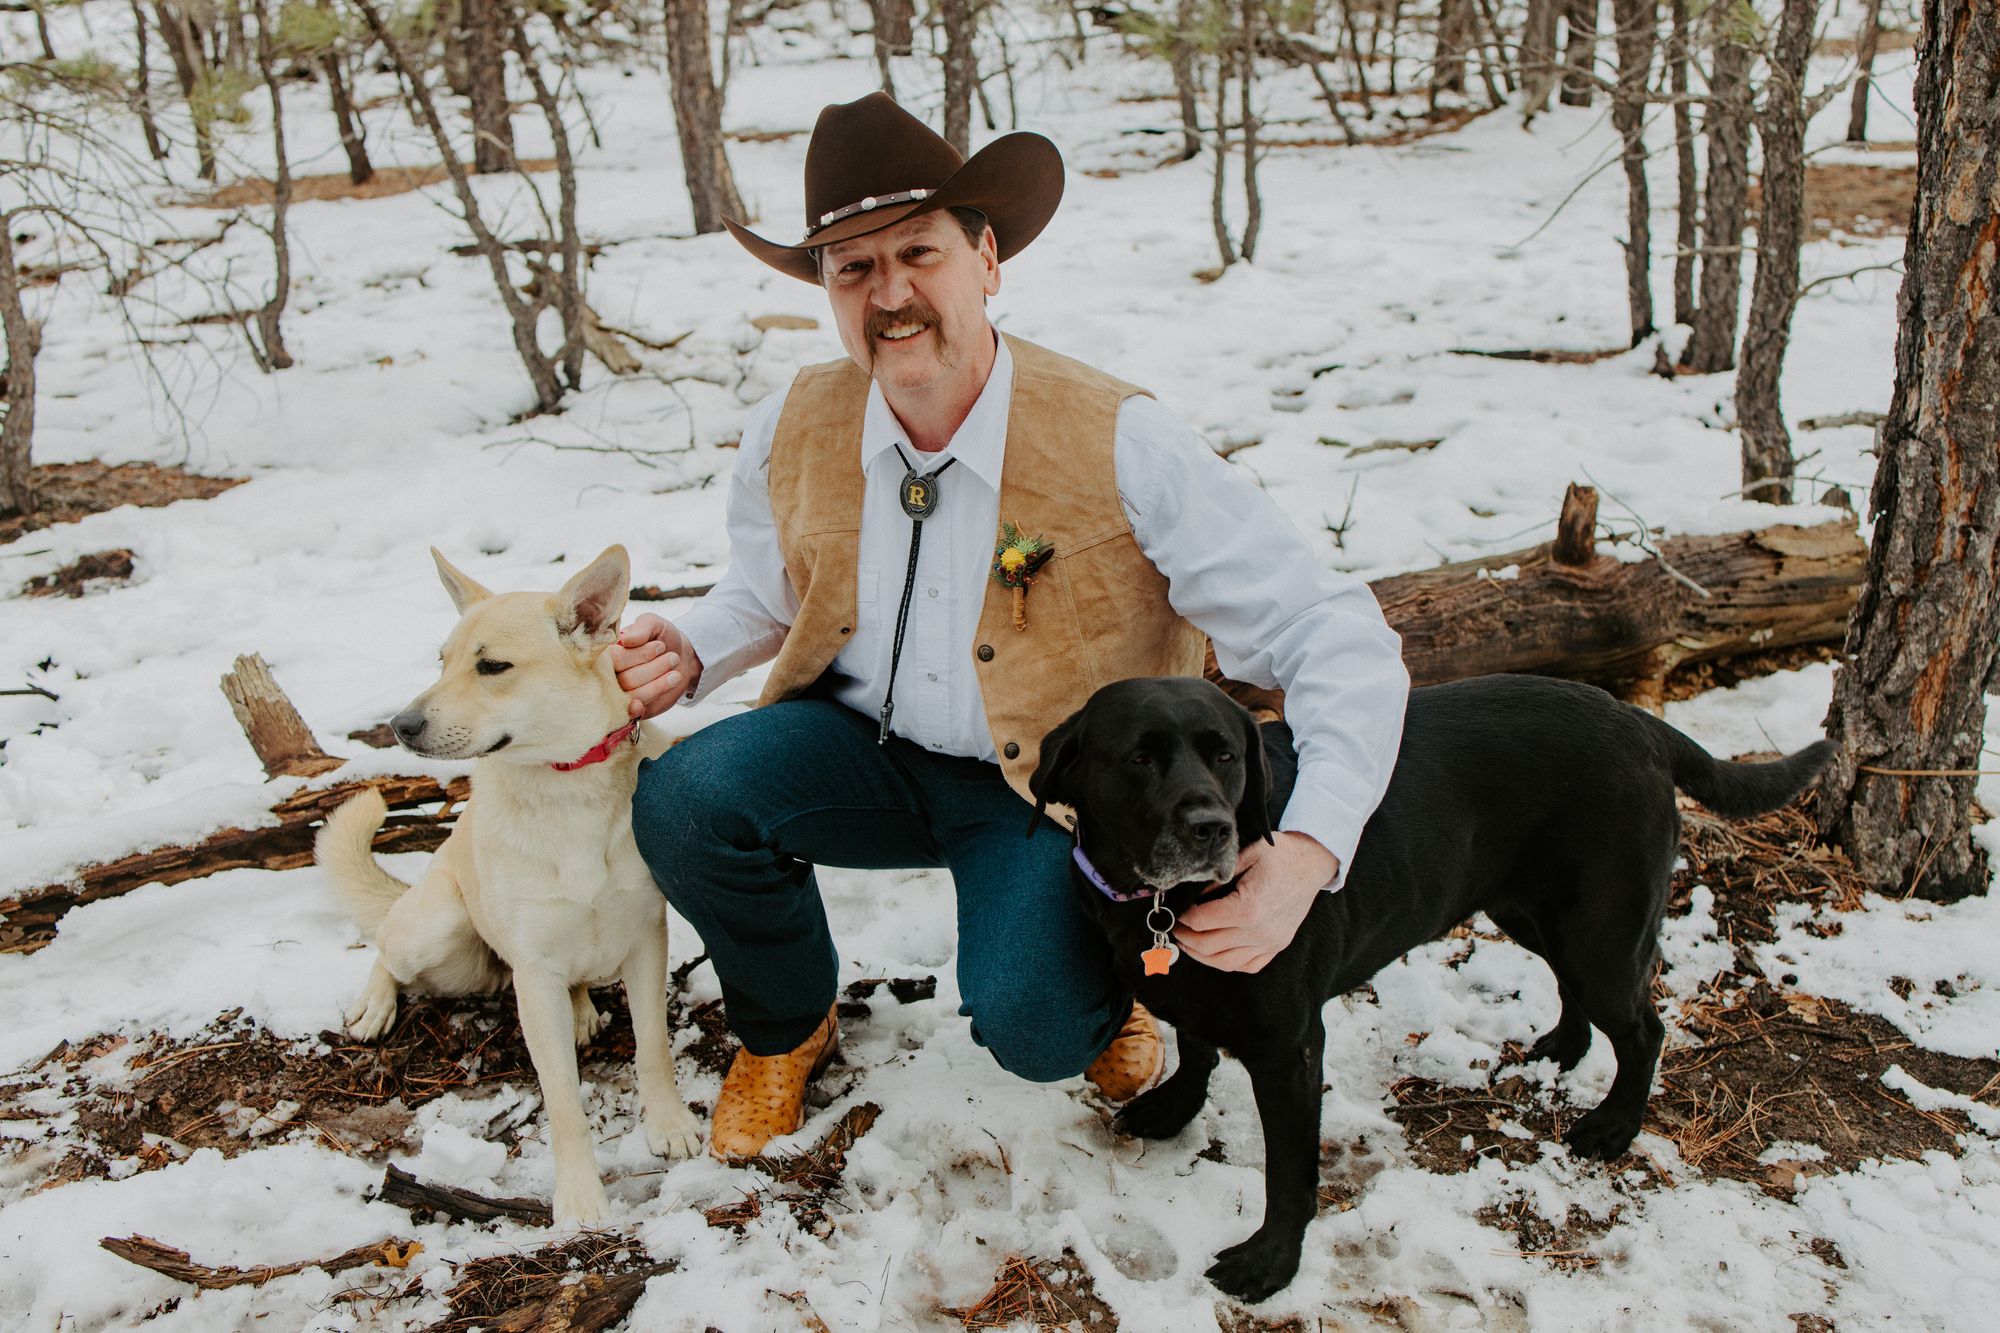
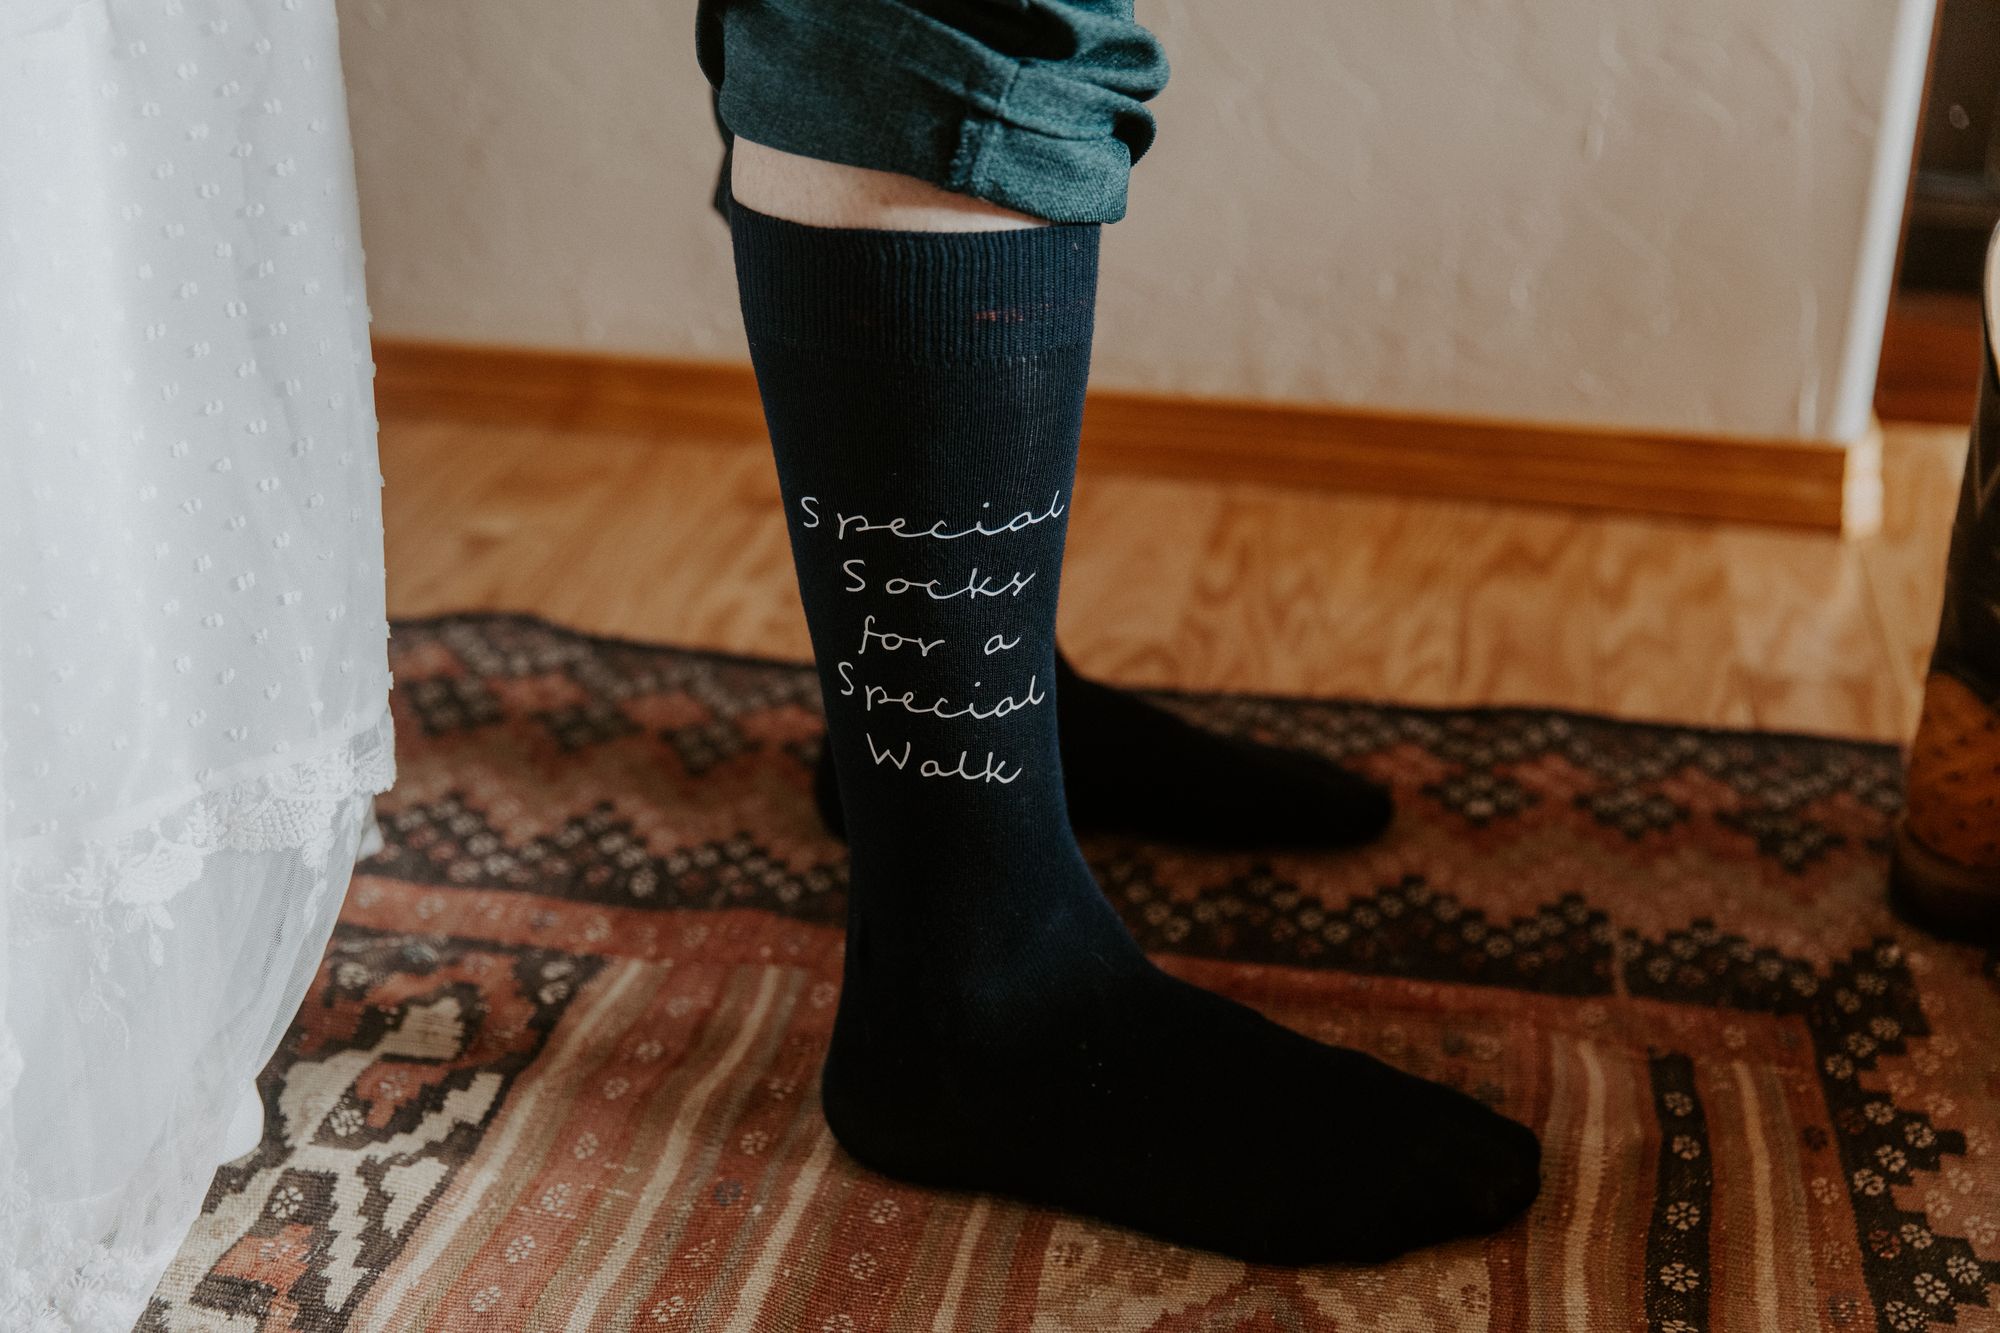
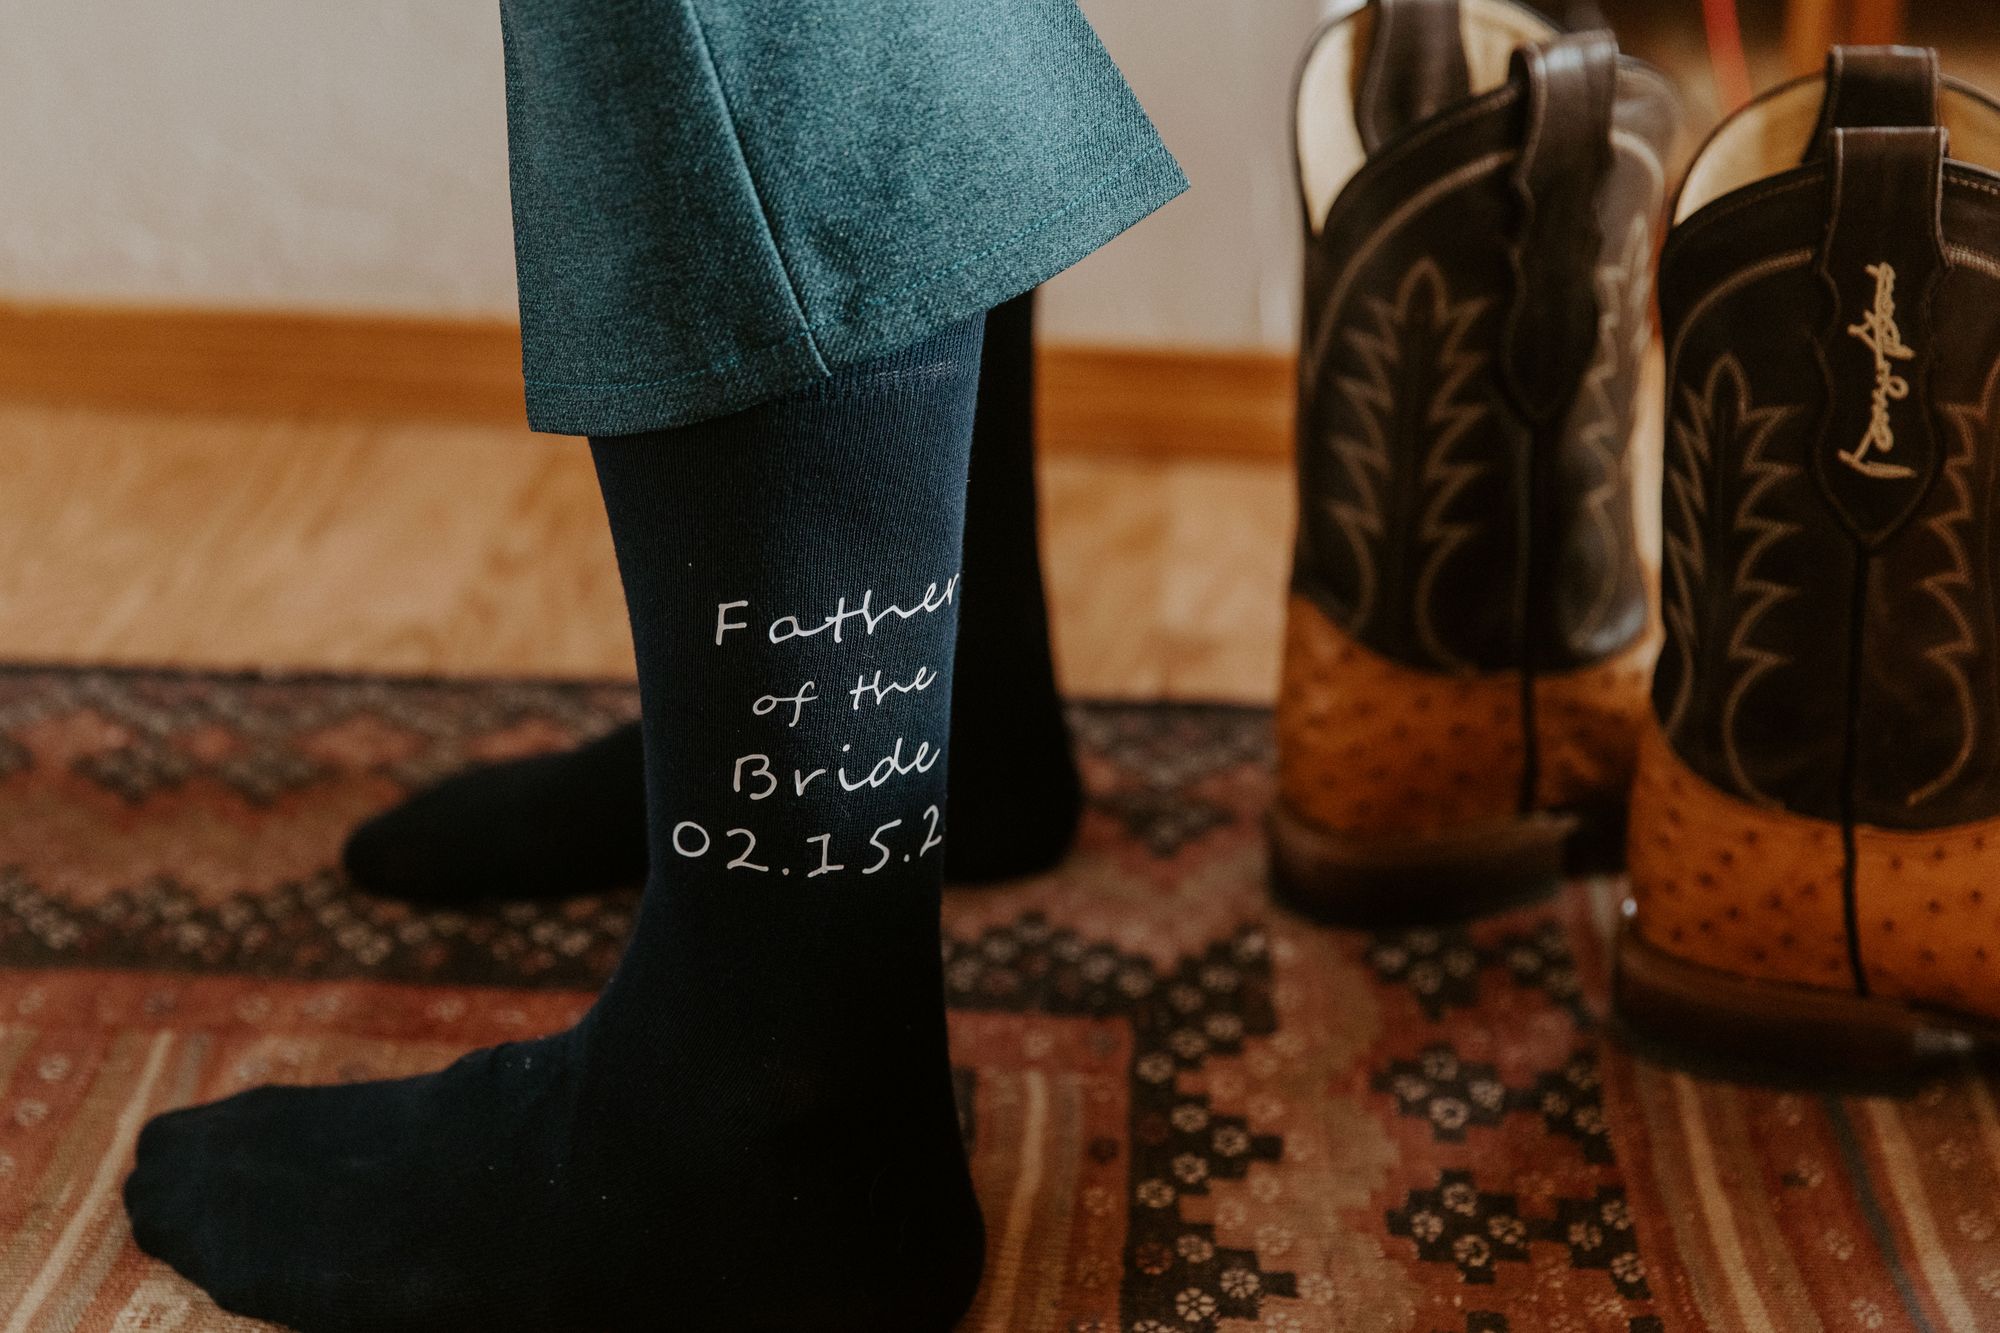
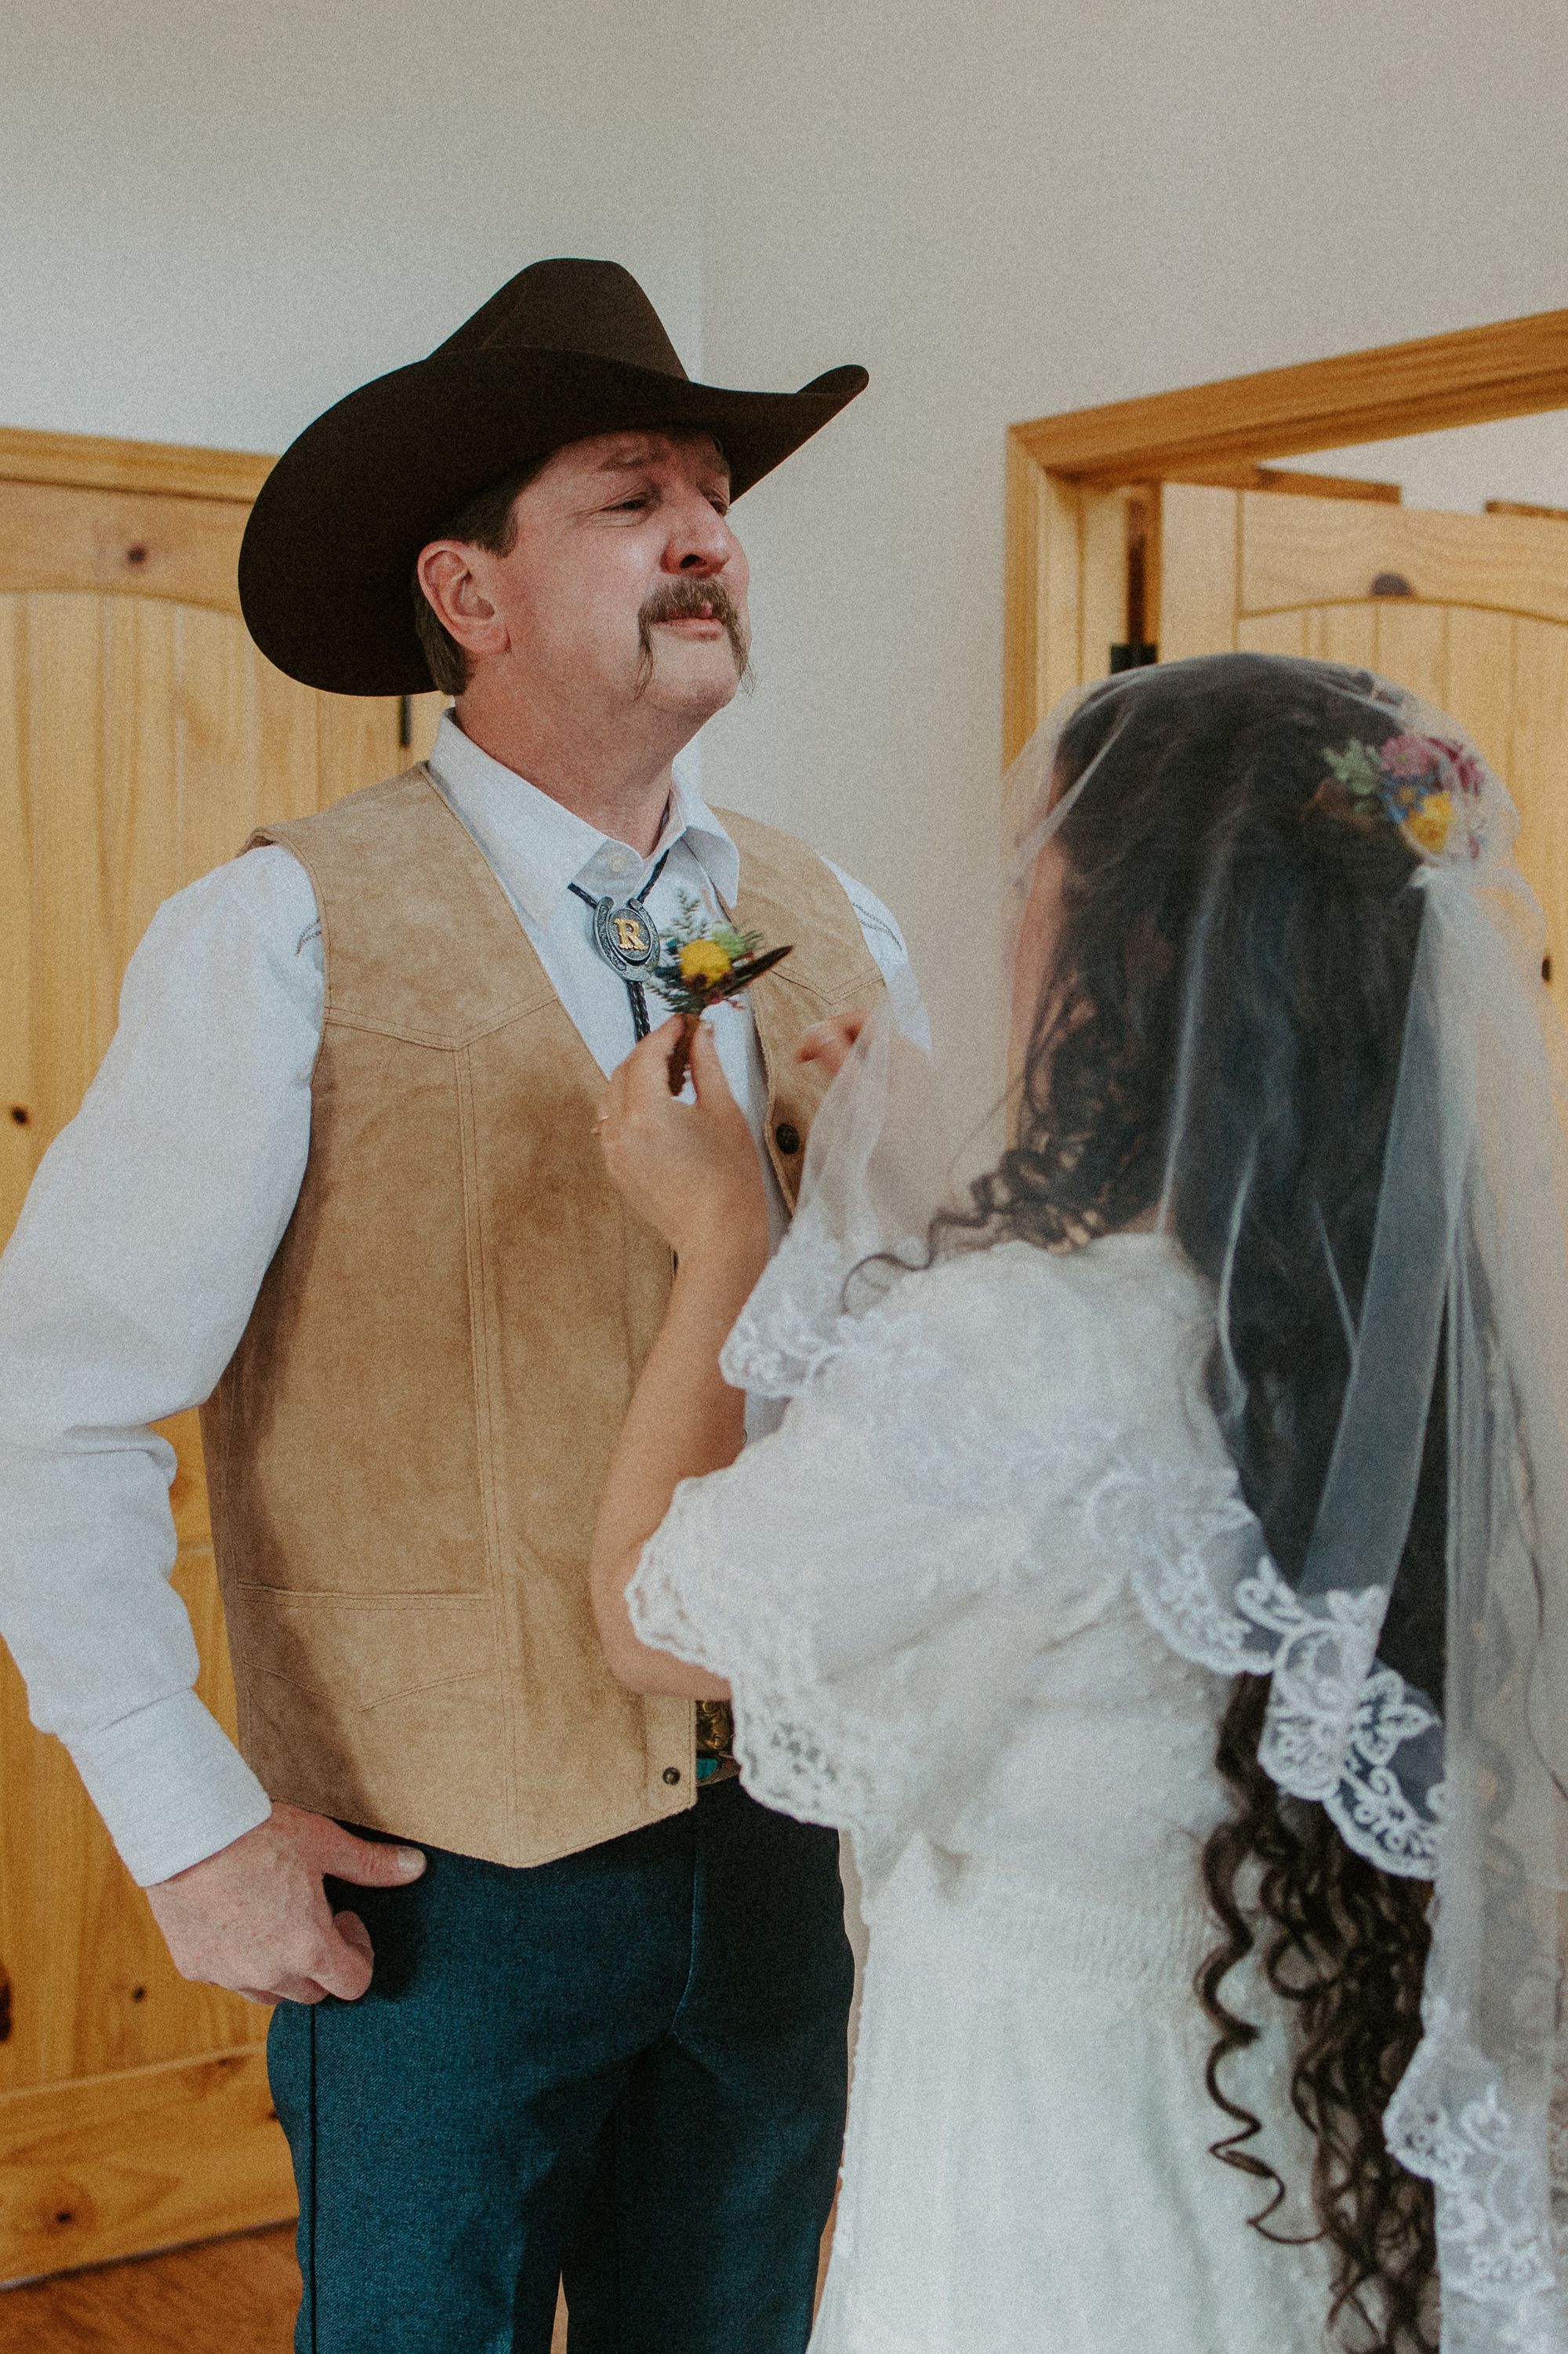
For my dad, I knew he’d likely never wear cuff links or a tie again, so I ordered some special socks he could wear with his western boots. They came in a personalized canvas pouch that made it easy for him to transport back home to Oregon where he can either stow them away as a keepsake or potentially wear again.
Final tips
1. Become a list-maker. Make a list of your budget, a list of what you absolutely will not compromise on, and a list of what you need to get it all done. Not only will having a list keep you organized, it keeps family and bridal party on task so you don’t have to run around like a headless chicken squawking orders. Plus, checking things off feels so dang good!
2. Along those same lines, consider labeling items. In case you aren't present for packing up the day after, you'll want to make sure others know what's yours and where it goes.
3. Take pictures, make diagrams, and measure all of your needed spaces and supplies beforehand. My mom and I forgot what kitchen supplies were available at the cabin so she was forced to cook the meat in smaller portions. We also had an unexpected, super last-minute expense when we realized the tablecloths we’d borrowed weren’t big enough. Amazon Prime was a lifesaver!
4. Consider your resources. Do you have a truck or trailer or need either one to haul items? We ended up renting a small U-Haul trailer for $140 to load all the chairs and other DIY wedding paraphernalia.
Accolades
Andrew and I are deeply grateful to our friends, family, work associates, and God for the love, support, and tremendous efforts dedicated to making our micro wedding one-of-a-kind!
Special thanks is due to the mother and grandmother of the bride for their hard work in the kitchen! Never has wedding barbecue ever tasted SO good.
My mom also tailored my dress to make it just a tad more formal and not quite so see-through. She's the best seamstress in the west!
Matron of Honor, Emily: thank you for giving life to my vision. This wedding would not have happened as succinctly and virtually stress-free without you!
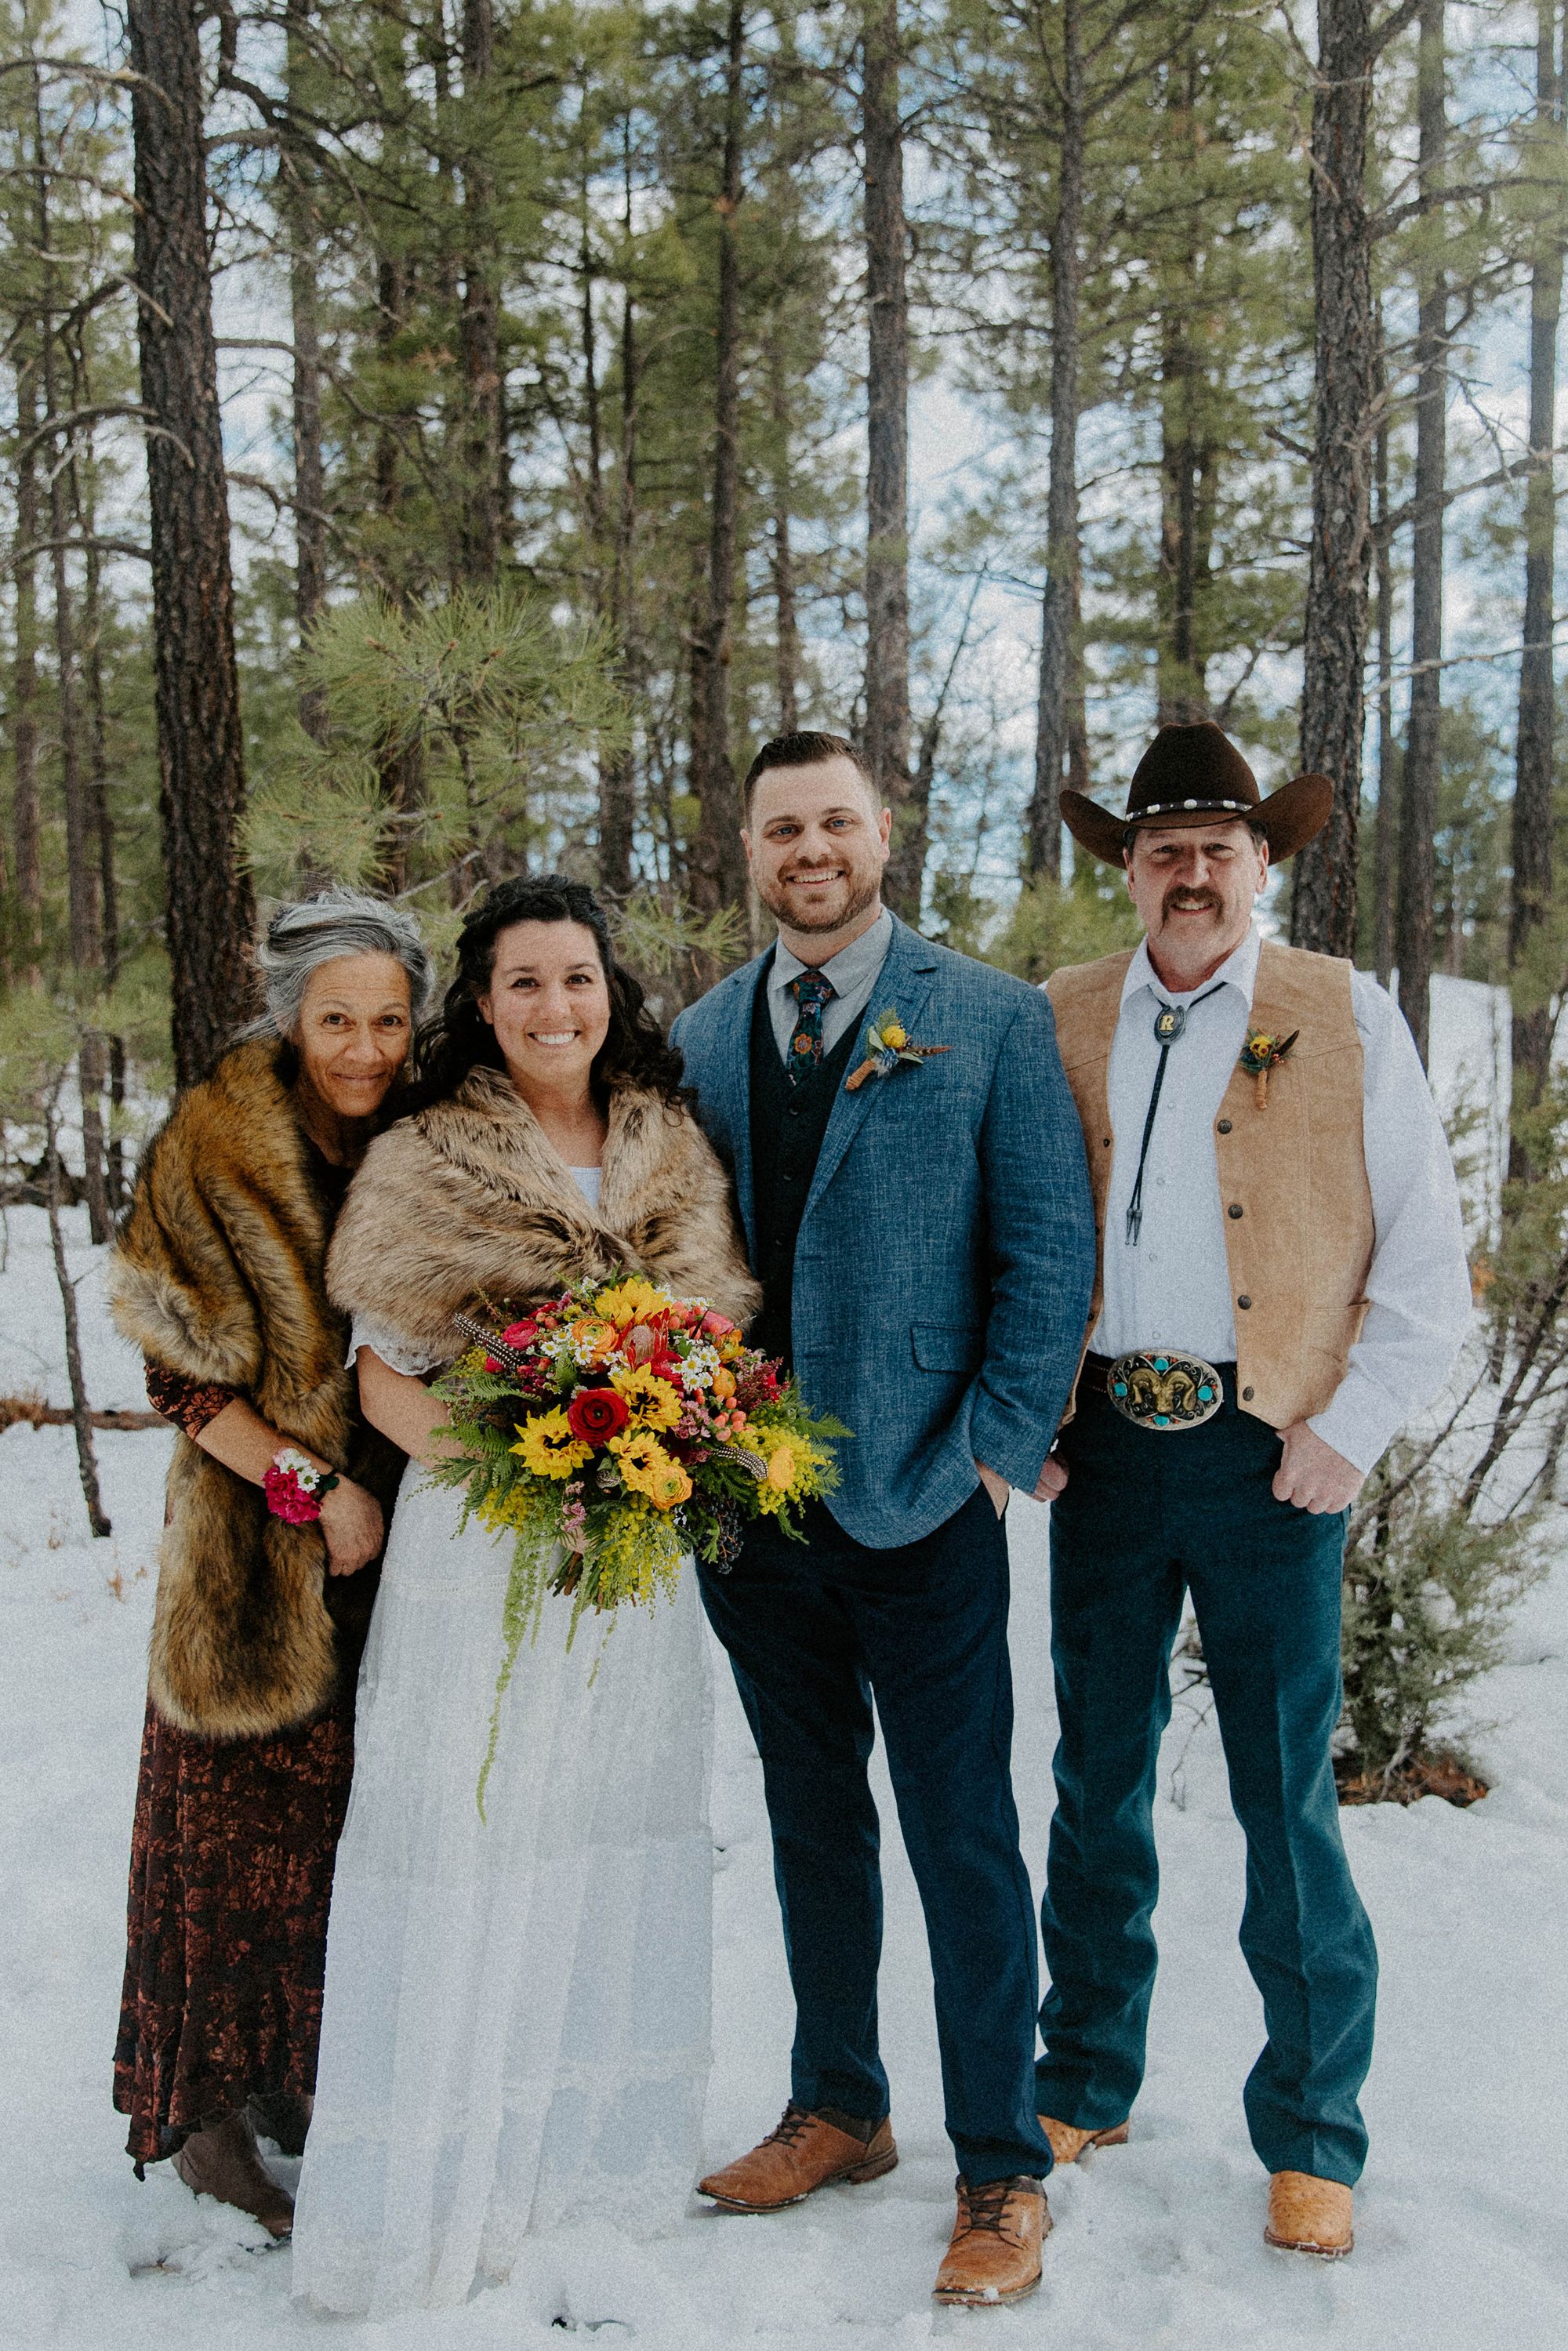
Father of the bride: thank you for walking me down the aisle and giving us your full blessing. We love you and appreciate all you did and do for us.
